22 Outdoor Halloween Decorations for a Haunted Yard
A haunted yard is the one Halloween display the whole neighborhood gets to enjoy, and it deserves the same care you give your interiors. These twenty-two outdoor ideas work at every scale, from a simple lantern walkway to a full foggy graveyard, and each one is built to survive October weather while looking better after dark. Pick the ones that fit your yard, and watch the trick-or-treaters slow down as they pass.
1. Line the Walkway with Glowing Lanterns
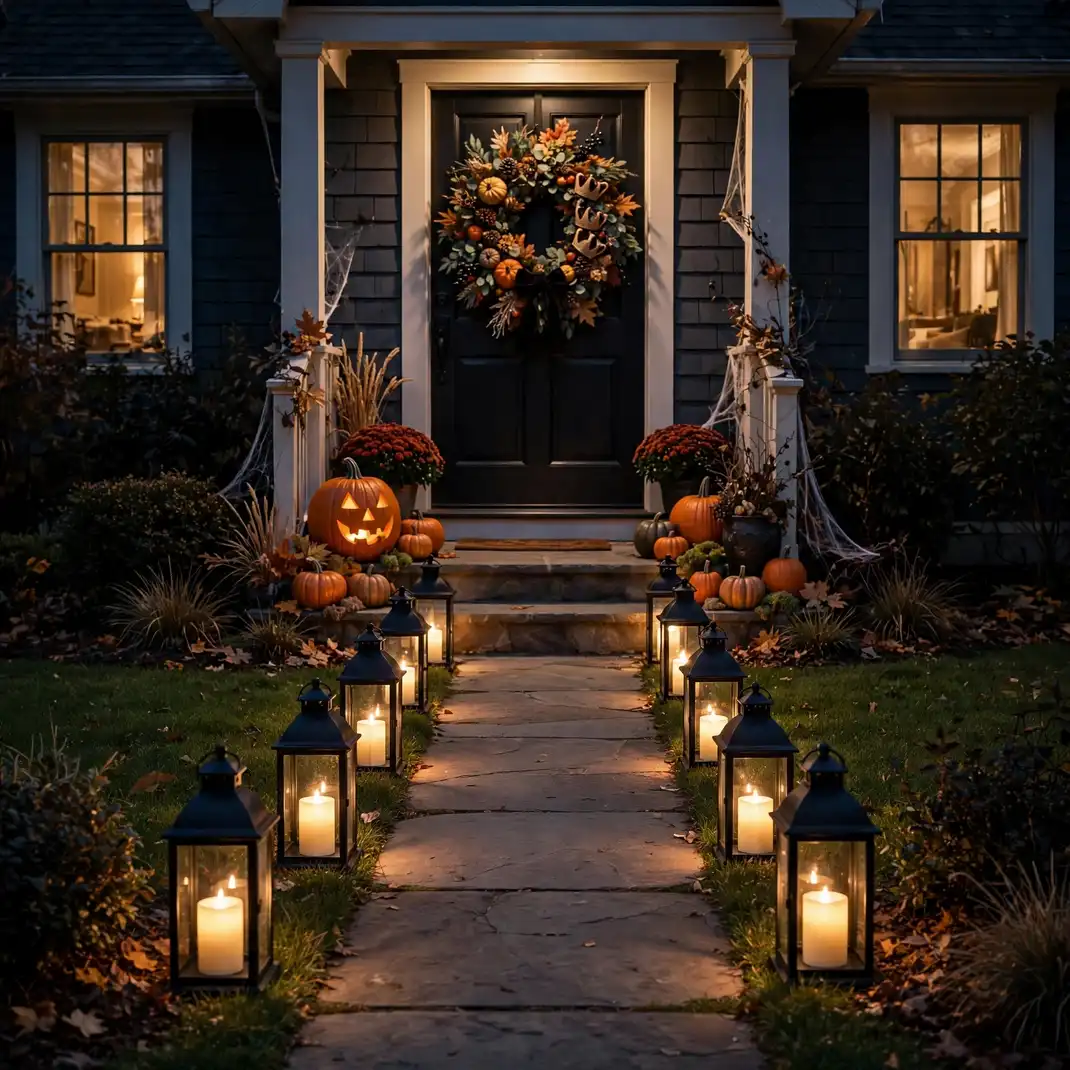
A walkway edged with glowing lanterns is the oldest haunted-yard trick because it still works better than anything else. Space black metal lanterns every few feet along both sides of the path, each holding a warm LED candle, and the route to your door becomes a glowing runway. It guides visitors safely while setting the mood from the very first step onto your property.
How to Style It: Place lanterns in a staggered zigzag rather than strict pairs, vary the heights, and set every candle on the same dusk timer.
Why It Photographs Beautifully: The receding line of warm lights creates a perfect leading line that pulls the eye straight to your front door.
Pro Tip: Weigh each lantern with a bag of sand inside so October winds cannot tip them into the flower beds.
Budget-Smart Swap: Paper bag luminaries with LED tea lights give the same runway effect for a single evening’s party.
2. Build Glowing Ghosts from Chicken Wire
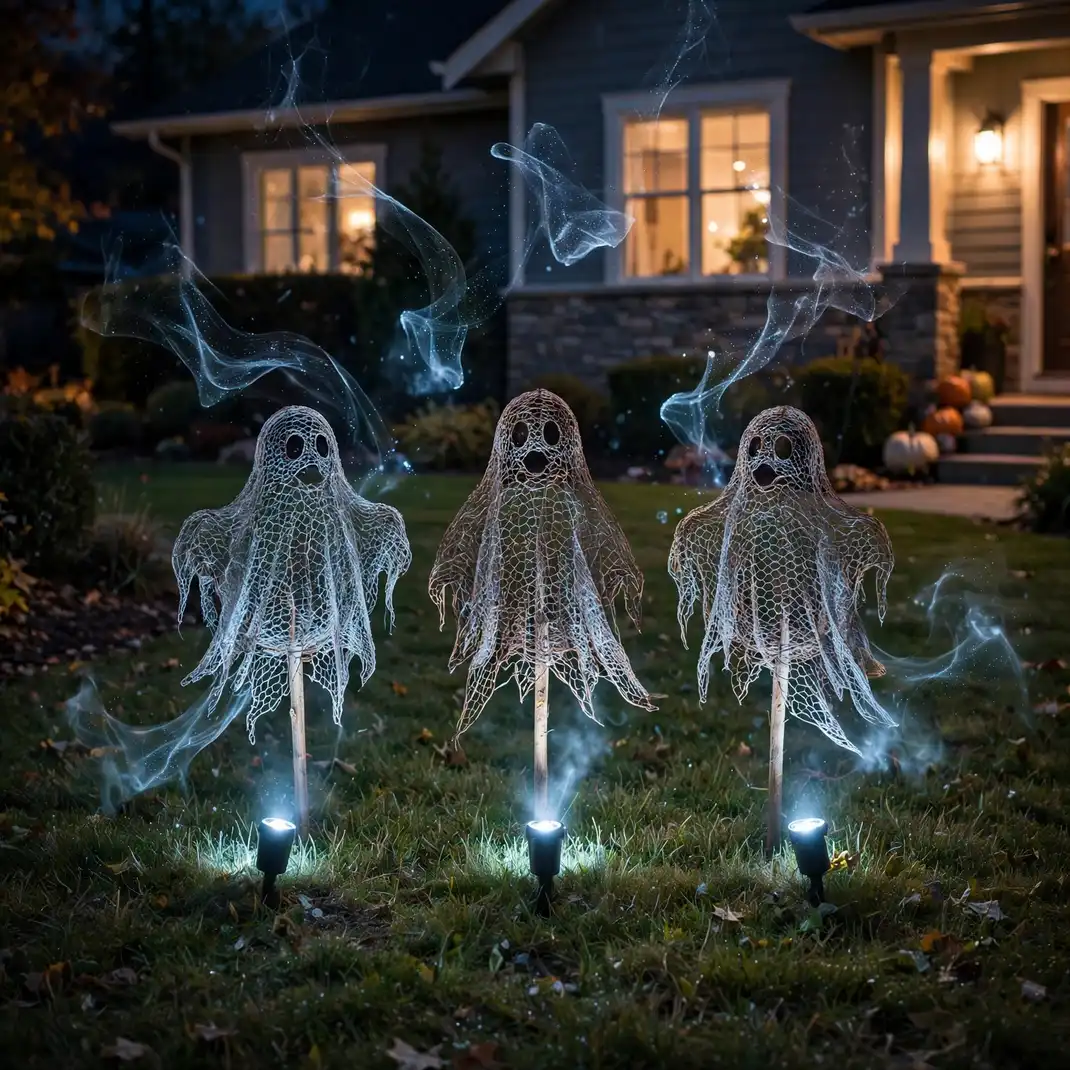
Chicken wire ghosts are the yard haunt world’s best-kept secret: sculpt the wire into flowing human shapes, drape nothing over them, and light each one from below with a small spotlight. The wire catches the light in a shimmering mesh that reads as genuinely spectral after dark. They look like apparitions caught mid-drift, and they cost almost nothing to make.
How to Style It: Sculpt three ghosts at different heights, stake them into the lawn in a loose triangle, and aim one cool-white spotlight upward at the group.
Why It Photographs Beautifully: The wire mesh glows with an unearthly texture that photographs like a special effect, no filter needed.
Pro Tip: Wear thick gloves when sculpting; cut chicken wire is sharp, and the ghosts are worth a careful build.
Budget-Smart Swap: A single ghost beside the mailbox still stops traffic; the trio is a luxury, not a requirement.
3. Arch Pumpkins Over the Garden Gate
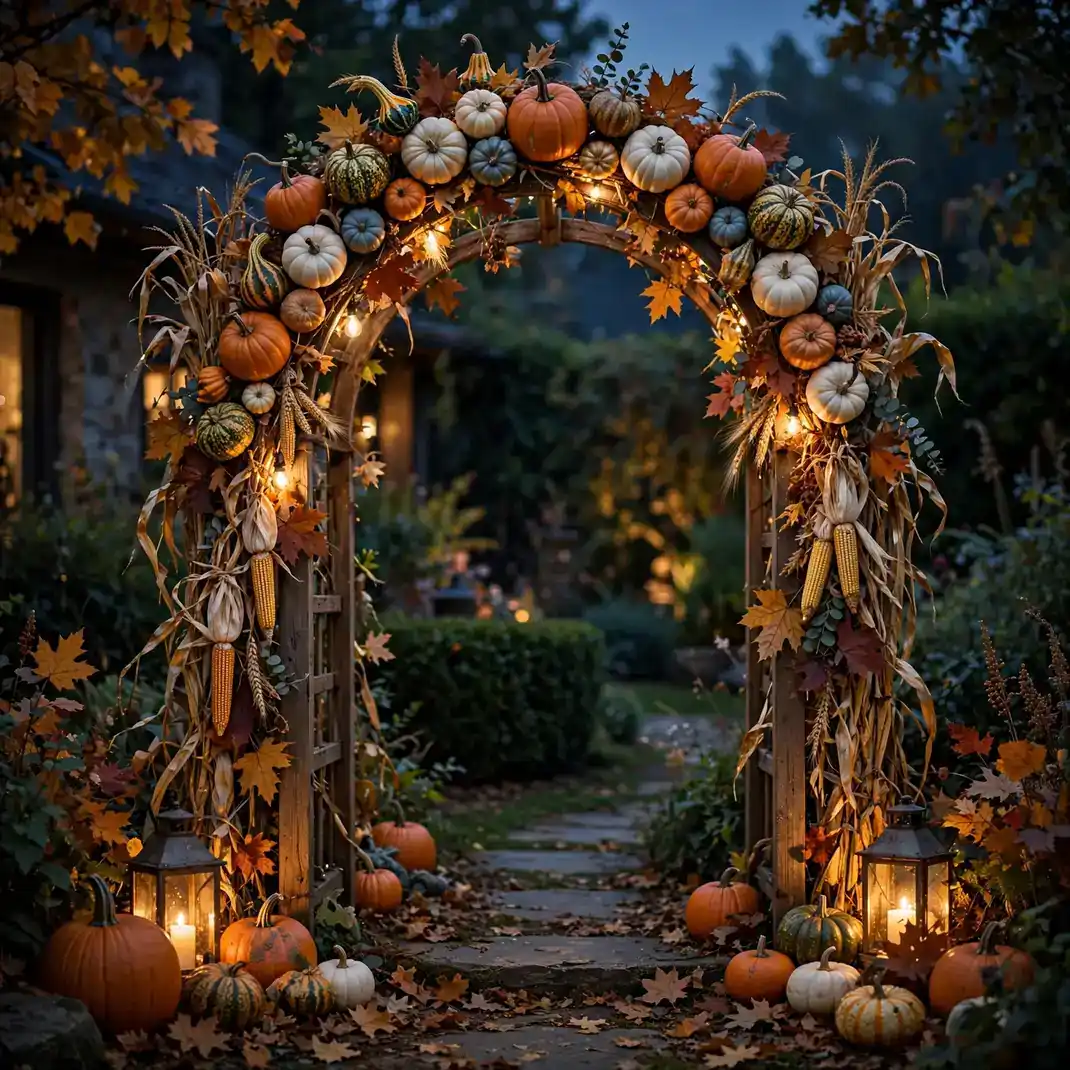
A simple garden arch becomes October’s grand entrance when you wire pumpkins and gourds along its curve. Mix real mini pumpkins with faux ones for longevity, tuck in dried corn and fall leaves, and the arch frames everyone who walks through it. It photographs like a harvest festival entrance and marks your yard as the one that tried the hardest.
How to Style It: Wire the largest pumpkins at the base of each side and graduate to smaller ones toward the top, filling gaps with wired bunches of dried leaves.
Why It Photographs Beautifully: The arch naturally frames portraits, so every visitor photo taken beneath it becomes a keeper.
Pro Tip: Use faux pumpkins on the sunniest side of the arch; real ones bake and soften in direct afternoon sun.
Budget-Smart Swap: Dress just one side of an existing fence post with a pumpkin cluster for a mini-arch effect.
4. Fog the Graveyard with Ground Spotlights
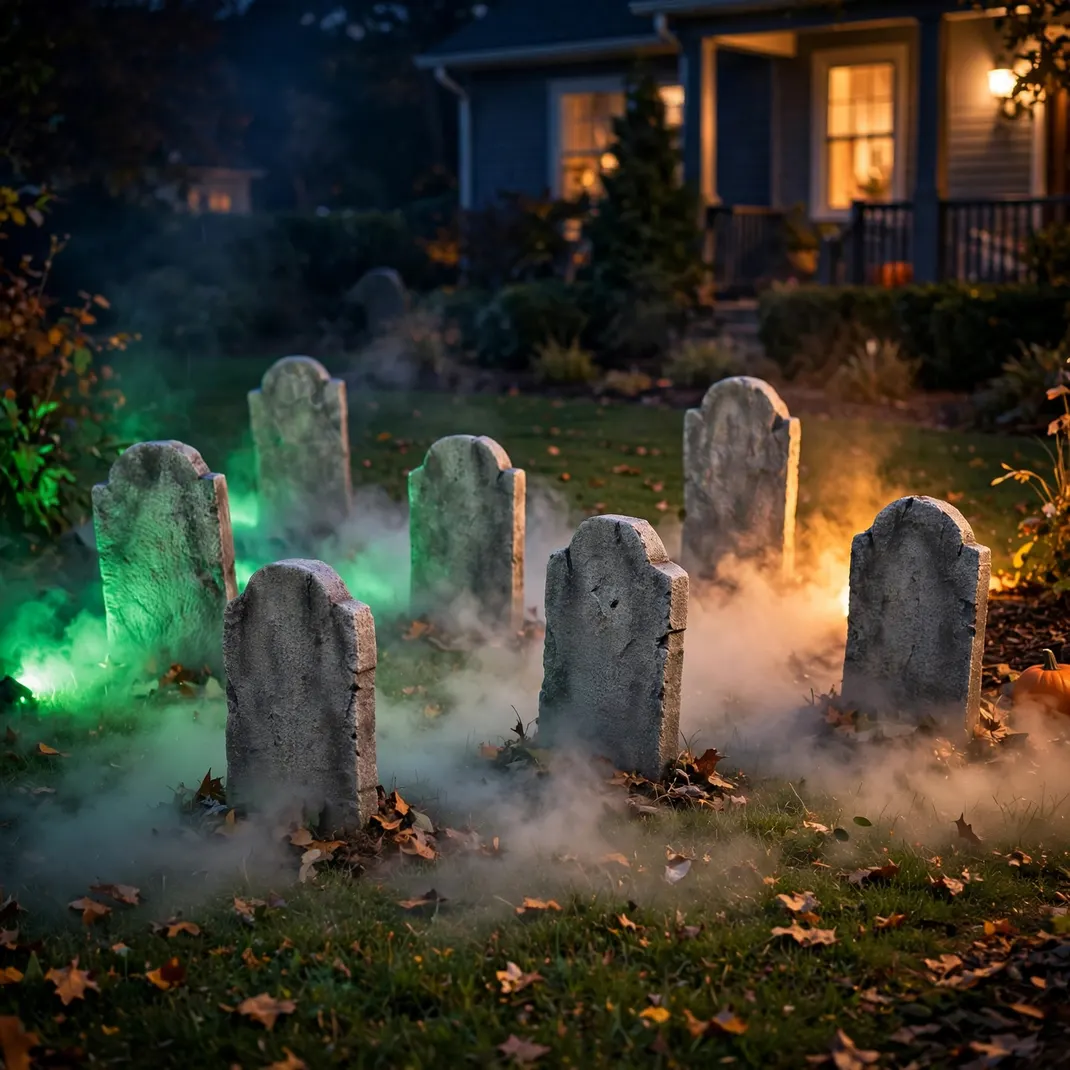
A small ground fog machine behind a row of tombstones, lit from below by green or amber spotlights, creates the single most cinematic yard scene on this list. The fog hugs the grass and drifts between the stones while the uplights carve every epitaph out of the dark. Run it on a timer so the fog rolls in waves rather than one constant cloud.
How to Style It: Place the fog machine behind the tombstone row, aim two spotlights upward through the fog, and set the machine to thirty-second bursts every few minutes.
Why It Photographs Beautifully: Backlit fog glows like a movie set, and the tombstones become dramatic silhouettes inside it.
Pro Tip: Use ground-hugging fog fluid, not standard fluid; regular fog rises and blows away instead of crawling.
Budget-Smart Swap: Dry ice in a hidden bucket gives ten minutes of perfect ground fog for a party’s peak hour.
5. Silhouette a Witch Against the Roofline
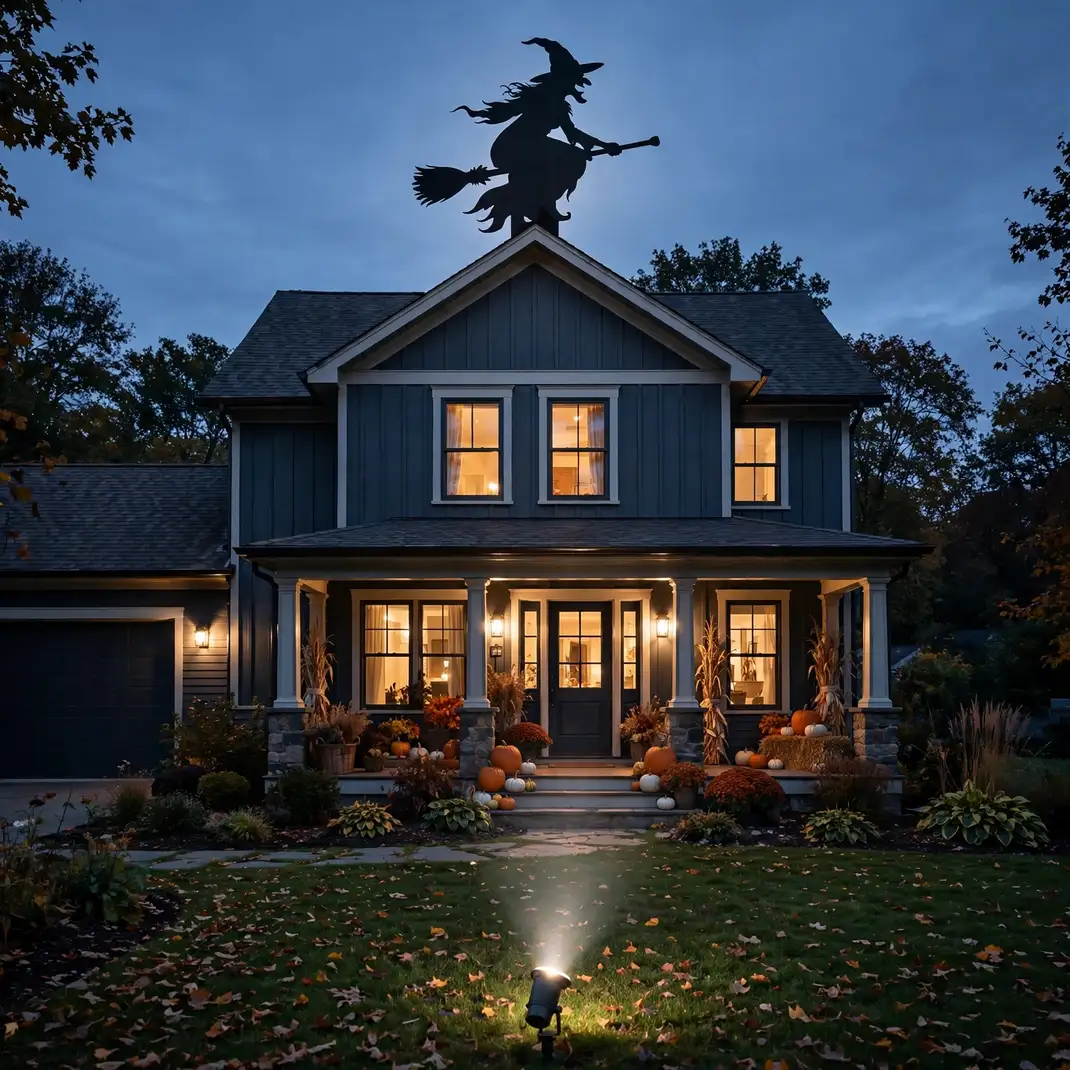
A life-size witch silhouette, cut from plywood and mounted where the roof meets the sky, turns your house itself into the decoration. Backlit by a single spotlight from the yard, she reads as a crisp black shape flying past the moon, or perched and watching. From the street it is the most striking thing on the block, and it takes one afternoon to build.
How to Style It: Cut the silhouette from exterior plywood, paint it matte black, and bracket it to the fascia so she stands just above the roofline.
Why It Photographs Beautifully: A black shape against the evening sky is pure graphic drama, and every phone camera nails the shot.
Pro Tip: Angle the spotlight from below and slightly to the side; front lighting flattens the silhouette.
Budget-Smart Swap: A black cardstock witch taped inside an upstairs window, backlit by the room light, gives the same skyline read.
6. Stack Hay Bales into a Harvest Lounge
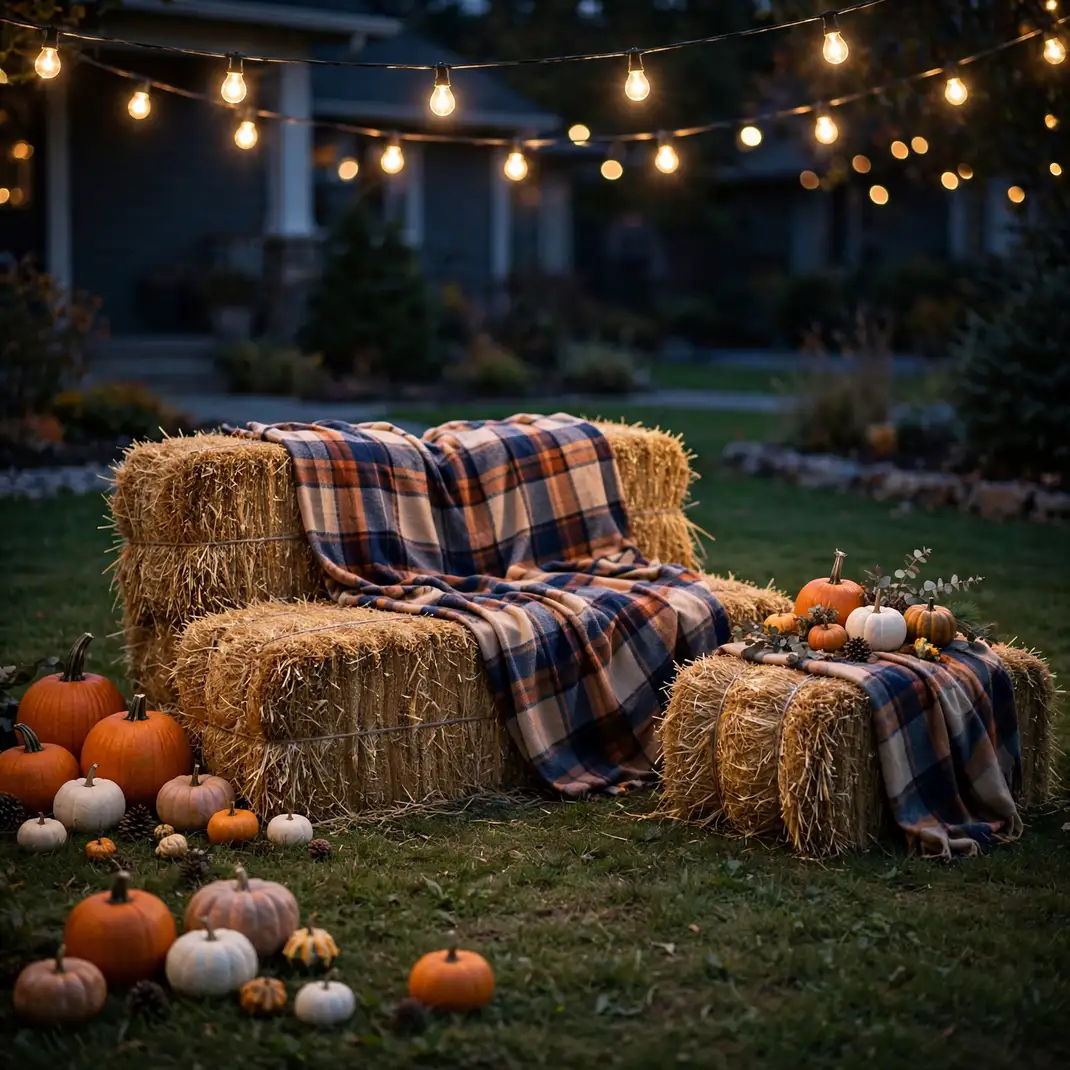
Two or three hay bales arranged as a low lounge on the lawn, topped with plaid throws and surrounded by pumpkins, give trick-or-treaters and party guests a place to land. It is part decoration, part seating, and entirely October. The golden straw glows beautifully under string lights, and kids will claim it as their headquarters within minutes.
How to Style It: Set two bales side by side as a bench and one as a side table, drape throws over the seating bales, and ring the group with pumpkins of mixed sizes.
Why It Photographs Beautifully: The straw’s golden texture and the plaid patterns give photos a rich harvest warmth that reads instantly as fall.
Pro Tip: Cover the bales with a tarp on rainy nights; wet straw sags and the bales lose their crisp shape.
Budget-Smart Swap: A single bale with a throw and two pumpkins still makes a charming photo spot by the walkway.
7. Stretch a Giant Spiderweb Between the Trees
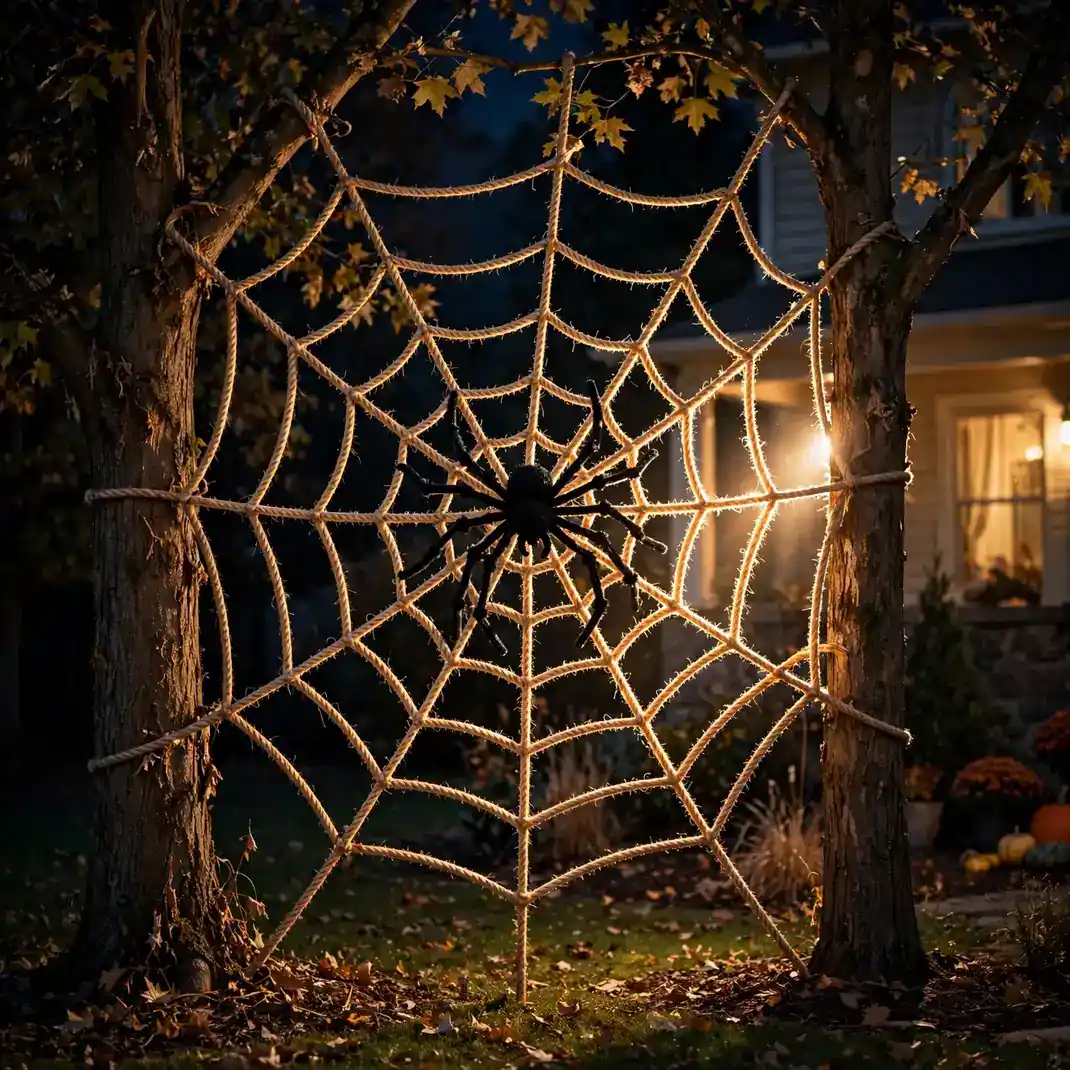
A massive spiderweb strung between two trees, complete with an oversized spider at its center, is the yard decoration drivers slow down for. Weave the web from thick white rope in the classic radial pattern, and hang the spider, a black exercise ball with pipe-cleaner legs works brilliantly, where it catches the porch light. It is big, bold, and visible from a block away.
How to Style It: Anchor the web’s radial lines to both trunks with eye hooks, weave the spiral with clothesline, and hang the spider slightly off-center for realism.
Why It Photographs Beautifully: The huge radial pattern fills the frame with graphic geometry, and the spider becomes an unforgettable focal point.
Pro Tip: Aim a spotlight at the web from the house side; backlit rope glows and the spider throws a giant shadow on the lawn.
Budget-Smart Swap: A web strung across a single large bush, with a smaller spider, gives the same thrill at a fraction of the scale.
8. Set Flickering Candles in Every Street-Facing Window
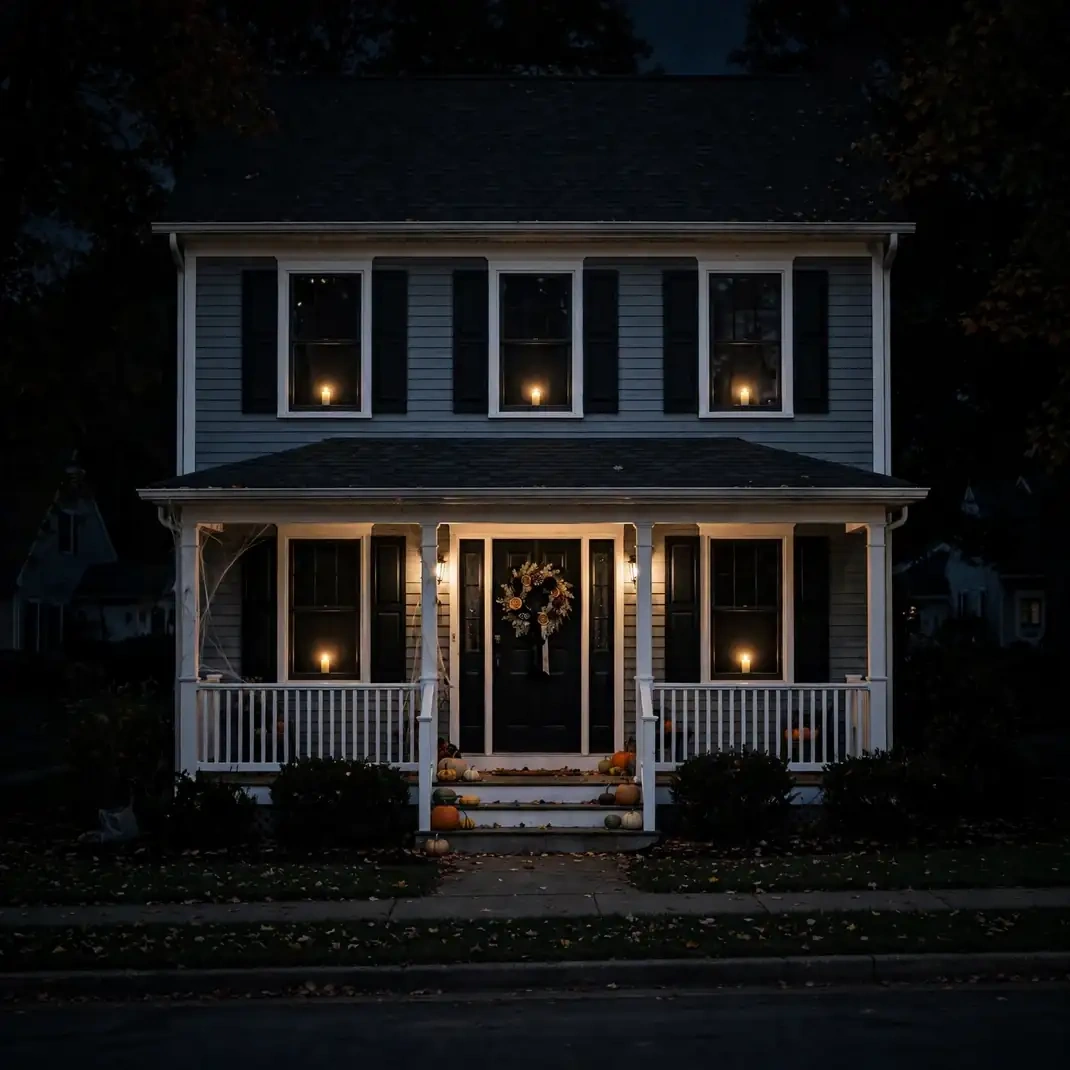
The house itself joins the haunt when every street-facing window holds a flickering candle. From the sidewalk, the warm dots of light in dark windows look like the house is awake and watching, especially when the rest of the street is dark. It costs almost nothing, takes ten minutes, and transforms your home’s entire nighttime face.
How to Style It: Place one flameless taper with a flicker chip in each street-facing window, centered on the sill, all on the same dusk timer.
Why It Photographs Beautifully: The repeated rhythm of glowing windows gives house photos a storybook symmetry that reads beautifully from the curb.
Pro Tip: Keep the rooms behind the windows dark; the candles only read as dramatic against black glass.
Budget-Smart Swap: Light just the upstairs windows; the high dots of flame look the most mysterious from the street.
9. Carve a Graveyard of Funny Tombstones
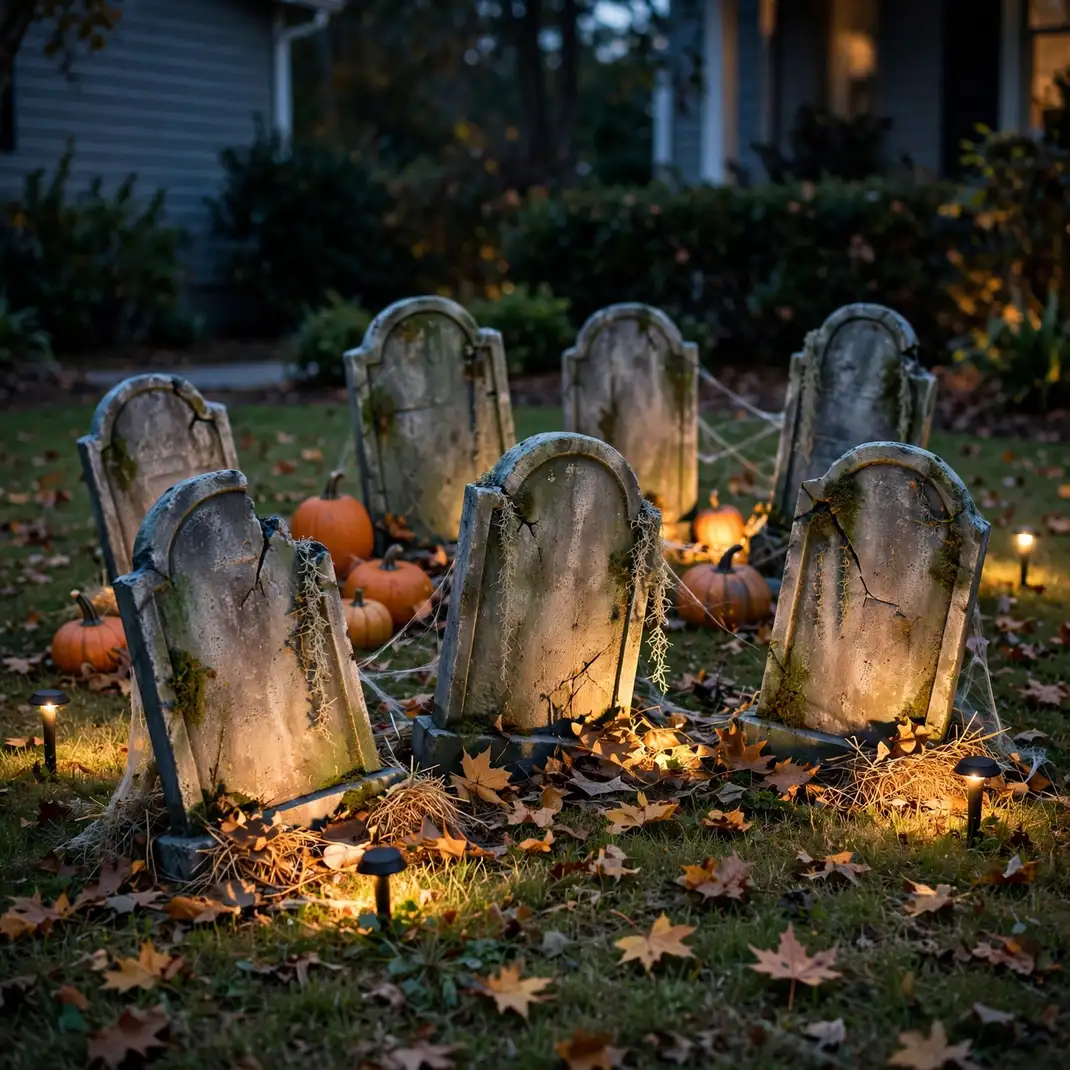
A front-yard graveyard earns its laughs with epitaphs written for your own household: jokes about burnt dinners, lost remotes, and teenagers who never clean their rooms. Cut the stones from foam board, paint them grey, and letter each one with a family in-joke. Neighbors will walk over to read them all, and the personal humor makes your yard the one people talk about.
How to Style It: Cut varied stone shapes from foam insulation board, stake them at slight angles for an aged look, and add one new stone each year as a tradition.
Why It Photographs Beautifully: Close-ups of the funniest epitaphs are endlessly shareable, and the tilted stones give wide shots perfect haunted rhythm.
Pro Tip: Seal the foam with exterior paint on all sides; unsealed foam crumbles after one rainy October.
Budget-Smart Swap: Three well-written stones beat ten blank ones; the jokes are the decoration, not the foam.
10. Hang Sheet Ghosts from the Tree Branches
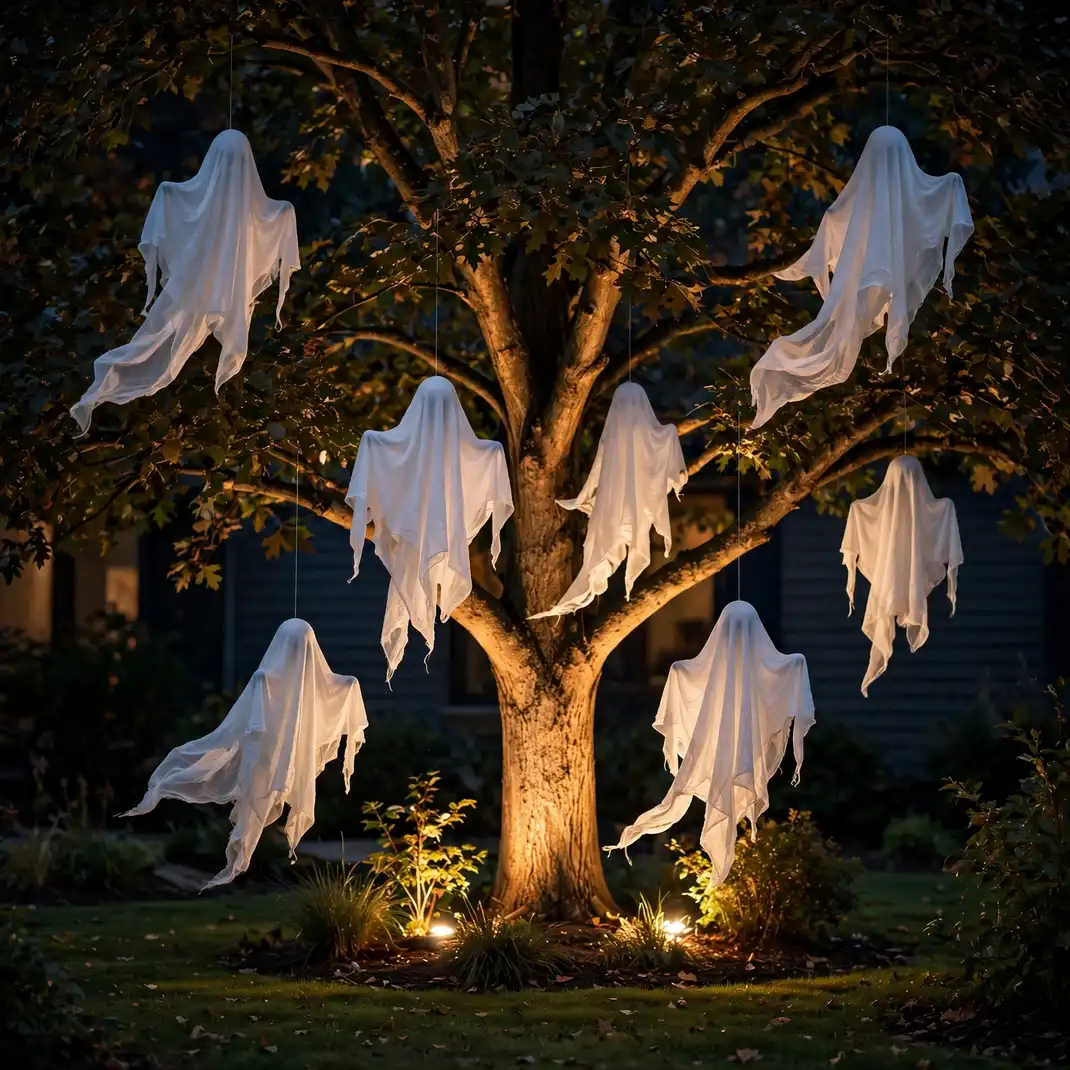
White sheet ghosts hanging from tree branches at different heights drift and turn in the October breeze like a slow haunted mobile. Use lightweight fabric over a balloon or foam ball head, tie them with fishing line, and let the wind do the animating. By day they are charming; by night, lit from below, they are genuinely eerie.
How to Style It: Hang five to seven ghosts from one large tree, varying the line lengths by two feet or more, and aim one uplight into the canopy.
Why It Photographs Beautifully: The floating white shapes against dark branches create a layered composition that looks different from every angle.
Pro Tip: Use white outdoor fabric, not bedsheets; bedsheets absorb rain and sag into sad lumps within days.
Budget-Smart Swap: Cheesecloth ghosts are even lighter, drift more dramatically, and cost pennies per ghost.
11. Build a Cornstalk Teepee for Little Monsters
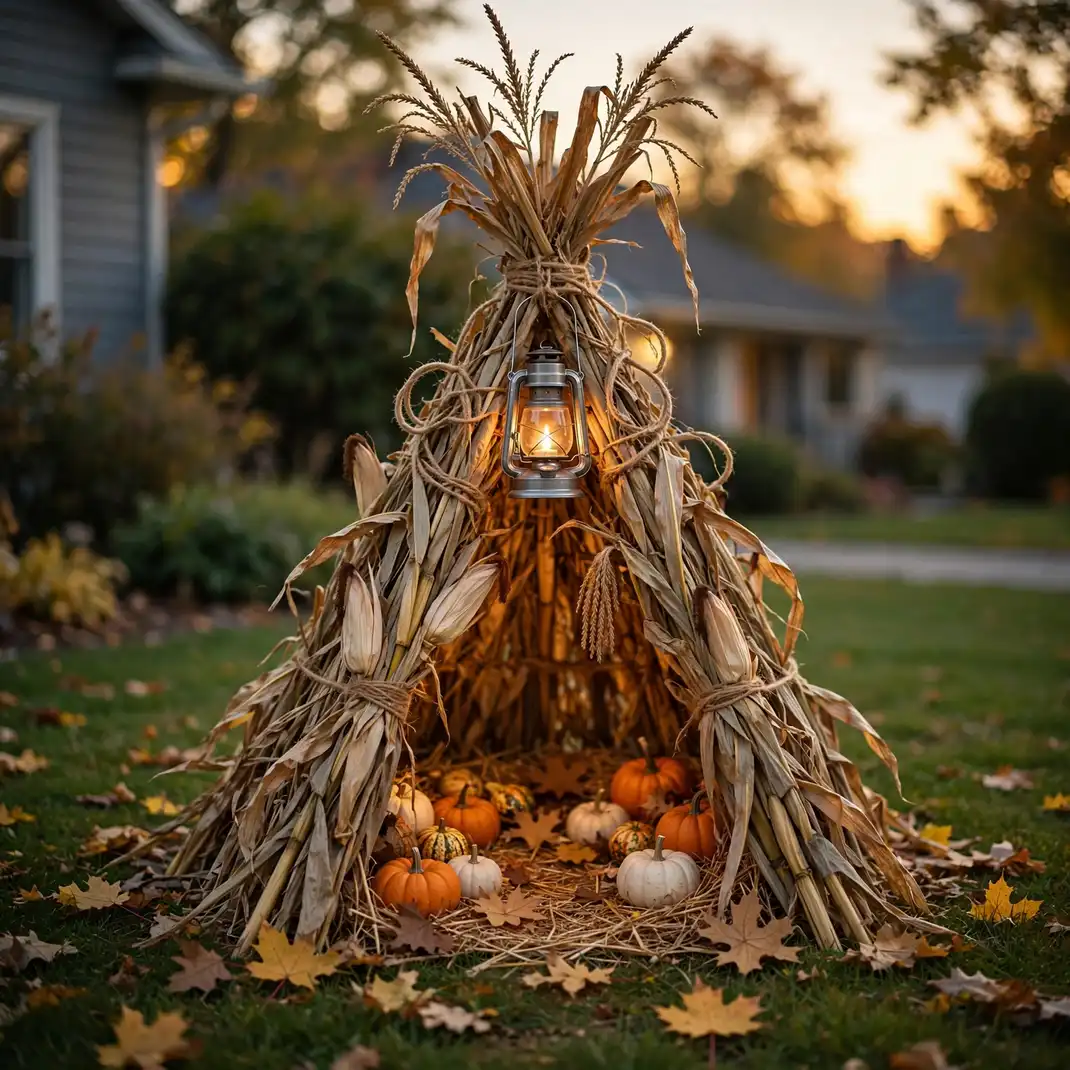
A teepee lashed together from dried cornstalks gives kids their own haunted hideout on the lawn, and it doubles as the yard’s most photogenic corner. Lean six to eight stalks into a cone, leave a doorway gap, and scatter straw and mini pumpkins inside. It smells like autumn, rustles in the wind, and every child who visits will crawl straight in.
How to Style It: Lash the stalk tops with jute twine, splay the bases wide for stability, and hang a small lantern from the teepee’s peak.
Why It Photographs Beautifully: The cone shape frames children perfectly, and the golden stalks glow warmly in late afternoon light.
Pro Tip: Anchor the base ring with tent stakes; a gusty October night can roll an unsecured teepee across the yard.
Budget-Smart Swap: Ask a local farm for stalks after harvest; most farmers give them away free in October.
12. Hide Glowing Eyes in the Bushes
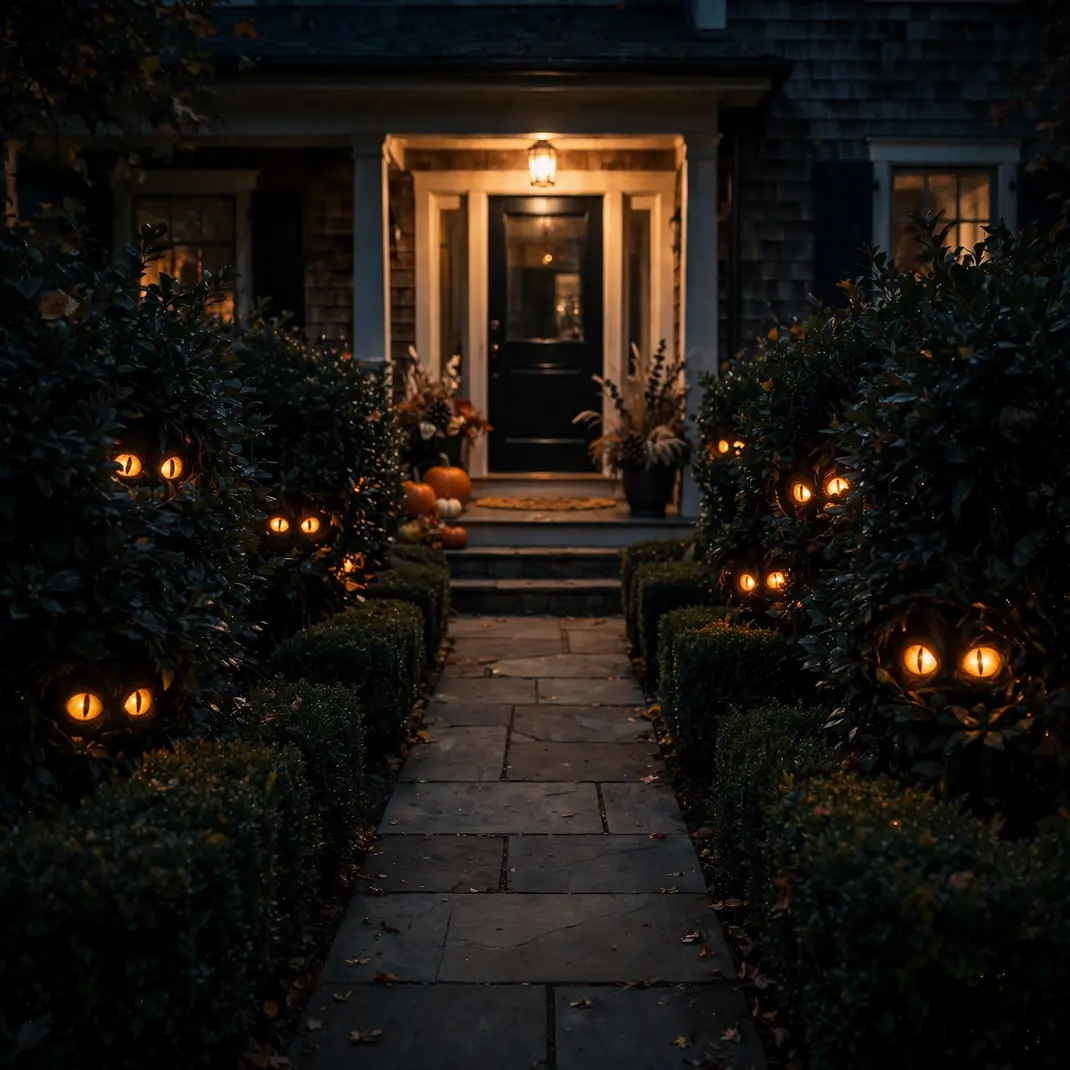
Pairs of glowing eyes tucked deep into the front bushes are the cheapest scare on this list and one of the most effective. Cut eye shapes from a cardboard tube, set a red or amber LED tea light inside, and nestle them where the light peeks through the leaves. Visitors notice them one pair at a time, and each discovery gets a yelp.
How to Style It: Hide three to five eye pairs at different heights along the walkway bushes, angling each pair slightly toward the path.
Why It Photographs Beautifully: The glowing eyes floating in dark foliage make for irresistibly creepy close-up shots.
Pro Tip: Vary the eye spacing; identical pairs look manufactured, while irregular ones feel like different creatures.
Budget-Smart Swap: Two pairs are enough for the effect; the scare comes from surprise, not quantity.
13. Pose a Skeleton Doing Yard Work

A plastic skeleton posed mid-task, raking leaves, pushing a wheelbarrow, or grilling at the barbecue, gets bigger laughs than any scary prop. The humor comes from the deadpan normalcy: the most ordinary chore performed by the least ordinary worker. Change the pose weekly through October and neighbors will start checking for updates.
How to Style It: Wire the skeleton’s joints into a natural working pose, dress it in an old flannel shirt, and surround it with the real tools of the fake job.
Why It Photographs Beautifully: The absurd contrast between skeleton and chore makes every photo instantly funny and shareable.
Pro Tip: Pose the skeleton facing the street; a skeleton with its back to the road loses half the comedy.
Budget-Smart Swap: Just the skull and ribcage rising from a leaf pile still lands the joke for the price of a bag of leaves.
14. Project Ghosts onto the Garage Door
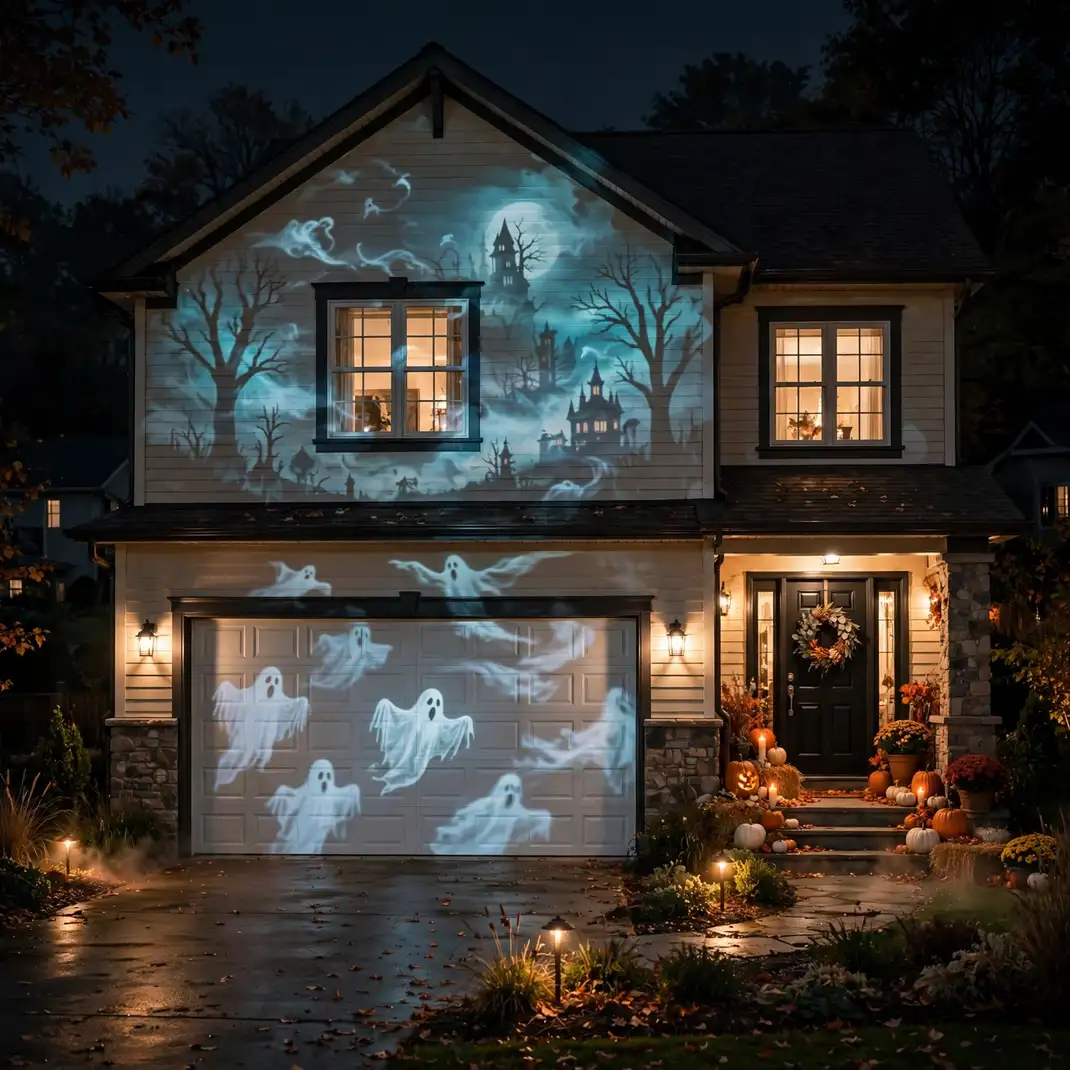
A weatherproof projector aimed at the garage door turns the biggest blank surface on your house into a haunted movie screen. Loop drifting ghosts, a flickering haunted house, or a moonlit graveyard scene, and the whole facade comes alive after dark. It is the highest-impact trick here for houses with no trees and small lawns.
How to Style It: Mount the projector under the porch overhang about fifteen feet from the door, focus at dusk, and loop a slow scene rather than a frantic one.
Why It Photographs Beautifully: The moving projection gives night photos and videos a living, cinematic quality no static prop can match.
Pro Tip: A white or light-colored door reflects far better; on dark doors, hang a white sheet as a projection screen.
Budget-Smart Swap: Project onto a side window with a sheer curtain instead; the fabric diffuses the image into something dreamlike.
15. Stack Pumpkin Topiaries by the Front Door
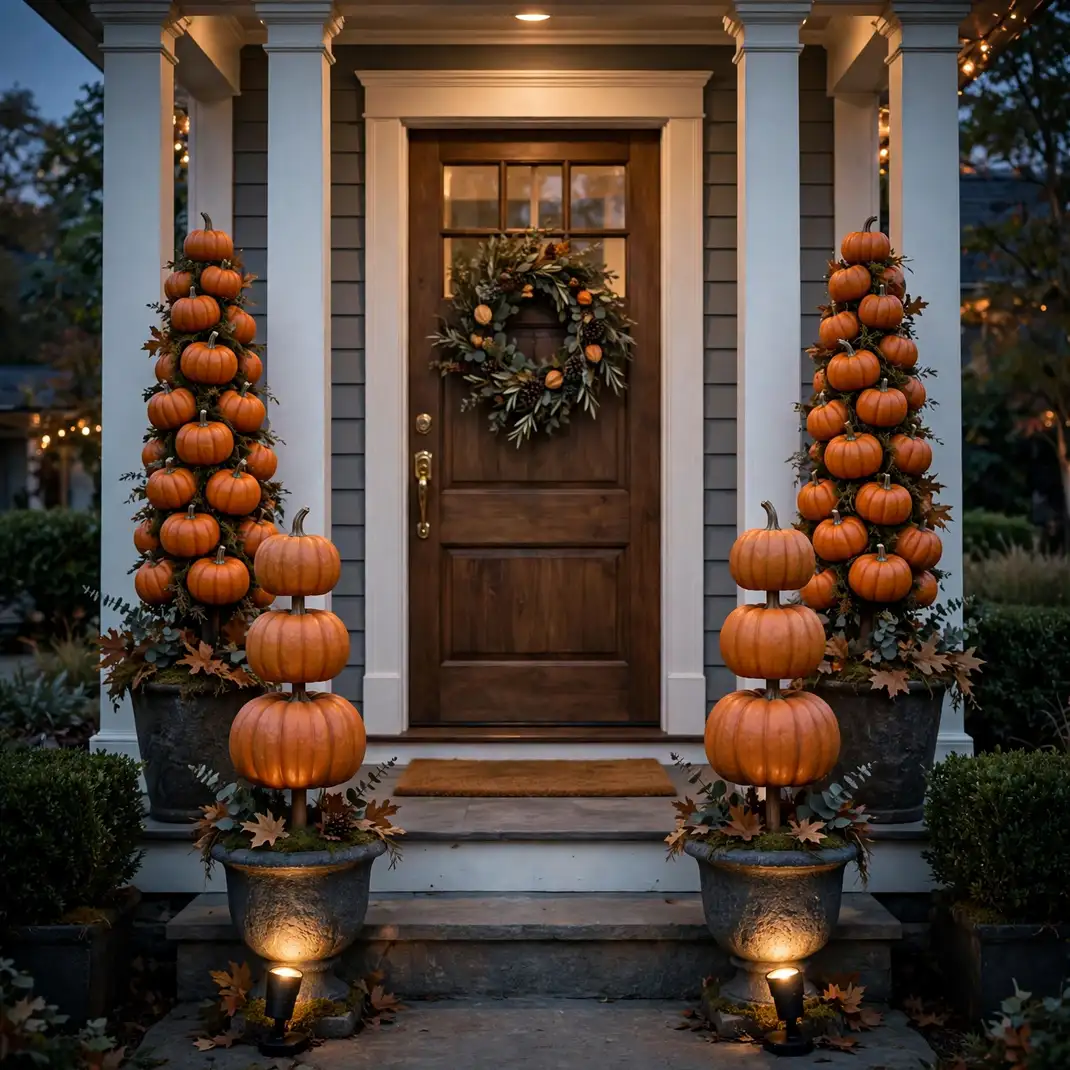
Pumpkin topiaries, three graduated pumpkins stacked and pinned on a hidden dowel, flank the front door like glowing sentries. Use faux pumpkins in cream, orange, and deep green for a stack that lasts all month, and tuck a spotlight at each base so they glow from below at night. It is the most polished, entry-worthy look on this list.
How to Style It: Thread the pumpkins onto a metal dowel set in a weighted urn, largest at the bottom, and crown the top with a small gourd or dried flower bunch.
Why It Photographs Beautifully: The vertical stacks frame the doorway symmetrically, giving entry photos a grand, intentional composition.
Pro Tip: Drill the dowel hole slightly off-center through each pumpkin so the stack leans just a touch, perfectly straight looks artificial.
Budget-Smart Swap: One topiary on the latch side of the door still gives the grand-entrance read.
16. Post Solar Lanterns Along the Driveway
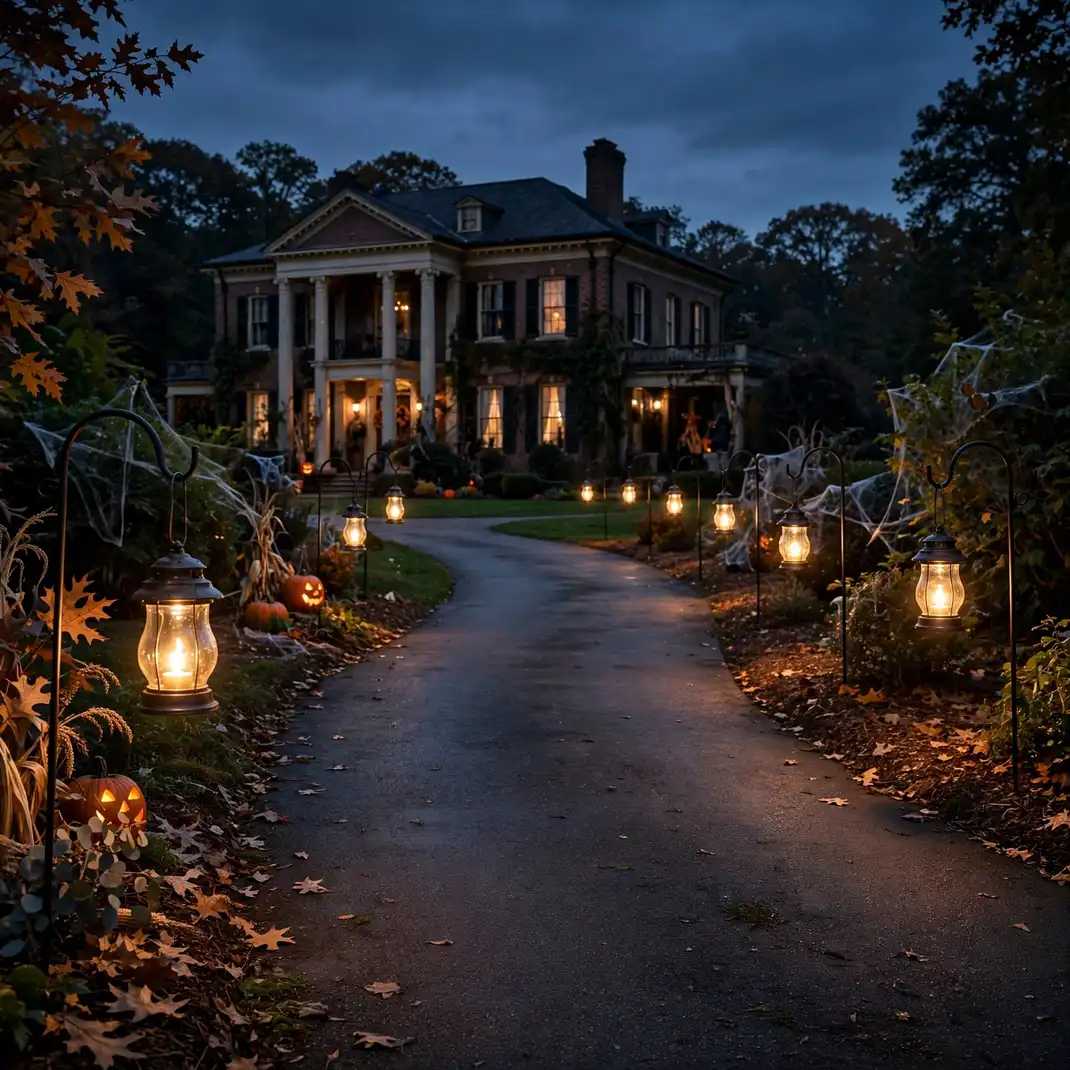
Shepherd’s hooks hung with solar lanterns turn a plain driveway into a stately haunted approach. The lanterns charge all day and flick on by themselves at dusk, swaying gently in the evening breeze. Unlike wired lights, they go anywhere, so you can curve them along the driveway’s natural line and even extend them to the mailbox.
How to Style It: Space the hooks eight to ten feet apart on alternating sides, hang the lanterns at matching heights, and let the curve of the drive set the rhythm.
Why It Photographs Beautifully: The receding curve of glowing lanterns gives dusk photos a romantic, almost cinematic depth.
Pro Tip: Choose lanterns with a flicker mode; steady solar lights read as security lighting, flicker reads as haunting.
Budget-Smart Swap: Four hooks framing just the driveway entrance still create the grand-approach feeling.
17. Park the Broom with a Witch Parking Sign
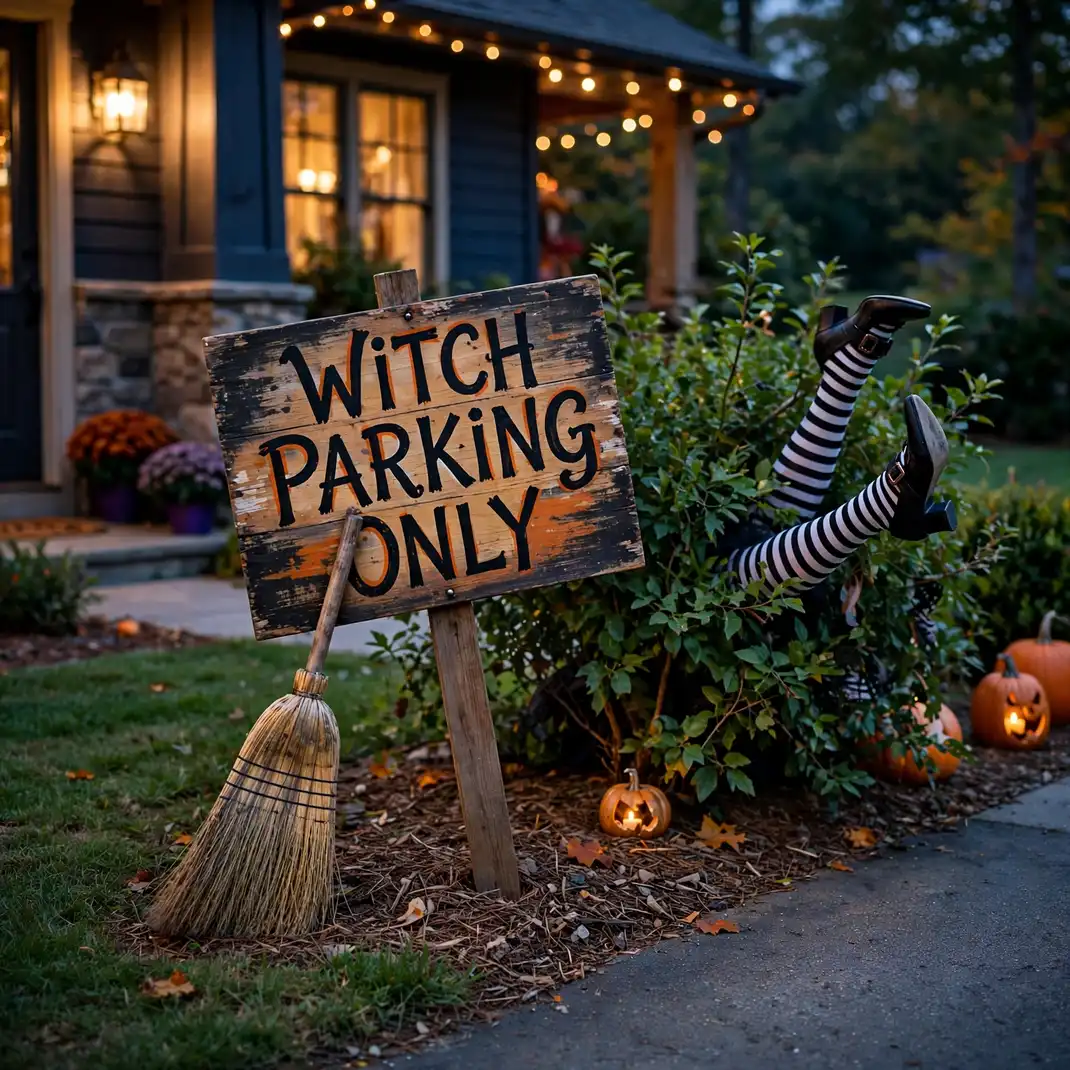
A hand-painted “Witch Parking Only” sign staked by the driveway, with a broom leaning against it and a pair of striped witch legs sticking out of a nearby bush, is pure neighborhood charm. It is the yard equivalent of a wink, funny rather than frightening, and kids will pose beside it for photos all month. Every haunted yard needs at least one joke, and this is the best one.
How to Style It: Paint the sign on a reclaimed wood plank in white lettering, stake it at a slight tilt, and crash the broom and legs beside it like a hasty landing.
Why It Photographs Beautifully: The scene tells a complete funny story in one frame, making it the most photographed corner of the yard.
Pro Tip: Add a spotlight on the sign so the joke reads after dark, when most visitors actually see it.
Budget-Smart Swap: The sign alone, leaning by the front step with a broom, still gets the laugh.
18. Bubble a Cauldron with Fog on the Porch
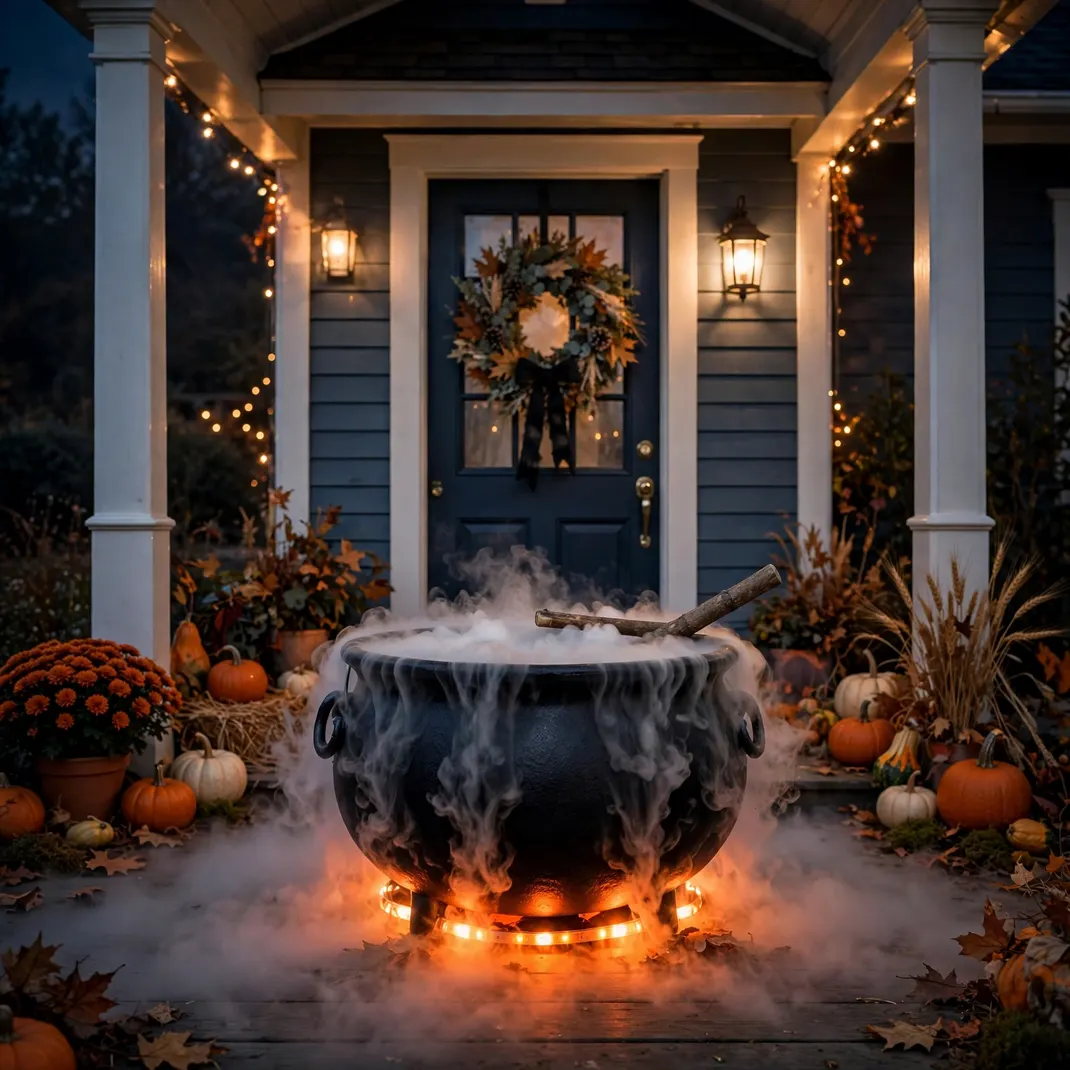
A black cauldron on the porch, filled with a small fog machine and ringed with LED “fire” lights, looks like a witch’s brew bubbling away by the front door. The fog spills over the cauldron’s rim and crawls across the porch floor, while the flickering lights underneath suggest real flames. It greets every visitor with theater before they even knock.
How to Style It: Hide the fog machine inside the cauldron, ring the base with orange LED spotlights, and add a wooden stirring stick leaning on the rim.
Why It Photographs Beautifully: The spilling fog and under-glow create a dramatic, almost stage-like vignette right at the entrance.
Pro Tip: Point a small fan at low speed across the cauldron mouth so the fog pours in one dramatic direction.
Budget-Smart Swap: Dry ice and hot water in the cauldron give twenty minutes of perfect brew-bubbling for party arrivals.
19. Canopy the Patio with String Lights
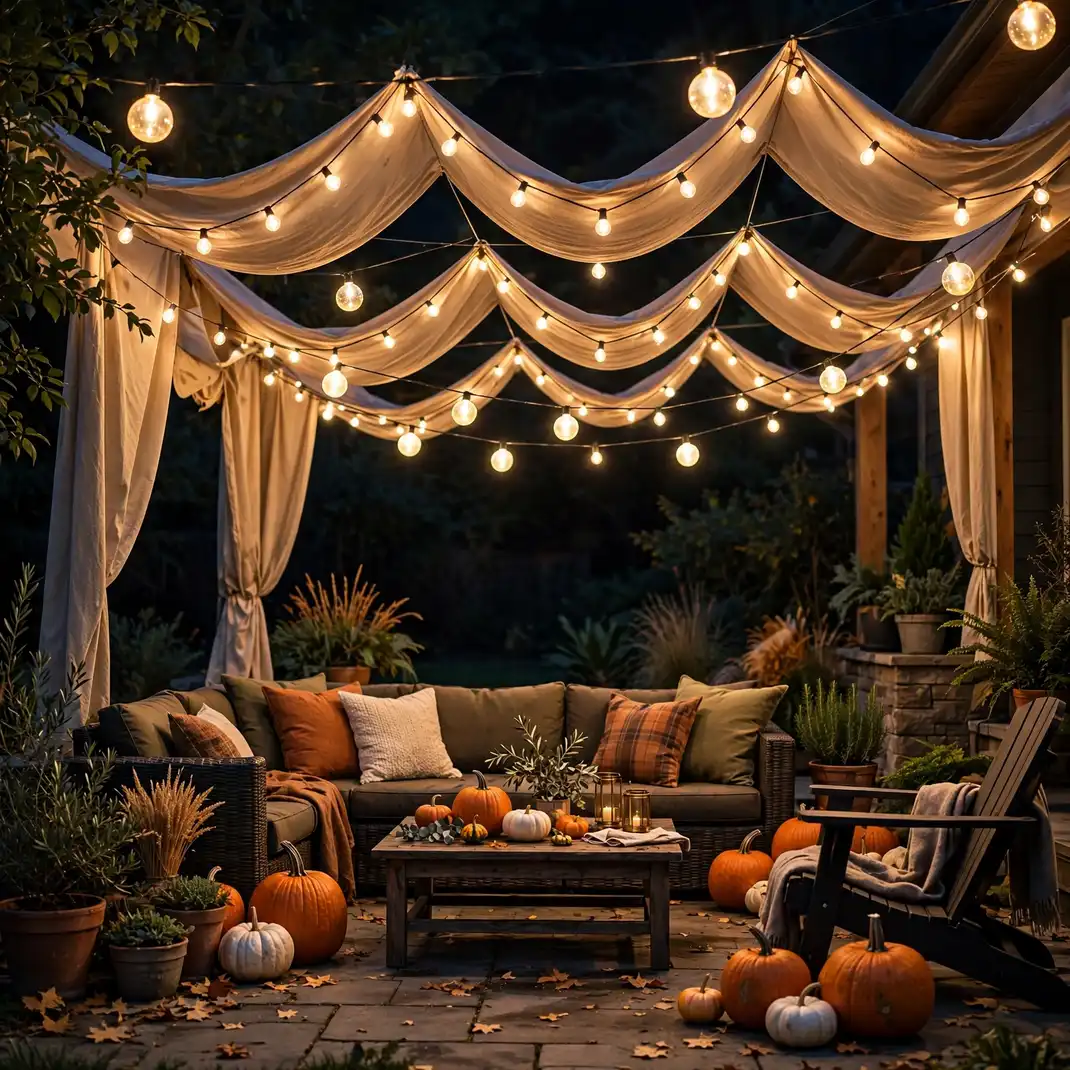
A canopy of warm string lights zigzagged over the patio turns October evenings outdoors into the coziest room of the house. Run the strands from the house eave to the fence or between posts in a loose crisscross, and the patio glows like a festival tent. It extends every party past sunset and makes the yard feel like a destination rather than a backdrop.
How to Style It: Hang the strands in a zigzag with a slight sag between anchor points, mixing one strand of larger globe bulbs among the minis for depth.
Why It Photographs Beautifully: The overhead web of lights gives every patio photo a magical ceiling that flatters faces below.
Pro Tip: Use outdoor-rated strands with shatterproof bulbs; October storms are no time to discover your lights are indoor-only.
Budget-Smart Swap: Two strands crossed in an X over the main seating area still create the canopy feeling.
20. Plant a Scarecrow Family in the Garden Beds
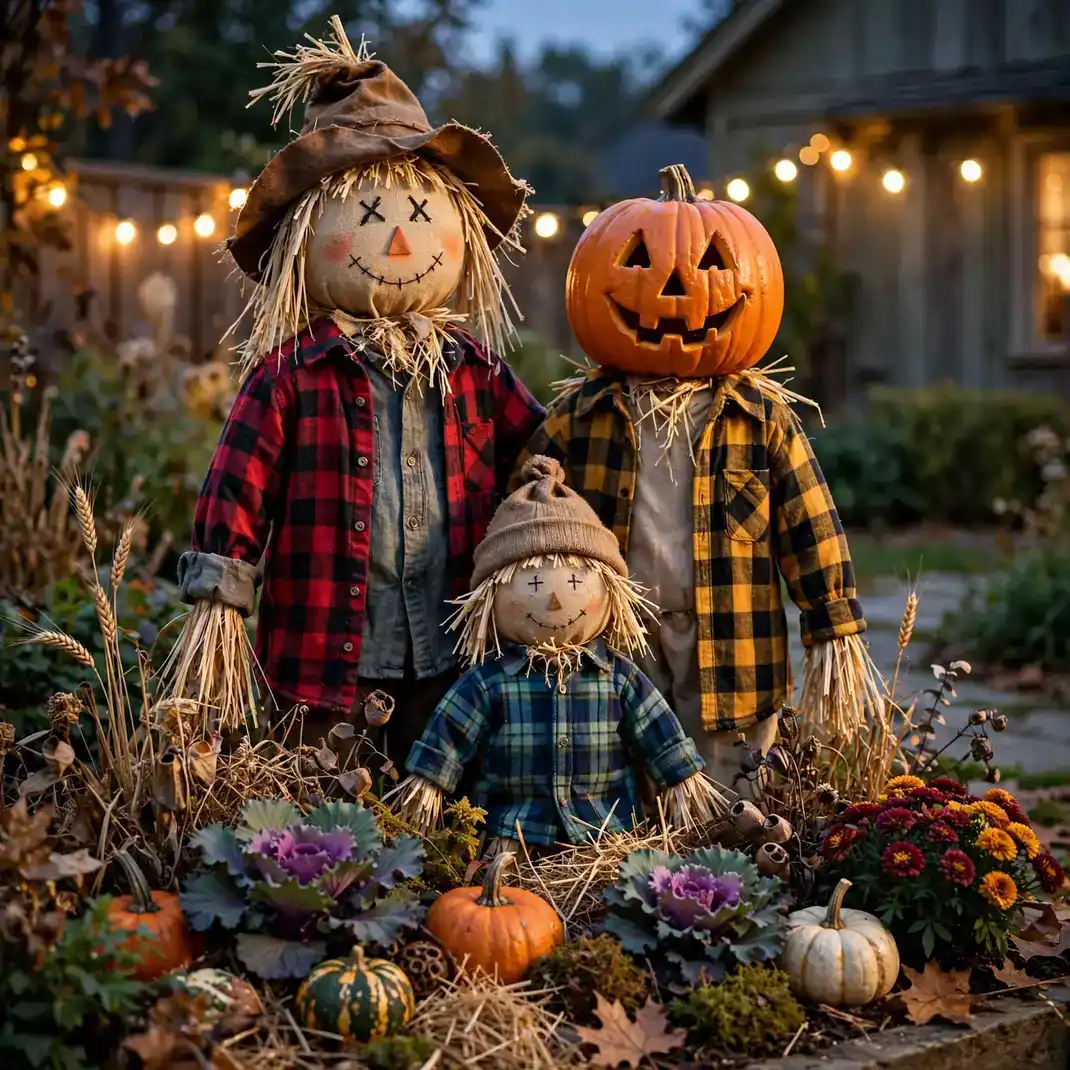
A scarecrow family, two tall and one small, planted among the garden beds with flannel shirts and straw-stuffed sleeves, brings old-fashioned harvest charm to the yard. Give each one a personality: a tilted hat, a pumpkin head, a rake in hand. They look after the garden by day and stand guard by night, and children adore them without a hint of fear.
How to Style It: Build each scarecrow on a wooden cross stake, stuff old clothes with straw, and vary the heights so they read as a family group.
Why It Photographs Beautifully: The trio’s folksy textures, straw, flannel, burlap, photograph with a nostalgic warmth that feels like a storybook.
Pro Tip: Face the family slightly toward the street; scarecrows staring at the house look like they are plotting.
Budget-Smart Swap: One scarecrow with a pumpkin head by the garden gate still delivers the harvest charm.
21. Cut Moon and Star Silhouettes for the Fence
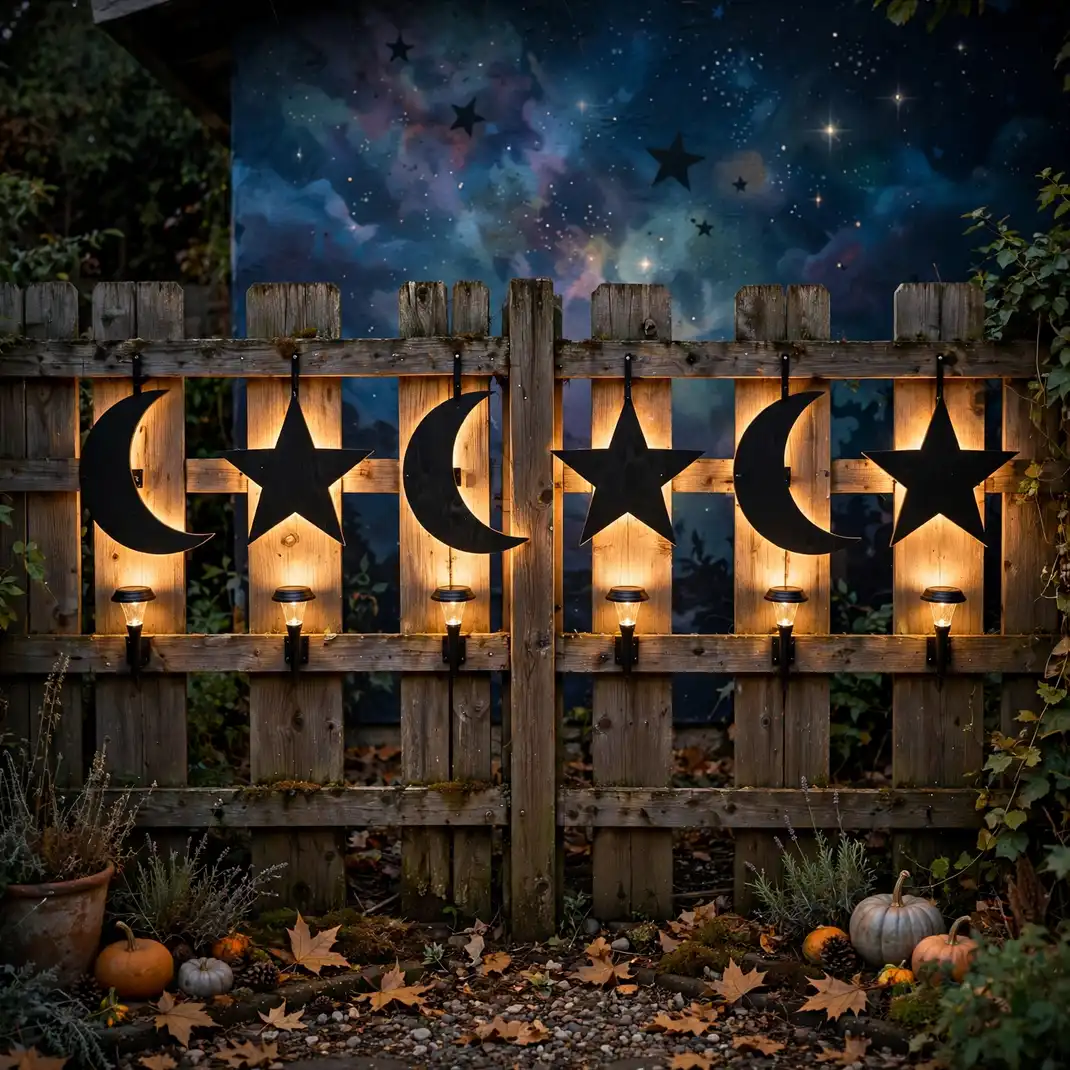
A wooden fence becomes a night-sky mural when you mount plywood moon and star silhouettes along its length, each backlit by a small solar spotlight. The crescent moon anchors the composition, with stars scattered down the fence line like a constellation. It is subtle, beautiful, and the one decoration here that neighbors will ask about year-round.
How to Style It: Cut one large crescent and a dozen stars from exterior plywood, paint them matte black, and mount each on a small standoff so the spotlight glows behind it.
Why It Photographs Beautifully: The backlit silhouettes against the fence create a graphic night-sky panorama that looks designed, not decorated.
Pro Tip: Space the stars irregularly, following a real constellation like the Big Dipper for an extra talking point.
Budget-Smart Swap: A single crescent moon over the gate, backlit by the porch light, still transforms the entrance.
22. Haunt the Mailbox with a Skeleton Hand
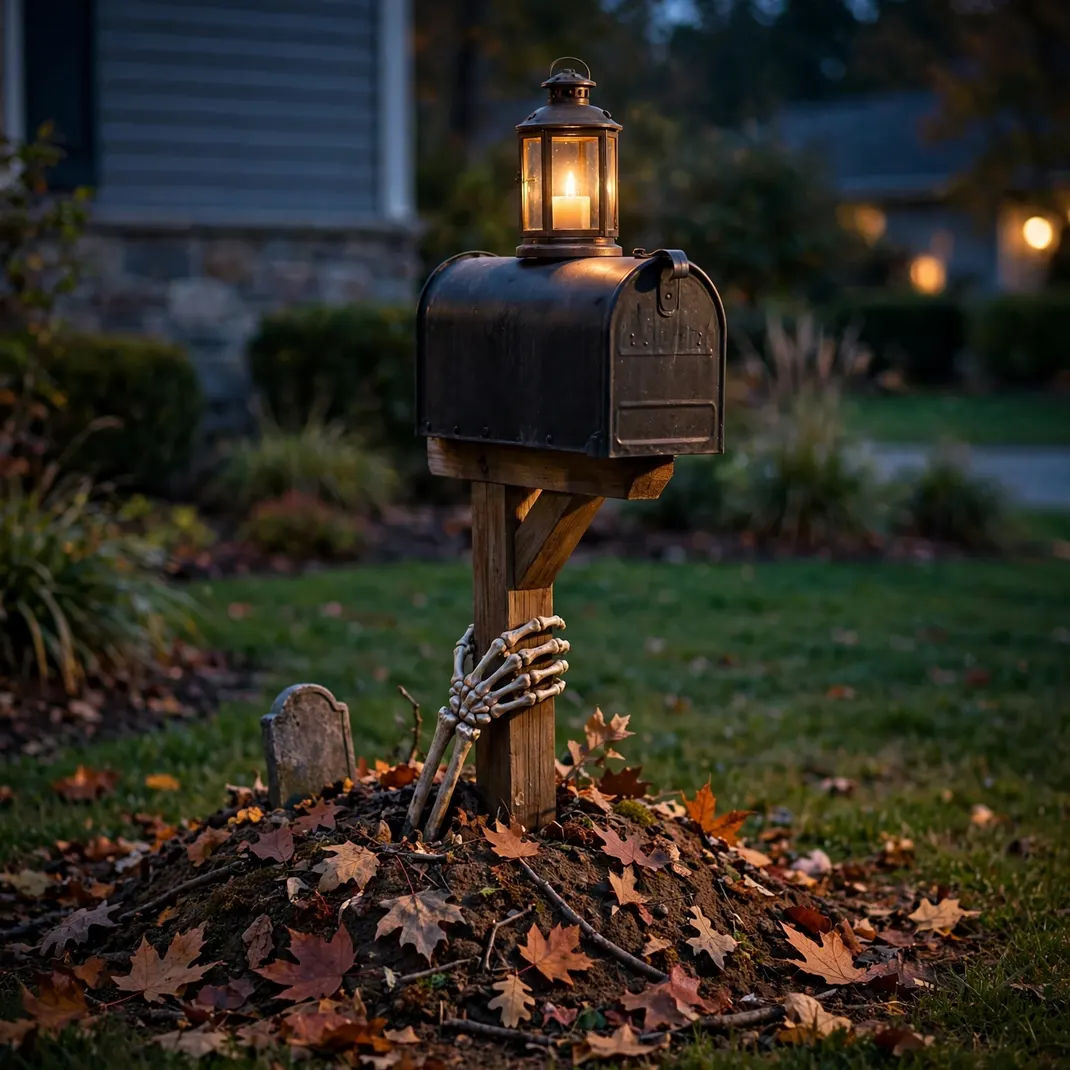
The mailbox is the first thing visitors touch, so give it a haunt: a skeleton hand rising from a mound of dirt and leaves at its base, reaching for the post. Add a tiny tombstone that reads “Rest in Parcels” and a flickering lantern on top of the box. It is a small, perfect joke that sets the tone before anyone reaches the door.
How to Style It: Mound soil and leaves around the mailbox post, wire the skeleton arm so the hand grips the post, and perch a small lantern on the mailbox roof.
Why It Photographs Beautifully: The close-up of the bony hand on the post is a perfect macro shot, creepy and funny at once.
Pro Tip: Keep the mail slot clear and the flag movable; the mail carrier’s goodwill matters more than the gag.
Budget-Smart Swap: Just the tiny tombstone and a cobweb draped over the box still make the mail run spooky.
Make Your Yard the Street’s Haunted Landmark
A great haunted yard is not about owning the most decorations; it is about light, layers, and one good joke. Start with the walkway lanterns and the window candles, add whichever big moment fits your space, the foggy graveyard, the spiderweb, the projected ghosts, and finish with the mailbox gag. Do that, and your house becomes the one kids remember, and the one they drag their parents past twice.