
22 Home Theater Halloween Nights Under Cinematic Shadows
A basement or spare room with a big screen already has most of what a cinema needs. Heavy curtains, warm lights and a few paper props push it toward a full haunted screening room, where the dark does most of the work.
The 22 ideas below give sizes, spacing and safety notes for lights, seating, snacks and sound, with a six step setup order at the end.
Blackout Curtains

Darkness makes a screen look sharper and a room feel like a cinema. Hang blackout curtains that reach from 4 inches above the window frame to the floor, with each panel wide enough to overlap the frame by 6 inches on both sides. Thick polyester lining blocks most daylight for evening showings.
Tie them back during the day for ventilation. Keep one window clear of cords and furniture so it can be opened quickly. A dark navy or plum shade looks richer than plain black on camera and in photos.
Battery Marquee Sign
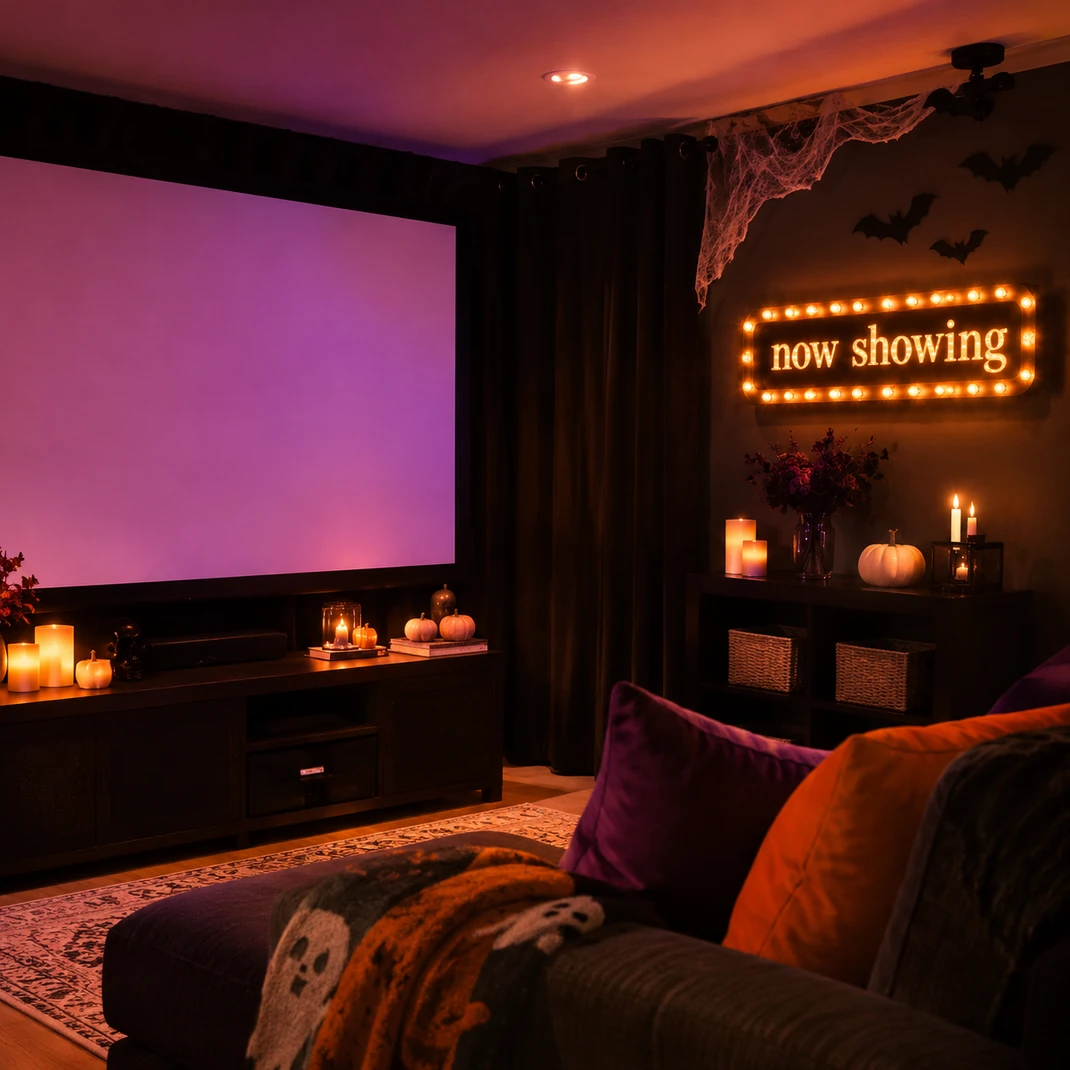
A lit sign above the door tells guests the show is on. Choose a battery or plug in marquee letter set about 12 inches tall, or build one from a foam board with warm white LED string lights. Mount it with removable strips at 5 feet 6 inches from the floor so it sits at eye level.
Write a short phrase such as now showing or tonight only. Use LED bulbs, which stay cool, and keep the cord tucked along the baseboard. Switch the sign off when the room is empty.
Paper Ticket Booth
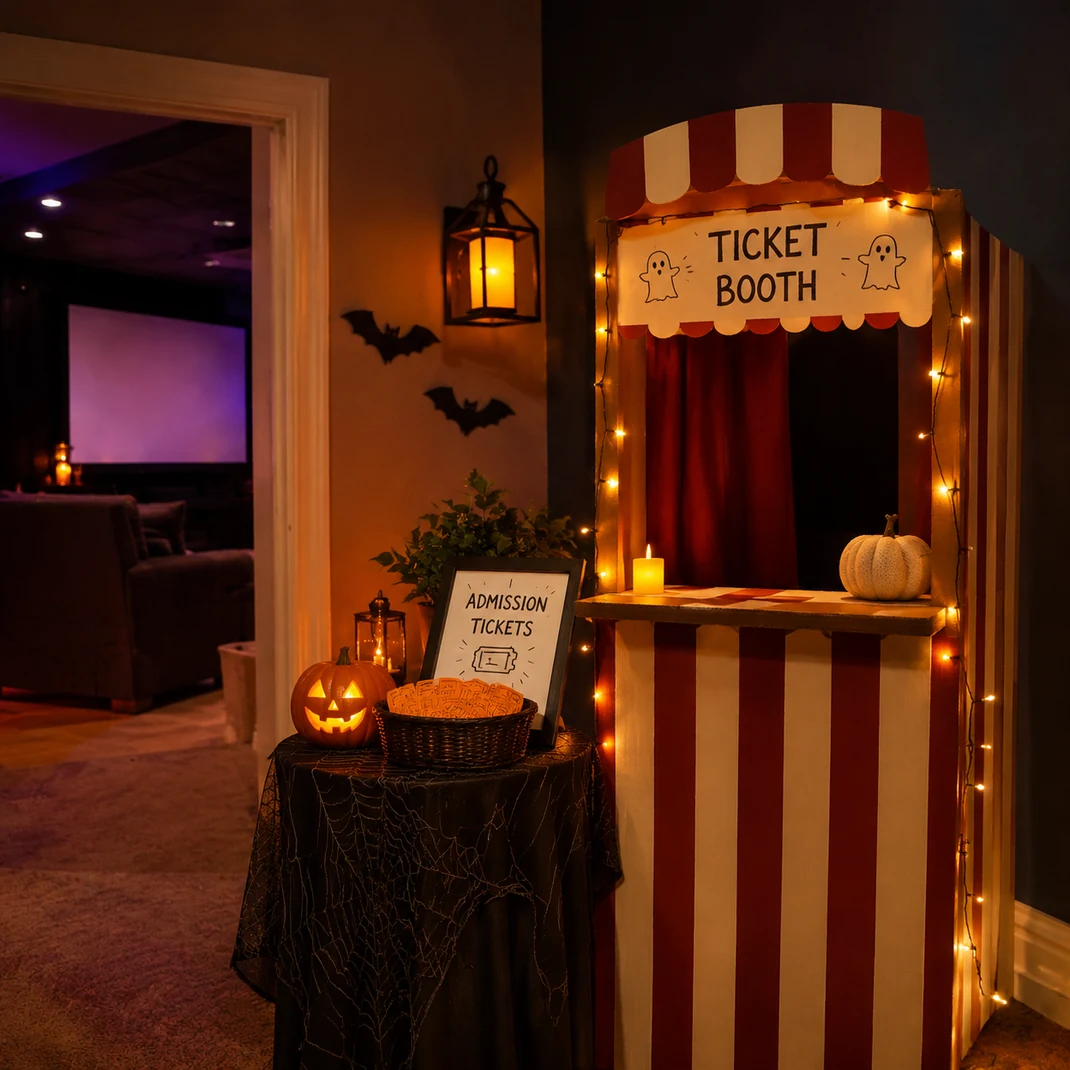
A mock ticket window makes arrival part of the fun. Cut a cardboard box of about 24 by 18 inches into a booth front with a window of 10 by 6 inches, and paint it dark red. Print tickets of 5 by 2 inches with the date, a seat number and a funny title.
Guests tear one at the door. A small table keeps the booth at standing height.
Keep the doorway at least 36 inches wide so nobody is blocked. Make extra tickets for guests who arrive late.
Curtain Reveal Entrance
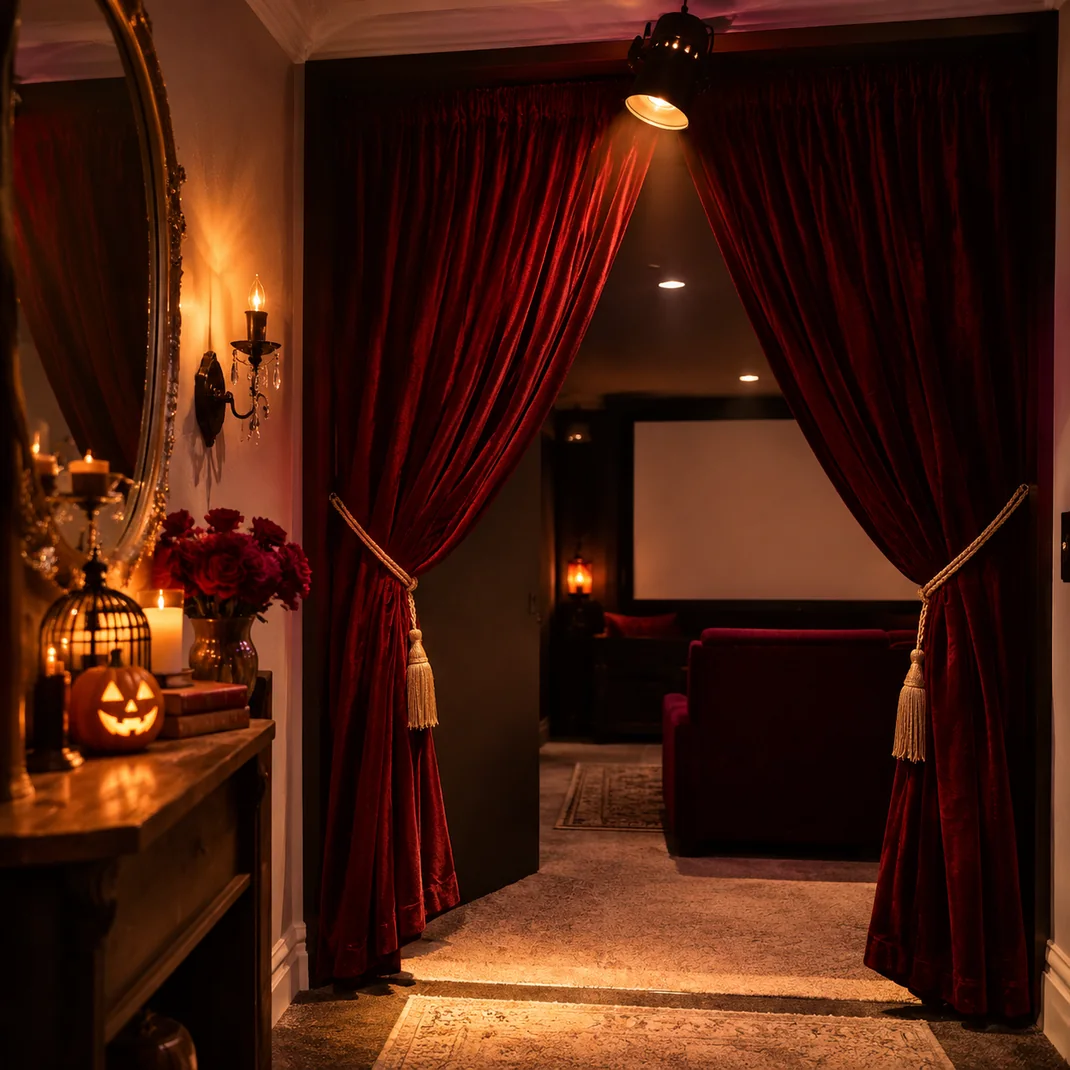
A curtain across the door builds suspense before anyone sees the screen. Hang a panel of dark red fabric from a tension rod inside the doorframe and tie it back with a gold cord. Use a rod rated for the fabric weight, and test it by tugging gently.
Keep the lower edge 2 inches above the floor to avoid tripping. Velvet also soaks up echo.
Shine one small uplight on the folds for a dramatic effect. Move the curtain aside quickly if there is any emergency.
Cobweb Screen Frame
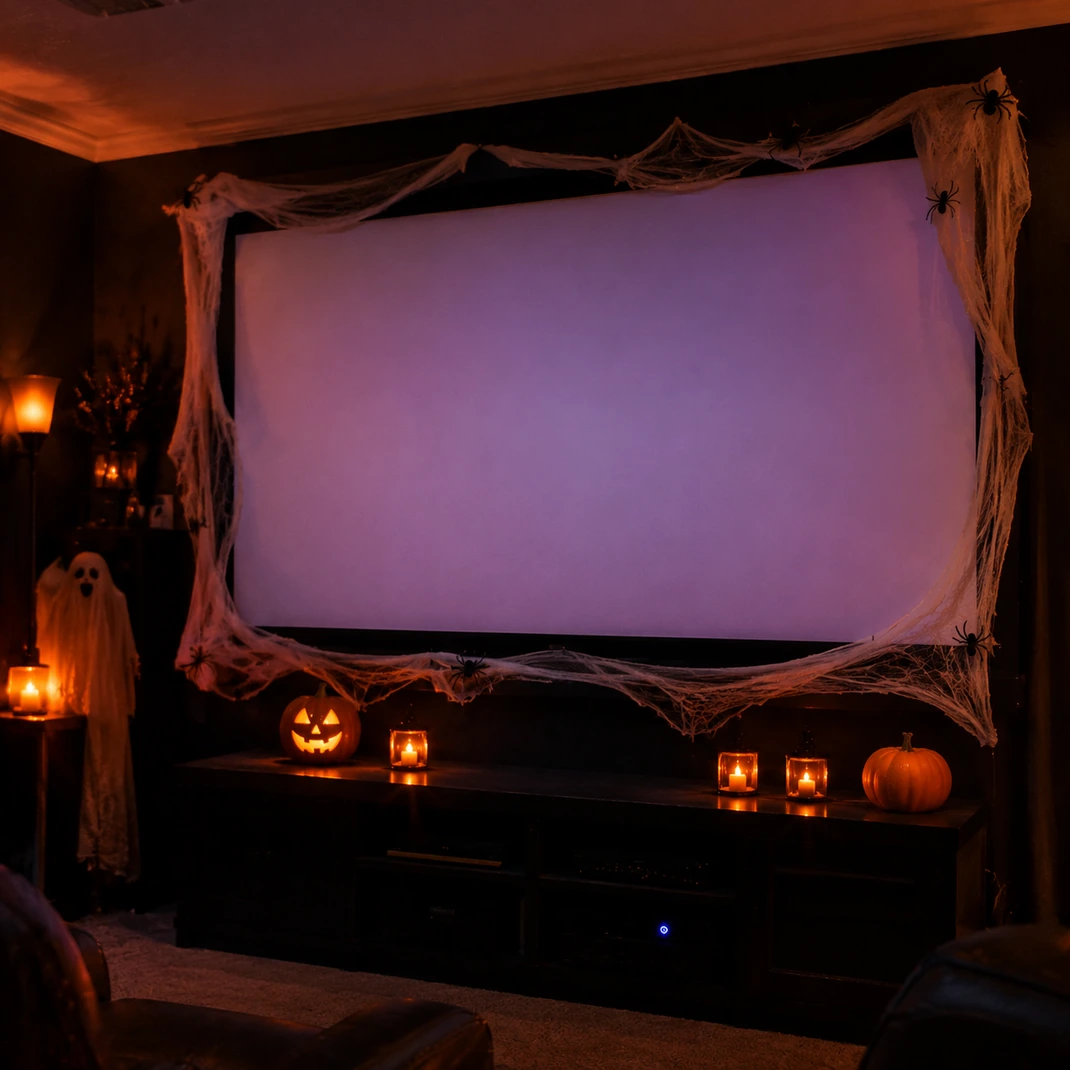
Webbing around the screen turns the picture into a haunted window. Stretch a thin layer of cobweb along the top and sides of the screen frame and tape it to the wall with painter’s tape. Add six small plastic spiders spaced evenly along the edges.
Keep every strand at least 12 inches from the projector, its vents and any lamp, because webbing catches heat. Do not cover the picture area, as threads change the image.
Pull the webs thin for a lacy look. Take them down after the party.
Empty Seat Audience
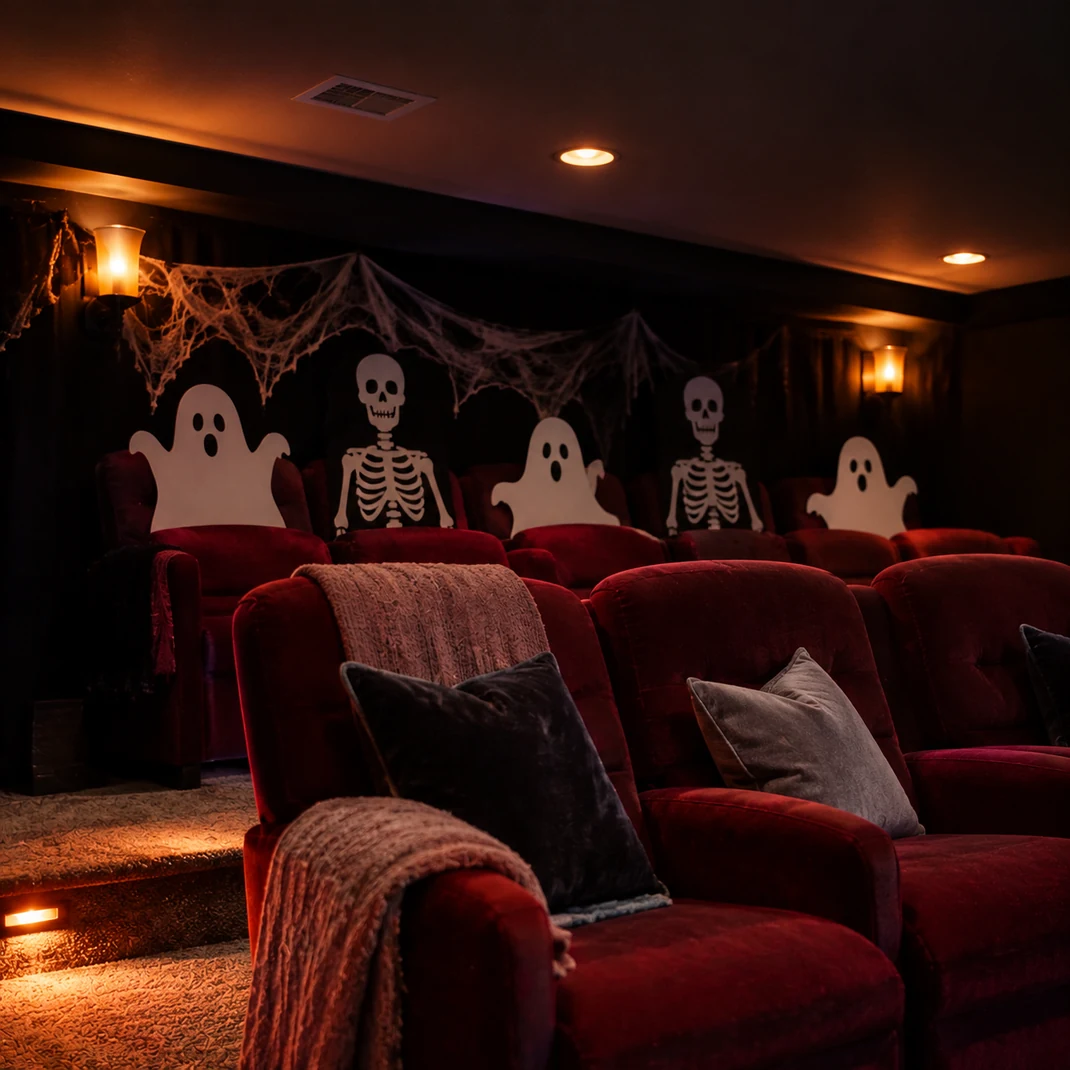
A back row of silent guests makes the room feel crowded and strange. Cut figures of 30 inches from black cardstock, such as hats, hunched shoulders and simple skull heads. Tape them to the back of the last row of seats or prop them on chairs.
Leave the real seats free for people. Add two ghosts made from white fabric over pillows for variety. Silhouettes are flat, so no stuffing is needed.
Store them in a large envelope between seasons. Photograph the row from the front before the lights go down.
Amber Wall Glow
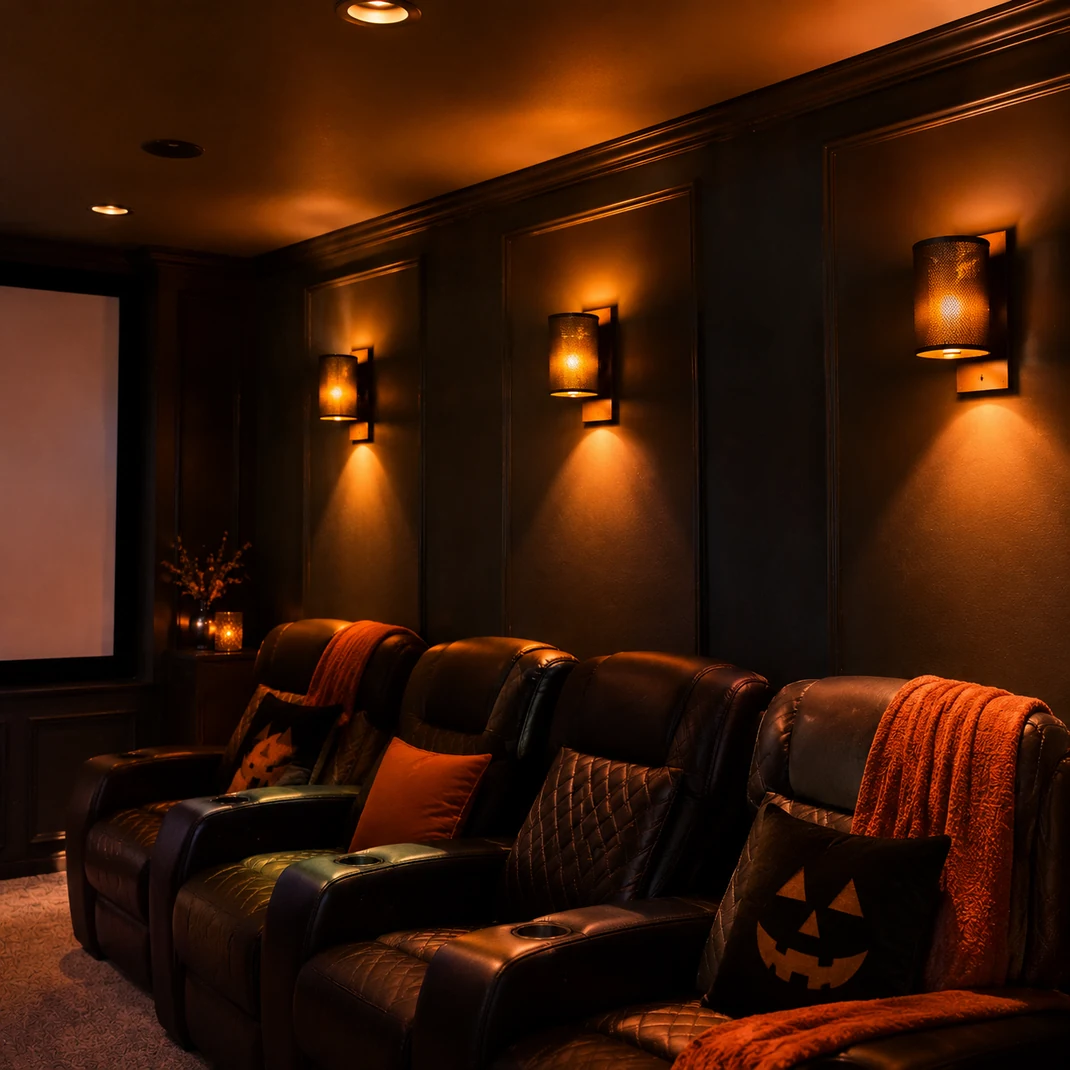
Soft amber light feels like an old cinema. Choose plug in or battery sconces with warm bulbs rated 2200 to 2700 Kelvin and mount a pair on each side wall at about 5 feet 6 inches. Add a dimmer or a remote so the glow can fall as the film starts.
Cover cords with a paintable raceway. Warm light flatters faces better than cool white.
Avoid shades made of paper close to bulbs, since heat can scorch them. Turn the lights off when everyone leaves the room.
Starry Ceiling
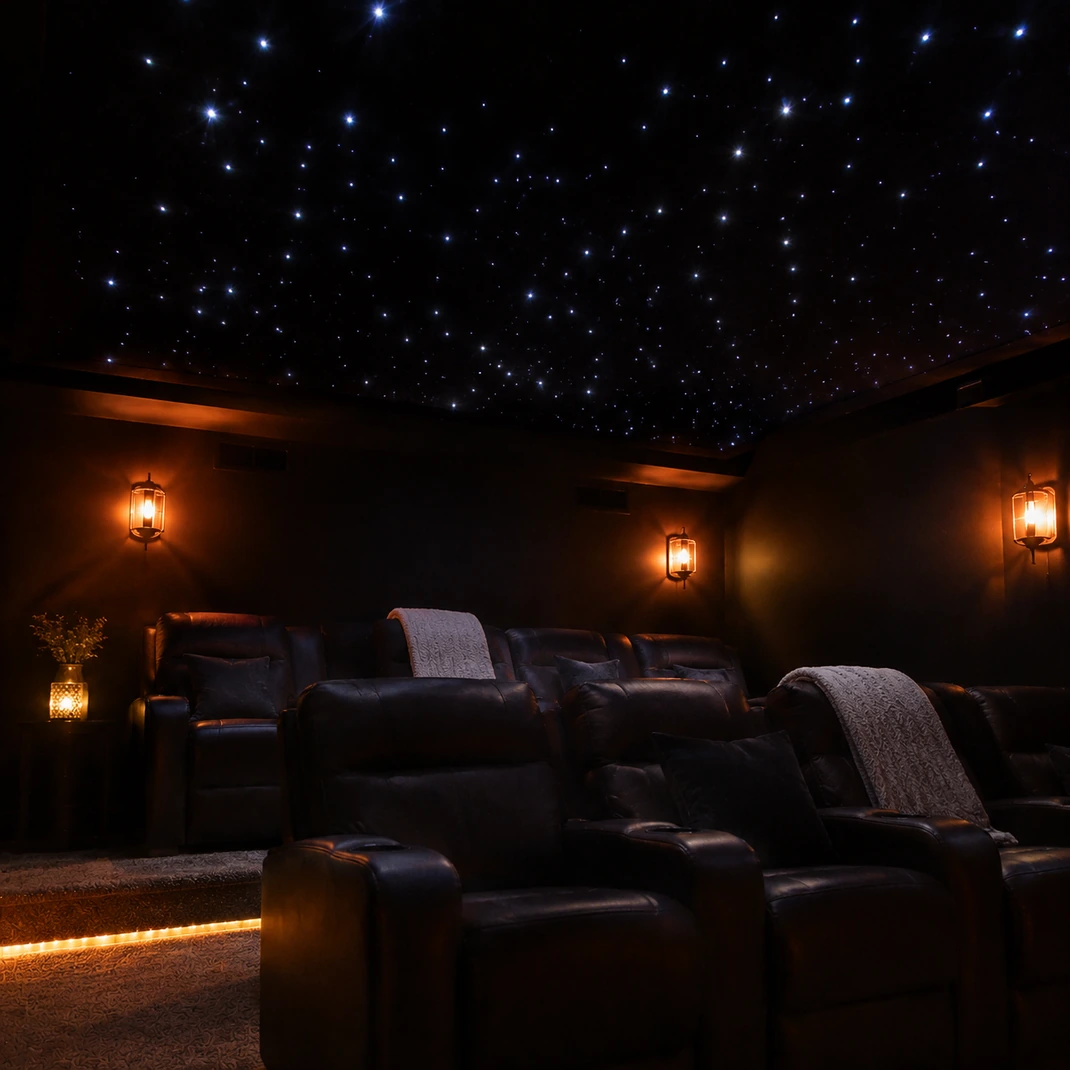
A scatter of tiny lights overhead softens the dark. Staple or hook a string of battery star lights to the ceiling in loose waves, leaving gaps of 8 to 12 inches between rows. Use 100 bulbs on a 10 foot strand to cover about 20 square feet.
Warm white looks natural, while cool white feels icy. Choose a timer that turns the lights off after three hours.
Hang strands only where you can reach them, and avoid putting them near vents. Check that no wire dangles close to the projector beam.
Aisle Step Lights
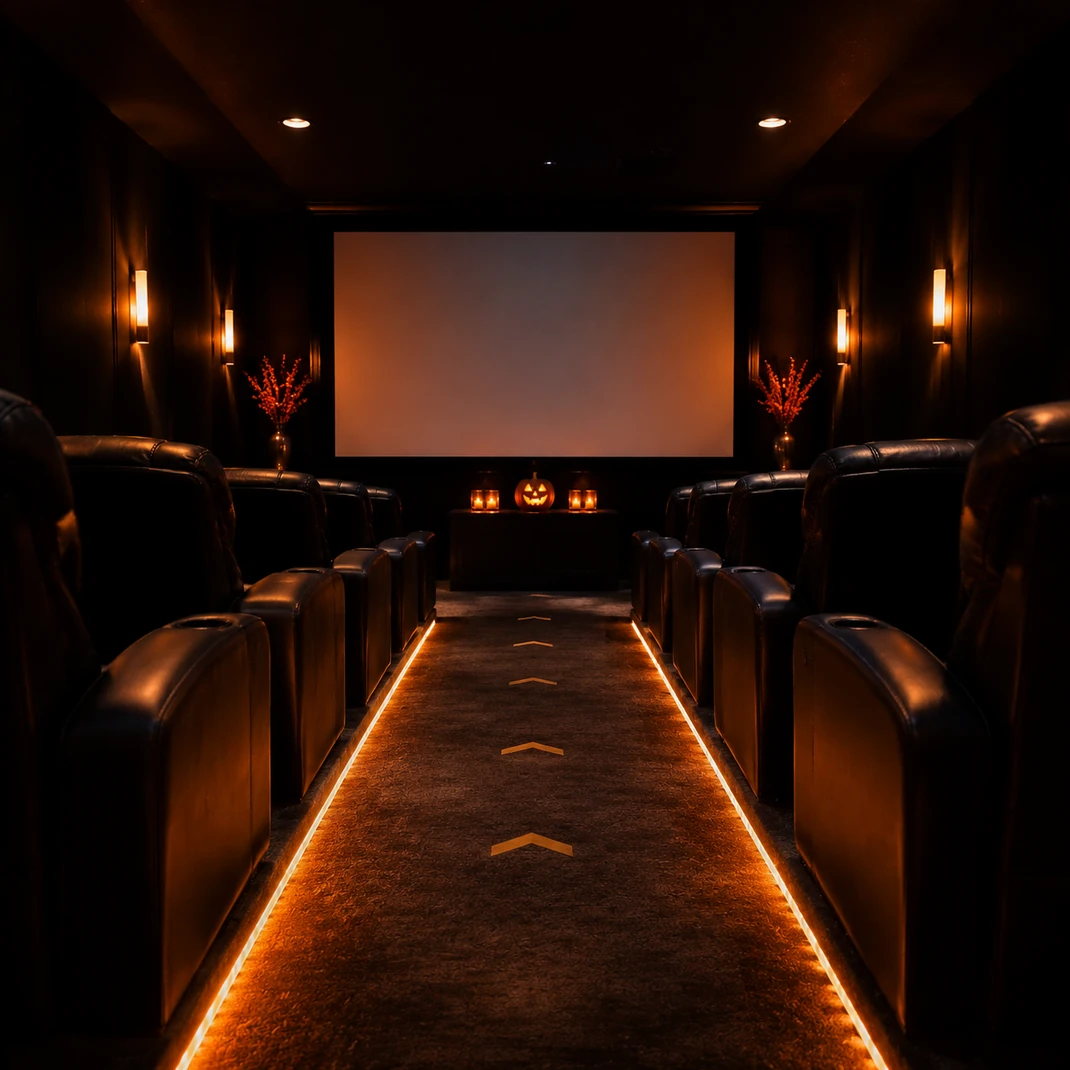
Dim aisles need small lights to keep feet safe. Stick LED strips along the baseboard on each side, or fit small battery puck lights every 3 feet. Warm orange gives a cinema feel without shining at the screen.
Run any cord along the wall and keep it off the walkway. Add a strip of reflective tape on the first step of a staircase.
Guests moving in the dark may trip over bags and shoes, so keep a basket by the door for them. Test the lights before each showing and replace weak batteries.
Hand Drawn Poster Wall

Original posters make a wall of dark fun without copying anything real. Draw or print three images of 18 by 24 inches with invented titles like the long hall or night of the hollow oak. Use heavy paper and a limited palette of black, white and red.
Frame them in thin black frames, spaced 3 inches apart. Check titles are fictional before printing. Hang at eye level using two nails per frame for balance.
Add a small picture light above each one that runs on a battery. Rotate the set each year.
Film Reel Garland
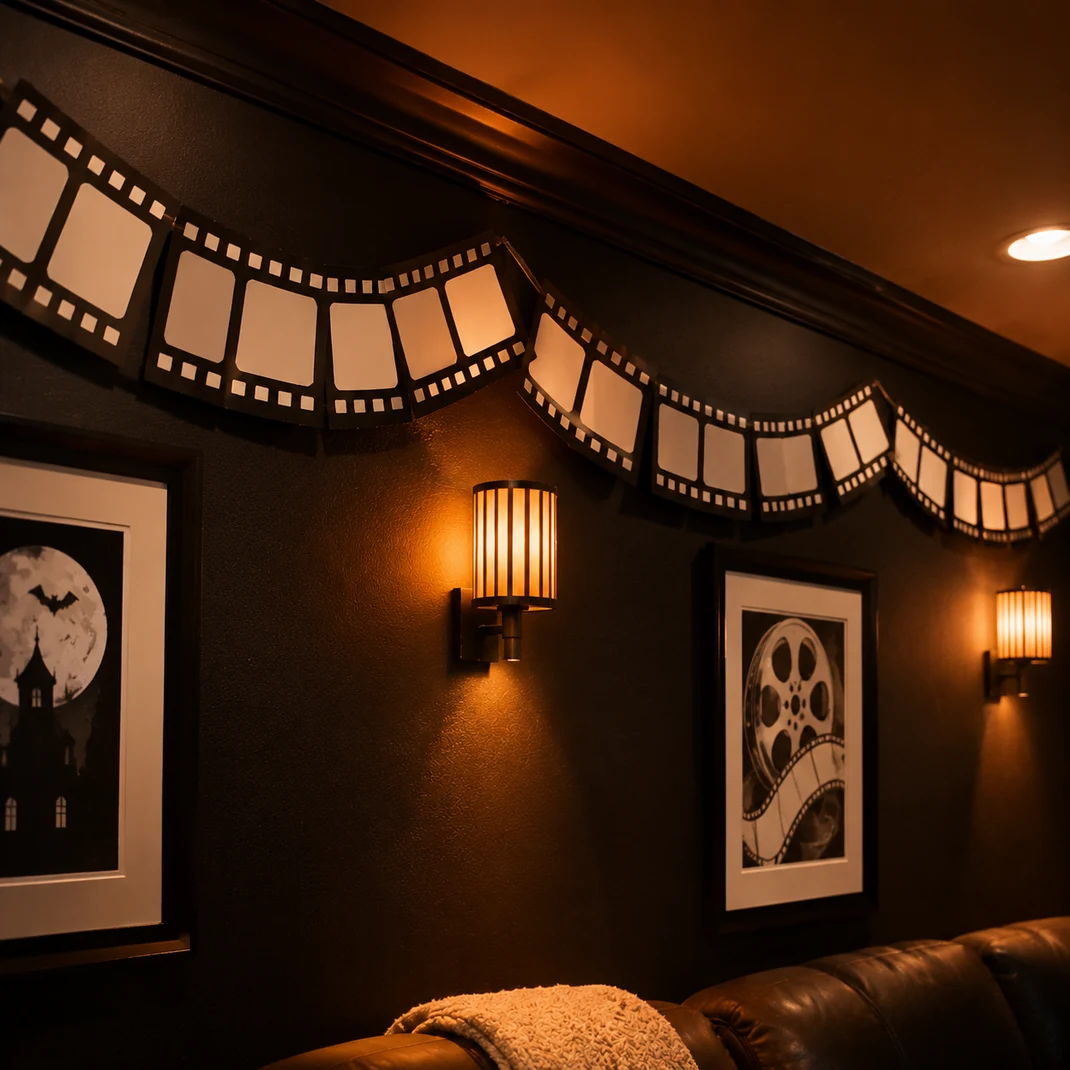
A strip of film frames looks right in a screening room. Cut strips of black cardstock 3 inches wide and 24 inches long, then punch out small squares along both edges with a hole punch or cut them with scissors. Glue three strips end to end on a long length of twine.
Add white paper frames in the middle for photos. A garland of 6 feet fits above the screen.
Hang it with removable hooks and keep the paper away from the projector. Use glue dots for a neat finish.
Window Shadow Silhouettes
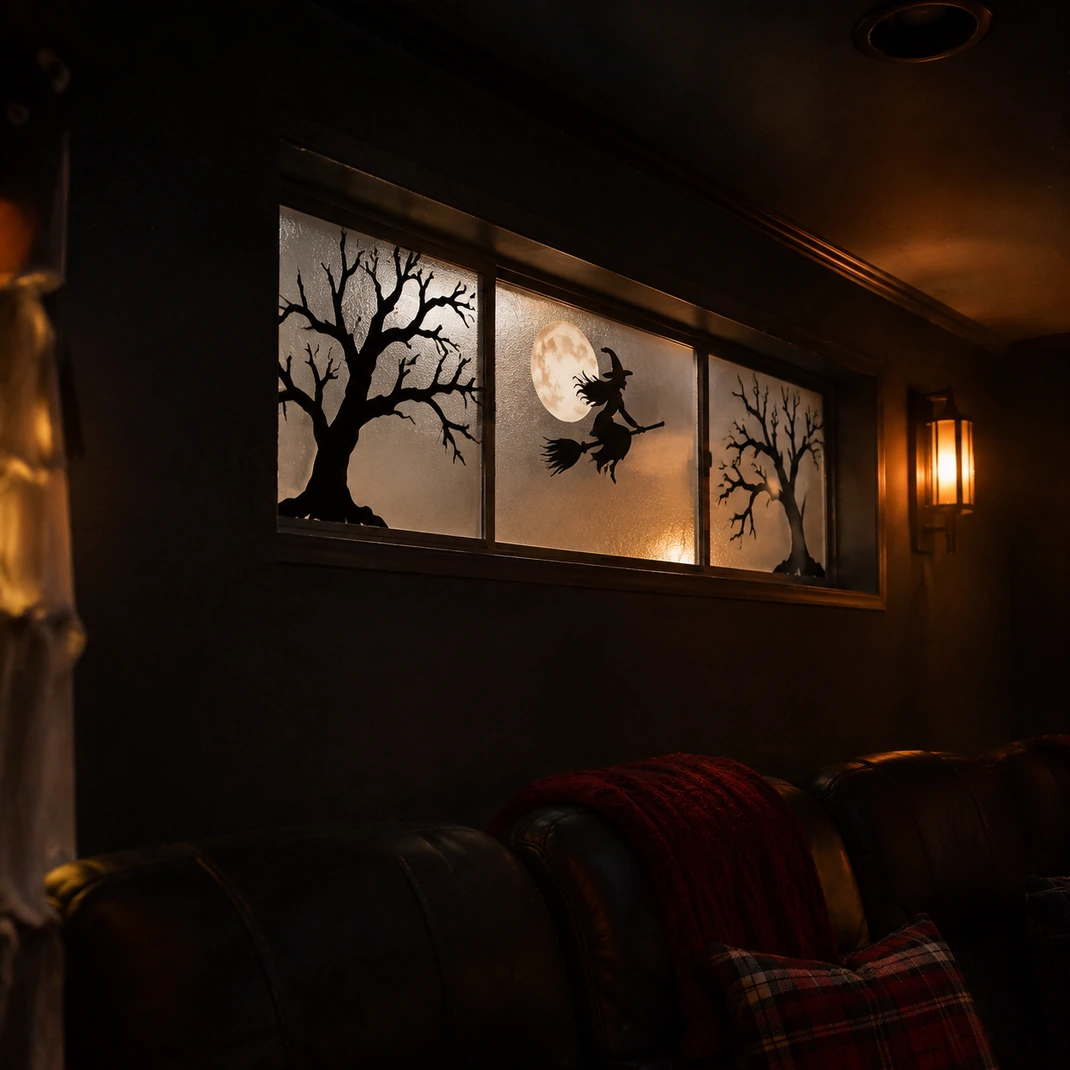
Silhouettes in a window mimic moving shadows on a stormy night. Cut tall bare trees, a perched owl or a witch on a broom from black paper at heights of 18 to 30 inches. Tape them to the glass or hang them on a thin cord inside.
Place a soft light behind the window, such as a small lamp on a shelf. Frosted glass hides the lamp and spreads the glow.
Use paper only, which stays cool. Peel the tape slowly to protect the paint on the frame.
Surround Sound Placement
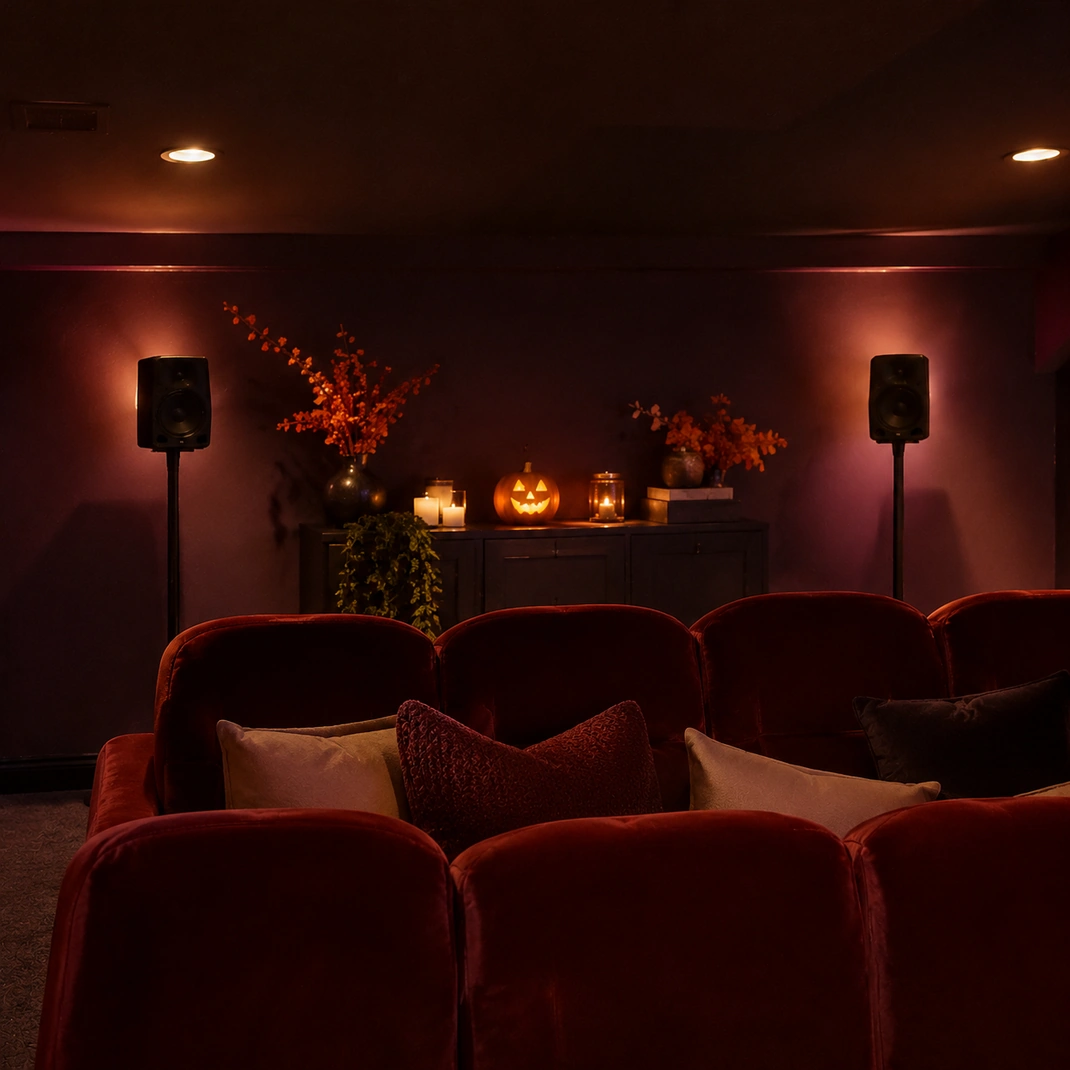
Good sound sets the mood as much as lighting does. Place front speakers at ear height on each side of the screen and rear speakers behind the seats, angled toward the listeners. Keep volume under about 85 decibels, roughly the level of heavy traffic, to protect hearing over a long movie.
Run speaker wire along the wall with clips and avoid walkways. Pad speaker stands on hard floors with felt pads.
Keep the volume lower near small children and pets, who can be sensitive. Test the sound before guests arrive.
Popcorn Cauldron Bar
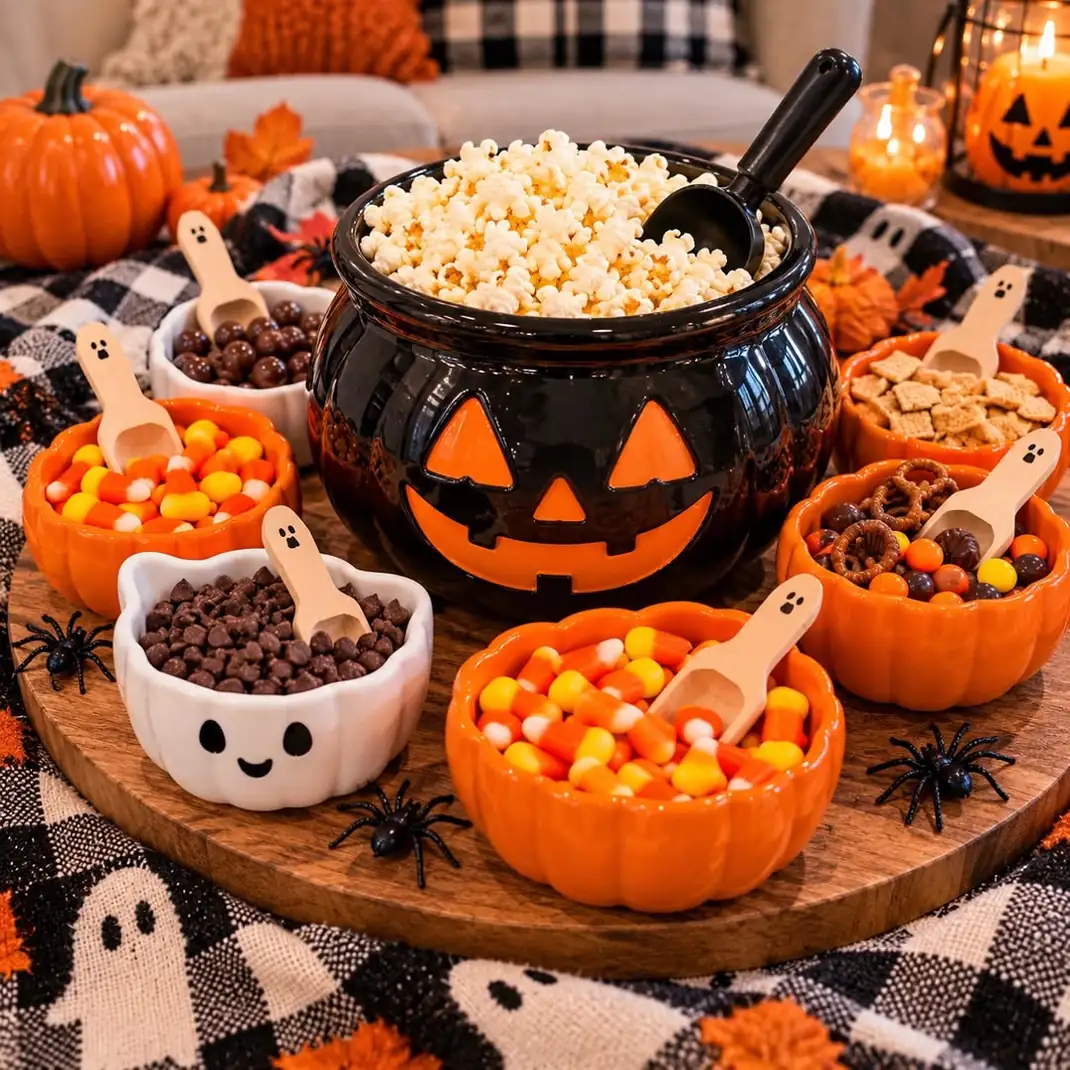
A cauldron makes a showy popcorn bowl. Use a clean plastic cauldron of about 10 inches wide and line it with a bowl or a food safe bag so popcorn touches nothing else. Offer small paper bags of 5 by 9 inches, and set seasonings such as cinnamon sugar or smoked salt in shakers.
Popcorn is a choking risk for children under four, so offer softer snacks to little ones. Label any ingredient that could affect guests with allergies.
Keep the bar away from the screen to avoid greasy fingerprints. Build out the snack table with the spreads in Halloween kitchen party setups.
Candy Jar Counter

Glass jars give a concession stand look. Line up four jars of about 8 inches tall and fill each one with a different wrapped treat in orange, black, purple or green wrappers. Set paper bags beside them and use scoops with long handles for neat serving.
Keep jars away from the table edge so they cannot tip, and use plastic jars when children serve themselves. Label which treats contain common allergens.
Wipe sticky spots between showings. Add a hand lettered sign that reads Concessions Open to complete the stand.
Spooky Snack Labels
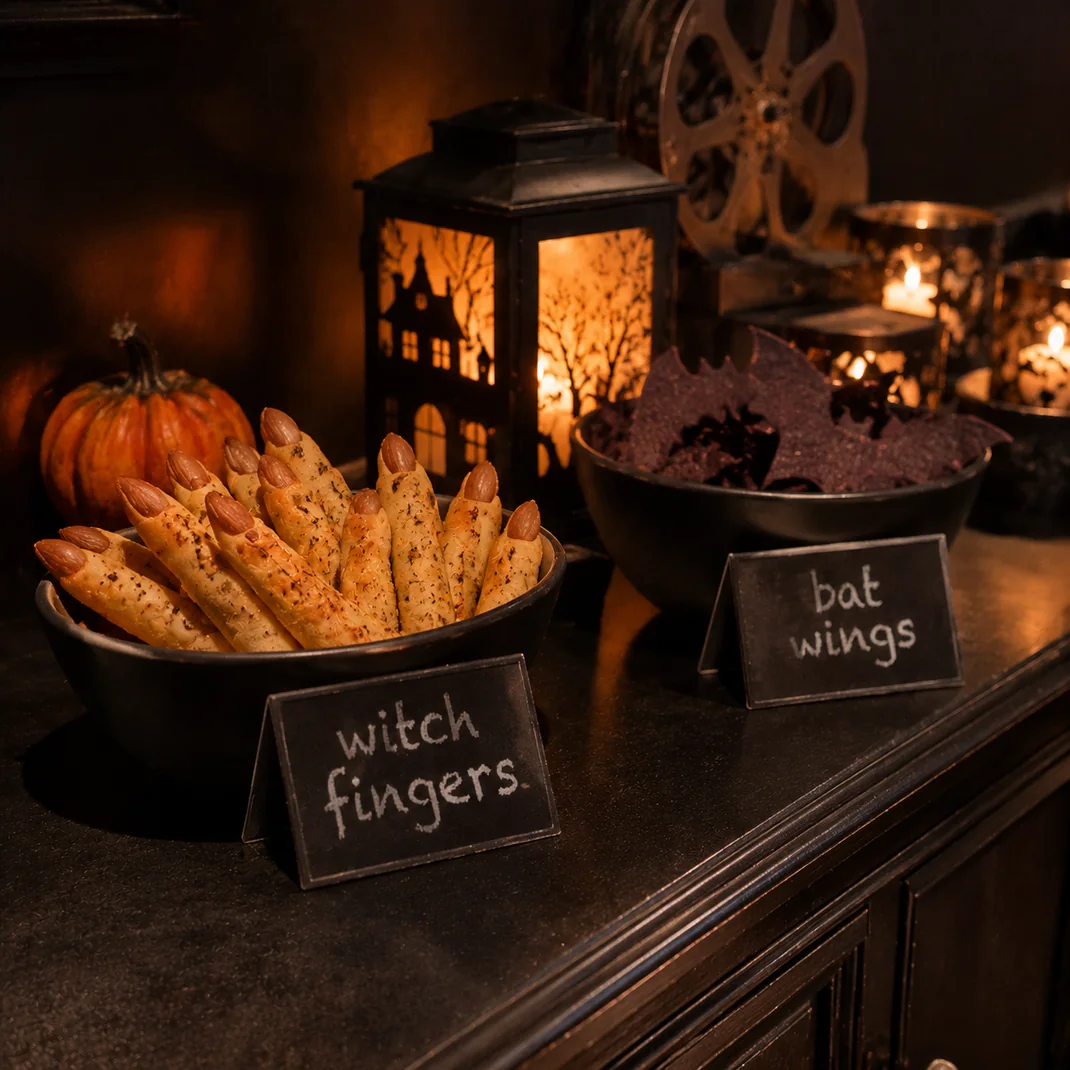
Funny names make ordinary snacks feel on theme. Write labels on small black cards of 4 by 3 inches with a white gel pen. Try names like mummy wraps for sausage rolls, bat wings for chips and swamp dip for guacamole.
Place each card on a little stand of folded paper beside its bowl. Ingredient notes are helpful, so add a small line for common allergens on every card.
Keep the print large enough to read in dim light. Use wipeable cardstock for quick cleanup after the show.
Red Throw Seats
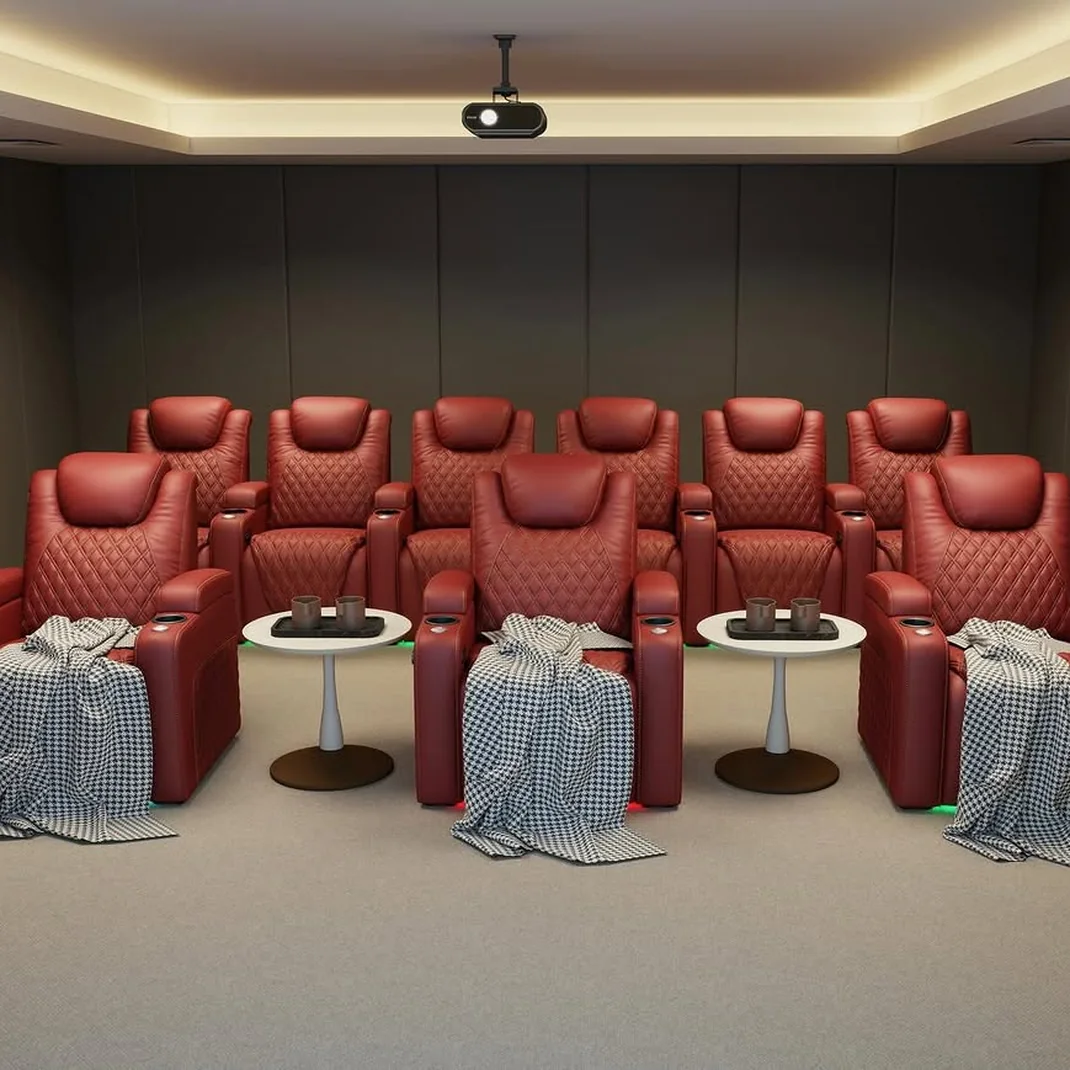
Cozy seats keep guests settled through a long film. Drape a throw of about 50 by 60 inches over each seat back and add a small black pillow. Choose dark red, charcoal or plum.
Fold the throws neatly before guests arrive, so they invite a snuggle. Wash blankets in warm water before the party to remove fabric dust. Keep throws off the floor in walkways to avoid trips.
For extra seats, line up floor cushions near the screen. Count seats and blankets against your guest list to avoid shortages.
Blanket Basket
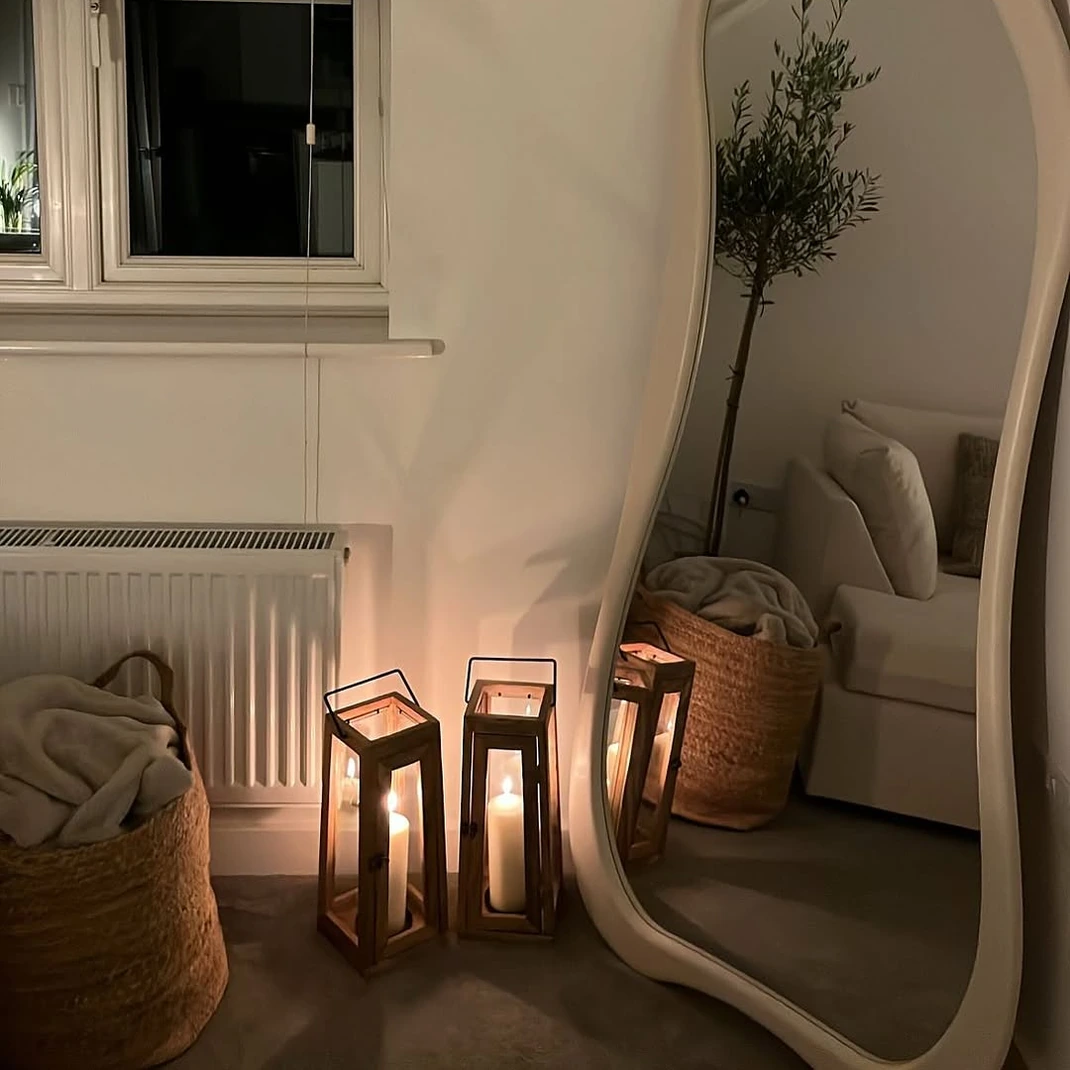
A basket by the door stops guests from asking for a blanket. Fill a large woven basket of about 18 inches wide with folded fleece throws and cover them with a dark cloth. Add a lantern with a battery light on top as a welcome.
Choose washable fabrics and launder them after the party. Keep the basket on the side wall to leave the walkway open. A basket this size holds about six blankets.
Place it where it will not block the door swing. Fit a small tag for spare slippers.
Candle Light Console
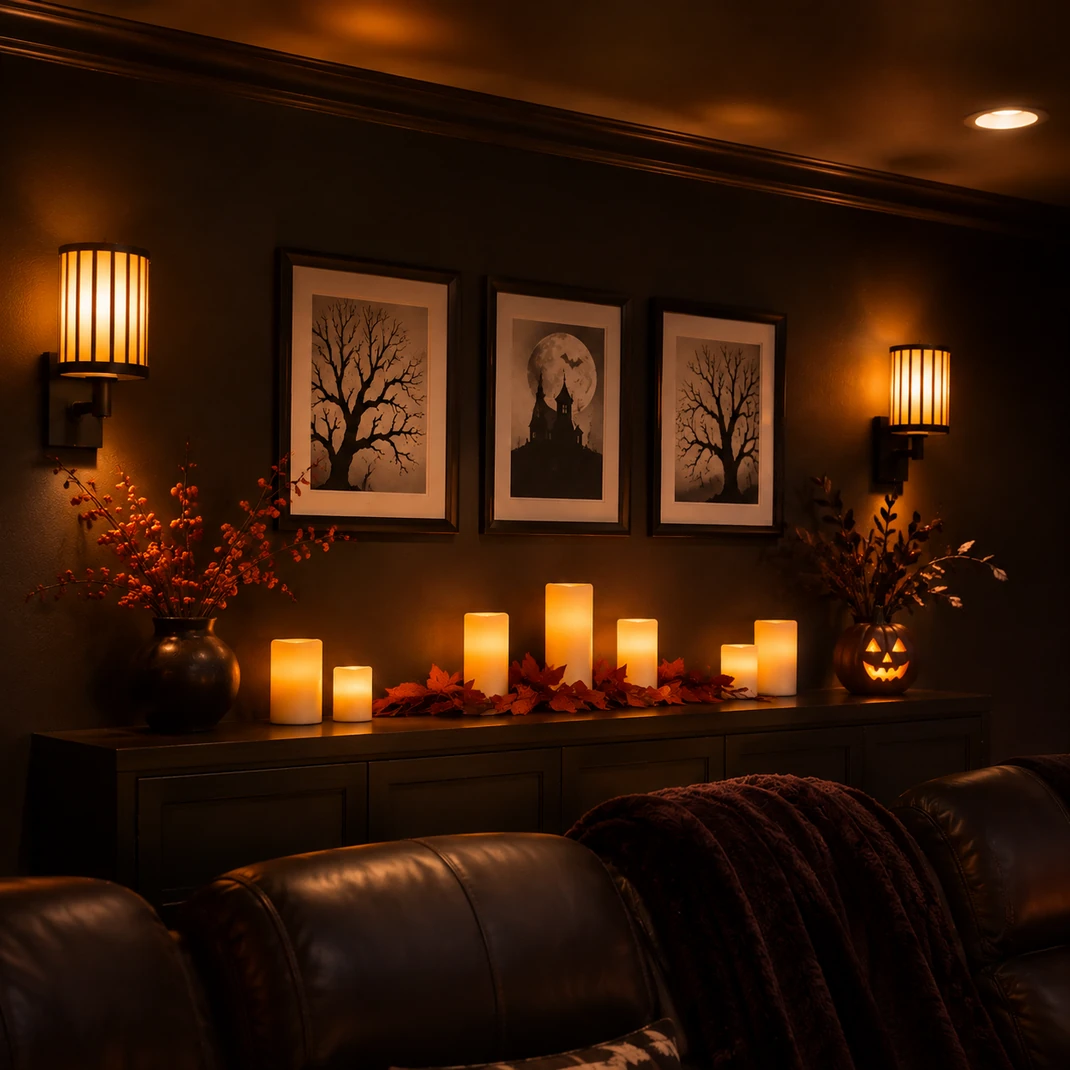
Candle glow lifts a shelf without any flame. Cluster three battery pillar candles of 4, 6 and 8 inches on a console table at the back of the room. Choose models with a timer and a flicker mode.
Fire near curtains, throws and paper decor is a real hazard, so skip wax. Set candles on a black tray to keep them tidy. Add a skeleton hand or a small raven for texture.
Keep the table a foot from the nearest curtain. Replace batteries before every party.
Intermission Sign

A mid film break gives guests time to refill snacks and stretch. Make a sign of 12 by 18 inches that reads intermission and place it on a stand near the door. Put a basket of small flashlights beside it so people can move safely in the dark.
Flashlights with a red lens keep eyes adjusted. Keep the break to ten minutes and dim the room lights rather than flipping them fully on.
Check that flashlight batteries are fresh. Ask guests to point the beam at the floor, not at faces.
Floor Cushion Pit
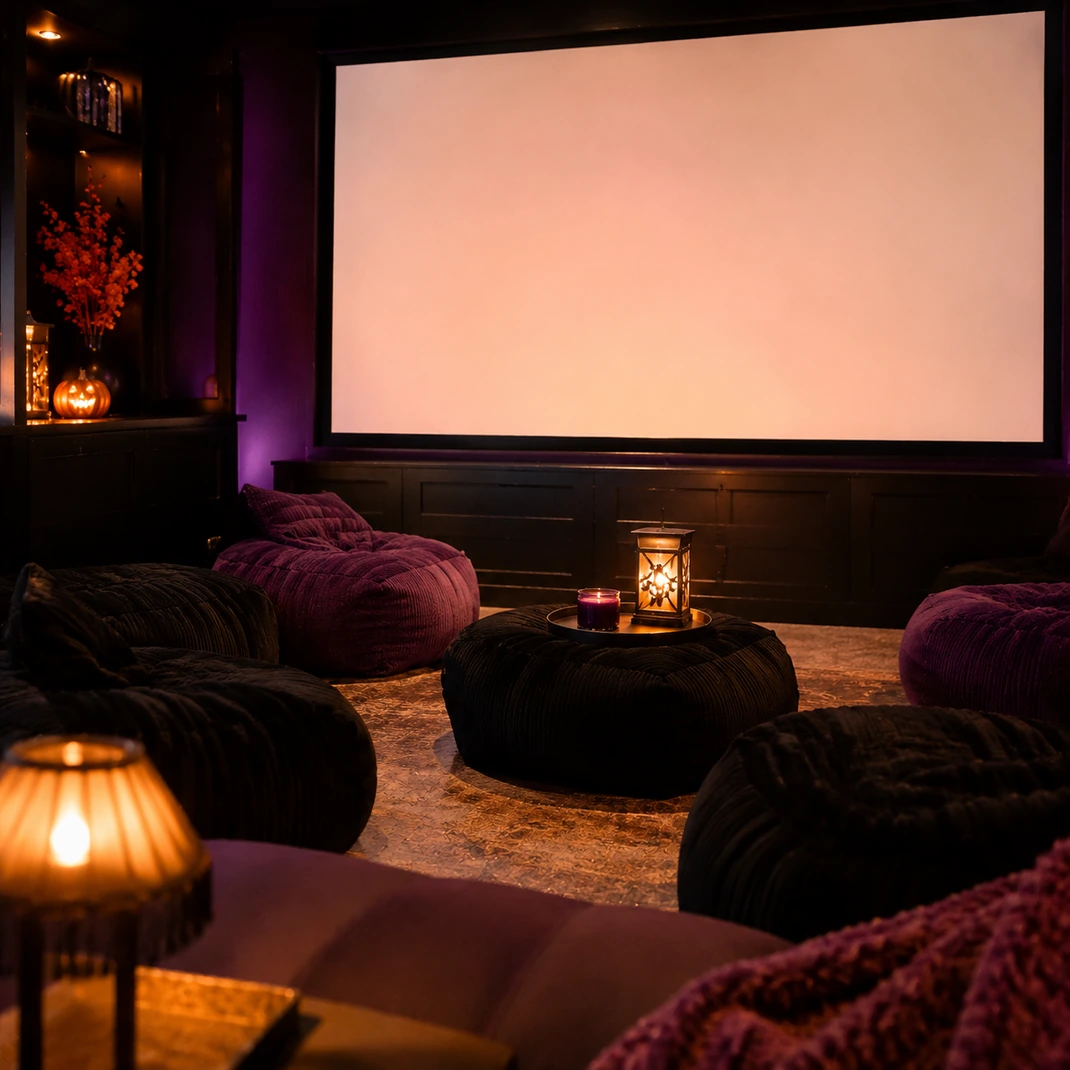
Floor seating gives younger guests a front row view. Place four to six cushions of about 24 by 24 inches on a rug in front of the screen and leave a clear 3 feet of space behind the furniture. Choose firm cushions that do not slide, and add a rubber pad under the rug.
Low cushions suit young viewers well. Keep drinks off the pit area to avoid spills. Make sure the first row sits at least 6 feet from the screen to ease eye strain.
Projector Cable Tidy
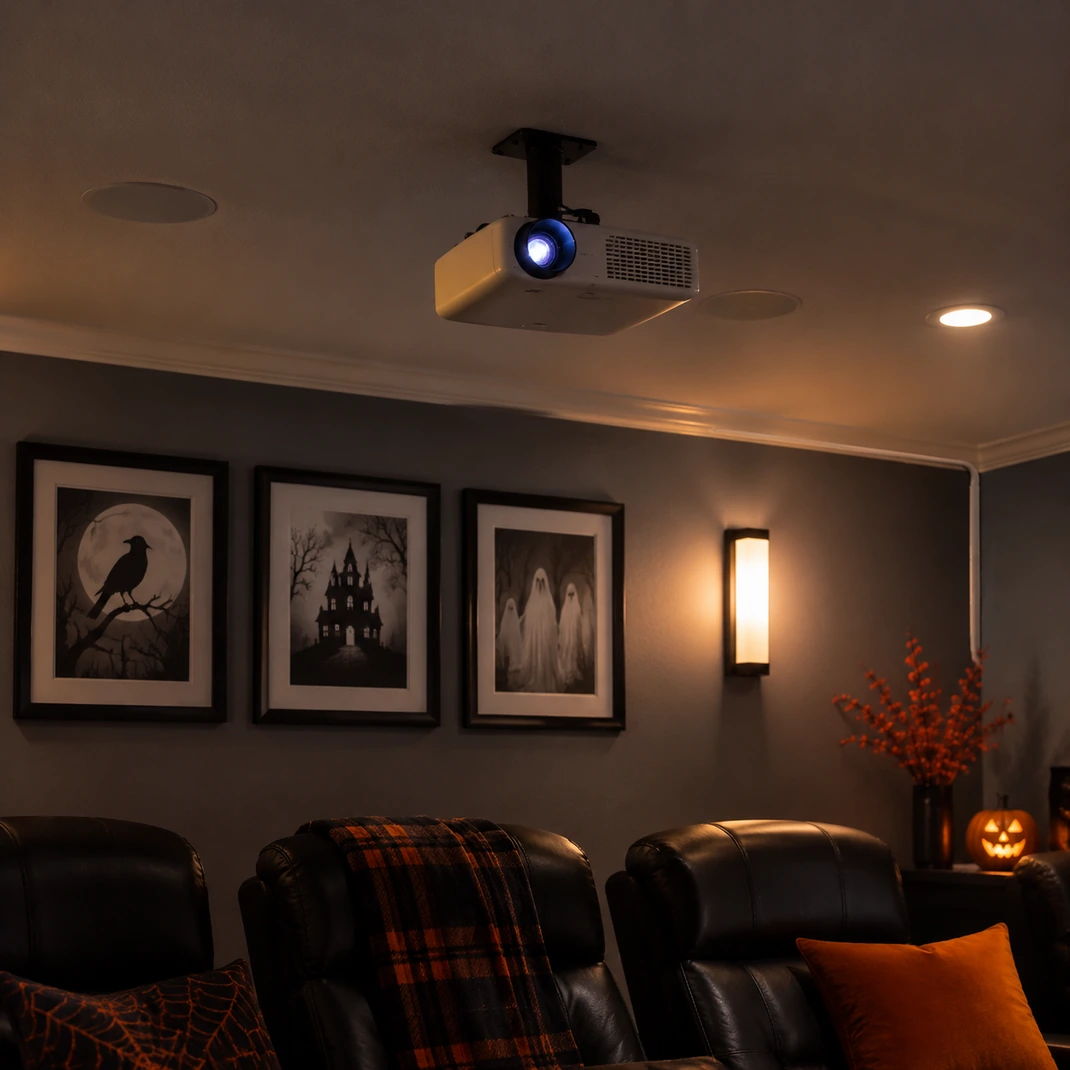
Neat wiring protects both the equipment and the guests. Mount the projector according to its throw distance, which is often about 10 feet for a 100 inch screen, and leave the vents free so the unit stays cool. Run the cable along the wall corner under clips or a paintable cover.
Do not run cords across the floor, where feet can catch them. Use a surge protector with a switch, plugged into a wall outlet.
A licensed electrician should handle any new wiring or outlet. Turn the projector off when the film ends.
Set the Scene in Order
- Measure the room, find the screen wall and mark a 36 inch walkway before placing seats.
- Mount the projector and screen, then hide cables with clips or covers.
- Hang curtains and check that every door and window can still open.
- Add battery lights and low aisle lighting, then test them in the dark.
- Set out snacks with allergen labels, away from the screen and cords.
- Dim the lights, test the sound at a moderate level and press play.
Test the whole room once with the lights off before guests arrive.

One Comment