15 Totally 80s Halloween Throwbacks in Neon Fright
Glowing neon signs, blacklit pumpkins and a skeleton in shoulder pads bring the loudest decade back for Halloween. The look relies on bright color, bold shapes and plenty of light, with little need for scary props.
The 15 ideas below give sizes, materials and safety notes for lights, paint and props, with a table of light types at the end.
LED Neon Sign
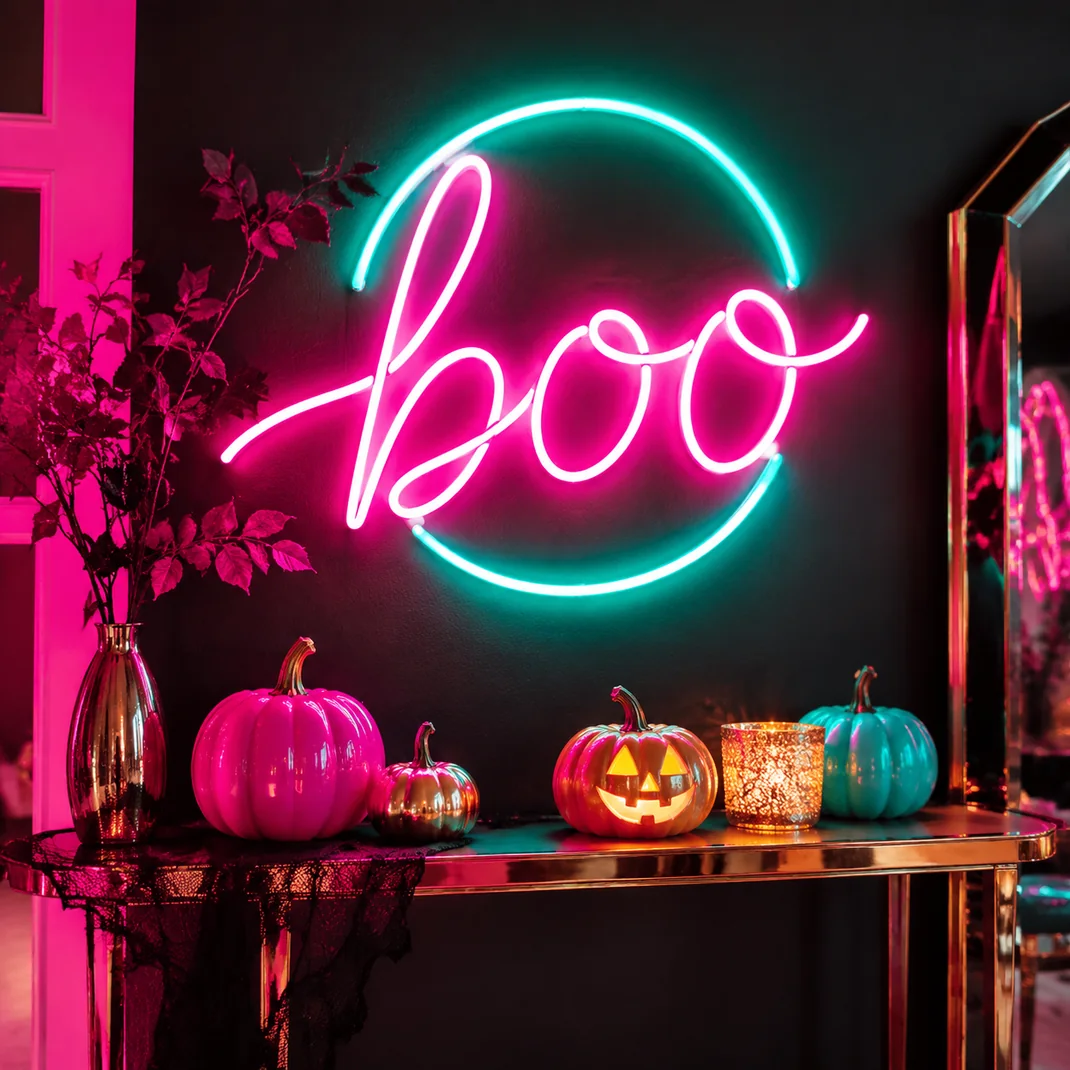
A neon sign sets the whole tone in one move. Choose a flexible LED neon sign of 16 to 24 inches wide that spells boo or a short phrase in hot pink or electric teal. LED neon runs at low voltage and stays cool, unlike old glass tubes that use high voltage.
Hang it on two small hooks or screws and use the supplied adapter, plugged into a wall outlet away from water. Keep the cord tucked along the wall.
A black or navy wall makes the colors pop. Turn the sign off when no one is in the room.
Blacklight Corner
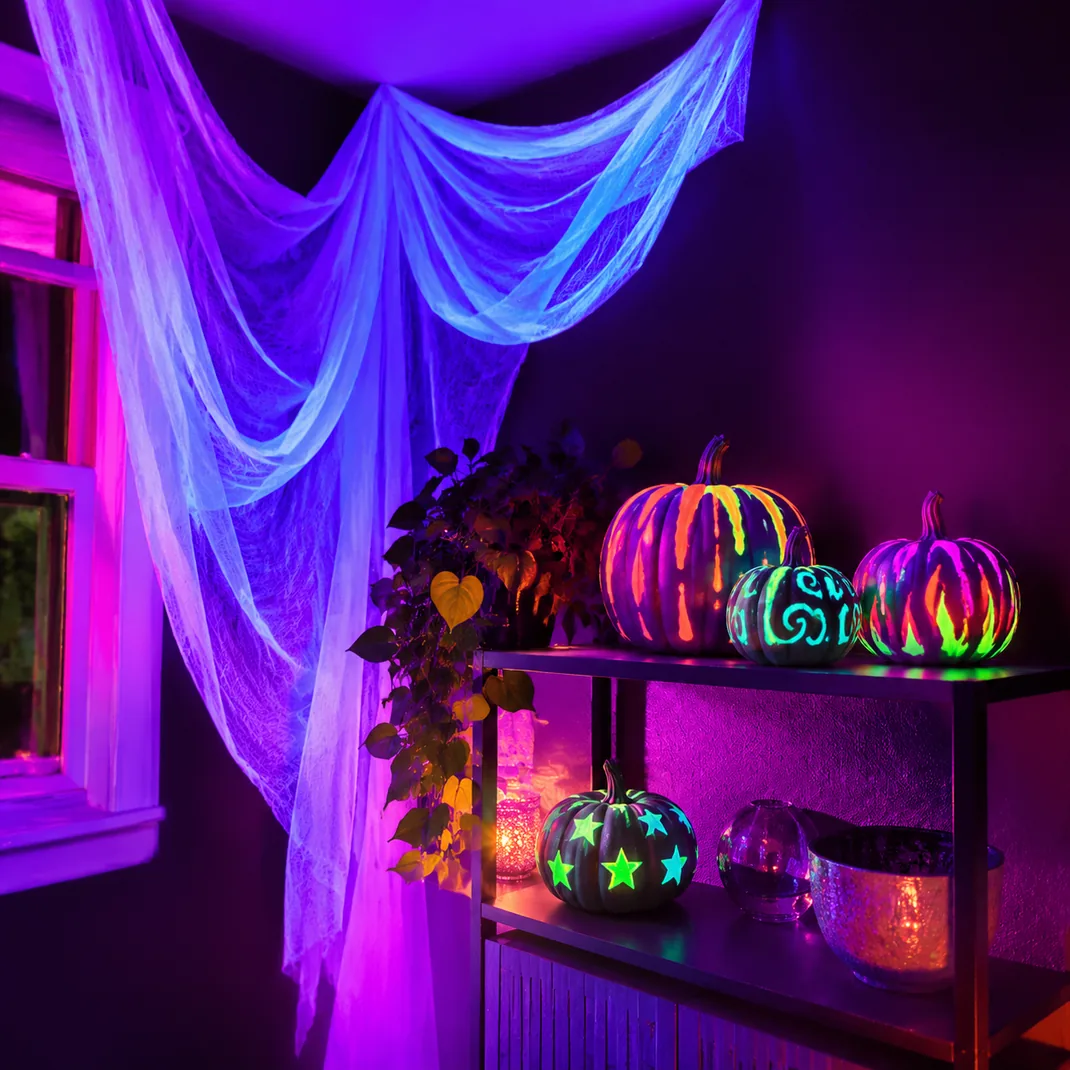
A blacklight makes white fabric, paper and neon paint glow. Choose an LED UV bulb or strip in the 365 to 395 nanometer range, which gives a strong glow at low heat. Place it in a lamp or strip along a shelf and keep the corner dim.
Do not stare into the bulb, and keep the light off small children’s faces, as UV light can irritate eyes. Fluorescent tube blacklights get warm, so keep them away from paper.
Fabrics washed with some detergents glow too. Test items first to see which glow brightest.
Memphis Pattern Backdrop
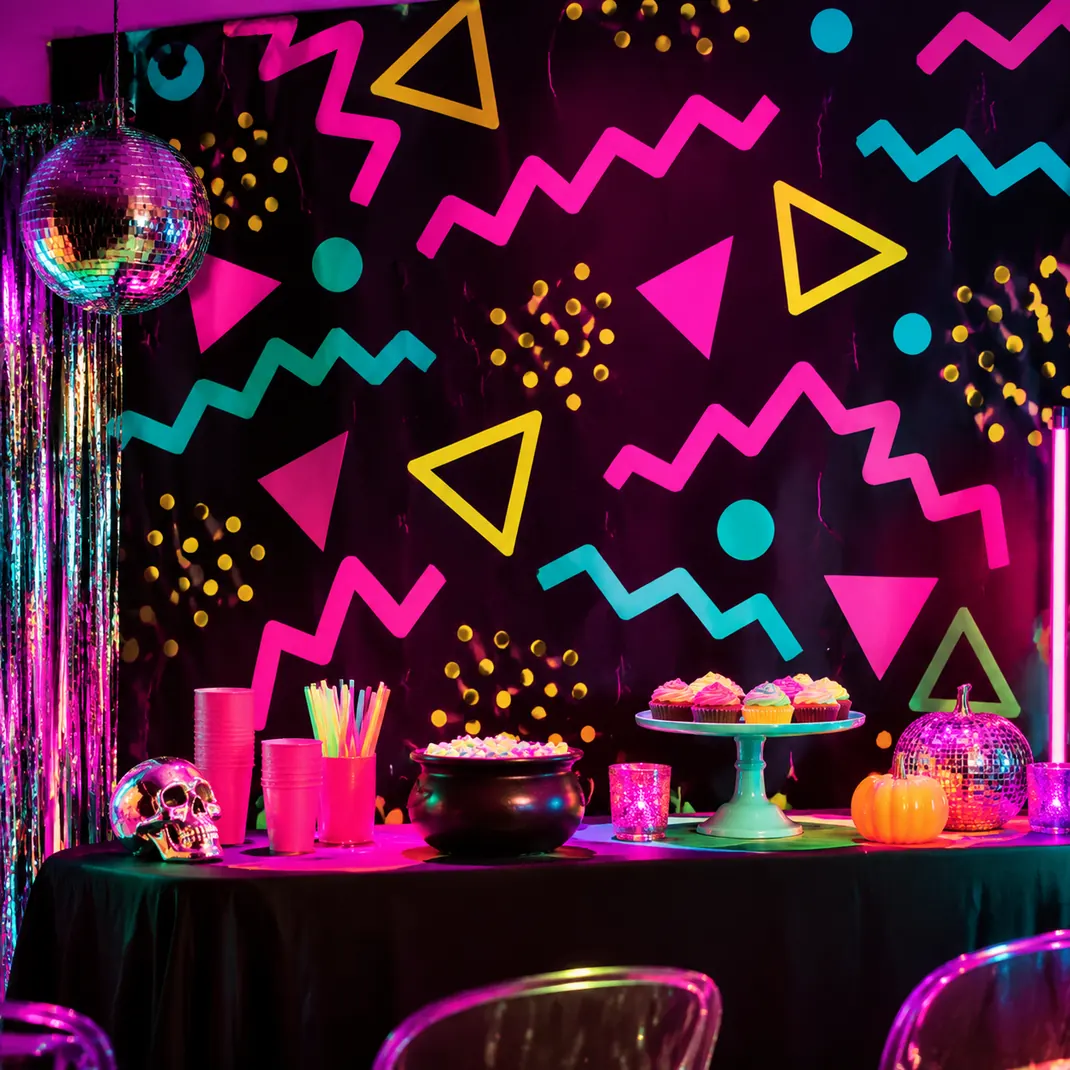
The squiggles, triangles and dots of the 1980s are easy to cut from paper. Cut shapes from colored cardstock in pink, teal and yellow, 3 to 8 inches wide. Tape them in a loose scatter on black paper or fabric of 6 by 4 feet.
Use removable tape so the wall stays clean. The pattern works as a photo backdrop for a party. Keep paper away from lamps, heaters and candles.
Add a few black and white stripes for contrast. Take photos in even light, since flash can wash out the neon colors.
Cassette Tape Garland
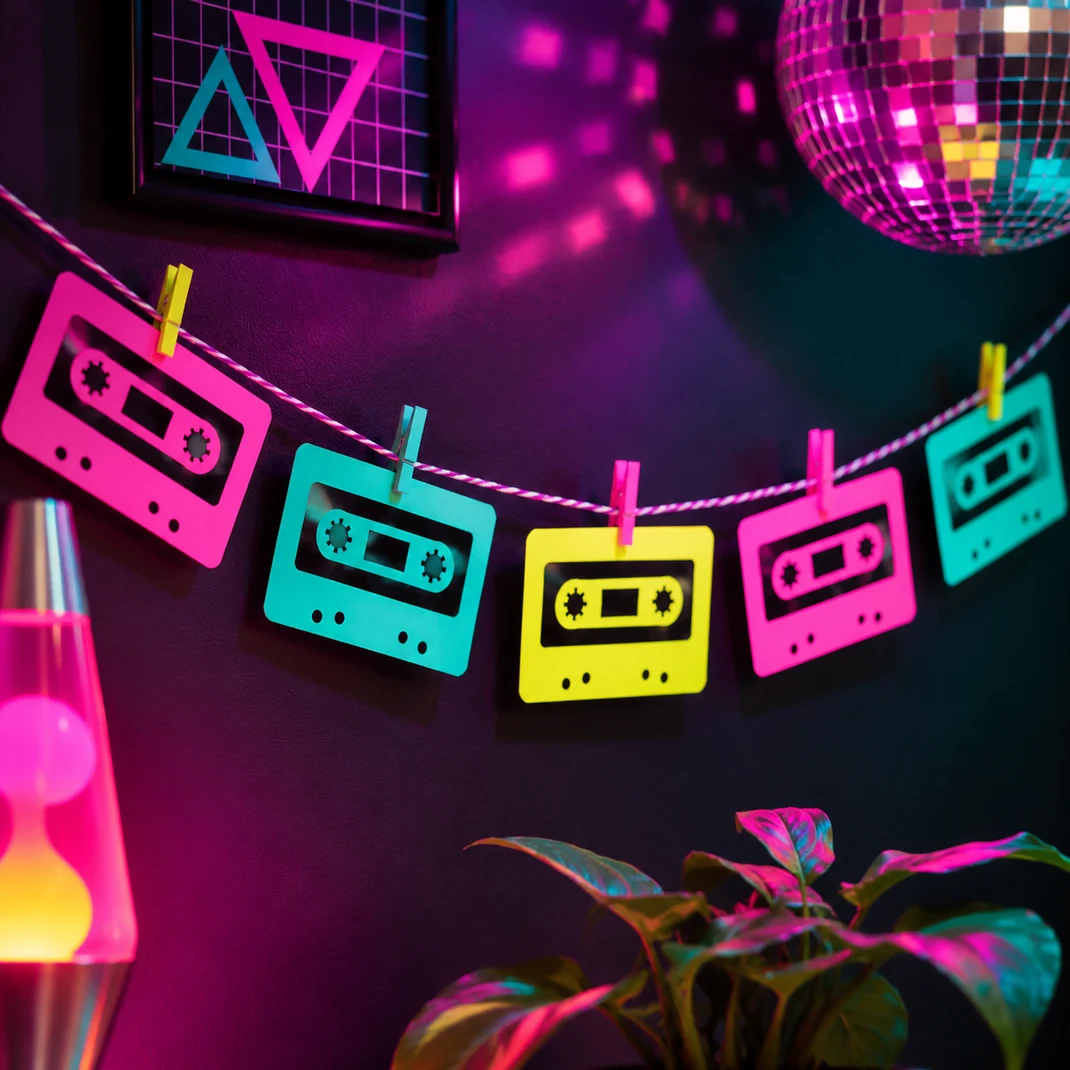
Cassette shapes say the decade at a glance. Print or trace a cassette on cardstock at about 4 by 2.5 inches, color the labels in neon markers and cut out 12. Thread them on twine with 4 inches between each.
Real tapes can be used too, but choose old ones you no longer need, because heat and sun can ruin them. Hang the garland across a wall or shelf.
Keep paper away from lamps. Tie the twine to hooks so it does not sag.
Checkerboard Runner
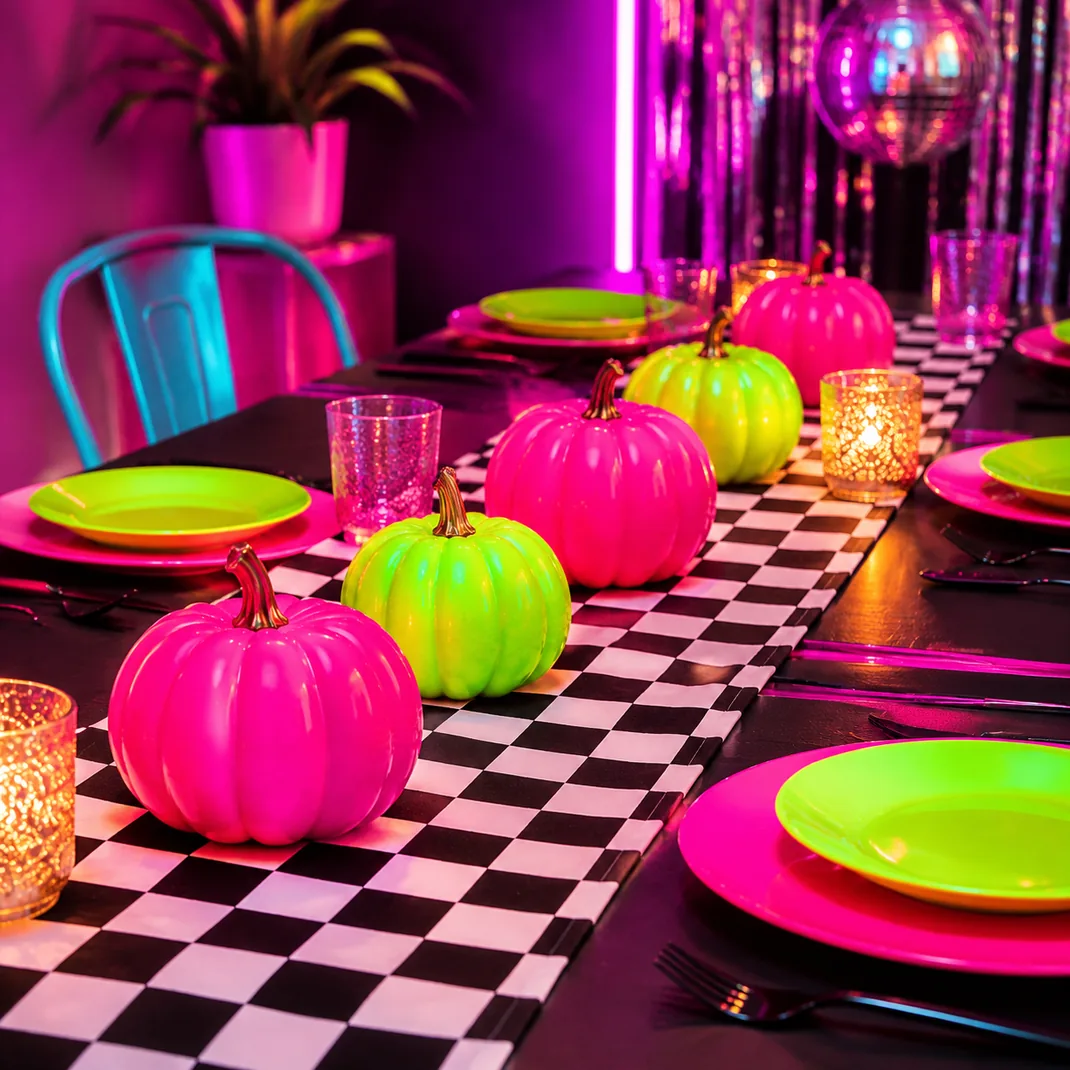
A checkerboard runner gives a table a bold base. Cut black and white squares of 3 inches from paper or fabric and glue them to a runner of 14 by 72 inches, or buy a printed one. Add neon plates in pink and green, and a row of mini pumpkins painted in bright colors.
Use battery tealights in black holders for a safe glow. Fabric runners can be washed on a gentle cycle, while paper is a one night option.
Keep candles with real flames away from paper. Set the runner straight with a ruler.
Cardboard Boombox Prop
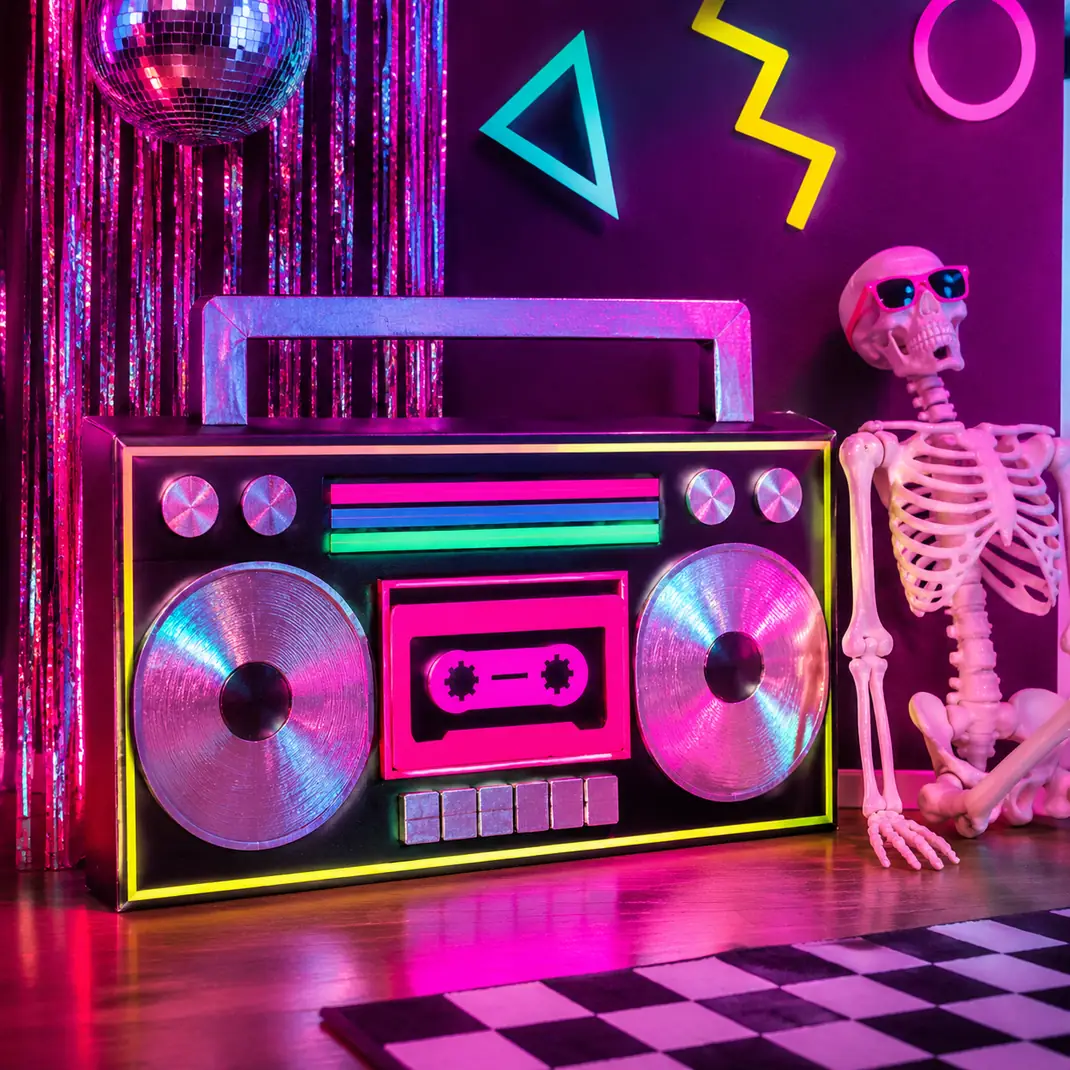
A giant boombox prop reads as retro from across the room. Cut a rectangle of 24 by 12 inches from a large box, glue on two circles of 8 inches for speakers, and paint it black and silver. Add a cassette door in pink and a handle made from a strip of cardboard.
Use acrylic paint and let it dry overnight. The boombox weighs very little and sits on a shelf or the floor.
A real stereo should not be left near water or heat. Add a small speaker inside to play a playlist.
Pixel Pumpkins

A pixel grid turns a pumpkin into a retro game. Draw a grid of 1 inch squares with chalk, then paint a pixel ghost or a face in black and neon colors. A pumpkin of 10 inches holds a design of about 8 by 8 squares.
Use acrylic paint with a flat brush, and let it dry for an hour. Keep the design simple with two or three colors.
A painted pumpkin stays safe for children, and no knife is needed. Place the pumpkins on a shelf with a battery light behind them.
Neon Painted Pumpkins

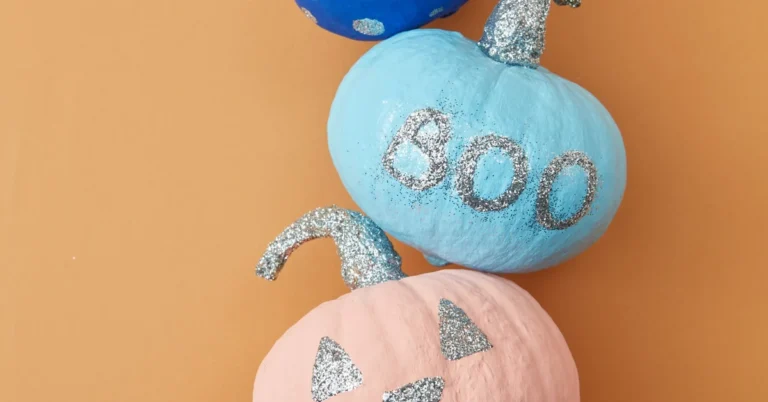
Neon paint on pumpkins looks vivid under a blacklight. Choose fluorescent acrylic paint, brush on two coats and let each dry for 30 minutes. Paint in stripes, polka dots or full color blocks.
Place the row on a dark shelf with a UV bulb above. Wear old clothes when painting, and use washable paint when children help. Real pumpkins last two weeks in a cool room, and foam ones last for years.
Seal the paint with clear spray outdoors. Keep UV bulbs out of children’s eye line.
Retro TV Static Screen

A television full of static makes a spooky centerpiece. Search for a static or haunted channel loop and play it on an old TV or a small modern screen. Place the set on a stable stand with a skeleton hand or a plastic spider on top.
Keep vents free from decor, since TVs run warm. An old CRT set is heavy, around 30 pounds or more, so do not move it alone. Turn the sound down low.
Add a glowing blacklight bulb nearby. A darker screening mood is easy to build with home theater Halloween nights.
Neon Tape Laser Grid
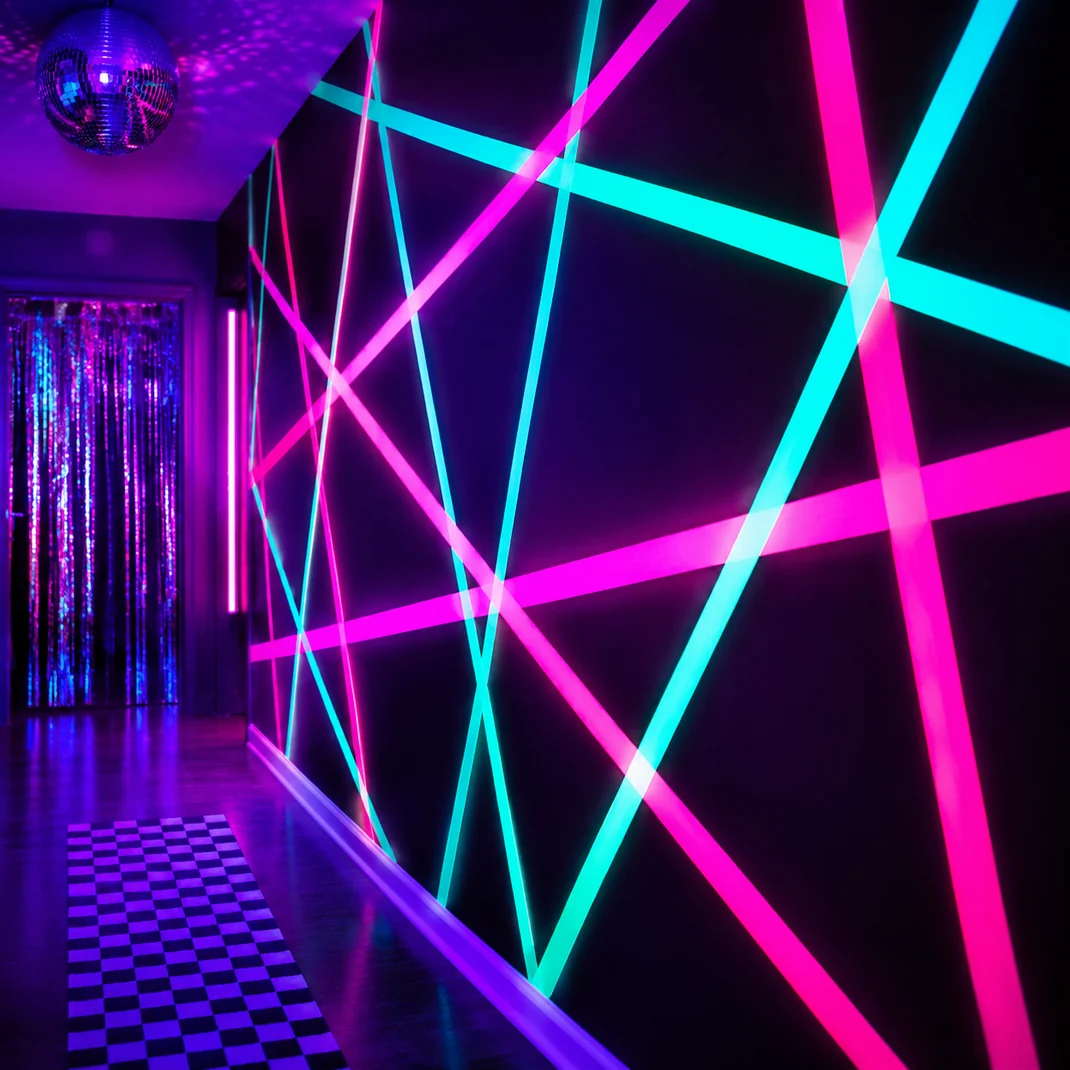
Strips of tape can imitate a laser grid. Use neon gaffer tape or washi tape of half an inch wide and run lines from corner to corner across a hallway wall, spaced 6 inches apart. Use a level and a pencil for straight lines.
Add a UV bulb to boost the glow. Paper washi tape removes more easily than gaffer tape, so test a hidden corner first. Keep lines away from outlets and switches.
A hallway of 6 by 8 feet takes around 30 minutes. Peel the tape slowly in November.
Mirror Ball Ceiling Glow

A mirror ball scatters light into dancing dots. Hang a ball of 8 to 12 inches from a hook screwed into a ceiling joist on a strong chain or cord, and aim a small LED spotlight at it. Keep the ball at least 7 feet above the floor.
Colored light in pink and teal gives an arcade feel. A ball of 8 inches weighs about 1 pound, but check the hook rating anyway.
Switch off the spotlight when no one is in the room. Dust the mirrors with a soft brush, and keep the ball out of the way of ceiling fans.
Mix Tape Place Cards
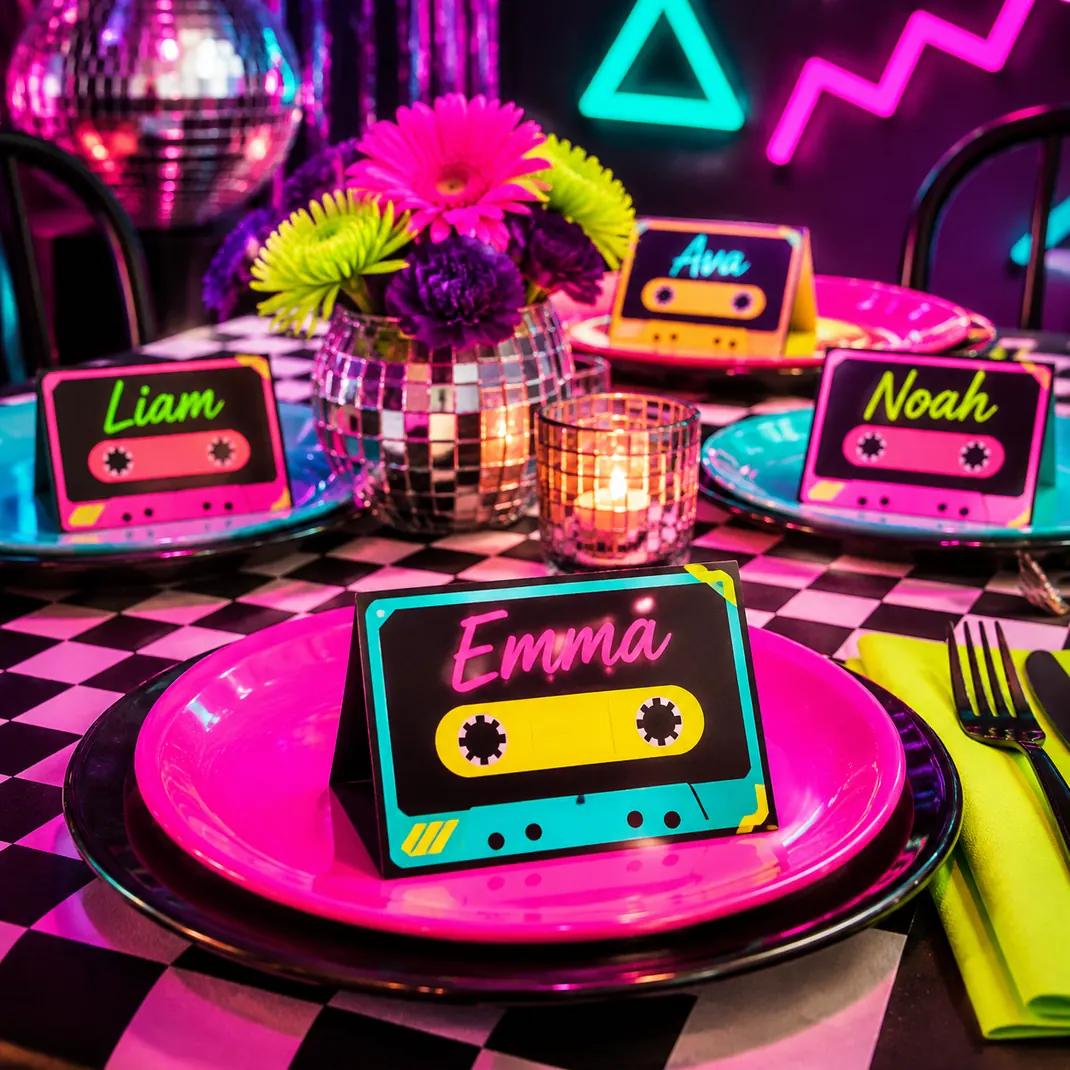
A name on a tiny cassette tells guests where to sit. Cut cassette shapes of 3 by 2 inches from cardstock, color the label in neon and write each name in black marker. Fold a small tab at the bottom so the card stands.
Make one extra for latecomers. Place a card on each plate or tucked into a napkin. Keep the cards away from candle flames and drinks.
Guests can take them home as party favors. A pack of 12 cards makes place cards for a small party.
Skeleton in Big Hair
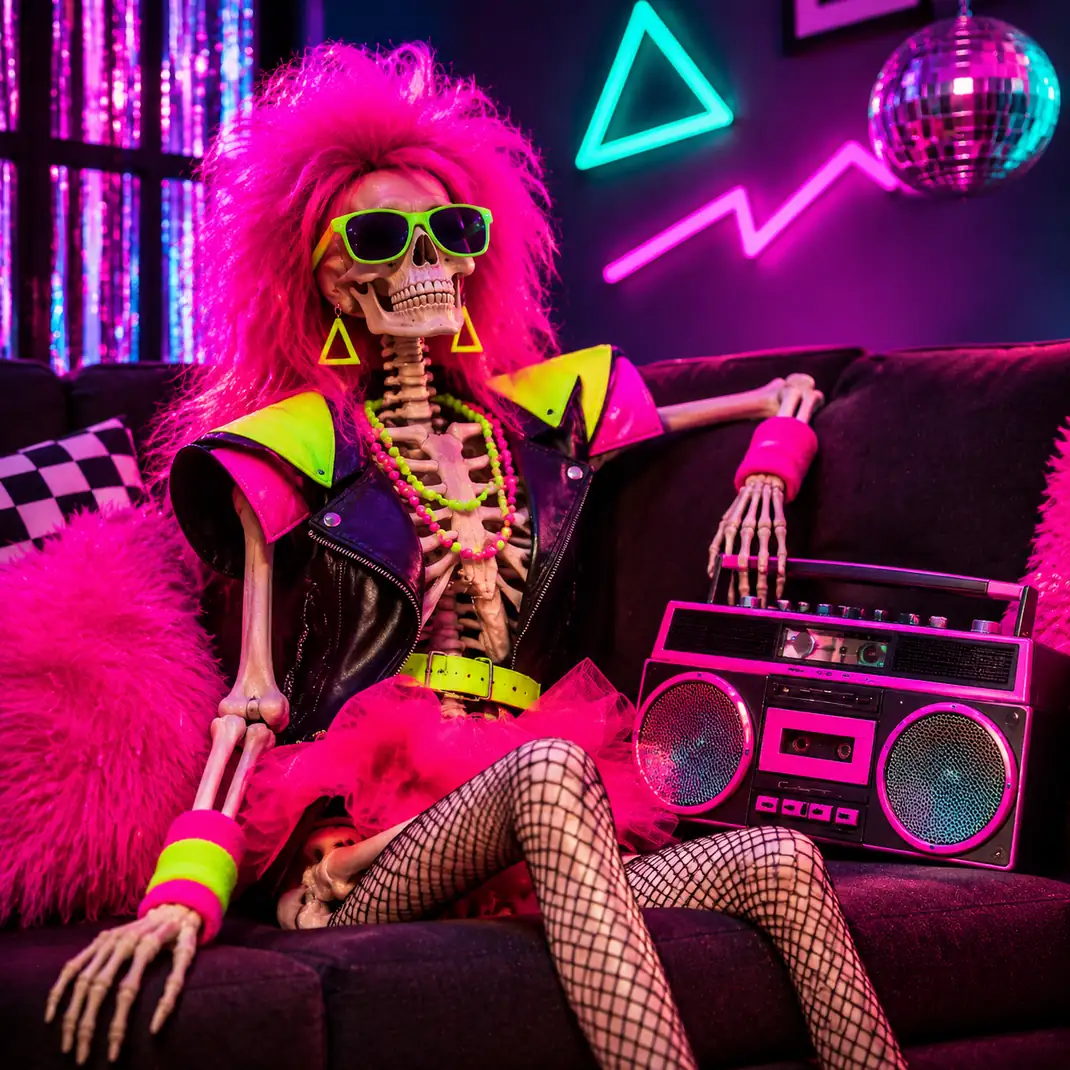
A skeleton in teased hair and bold shoulder pads is pure fun. Dress a skeleton of 5 feet in a bright wig, a blazer with big shoulder pads and sunglasses, and seat it on a sofa or chair. Secure the skeleton with zip ties so it stays upright.
Add a plastic boombox or a leg warmer. Keep the wig away from candles and string lights, since synthetic hair melts.
Photograph the scene beside a neon sign. Thrift stores often carry jackets and wigs in the right style.
Glow Ice Cube Drinks
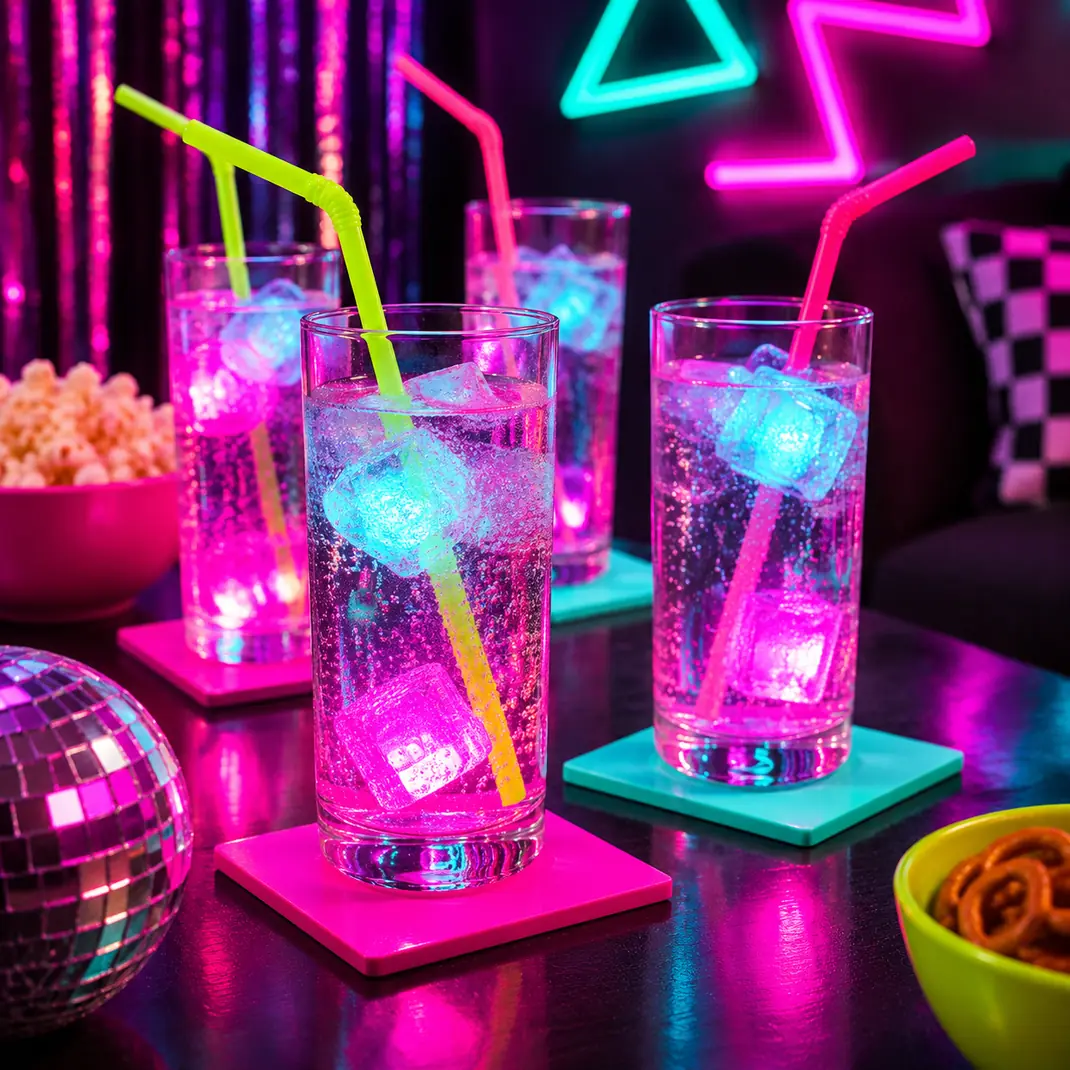
LED ice cubes glow inside clear drinks and need no ice. Buy a pack of 12 waterproof cubes, press the switch and drop one into each glass. Choose sturdy plastic cups for a party.
LED cubes are small parts and a choking hazard, so keep them away from children under three and do not let anyone swallow one. Remove the cube before drinking. Dry them after use and store in a bag.
Serve non alcoholic punch or soda for families. Wash the cubes in soapy water and let them dry fully.
Cardboard Arcade Cabinet
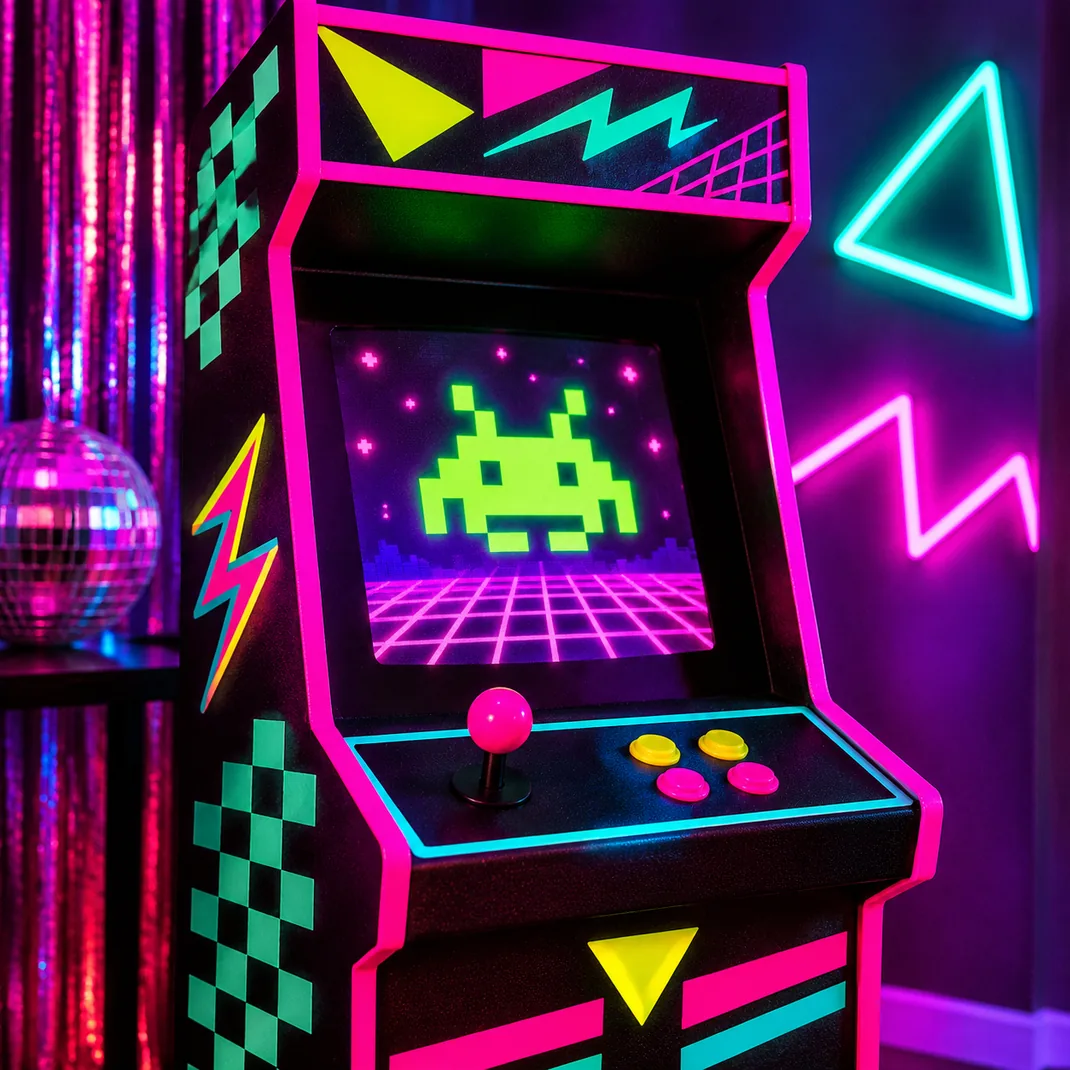
An arcade cabinet made from a big box becomes the star of the party. Stand a refrigerator or appliance box upright, about 5 feet tall and 2 feet wide, and cut a screen opening of 18 by 14 inches. Paint the body black, add neon edge stripes and draw a pixel monster on paper behind the opening.
Make a joystick from a cardboard tube and a ball. Ask a grown up to handle the box cutter.
Fasten the cabinet to a wall with tape so it cannot tip. Place a battery light inside for a glowing screen.