20 Not Scary Halloween Sweetness the Whole Family Loves
Halloween does not have to be frightening to be wonderful. These twenty ideas celebrate the season’s sweet side: smiling pumpkins, friendly ghosts, candy, costumes, and cozy family moments. Every idea is real, doable, and designed for households with little ones or anyone who prefers their October adorable. All twenty are unique to this list.
1. Paint Smiling Pumpkin Faces
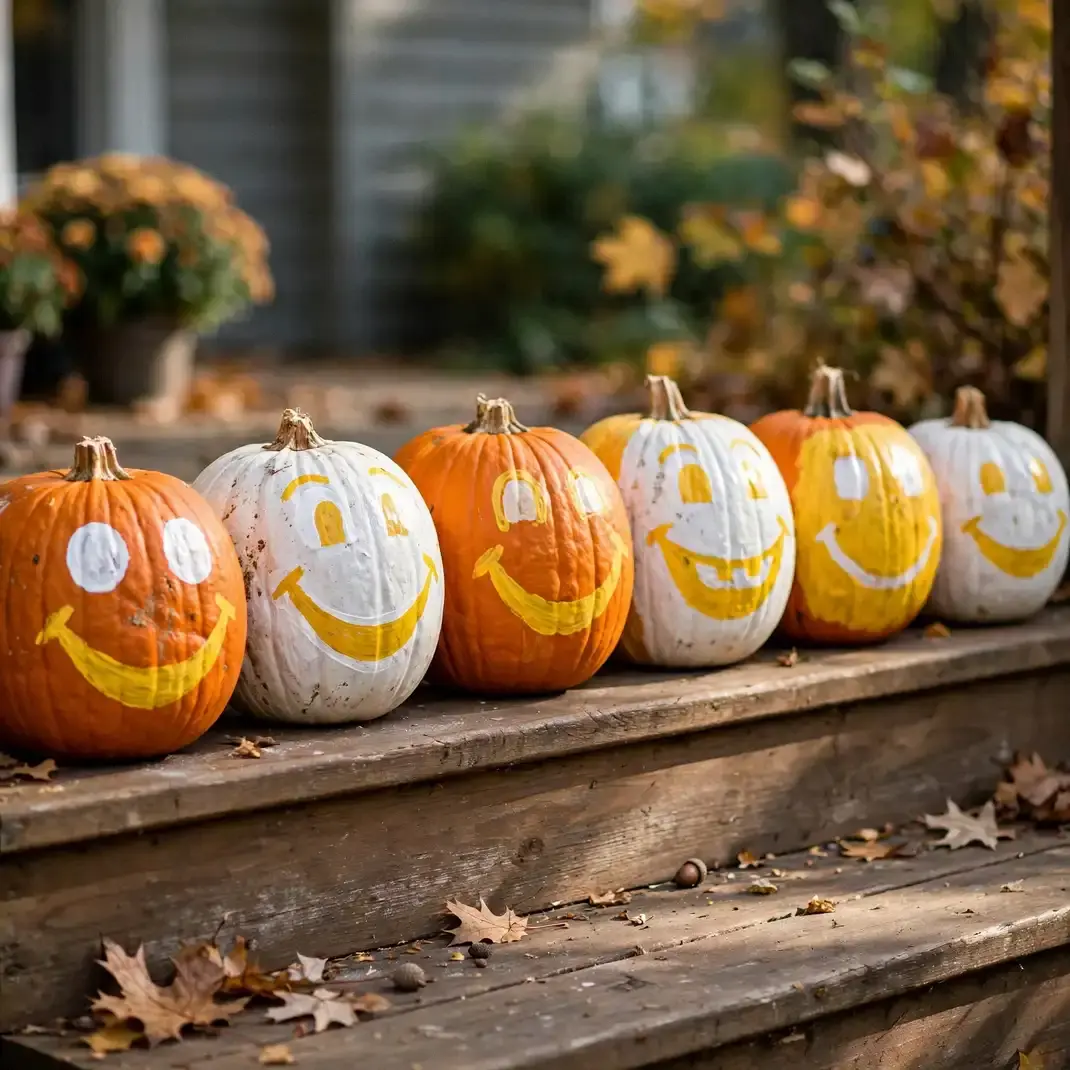
Painted pumpkins with big smiling faces are Halloween’s happiest tradition: no carving, no sharp tools, just cheerful grins in white and yellow paint that even toddlers can help with. Line the smiling pumpkins along the porch steps and the whole house grins at the neighborhood. They last for weeks and never rot from the inside.
How to Style It: Paint simple smiling faces on five to seven pumpkins of varied sizes, seal with clear spray, and group them on the porch steps.
Why It Photographs Beautifully: The row of grinning pumpkins is pure joy in photos, especially with kids beside them.
Pro Tip: Let each child design their pumpkin’s face on paper first; the planning is half the fun.
Budget-Smart Swap: Faux pumpkins painted once become a reusable smiling collection for years.
2. Hang Friendly Ghost Garlands
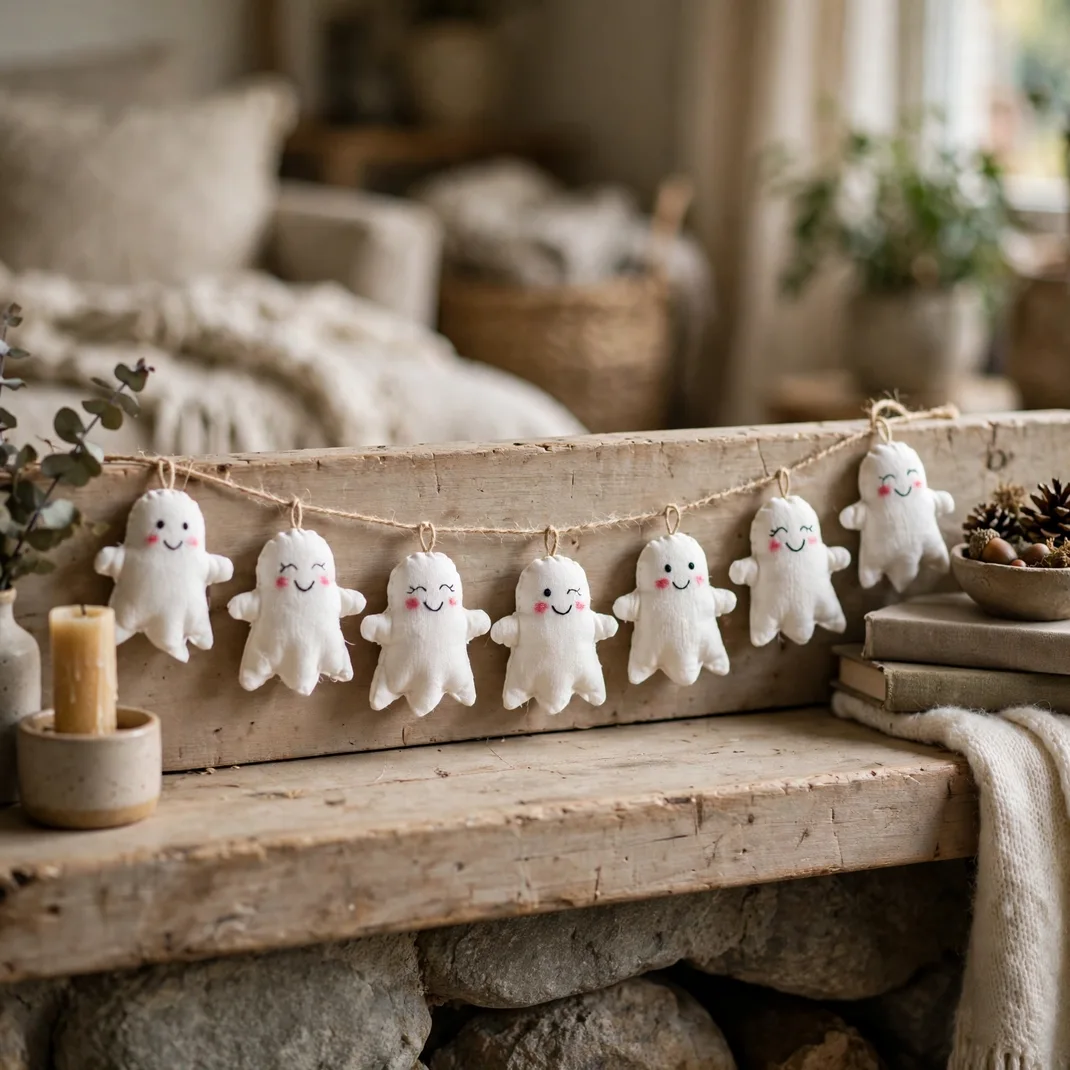
Garlands of smiling sheet-ghosts with rosy cheeks turn any room festive without a single scare: white fabric ghosts with embroidered happy faces strung along the mantel or across the kids’ bedroom doorway. They bob gently in the air currents and children adore them. This is Halloween as a hug.
How to Style It: String twelve small fabric ghosts on twine, spacing them six inches apart, and hang the garland where little hands can reach.
Why It Photographs Beautifully: The little floating ghosts create a whimsical, storybook feel in room photos.
Pro Tip: Stuff the ghosts lightly with filling so they hold a plump, friendly shape.
Budget-Smart Swap: White socks with drawn faces, stuffed and tied, make instant mini ghosts.
3. Set Up a Candy Tasting Station
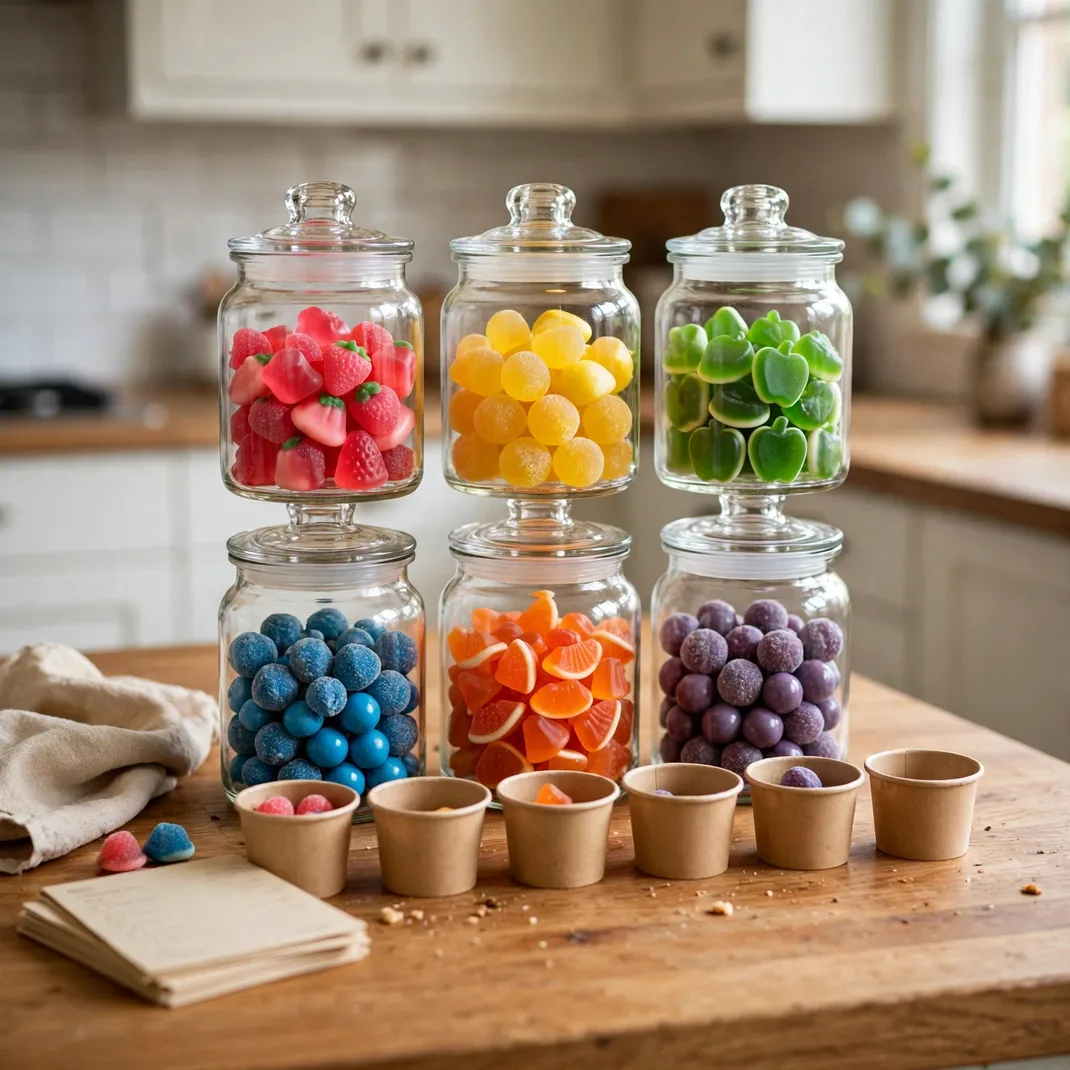
A candy tasting station on the kitchen counter turns October into a delicious experiment: glass jars of different candies with little tasting cups and scorecards, where the family rates each one. It is part decor, part game, and entirely delicious. The colorful jars look beautiful and the activity fills a whole rainy afternoon.
How to Style It: Fill six glass jars with different candies, set out small cups and printed scorecards, and let everyone vote for the family favorite.
Why It Photographs Beautifully: The rainbow of candies in glass jars is irresistibly colorful in photos.
Pro Tip: Include one mystery candy in an unmarked jar; the guessing game is the highlight.
Budget-Smart Swap: Bulk candy bins let you buy small amounts of many varieties cheaply.
4. Bake Decorated Sugar Cookies Together
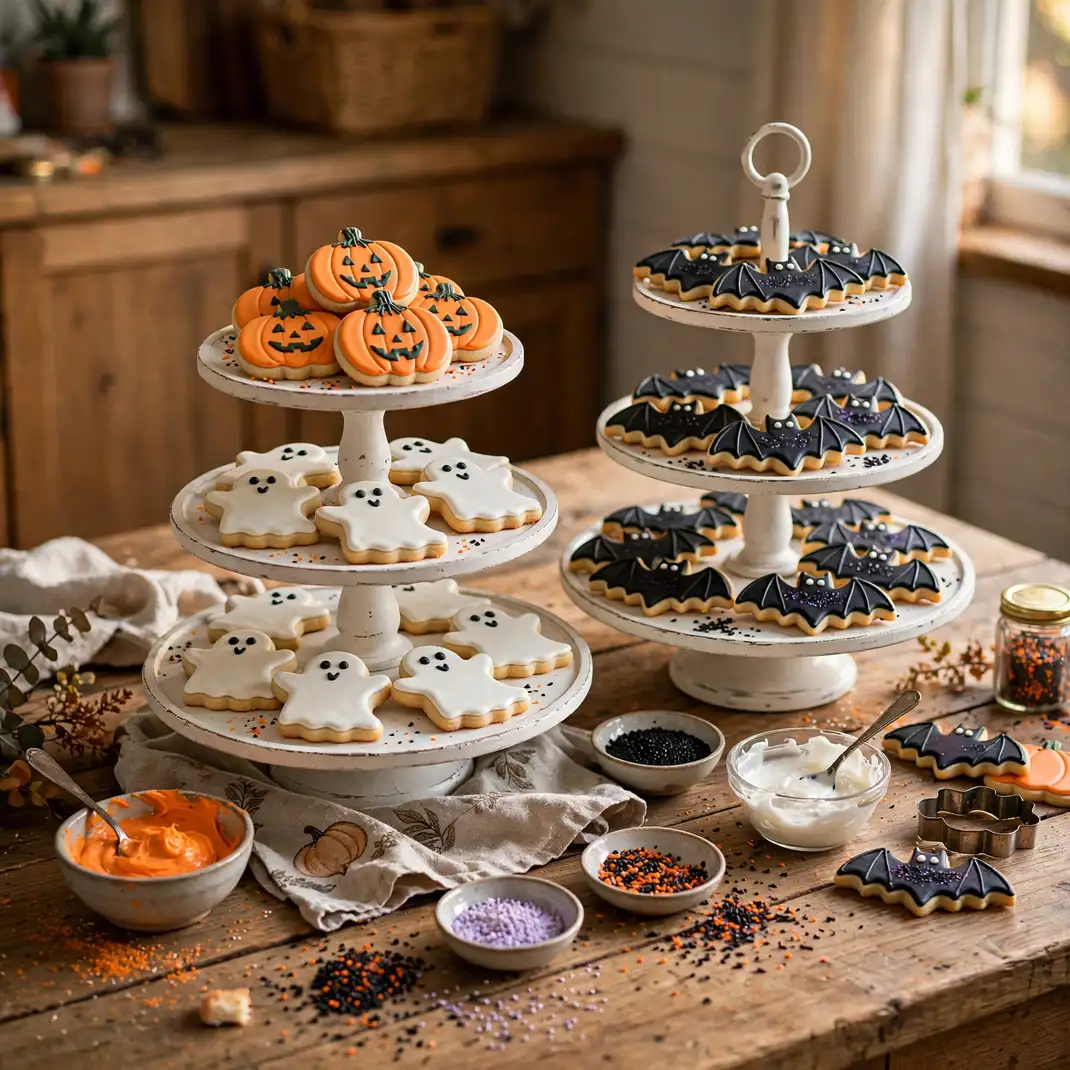
An afternoon of decorating Halloween sugar cookies is the season’s sweetest tradition: pumpkin, ghost, and bat cookie cutters, bowls of orange and white icing, and sprinkles everywhere. The decorated cookies become the decor, piled on cake stands around the kitchen. Imperfect cookies taste the best, and the photos are adorable.
How to Style It: Bake a big batch, set up an icing station with piping bags, and display the finished cookies on tiered stands.
Why It Photographs Beautifully: Little hands piping icing and rows of decorated cookies make heartwarming photos.
Pro Tip: Use royal icing; it hardens so the cookies can be stacked and gifted.
Budget-Smart Swap: Store-bought dough and canned frosting keep the tradition affordable and easy.
5. Create a Pumpkin Patch Play Corner
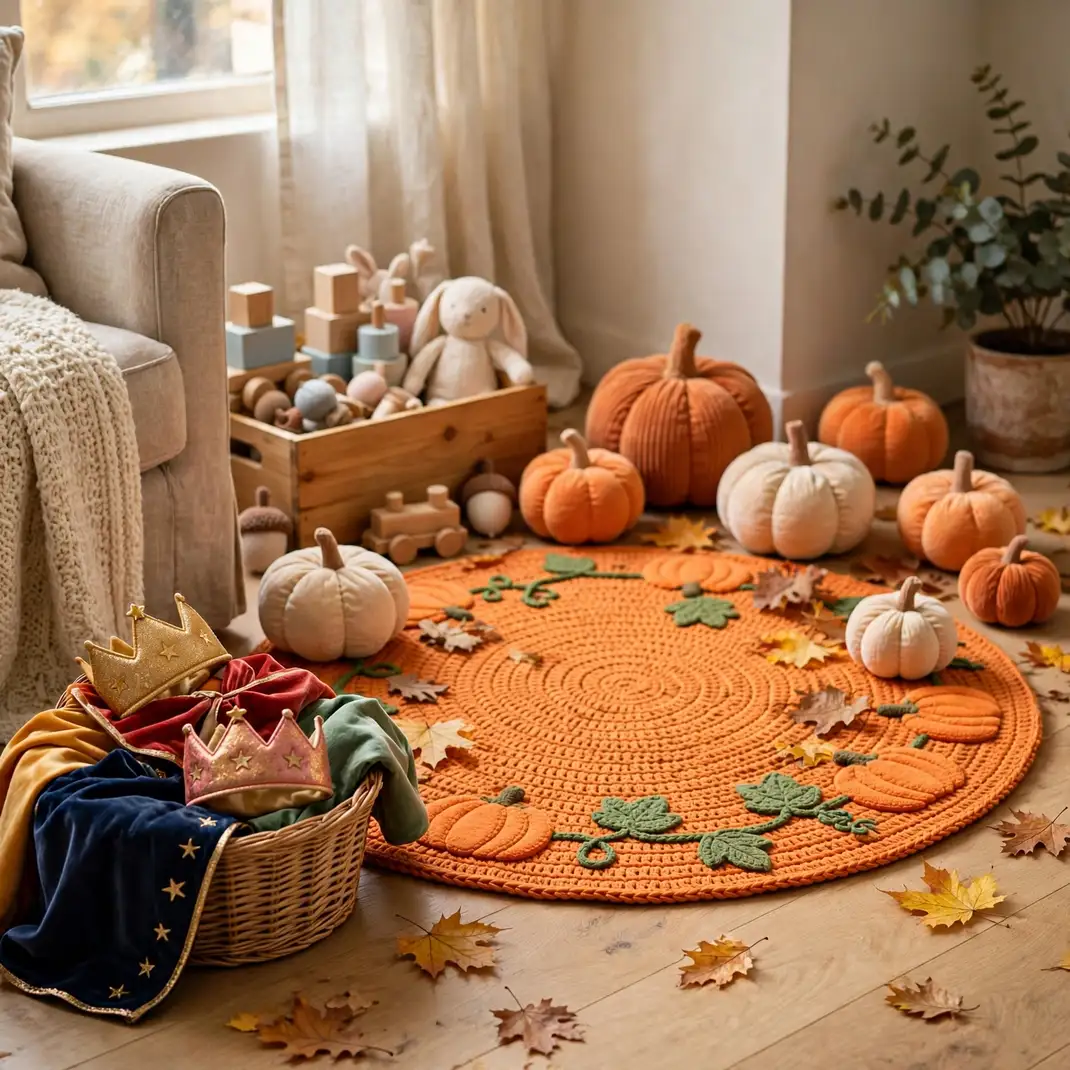
A pumpkin patch play corner in the living room gives little ones their own Halloween world: a round orange rug as the “patch,” scattered plush pumpkins, and a basket of dress-up capes. It keeps the season’s mess contained and the kids happily occupied. The corner photographs like a children’s book illustration.
How to Style It: Lay the round rug in a corner, scatter plush pumpkins and leaves, and add a small basket of capes and crowns.
Why It Photographs Beautifully: Kids playing in their own pumpkin patch make the season’s cutest photos.
Pro Tip: Add a small chalkboard where kids can write the “pumpkin patch rules.”
Budget-Smart Swap: An orange bedsheet makes a fine patch rug for the season.
6. Host a Living Room Movie Night
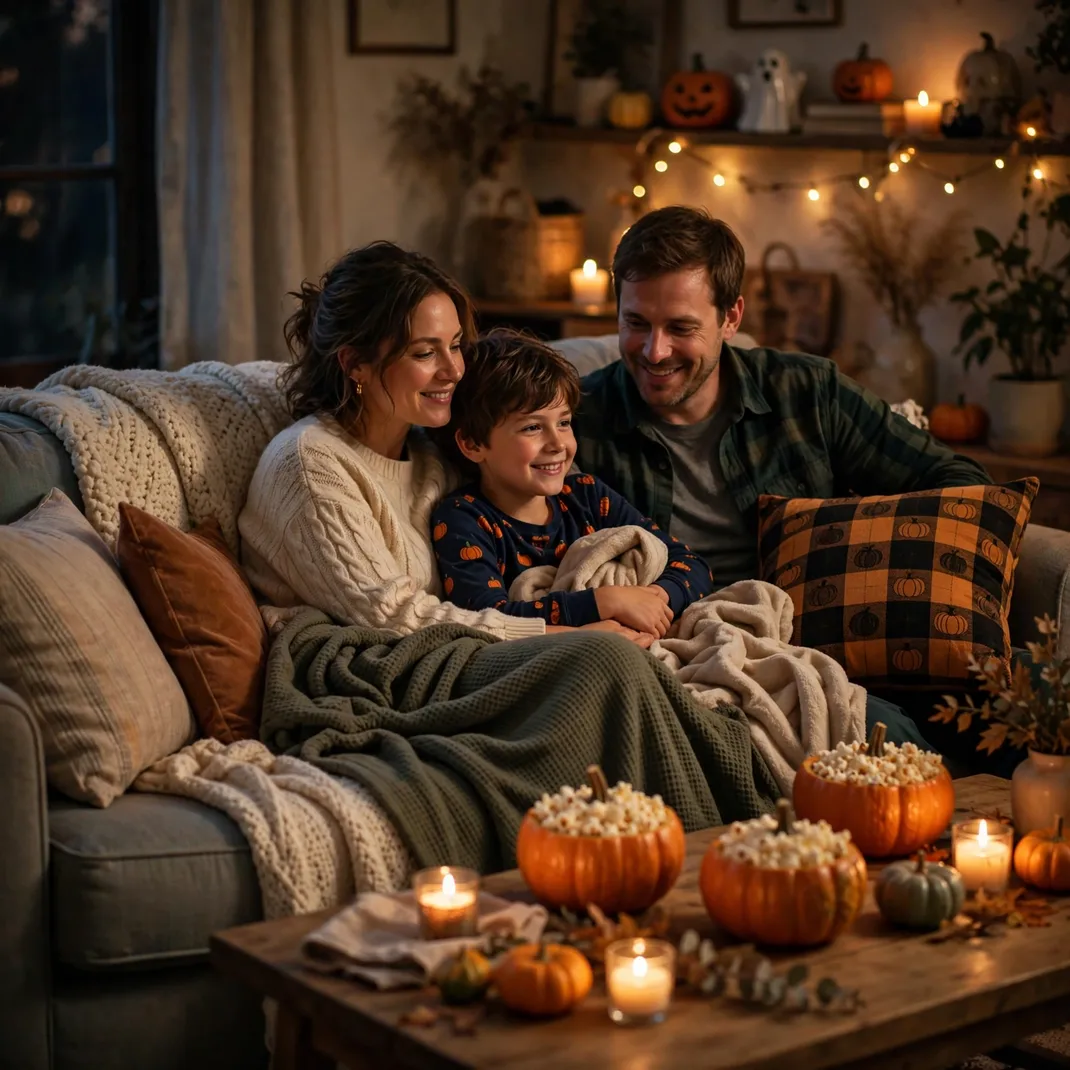
A not-scary Halloween movie night is the season’s coziest ritual: friendly ghost and pumpkin movies, popcorn in pumpkin bowls, blankets piled on the couch, and the lights dimmed low. The living room becomes a theater of treats. Pick the movie by family vote and make the popcorn bar the pre-show event.
How to Style It: Set up a popcorn bar with toppings, pile blankets and pillows on the couch, and dim the lights with candles.
Why It Photographs Beautifully: The family cuddled under blankets in the warm glow makes the coziest photos of the season.
Pro Tip: Make it a weekly October tradition; the anticipation becomes part of the magic.
Budget-Smart Swap: Library DVDs and stovetop popcorn keep the whole night nearly free.
7. Fill Jars with Candy Corn Layers
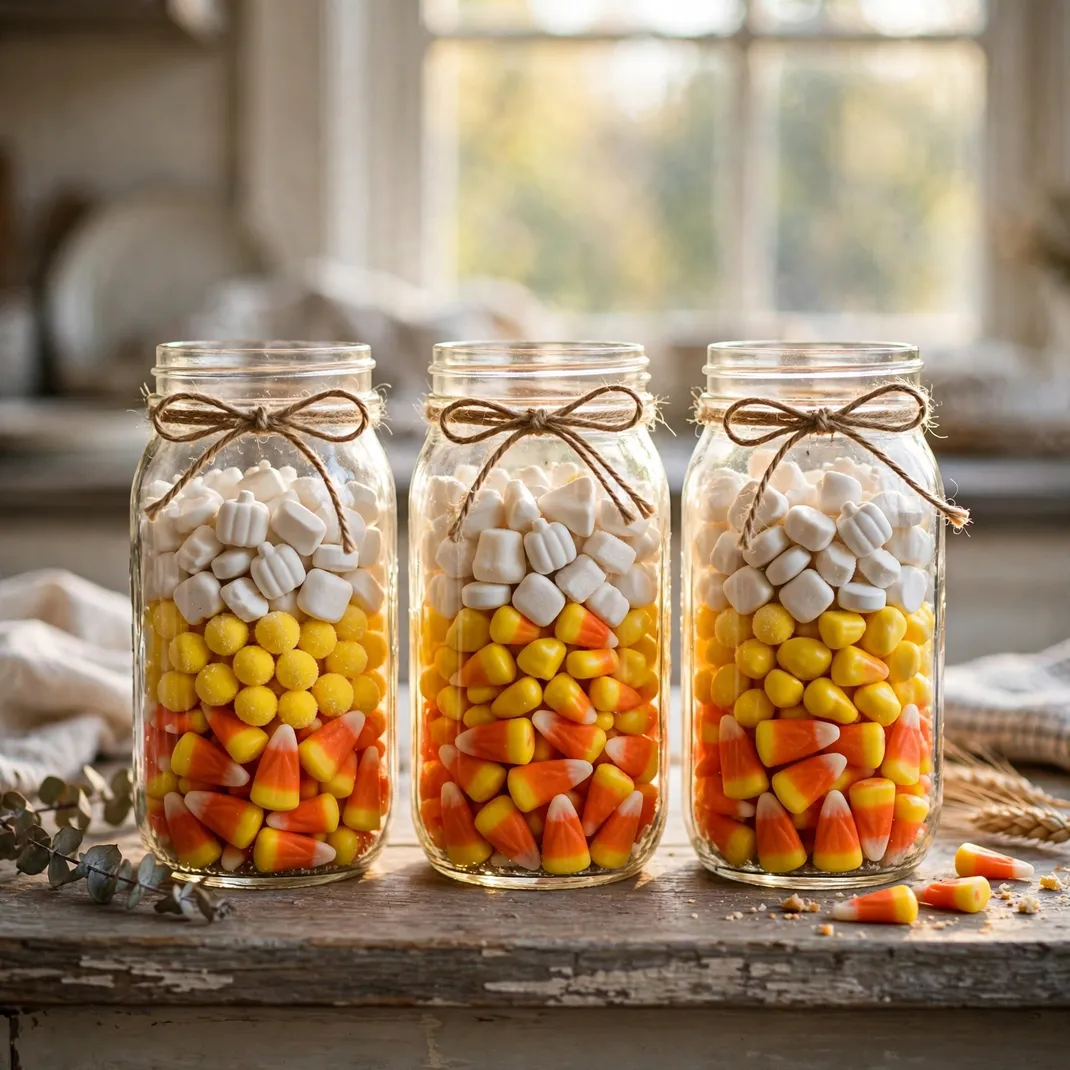
Glass jars layered with candy corn, pumpkins, and harvest candies become edible decor: the distinct layers of orange, yellow, and white look like sunset in a jar. Line the jars along the kitchen windowsill where the light shines through the candy. They are beautiful for weeks and delicious at the end.
How to Style It: Layer the candies in clear jars, three jars of varied heights, and tie twine bows around the necks.
Why It Photographs Beautifully: The glowing candy layers backlit by the window are stunning in photos.
Pro Tip: Pack each layer firmly; loose layers blur together within days.
Budget-Smart Swap: One large jar makes the same statement as three small ones.
8. Dress Up for a Family Costume Parade
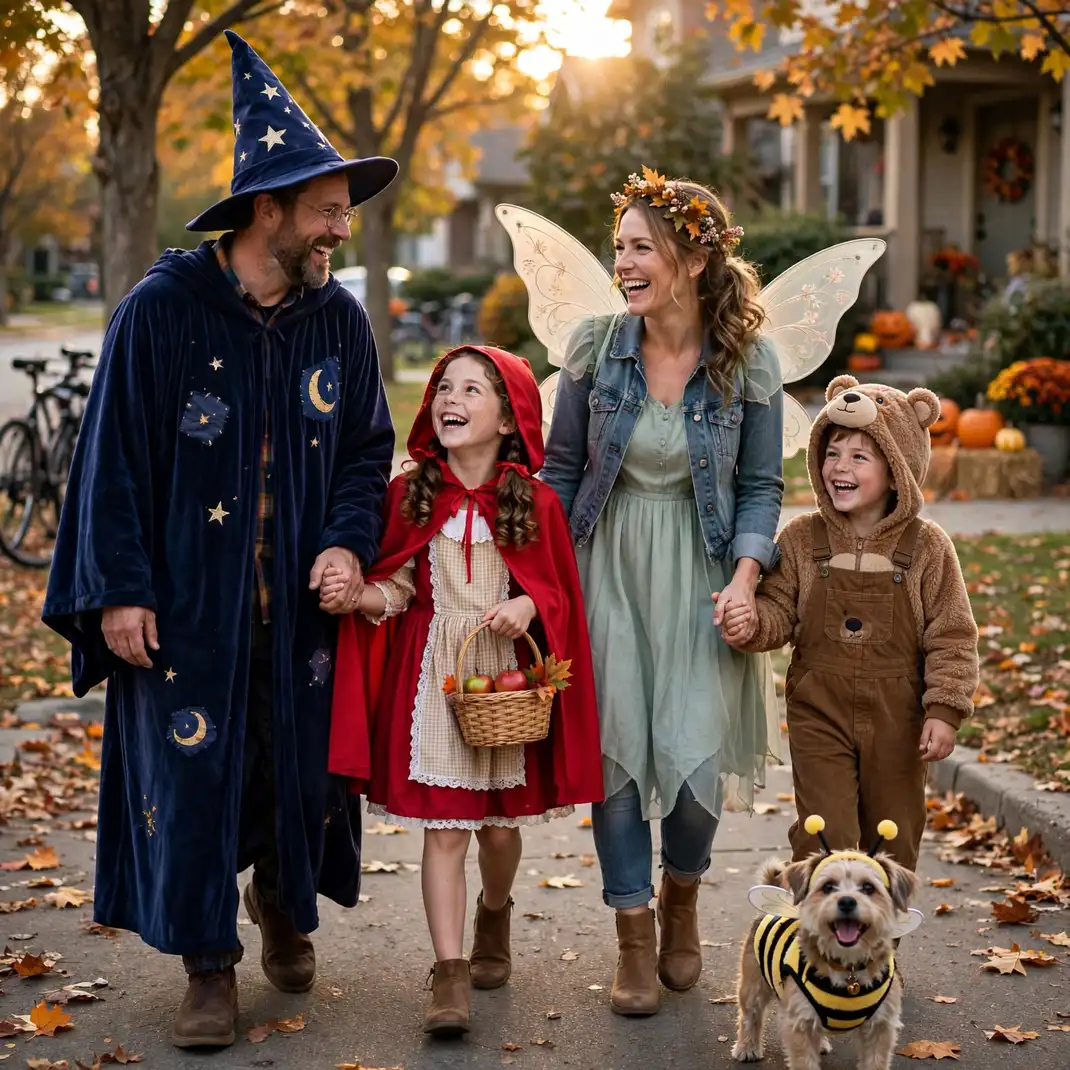
A family costume parade around the block or just around the living room is Halloween’s happiest event: everyone dresses up, the dog included, and parades to applause. The costumes become the decor and the photos become the keepsakes. Choose a theme, storybook characters or friendly animals, for the cutest group photos.
How to Style It: Pick a family theme, assemble costumes from closets and thrift stores, and parade at golden hour for the best light.
Why It Photographs Beautifully: Themed family costumes in golden light make legendary Halloween photos.
Pro Tip: Set a phone on a tripod with a timer; the whole family belongs in the photo.
Budget-Smart Swap: Closet costumes, pajamas as base layers, beat store-bought costumes for comfort and cost.
9. Make Caramel Apples Together
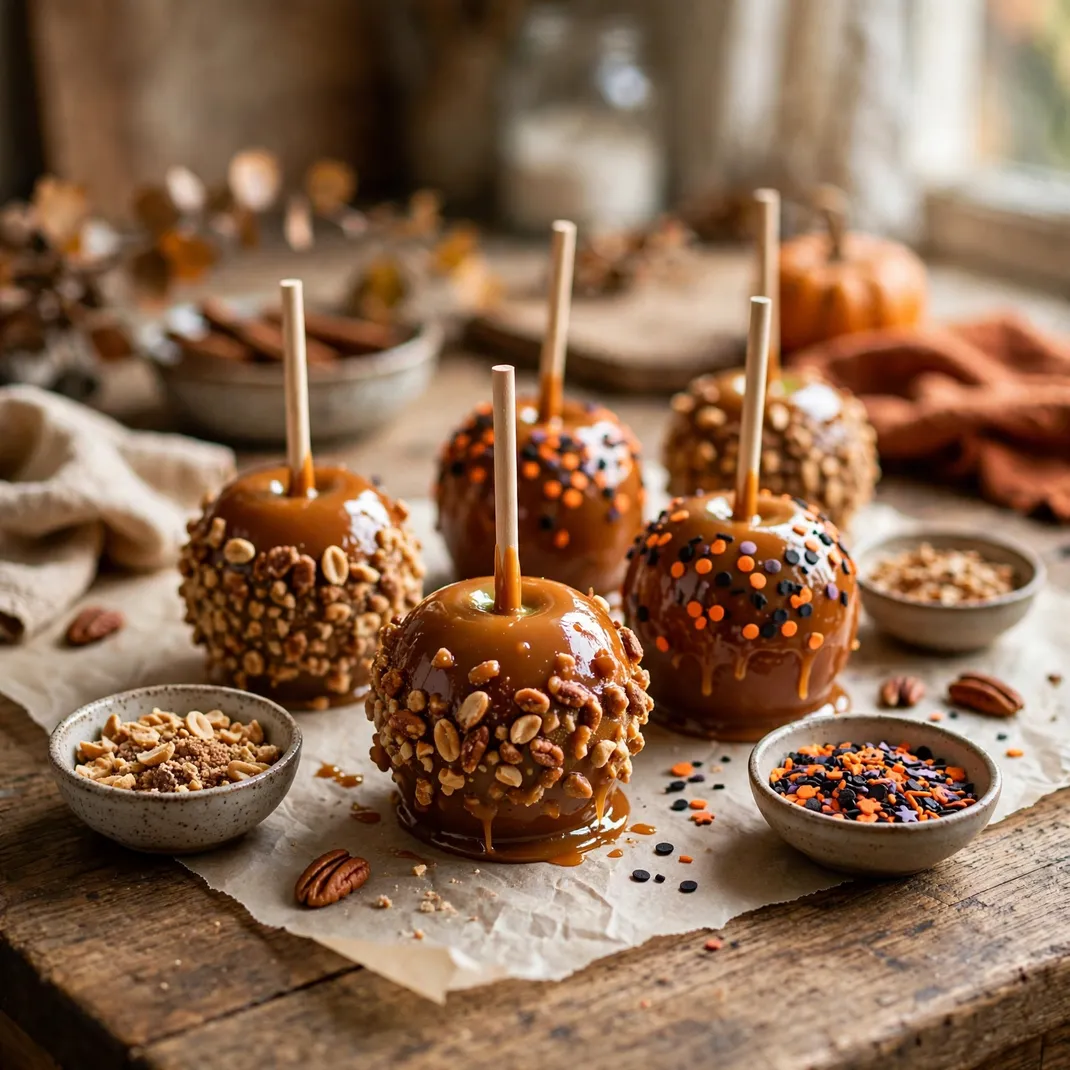
Dipping caramel apples is the tastiest Halloween craft: warm caramel, bowls of chopped nuts and sprinkles, and crisp apples on sticks, with everyone decorating their own. The finished apples lined up on parchment look beautiful and taste even better. It is messy in the best way.
How to Style It: Melt the caramel, set out topping bowls, and let everyone dip and decorate, then cool the apples on parchment.
Why It Photographs Beautifully: The glossy caramel apples with their colorful toppings are gorgeous close-ups.
Pro Tip: Chill the apples first; cold apples grip the warm caramel much better.
Budget-Smart Swap: Melting caramels from the baking aisle work perfectly; no need for from-scratch caramel.
10. String Popcorn and Cranberry Garlands
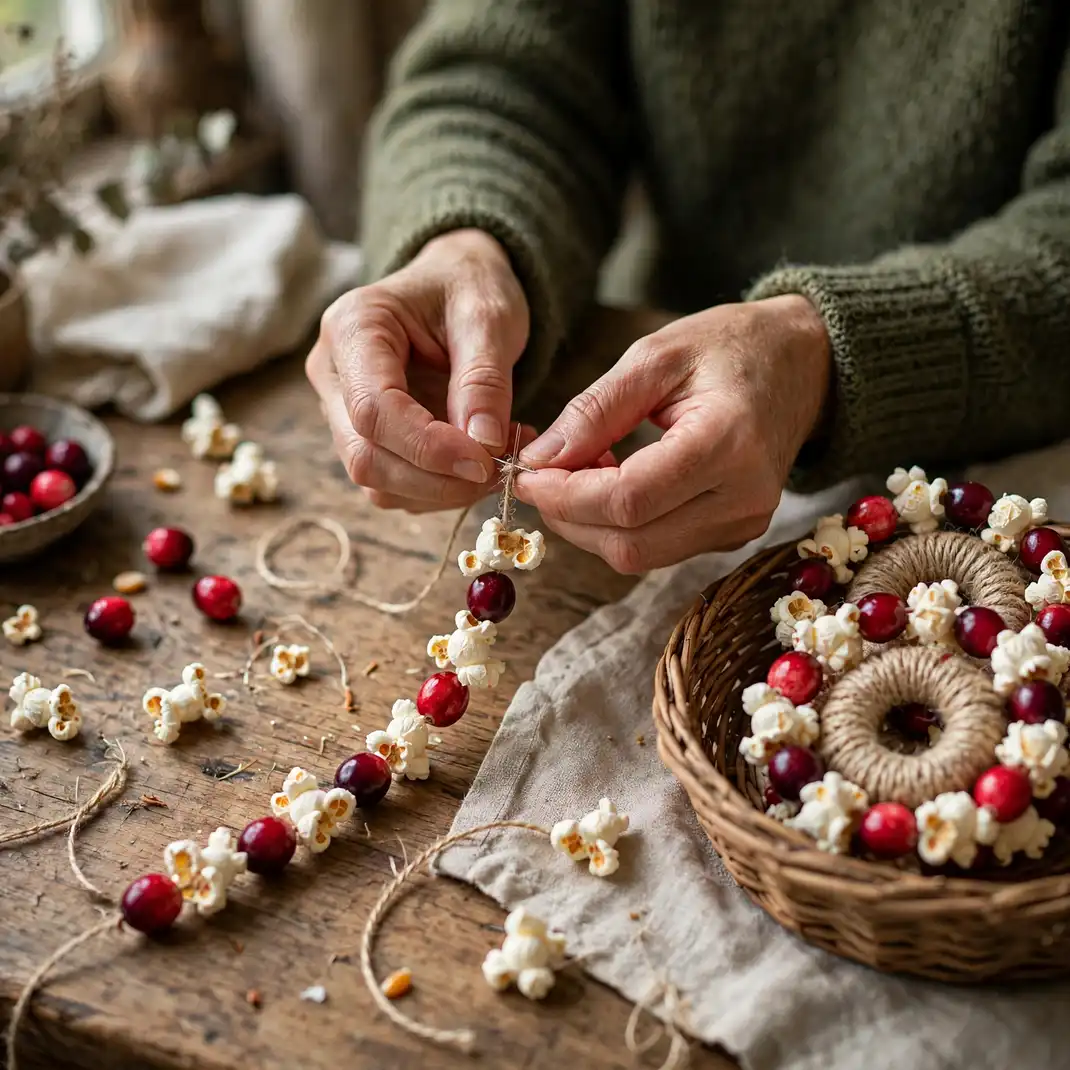
Stringing popcorn and cranberry garlands is the old-fashioned Halloween craft that still delights: the whole family threads popped corn and bright cranberries onto string, and the garlands drape the tree, the mantel, or the porch. It is slow, social, and screen-free. The garlands look beautiful and feed the birds afterward.
How to Style It: Thread popped corn and cranberries in alternating patterns on sturdy string, and drape the finished garlands loosely.
Why It Photographs Beautifully: The handmade garlands add nostalgic, homespun charm to every photo.
Pro Tip: Use day-old popcorn; fresh popcorn crumbles when threaded.
Budget-Smart Swap: A bag of popcorn and a bag of cranberries make yards of garland for very little.
11. Build a Hot Chocolate Bar
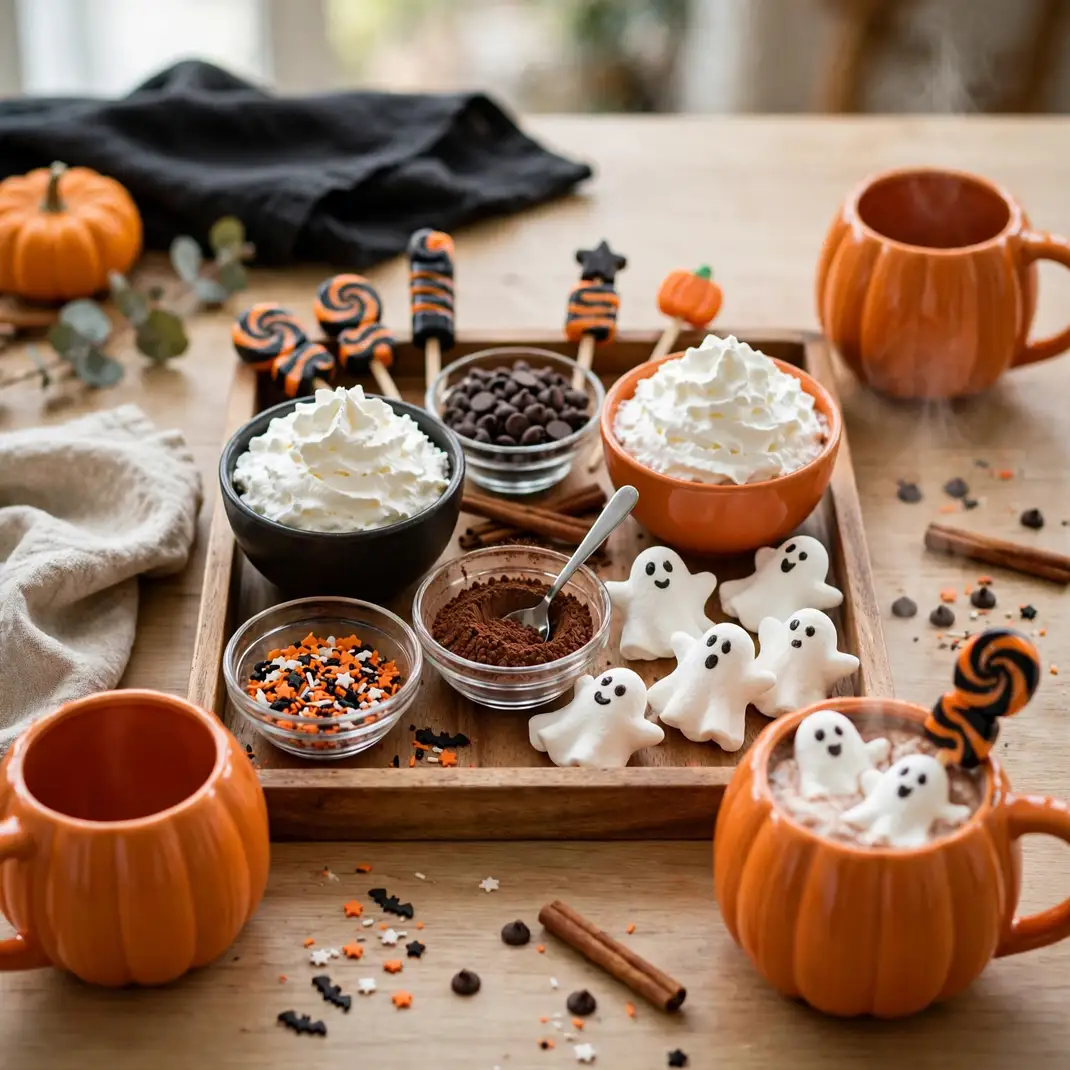
A Halloween hot chocolate bar turns chilly October evenings into an event: a tray with cocoa, marshmallow ghosts, candy stirrers, and whipped cream, all in orange and black dishes. Kids build their own cups and the bar itself decorates the kitchen counter. It is warmth you can drink.
How to Style It: Arrange the cocoa fixings on a large tray, add pumpkin mugs, and keep a kettle of hot milk nearby.
Why It Photographs Beautifully: The steaming mugs with their festive toppings make irresistible cozy photos.
Pro Tip: Draw ghost faces on large marshmallows with food-safe markers for the cutest toppers.
Budget-Smart Swap: Packets of cocoa and bulk marshmallows keep the bar affordable for a crowd.
12. Craft Tissue Paper Pumpkin Lanterns
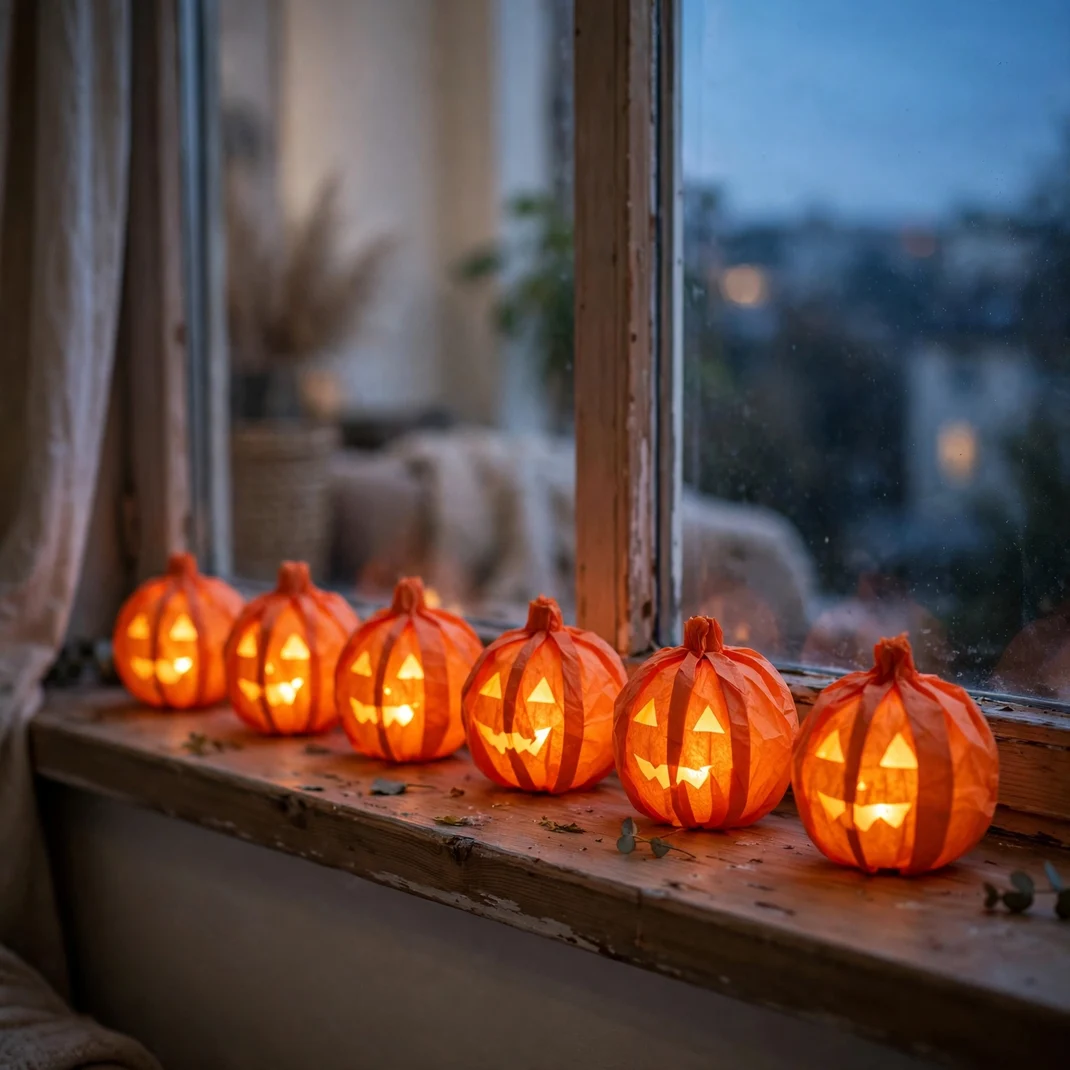
Tissue paper pumpkin lanterns glowing on the windowsill are the gentlest Halloween lights: orange tissue over balloon forms, glowing softly with LED tea lights inside. Kids make them in an afternoon and the windows glow like jack-o’-lanterns without a single carve. They are fragile, luminous, and lovely.
How to Style It: Cover small inflated balloons with orange tissue and glue, pop the balloons when dry, and set LED lights inside.
Why It Photographs Beautifully: The glowing tissue pumpkins on the sill make magical dusk photos.
Pro Tip: Two layers of tissue give the best glow; one layer tears, three block the light.
Budget-Smart Swap: Tissue paper and glue are among the cheapest craft supplies there are.
13. Read Spooky Stories by Flashlight
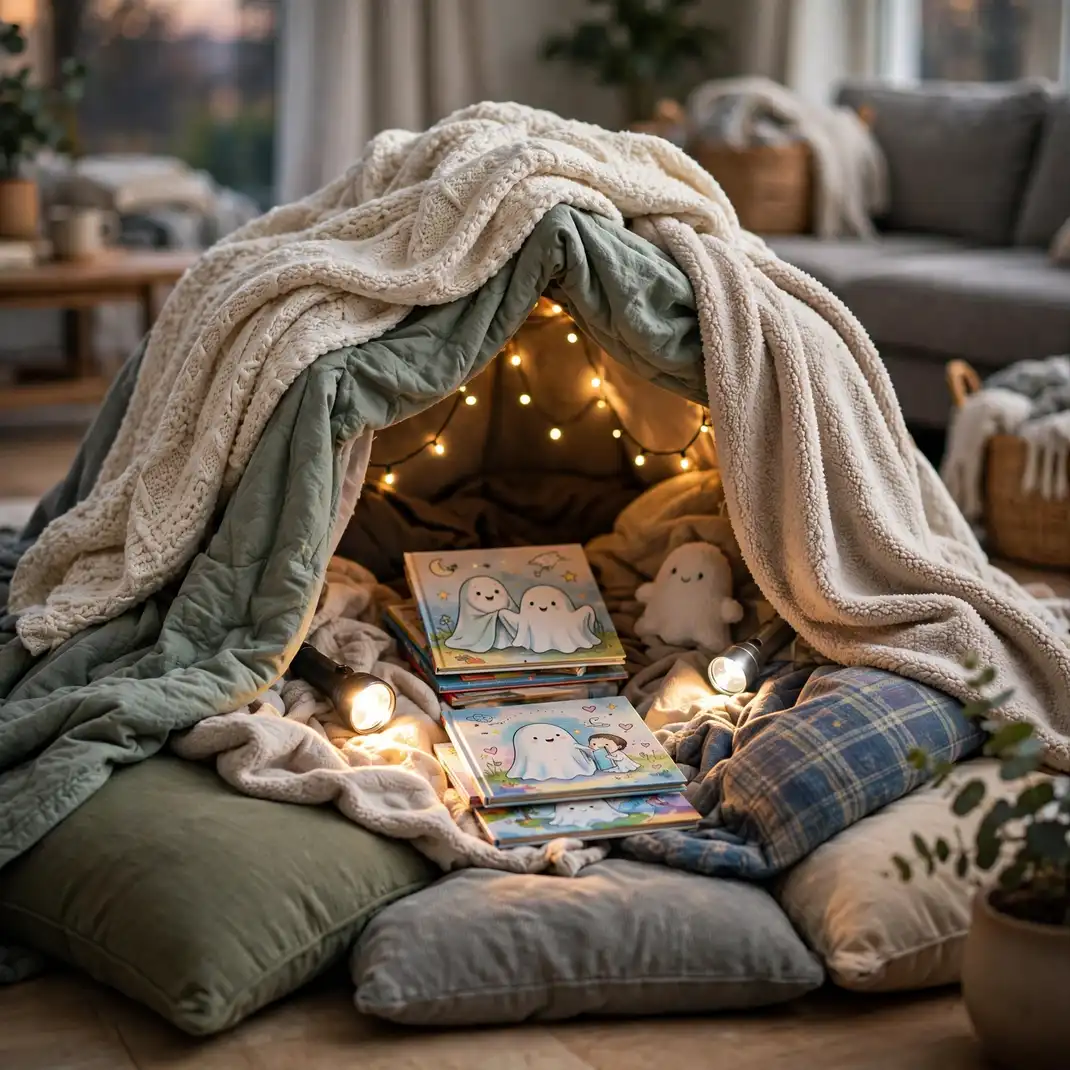
Reading not-too-spooky stories by flashlight under a blanket fort is Halloween’s gentlest thrill: the fort, the flashlights, the friendly ghost stories, and the giggles. Build the fort from couch cushions and blankets, pile in with the kids, and let the stories do the magic. It is the memory they will keep.
How to Style It: Build the fort in the living room, add string lights inside, and choose picture books with friendly ghosts.
Why It Photographs Beautifully: The glowing fort with kids’ flashlight-lit faces is pure storytelling magic in photos.
Pro Tip: End with a silly story, never a scary one; the last story sets the bedtime mood.
Budget-Smart Swap: Library books and couch cushions are all this tradition requires.
14. Plant a Candy Scavenger Hunt
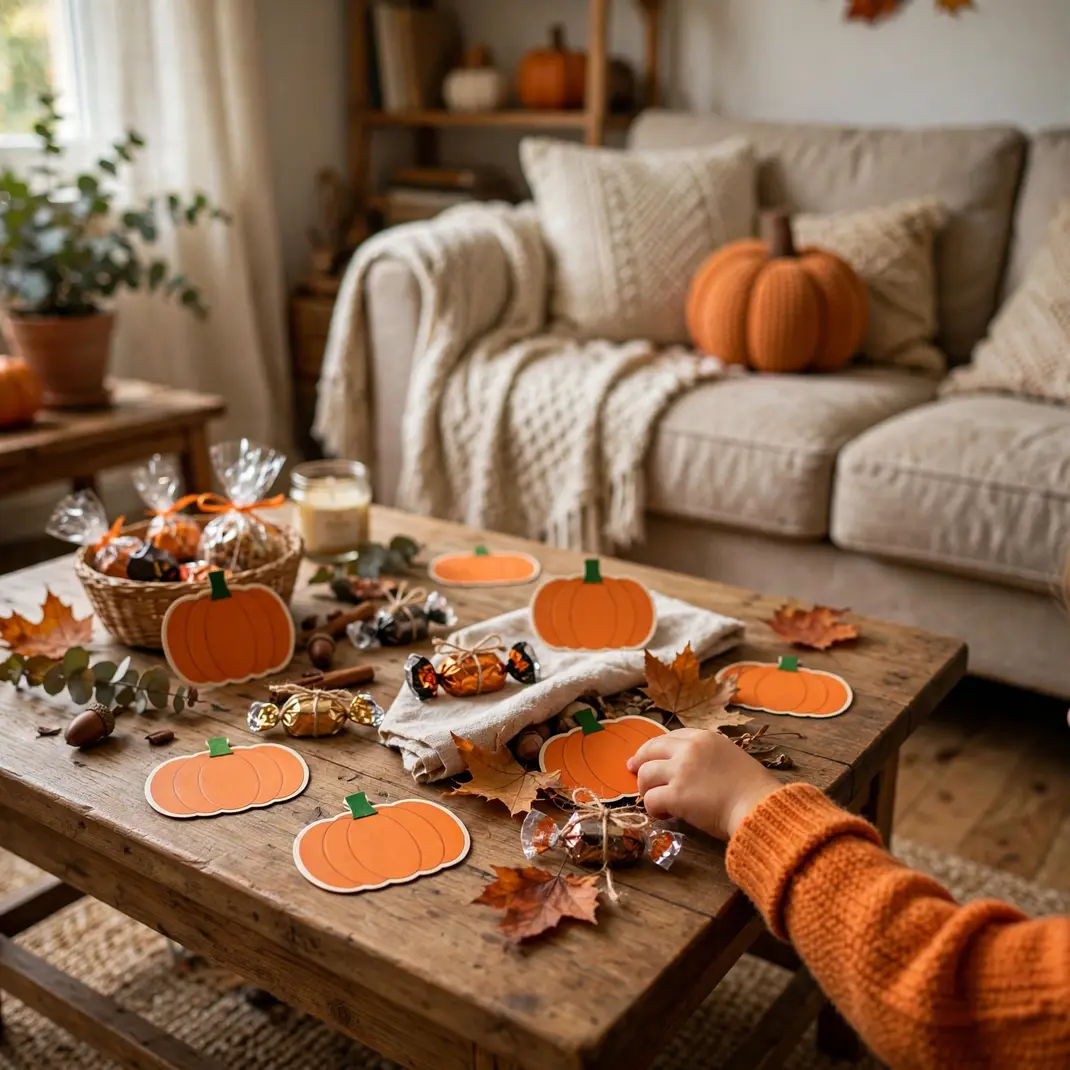
A candy scavenger hunt around the house or yard turns trick-or-treating into a game: picture clues for little ones, riddles for bigger kids, each leading to a small treat. The hunt takes twenty minutes to set up and delivers an hour of shrieking joy. Hide the final prize, a pumpkin full of candy, somewhere triumphant.
How to Style It: Write eight to ten clues on pumpkin-shaped cards, hide a treat at each spot, and start the hunters at the front door.
Why It Photographs Beautifully: Kids mid-hunt, clues in hand, make the most joyful action photos of the season.
Pro Tip: Number the clues; lost hunters can be redirected without spoiling the game.
Budget-Smart Swap: Hand-drawn clue cards on orange paper cost nothing and charm more than printed ones.
15. Decorate the Front Door with Smiles
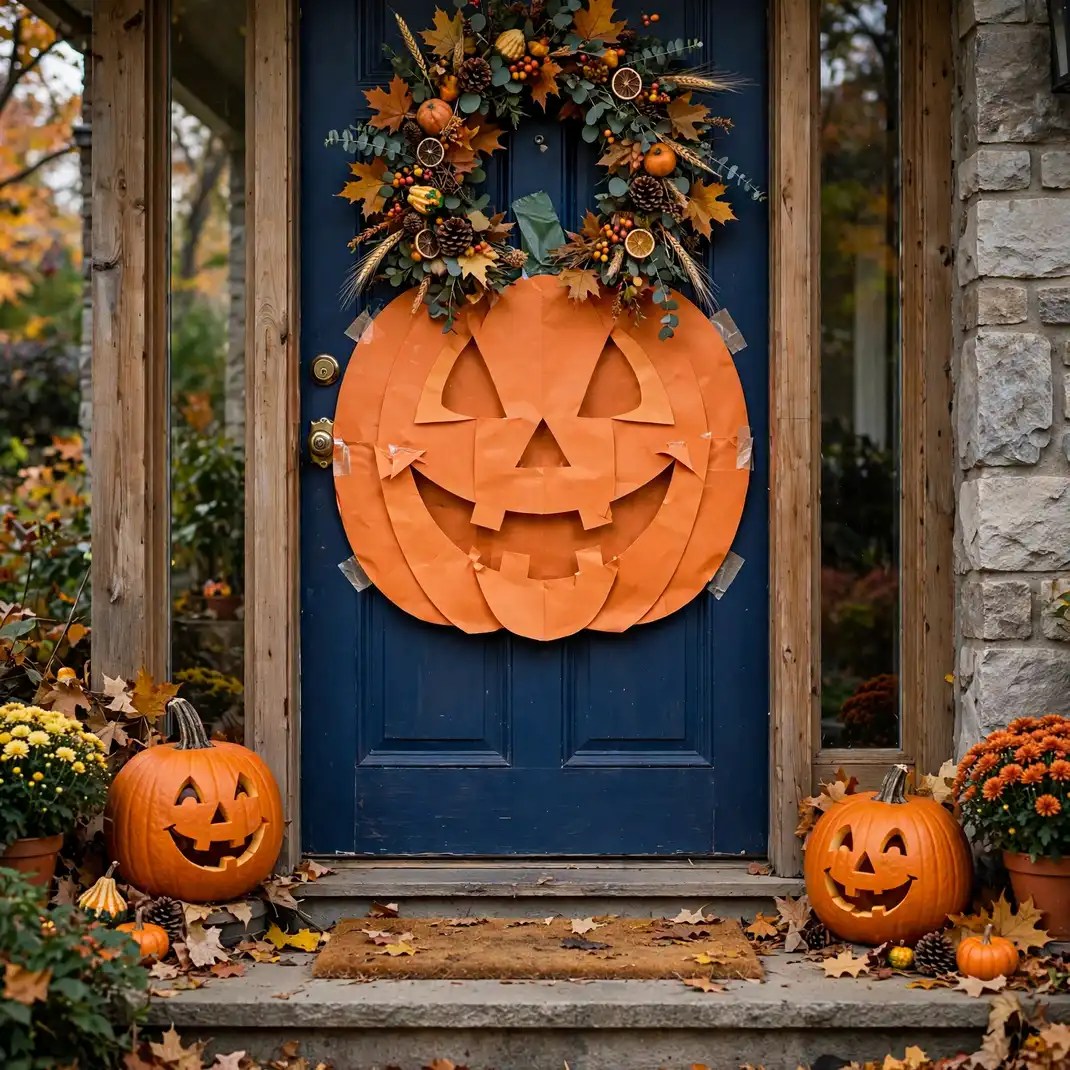
A front door decorated with a giant smiling pumpkin face tells trick-or-treaters this house is friendly: big paper eyes and a grin on the door, a cheerful wreath, and a bowl of candy at the ready. Little visitors approach with confidence instead of caution. It is hospitality, Halloween style.
How to Style It: Cut the giant face from black and white paper, tape it to the door, and flank the entrance with smiling pumpkins.
Why It Photographs Beautifully: The giant grinning door is a landmark; neighbors will photograph it.
Pro Tip: Use painter’s tape; it holds the paper through October weather and removes cleanly.
Budget-Smart Swap: Construction paper and tape are all this friendly face requires.
16. Make Ghost Footprint Art
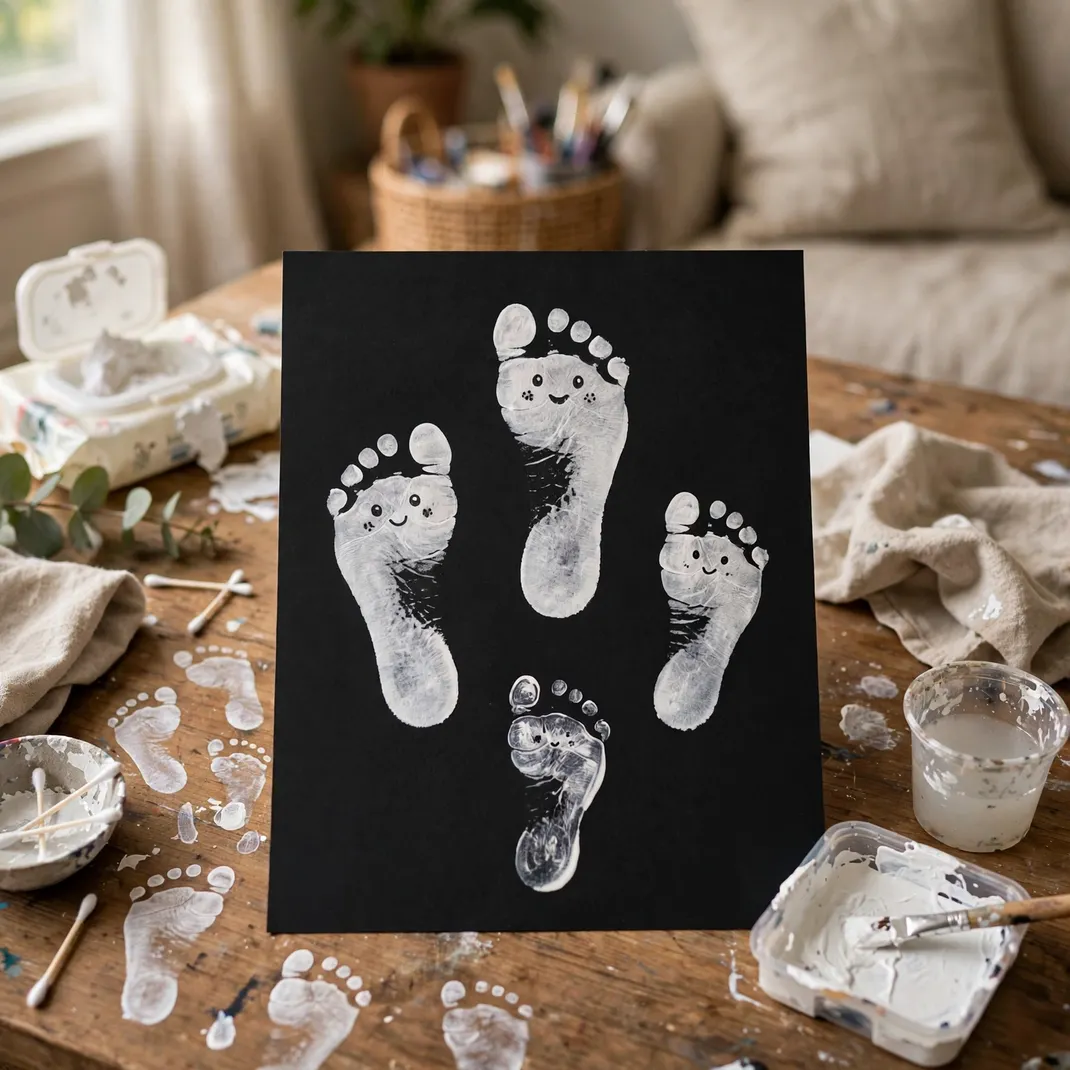
Ghost footprint art turns tiny feet into keepsakes: white paint on little soles, pressed onto black paper, then decorated with ghost faces once dry. The finished prints get framed or sent to grandparents. It is messy, hilarious, and the resulting art is genuinely frame-worthy.
How to Style It: Paint the soles, press firmly onto black cardstock, let dry, then draw the ghost faces with a white gel pen.
Why It Photographs Beautifully: The process photos, paint, giggles, tiny feet, are as precious as the finished art.
Pro Tip: Do it on a washable tablecloth near the sink; cleanup is part of the plan.
Budget-Smart Swap: Washable white paint and black construction paper are all you need.
17. Serve Mummy-Wrapped Snacks
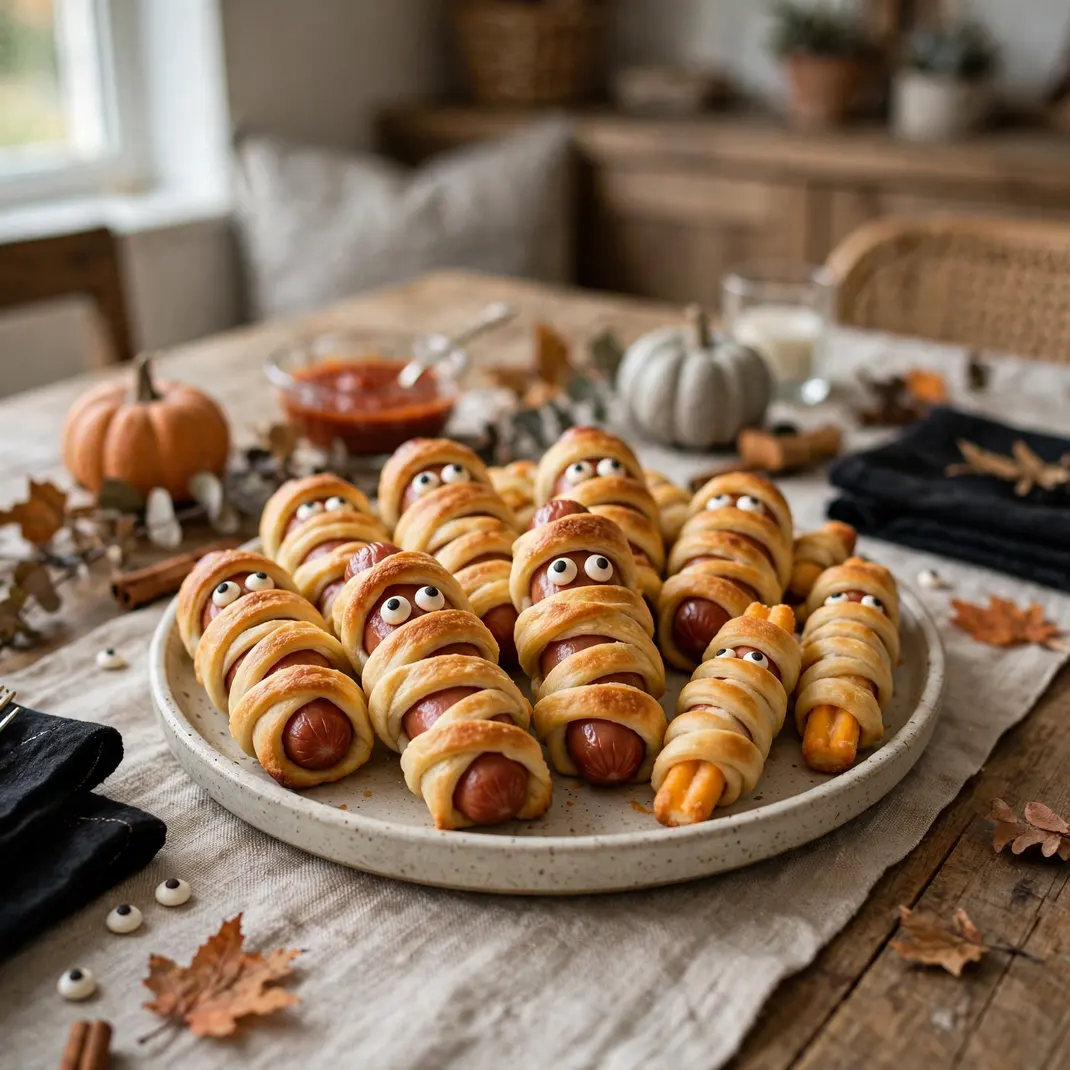
Mummy-wrapped snacks make party food adorable: hot dogs or cheese sticks wrapped in strips of crescent dough with little candy eyes peeking out. Kids devour them because they are cute, and the platter looks fantastic. They are the rare Halloween food that is both themed and genuinely delicious.
How to Style It: Wrap the snacks in thin dough strips, bake until golden, and press on candy eyes while warm.
Why It Photographs Beautifully: The little mummy faces lined up on a platter are irresistibly cute in photos.
Pro Tip: Leave a gap in the wrapping for the face; the eyes need a clear spot.
Budget-Smart Swap: Refrigerated dough and hot dogs make dozens of mummies for very little.
18. Hang a Gratitude Pumpkin
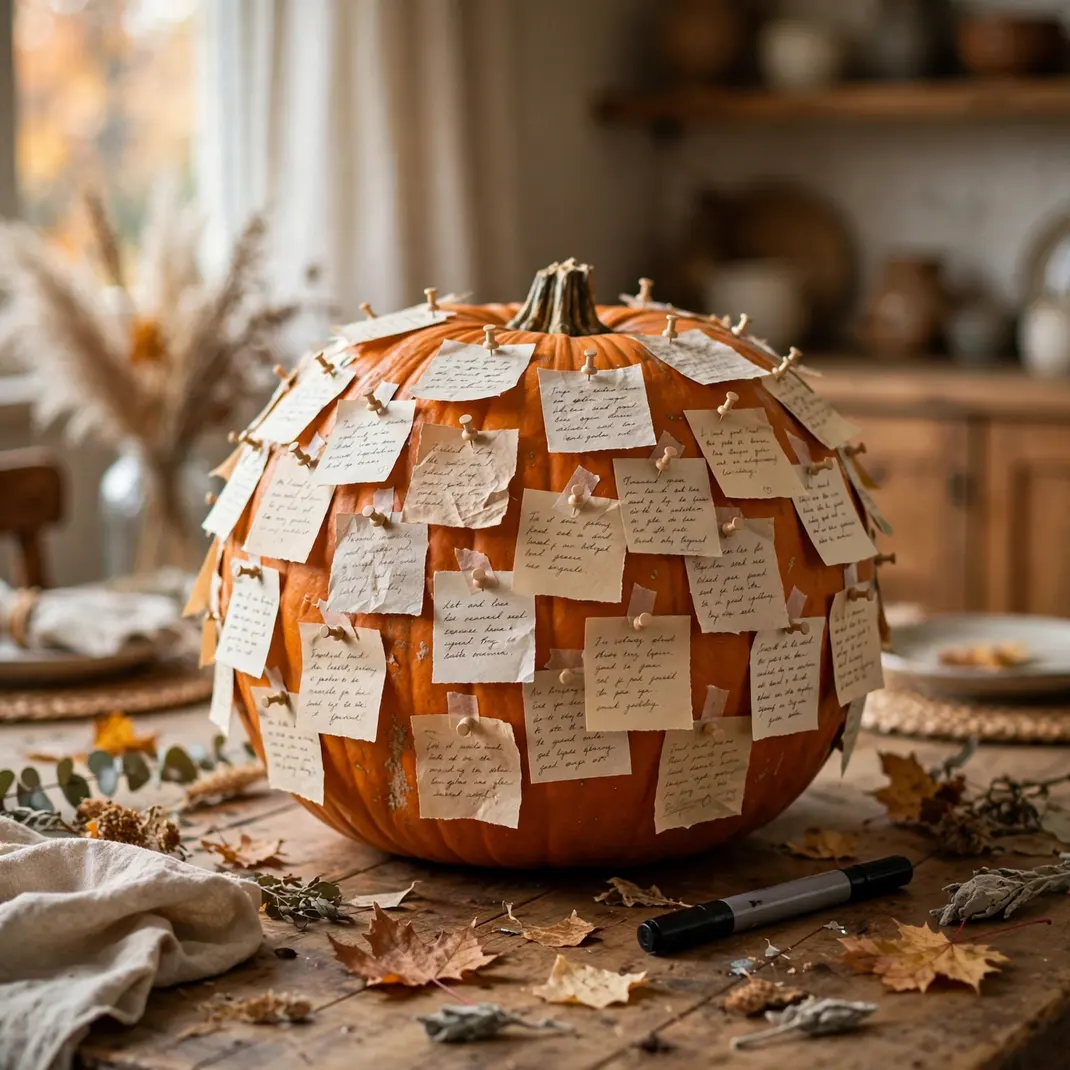
A gratitude pumpkin gives Halloween a thankful heart: a large pumpkin where every family member writes one thing they are grateful for each day of October. By Halloween it is covered in love. It sits on the dining table as the season’s centerpiece and starts the best dinner conversations.
How to Style It: Set a large pumpkin and a paint marker on the dining table, and add one gratitude note per person per day.
Why It Photographs Beautifully: The pumpkin covered in handwritten notes is a beautiful, meaningful centerpiece.
Pro Tip: Read them all aloud on Halloween night; it becomes the family’s favorite tradition.
Budget-Smart Swap: A faux pumpkin and marker create a keepsake that returns every October.
19. Visit a Daytime Pumpkin Patch
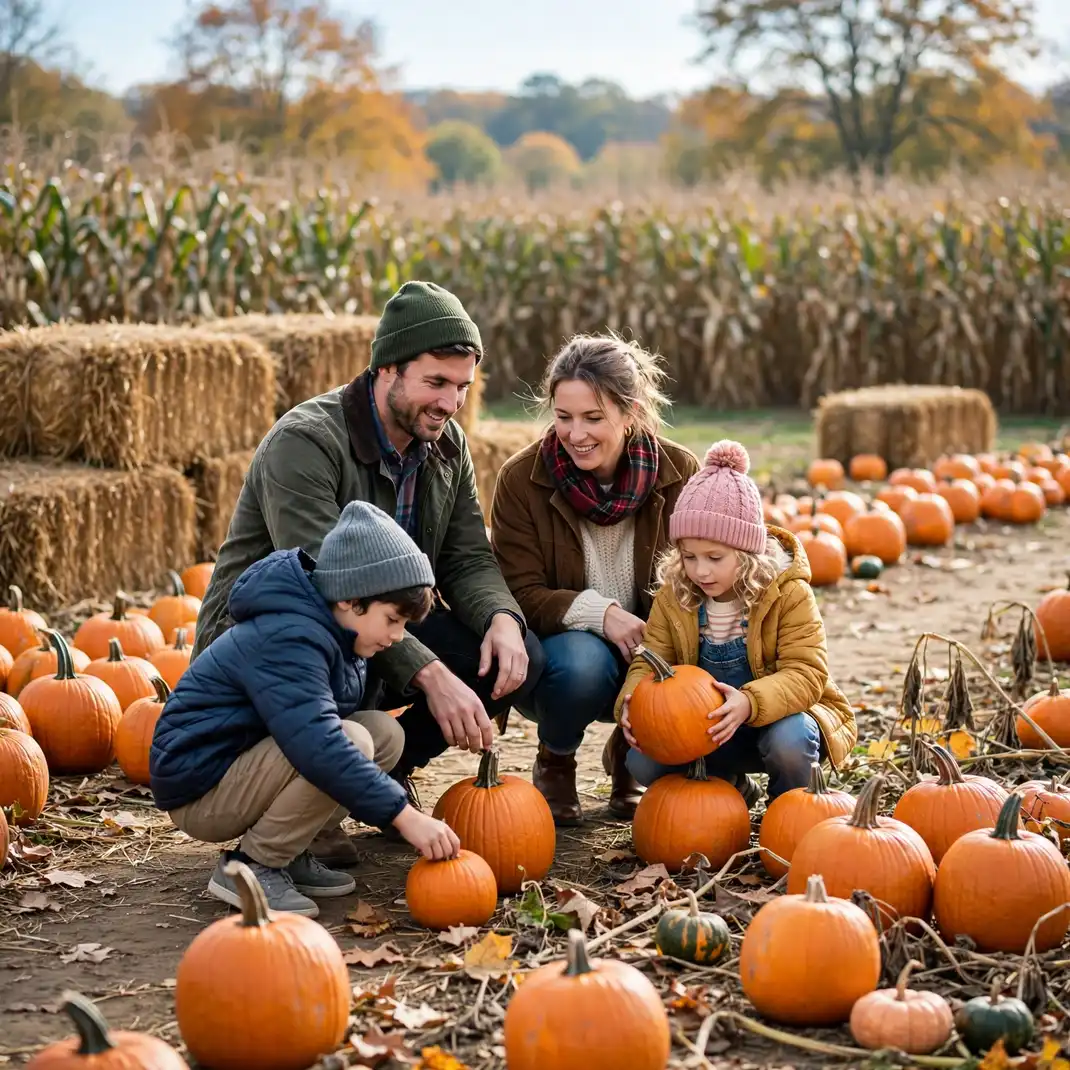
A daytime pumpkin patch visit is the season’s essential family outing: hay bales, corn mazes, cider donuts, and rows of pumpkins to choose from. Go on a weekday morning for the smallest crowds and the best light. Let each child pick their own pumpkin; the choosing is the whole point.
How to Style It: Go early, bring a wagon for the pumpkins, and plan for cider donuts as the reward.
Why It Photographs Beautifully: Kids among the pumpkins in morning light make the season’s classic family photos.
Pro Tip: Bring cash; many patches are cash-only for the small extras.
Budget-Smart Swap: Many patches charge no entry; you only pay for what you pick.
20. End with a Neighborhood Treat Walk
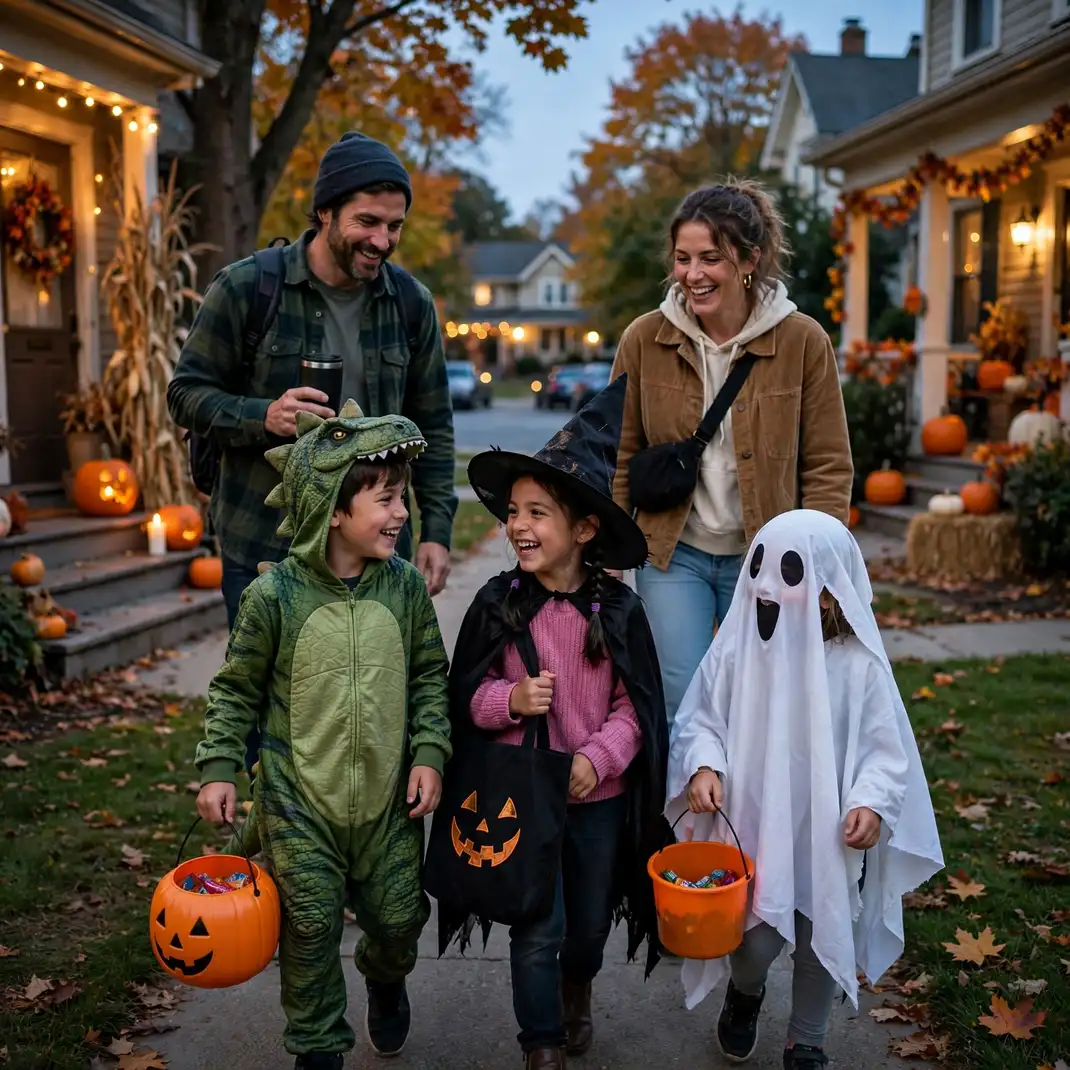
A neighborhood treat walk on a friendly street is trick-or-treating at its sweetest: costumed kids, decorated porches, neighbors handing out candy with big smiles. Walk together as a group, bring a wagon for tired little legs, and end at home with hot chocolate. It is Halloween exactly as it should be.
How to Style It: Coordinate with neighbors, walk the friendliest street at dusk, and finish with the hot chocolate bar at home.
Why It Photographs Beautifully: Costumed kids on glowing porches at dusk make magical Halloween photos.
Pro Tip: Put reflective tape on costumes; visibility keeps the walk safe after dark.
Budget-Smart Swap: The walk itself is free; the candy comes to you.
Halloween’s sweetest side is the one the whole family shares: the painted pumpkins, the cookie afternoons, the blanket forts, and the dusk-lit treat walks. Pick your favorites from these twenty and make this October the gentlest, happiest one yet.
Focus keyword: not scary Halloween ideas