23 Dark Gothic Bedroom Accents for Moody Halloween Nights
A dark gothic bedroom does not need to resemble a theatrical set. The most convincing rooms are built from a few disciplined details: timeworn finishes, architectural shapes, low pools of light, and tactile materials that become richer after sunset. For Halloween, those accents can feel mysterious and dramatic while the bedroom remains comfortable enough for every night of the season.
1. Layer Charcoal Limewash with an Inky Lower Band
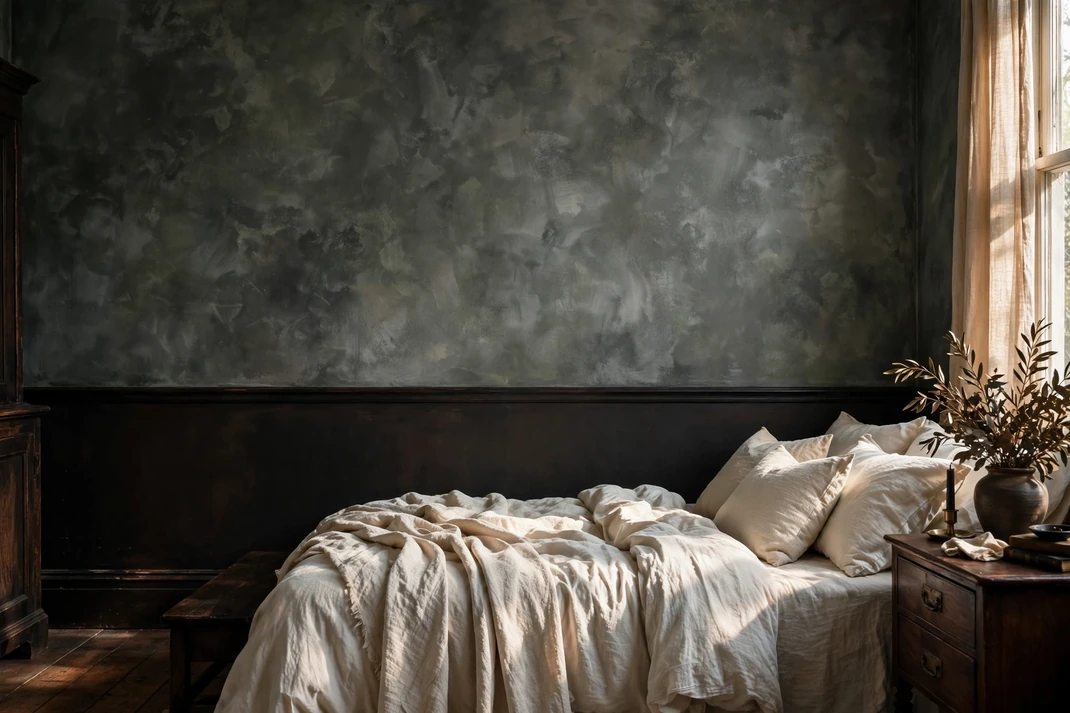
Cloudy charcoal limewash gives the walls the depth of old stone, while an ink-black lower band adds tailored structure. The tonal shift is subtle in daylight and beautifully shadowed at night, making pale bedding and dark wood furniture look unusually crisp.
The Setup: Apply a mineral-effect paint or matte limewash in soft charcoal to the full wall, following the maker’s cross-brush technique. Once dry, mark a level line 34 to 40 inches from the floor and paint below it in deep black-brown eggshell; finish the join with a slim black chair rail if the room has traditional trim. Renters can create the lower band with removable matte vinyl.
Why It Photographs Well: The mottled upper wall catches side light, while the solid lower band anchors the frame. Tonal contrast reads as architectural depth instead of a flat dark backdrop.
Pro Tip: Stop the dark band just below the top of the bedside tables; the furniture then appears integrated with the wall rather than floating against it.
2. Paper the Ceiling in Black-on-Black Damask
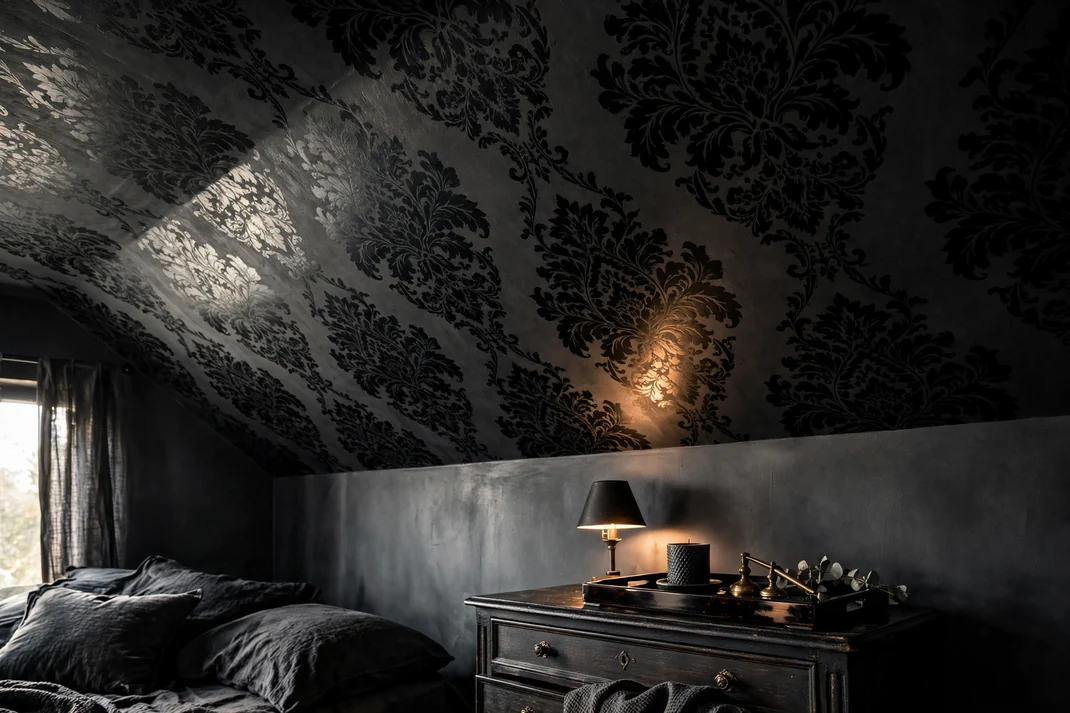
A damask pattern placed overhead turns the ceiling into a quiet, brooding fifth wall. Using two blacks—one matte and one with a soft sheen—keeps the motif almost hidden until lamplight moves across it.
The Setup: Choose lightweight wallpaper with a large-scale charcoal or black damask and install it on a smooth, properly prepared ceiling; use a professional for high rooms or difficult seams. Keep the walls a quieter soot gray and repeat the ceiling’s sheen only once, perhaps in a lacquered tray or satin cushion. Peel-and-stick paper is the practical rental option, provided the ceiling paint is compatible.
Why It Photographs Well: A camera angled slightly upward catches the pattern’s changing reflectivity, creating depth without busy color. The oversized repeat also makes a modest room feel more enveloping.
Pro Tip: Align the center of one complete damask motif with the centerline of the bed before laying the remaining strips.
3. Build a Faux-Stone Lancet Niche
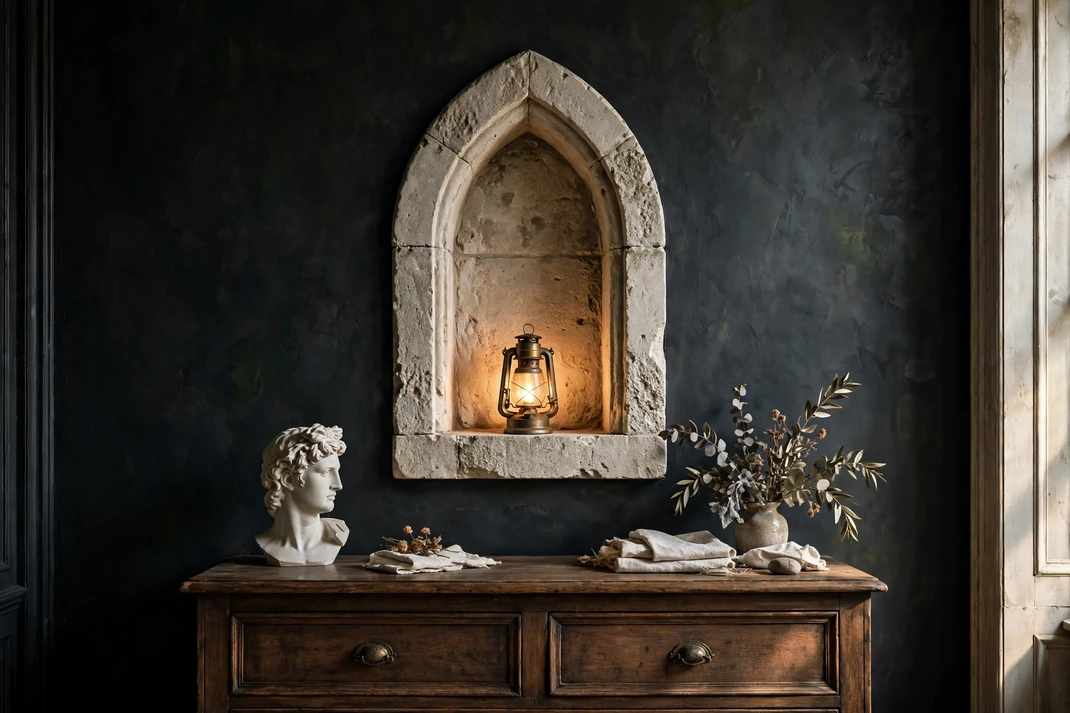
A shallow pointed-arch niche introduces Gothic architecture without stealing floor space. Finished in chalky limestone tones against a dark wall, it creates a pale, sculptural pause for one carefully chosen object.
The Setup: Cut a lancet shape from lightweight rigid foam, add narrow side returns to suggest depth, and coat the face with premixed stone-effect texture. Fix the completed piece securely above a dresser, then place a single battery lantern or matte ceramic vessel inside. For permanent work, have a carpenter form the niche from MDF and anchor it to studs.
Why It Photographs Well: The pointed silhouette is instantly legible, and the pale surround produces a strong figure-ground contrast against charcoal paint. A small internal glow reveals the recess and its rough texture.
Pro Tip: Mix a spoonful of taupe and gray paint into the texture coat so chips or brush marks read like natural variation rather than bright white damage.
4. Install Velvet-Covered Gothic Arch Panels
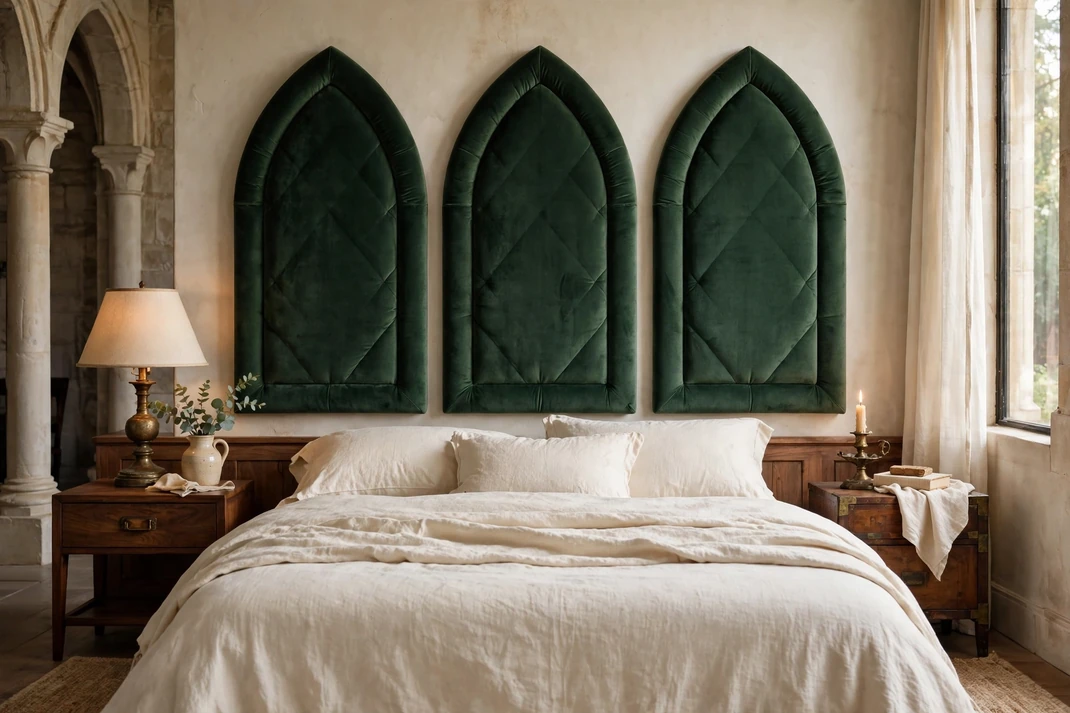
A row of tall velvet panels gives the bed wall the rhythm of a cloister, but the padded surface keeps the room hushed and inviting. Deep bottle green offers more nuance than black, especially beside walnut, aged brass, and warm ivory linen.
The Setup: Cut three equal pointed-arch panels from thin plywood, pad each with half-inch upholstery foam, and wrap them tightly in cotton velvet. Mount the panels side by side with a two-inch gap, beginning four inches above the mattress and extending at least 18 inches beyond each side of the bed. Use a French cleat or another fixing rated for the finished weight.
Why It Photographs Well: Velvet alternates between deep shadow and soft highlights, while the repeated peaks pull the eye upward. The symmetrical arrangement frames the bedding cleanly in a straight-on photograph.
Pro Tip: Brush every panel’s nap in the same downward direction before mounting; mismatched pile can make identical green fabric appear like three different shades.
5. Hang a Faded Medieval Tapestry
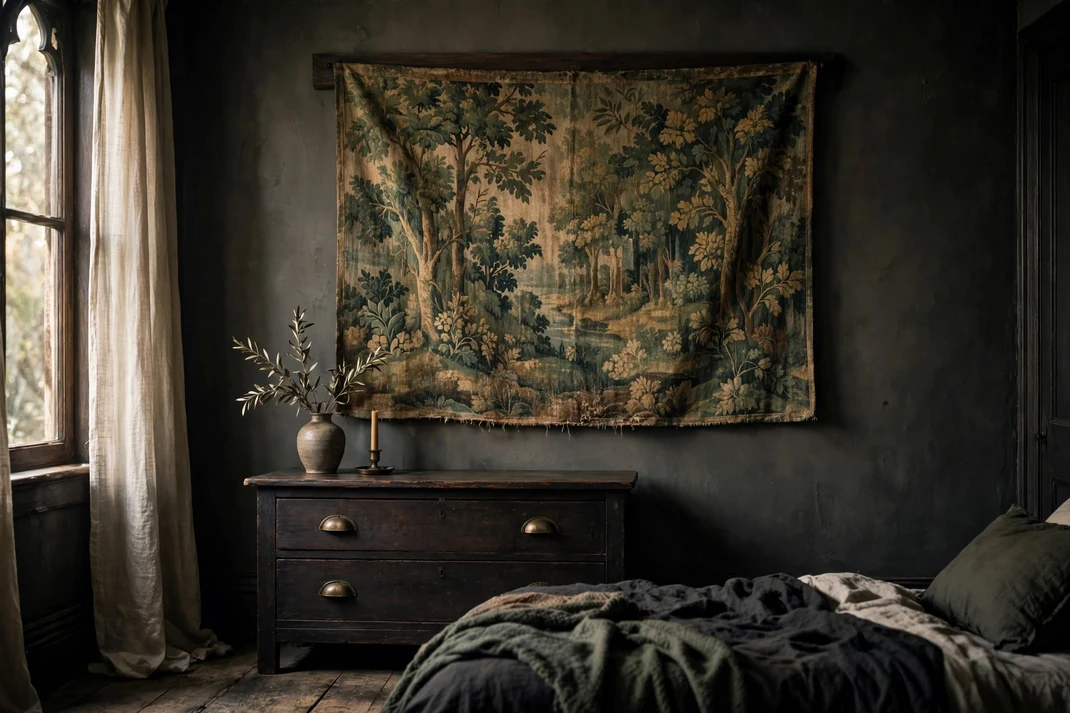
A single verdure-style tapestry brings forest greens, old gold, and smoky umber into a room without relying on obvious Halloween symbols. Its woven surface softens both sound and sight, giving a spare wall the romance of an inherited textile.
The Setup: Choose one tapestry roughly two-thirds the width of the wall and hang it from a concealed batten with hook-and-loop tape sewn to a fabric sleeve. Position its lower edge at least eight inches above furniture, and keep surrounding objects simple: one dark chest, one lamp, and an open area of wall. A printed cotton wall cloth is a lighter, budget-friendly substitute.
Why It Photographs Well: The broad textile reads as an entire layer of scenery, while faded threads absorb light more gracefully than glossy wall art. Side lighting makes the weave visible without flattening the imagery.
Pro Tip: Steam the tapestry from the reverse and allow a slight natural drape; a perfectly taut textile loses the age and softness that make this look convincing.
6. Suspend Portraits from a Black Picture Rail
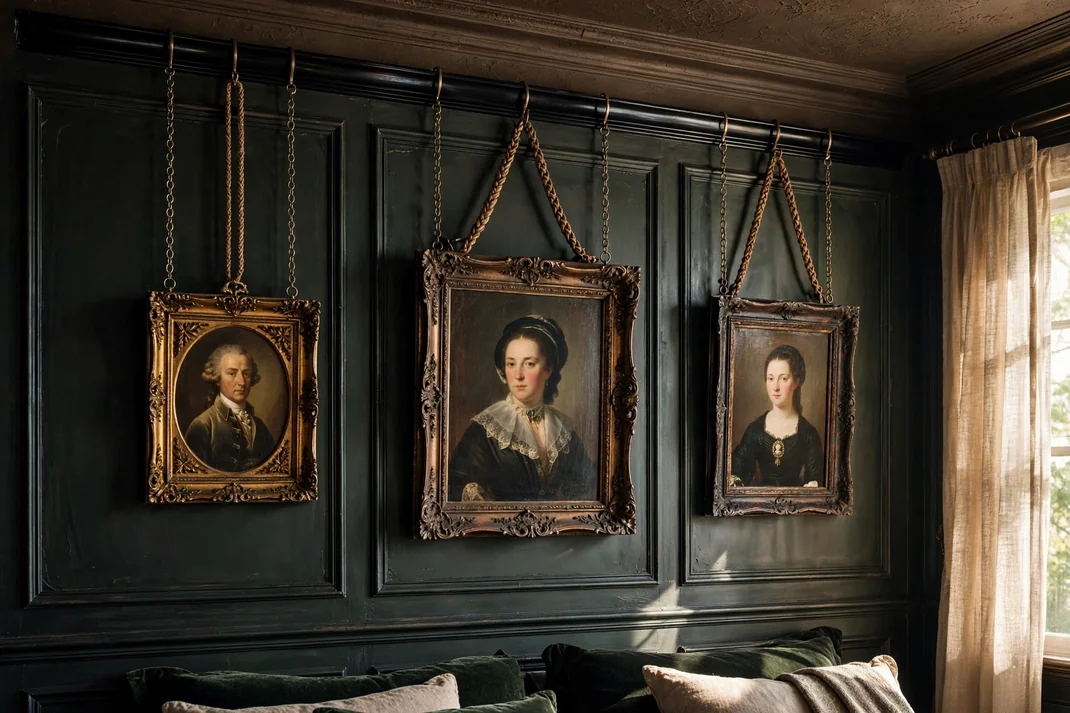
Small antique-style portraits hung from a lacquered rail create the formality of an old family gallery without covering the wall edge to edge. Fine brass chains add a glint of metal and make the installation feel deliberate rather than randomly collected.
The Setup: Install a load-rated picture rail 12 to 18 inches below the ceiling, then hang three lightweight framed prints from proper rail hooks and matched chains or braided cord. Vary the frame sizes but keep the lower edges within a six-inch range. Use public-domain portrait reproductions, family images the household is comfortable displaying, or original art—never pass modern reproductions off as antiques.
Why It Photographs Well: Vertical chains lead the eye from the crown line to the portraits, giving a tall, elegant composition. Warm light catches the links and carved frame edges while the faces remain softly shadowed.
Pro Tip: Use one oval, one narrow rectangle, and one wider frame; the mixed silhouettes create tension, while matching dark mats keep the group coherent.
7. Crown the Room with Ink-Black Ornate Molding
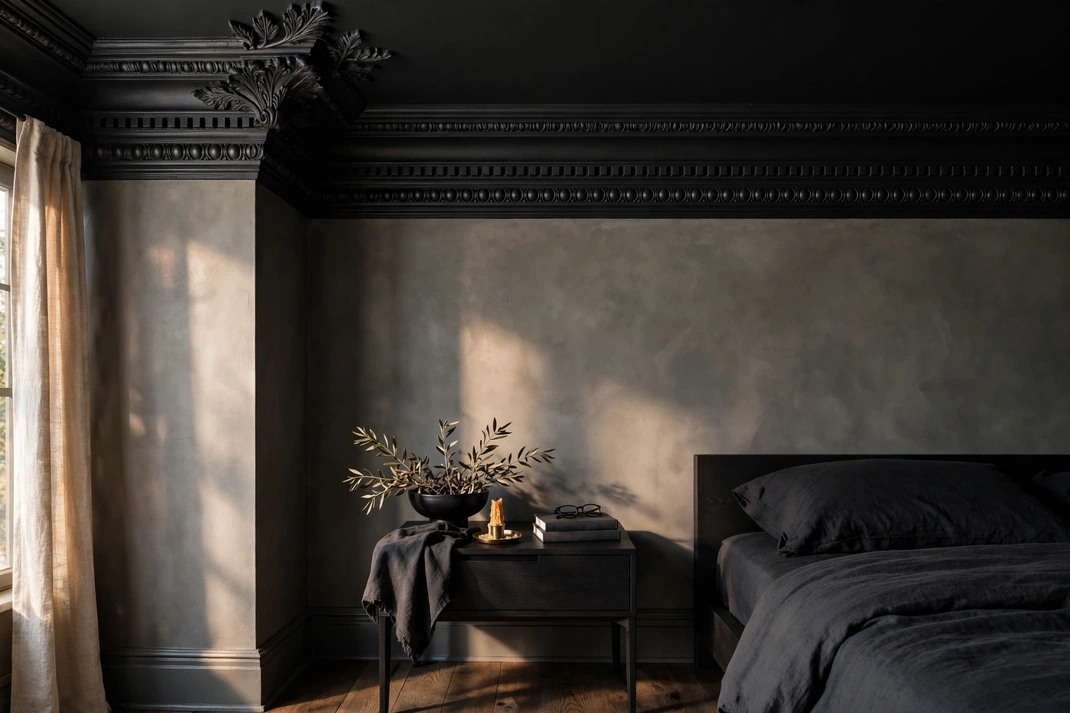
Ornamental molding painted the same ink black as the ceiling gives the room a crisp, shadowed crown. It is a permanent-feeling detail that adds period character even when the furniture is simple and modern.
The Setup: Select lightweight polyurethane molding with leaf, dentil, or bead-and-reel detail and size it to the ceiling height—about three inches deep for standard rooms, larger for tall ceilings. Have it cut, fixed, caulked, and painted in a soft black eggshell. Keep the upper walls one shade lighter so the profile remains visible.
Why It Photographs Well: Raking light traces every ridge and hollow, forming a precise frame around wide room photographs. The dark crown also makes a pale ceiling or upper wall appear brighter by comparison.
Pro Tip: Paint a sample length before installation; high-gloss black can exaggerate joints, while dead-flat paint hides the carving, so eggshell is usually the balanced finish.
8. Mount Emerald Pleated-Shade Wall Sconces
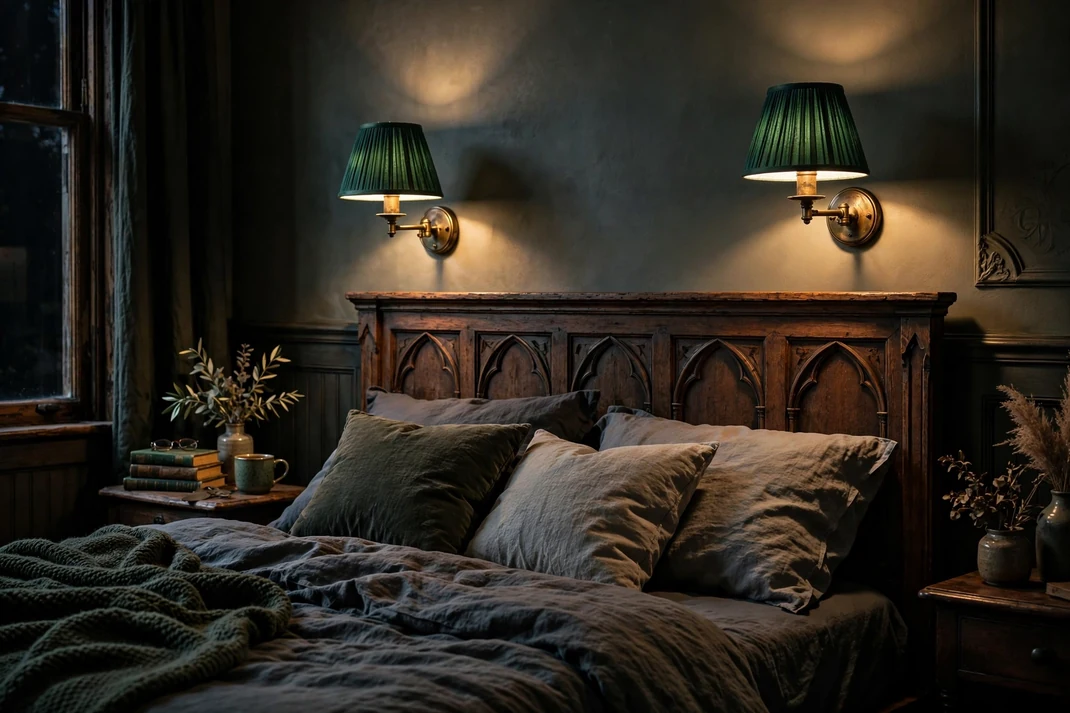
Deep emerald pleated shades on aged-brass sconces cast a low, jewel-toned pool of light on either side of the bed. The color is gothic without being severe, and the fabric shades make nighttime reading feel intimate rather than theatrical.
The Setup: Choose compact pivoting sconces with approved fabric shades and warm-dim LED bulbs around 2200–2700K. Center each fixture 24 to 30 inches above the mattress and just outside the pillow line; have hardwired models fitted by a licensed electrician, or route plug-in cords neatly inside paintable cord covers. Keep bedding near the lamps low and uncluttered.
Why It Photographs Well: Two pools of amber light balance the composition and reveal the pleats as fine radial lines. Emerald shades stay richly colored instead of disappearing into a dark wall.
Pro Tip: Line the shades in muted gold rather than white; it warms skin tones, bedding, and wood while keeping the exterior green deep and saturated.
9. Center a Black Crystal Flush Mount
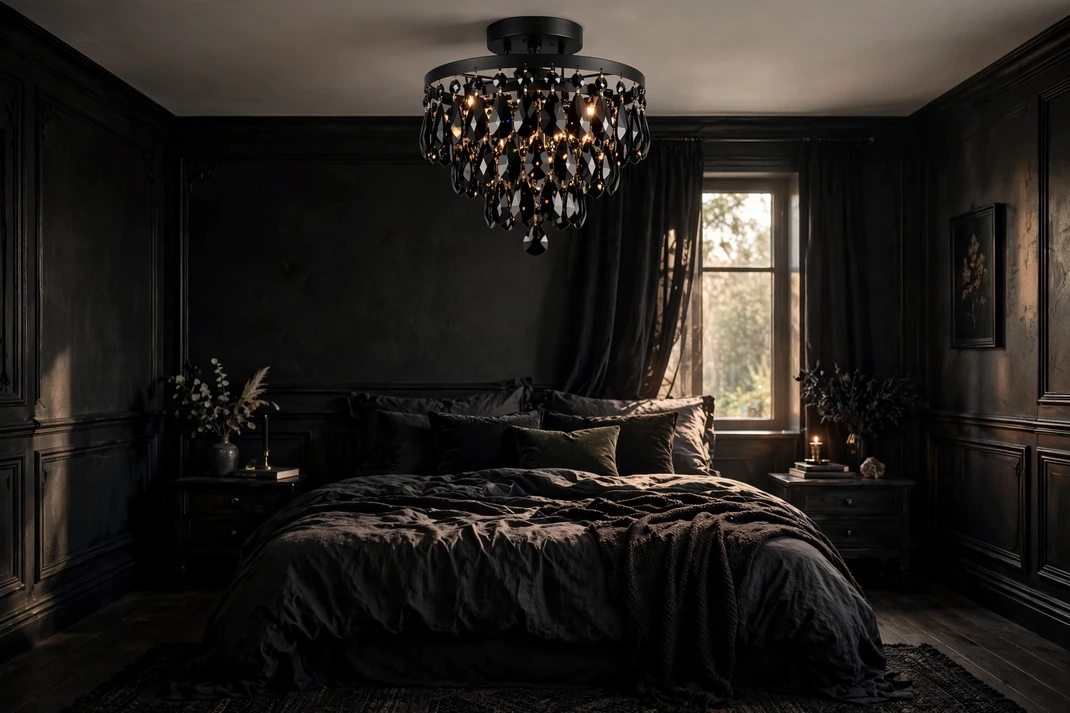
A compact flush-mount fixture dressed in black crystal brings chandelier drama to a bedroom with an ordinary ceiling height. The faceted drops sparkle briefly rather than flooding the room with shine, keeping the overall mood dark and refined.
The Setup: Select a fixture no more than 14 to 18 inches wide for a small room and with at least seven feet of clearance beneath it. Center it on the room or bed axis, use low-lumen warm LEDs, and put it on a dimmer compatible with both bulbs and wiring. Installation should be completed by a qualified electrician using a properly rated ceiling box.
Why It Photographs Well: Black prisms hold their silhouette in daylight and scatter pinpoints of amber after dark. A slightly low camera angle places the sparkle above the bed without blowing out the exposure.
Pro Tip: Choose fewer, larger drops instead of many tiny ones; the cleaner outline looks more architectural and produces less visual clutter.
10. Add Wine-Red Tassel Tiebacks to Charcoal Drapes
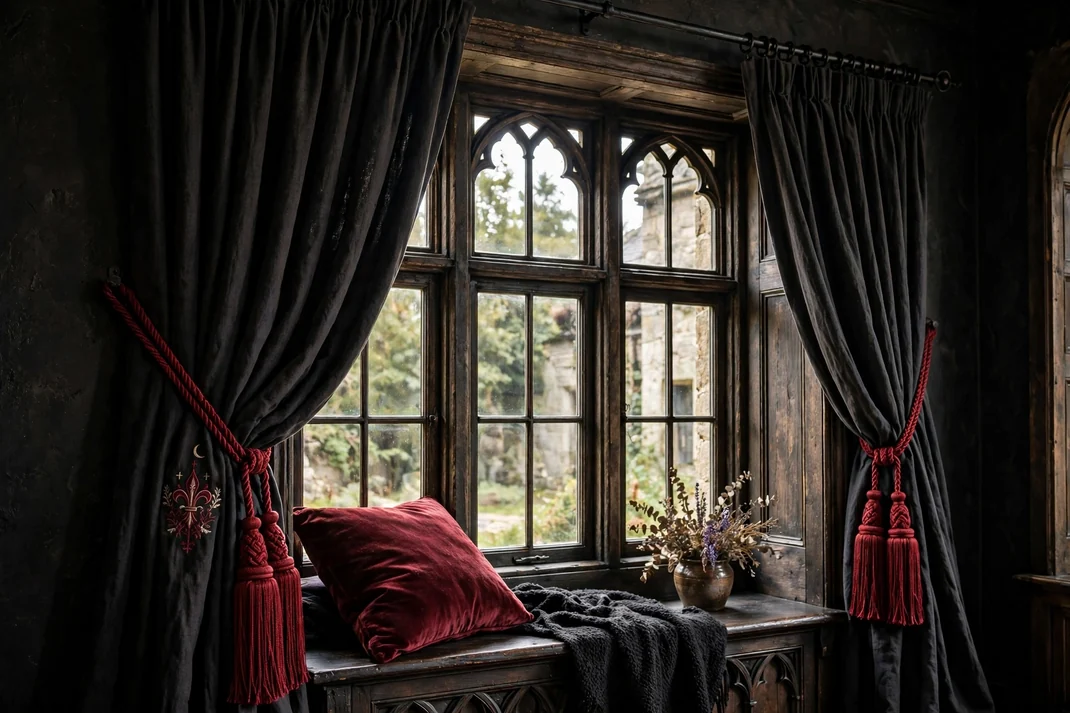
Heavy charcoal curtains become distinctly gothic when gathered with generous wine-red tassels. The accent is small, but the braided cords and long fringe introduce the kind of ceremonial detail that plain dark fabric often lacks.
The Setup: Hang solid lined curtains high and wide so they clear the glass when open, then secure each tieback to a properly fixed wall hook about 40 inches from the floor. Choose tassels six to nine inches long in merlot, dried-blood red, or deep aubergine. Repeat that color once in a slim lumbar cushion or the edge of a throw.
Why It Photographs Well: The cords create elegant diagonal lines, and their saturated red separates clearly from charcoal folds. Window light skims the fringe, giving the detail movement and texture.
Pro Tip: Let the tassels hang just below the gathered fabric rather than directly across it; that longer drop looks more graceful and avoids a cinched, costume-like effect.
11. Trim a Plain Throw with Jet-Beaded Fringe
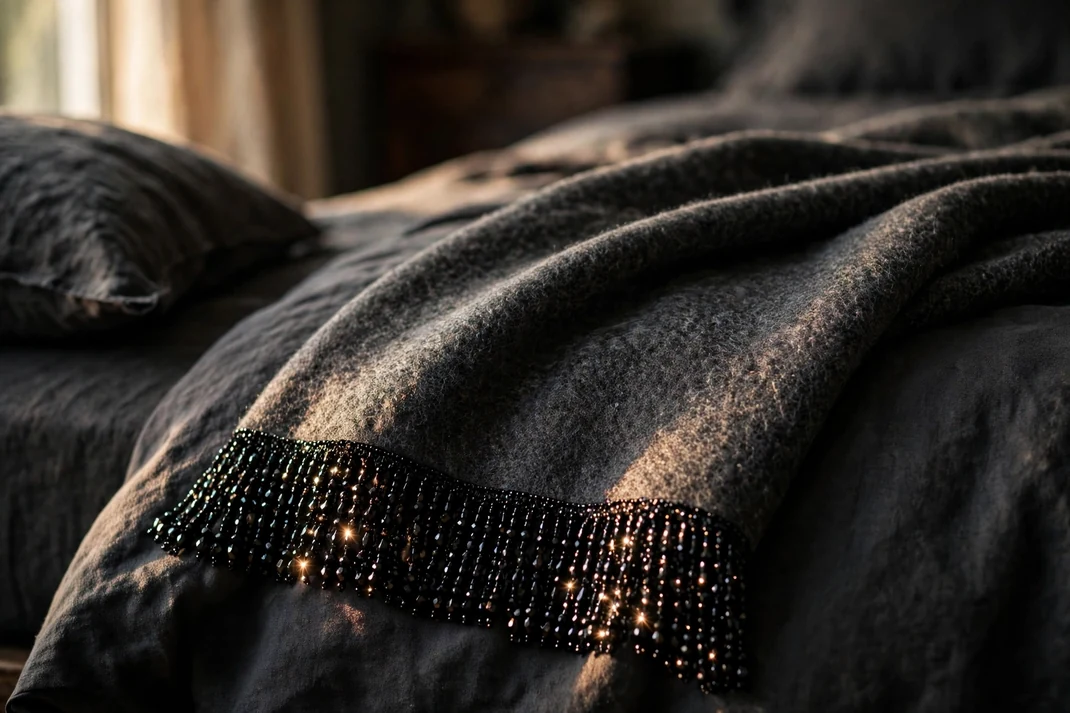
A row of black glass beads gives a simple wool throw a dark, jewelry-like finish. Draped across one lower corner of the bed, it catches just enough light to animate an otherwise matte bed without turning the entire scheme glossy.
The Setup: Sew dense jet-style beaded trim along one short edge of a charcoal, tobacco, or dark moss wool throw, reinforcing the seam with cotton tape on the reverse. Lay the throw diagonally so the fringe falls over the side, away from feet and sleeping areas. Keep it decorative rather than using it as nightly bedding, especially in homes with pets or small children.
Why It Photographs Well: The beads form a fine sparkling edge against a broad field of matte wool. A close three-quarter angle captures both the drape and the pinpoint highlights without losing the bed’s restful simplicity.
Pro Tip: Choose irregular bugle and round beads in the same black tone; mixed shapes produce a richer glimmer than multicolored stones.
12. Float a Carved Corbel Bedside Ledge
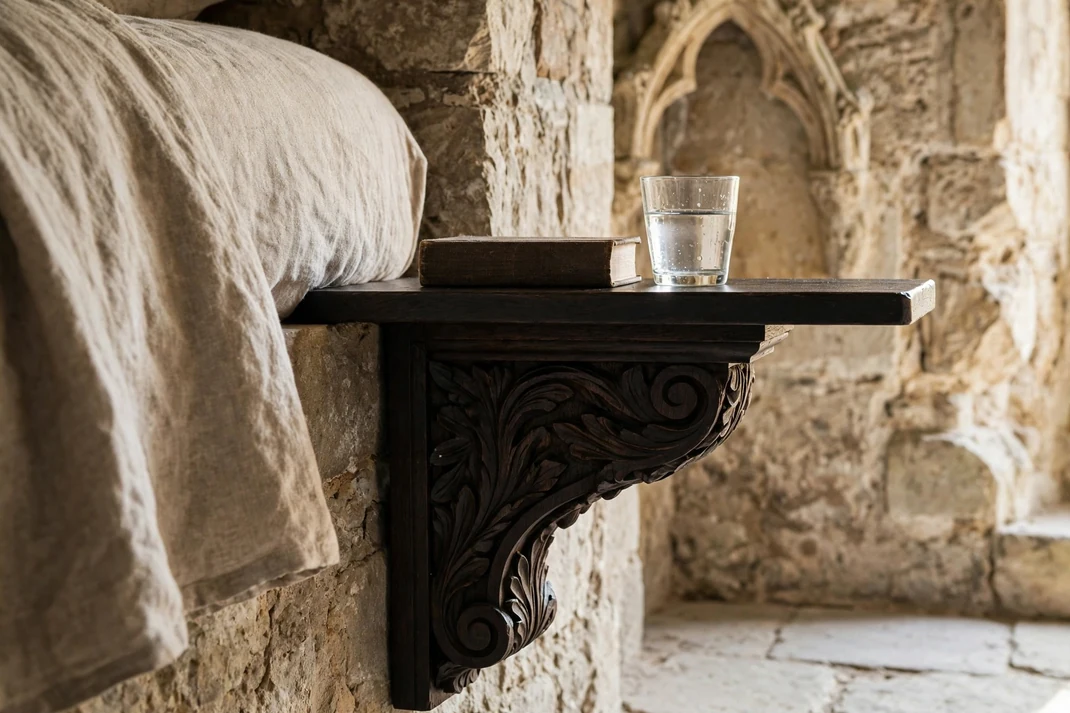
A narrow ledge resting on one oversized carved corbel feels like a fragment of old architecture repurposed beside the bed. It provides room for a book and glass of water while keeping the floor open and the silhouette visually light.
The Setup: Use a solid-wood corbel with leaf or scroll carving and a matching shelf 10 to 12 inches deep. Stain both pieces nearly black, then anchor the support into a stud with concealed hardware rated for the expected load. Mount the shelf level with the mattress top and keep its surface limited to two practical objects.
Why It Photographs Well: The carved bracket creates a strong shadow beneath the ledge and allows more wall color to show than a conventional cabinet. Its asymmetrical profile works especially well in a tight bedside crop.
Pro Tip: Rub a trace of dark wax into the carving after staining; it deepens the recesses and prevents decorative details from disappearing in a single black mass.
13. Place a Trefoil-Pierced Pedestal Table
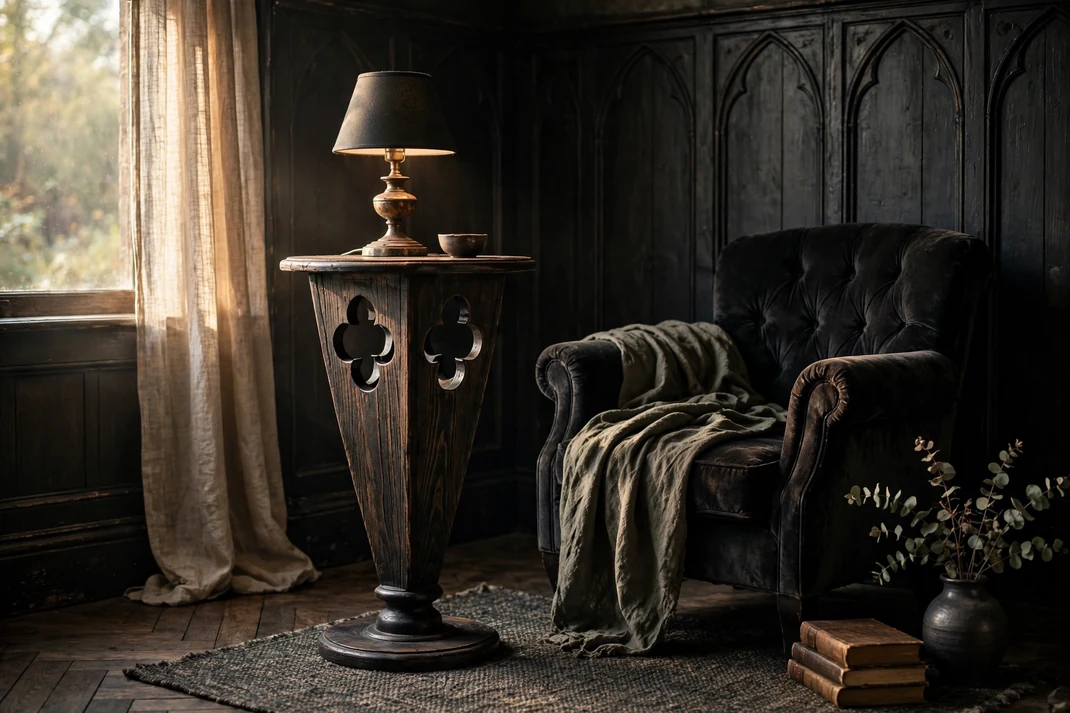
A slender pedestal table with trefoil cutouts introduces a cathedral-derived shape in a practical, compact form. Its dark silhouette suits a narrow gap beside an armchair or at the end of a dresser, where a larger side table would feel heavy.
The Setup: Look for a stable wood pedestal 18 to 22 inches wide with pierced sides, or commission one from moisture-resistant MDF with an oak top. Finish it in black stain rather than opaque paint so the grain remains visible. Style it with one low lamp or covered vessel and maintain at least 30 inches of clear walking space around it.
Why It Photographs Well: Light passes through the trefoil openings, separating the table from the wall and casting patterned shadows on the floor. The narrow body adds a vertical note without blocking the room behind it.
Pro Tip: Place the lightest object on top; an alabaster bowl or ivory ceramic makes the cutout silhouette below appear darker and sharper.
14. Set an Alabaster Bust on a Nero Marble Plinth
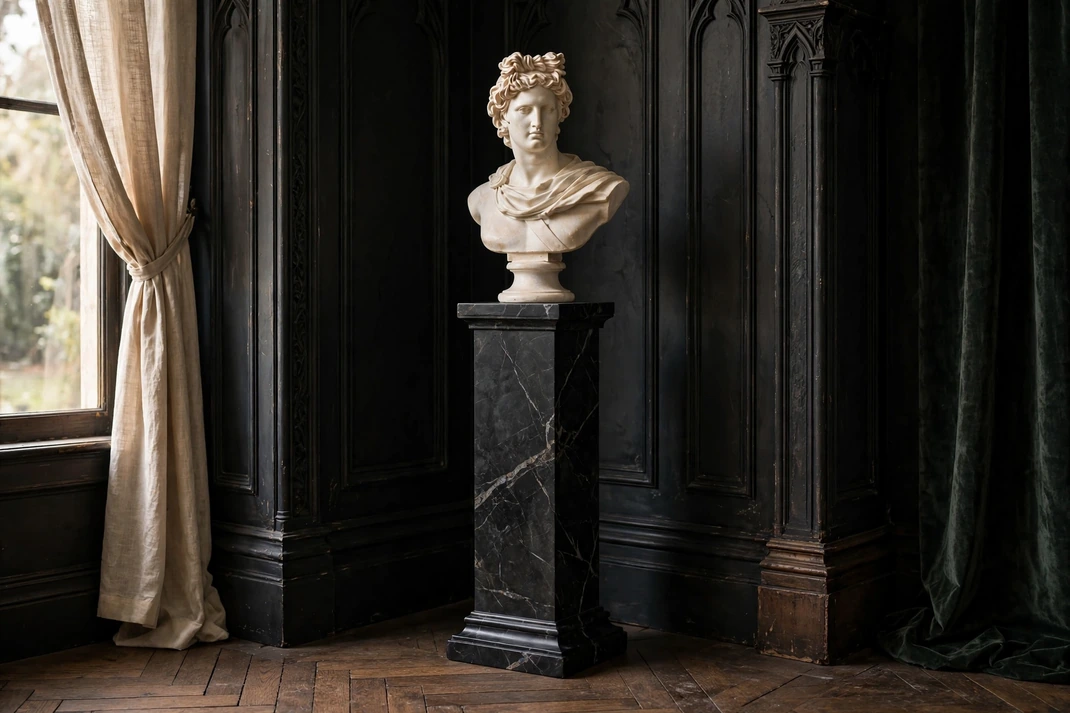
A pale classical bust on a black marble plinth creates one composed, museum-like focal point in an empty corner. The contrast feels solemn and elegant, and it brings human form into the room without the uncanny effect of a full-size figure.
The Setup: Choose a weighted bust in plaster, resin, or stone no taller than 16 inches and set it on a stable 30- to 36-inch plinth. A real stone top is beautiful, but marble-look porcelain over a solid wood column is safer and less costly. Place the arrangement against a bare wall, secure it against tipping, and leave at least six inches of breathing room on every side.
Why It Photographs Well: Side light shapes the face and shoulders while the black base disappears into the surrounding shadows. The pale sculpture becomes a clear focal point even in a wide room view.
Pro Tip: Turn the bust about 20 degrees toward the nearest window; straight-on placement looks formal, but a slight turn creates livelier highlights and shadow.
15. Guard the Books with Gargoyle Bookends
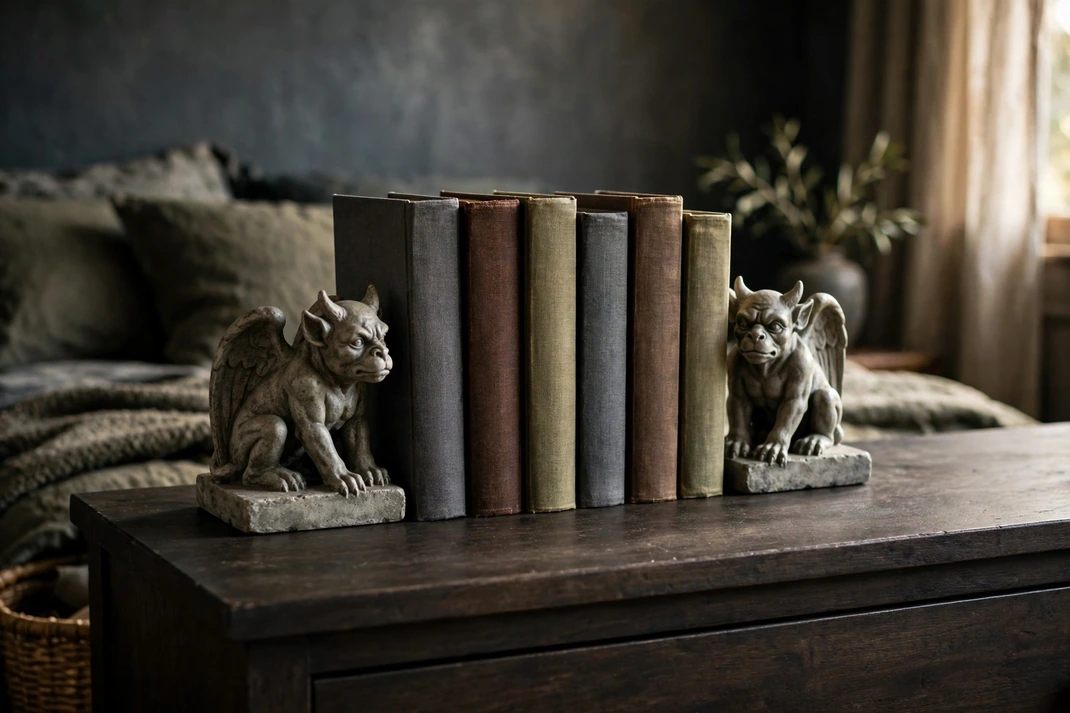
Two small stone-look gargoyles give a short row of books a watchful, architectural presence. Used on a low dresser rather than scattered around the room, they read as witty sculpture instead of novelty Halloween props.
The Setup: Choose a matched pair of heavy bookends with felted bases and position them around five to seven clothbound books in charcoal, umber, and faded olive. Keep the arrangement below eye level and away from the edge of the furniture. If the figures are lightweight, bond each to a hidden metal bookend rather than trusting decorative resin to hold the books.
Why It Photographs Well: The repeated figures create a compact, symmetrical vignette, while the uneven book spines keep it from feeling staged. Stone texture catches soft sidelight in a way flat ornaments do not.
Pro Tip: Dry-brush the highest points with warm gray so the faces and wings stay readable against dark furniture.
16. Give Closet Doors Medieval Iron Strapwork
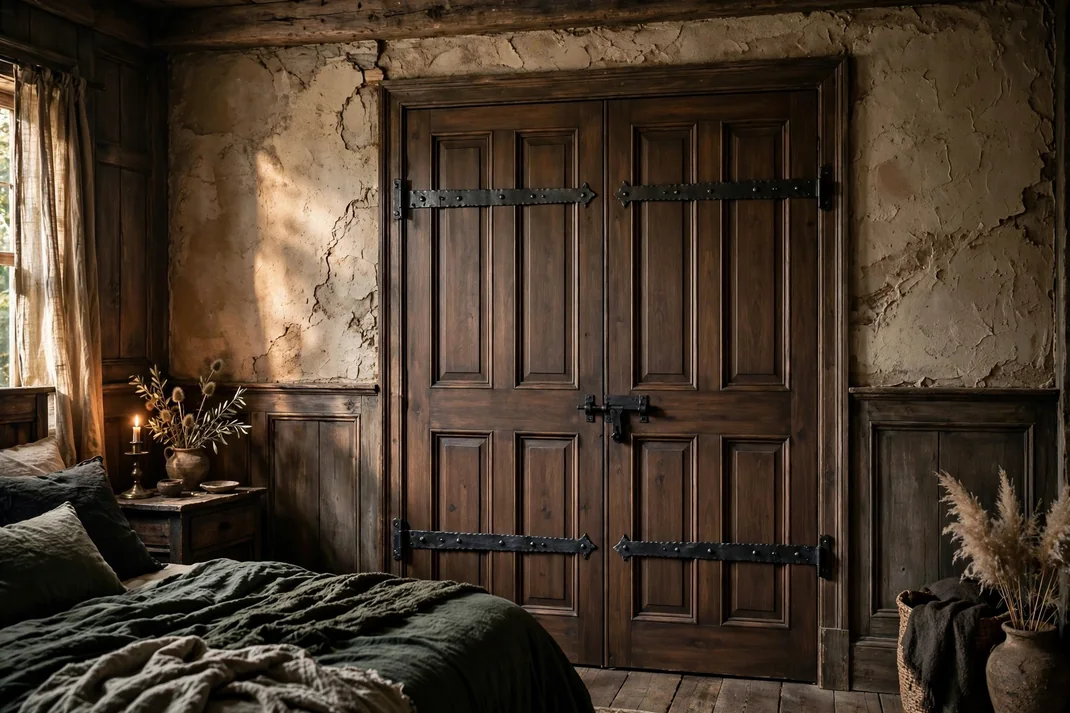
Long black iron straps make ordinary paneled closet doors resemble old timber doors without changing their function. The hardware introduces bold horizontal structure and a hand-forged finish that looks convincing beside dark wood and rough plaster.
The Setup: Use lightweight decorative straps designed for cabinets or doors, not heavy structural hinges. Fit two to each door, aligning them across the pair, and secure them with the manufacturer’s recommended screws or high-bond removable strips for a temporary treatment. Paint the doors dark walnut or near-black so the straps add texture rather than stark contrast.
Why It Photographs Well: The repeated horizontal lines break up a large flat surface and guide the eye toward the center seam. Hammered metal edges pick up restrained highlights against the darker door.
Pro Tip: Match every screw head to the strap finish; bright fasteners instantly reveal a decorative overlay and weaken the aged effect.
17. Replace Plain Hardware with Long Gothic Escutcheons
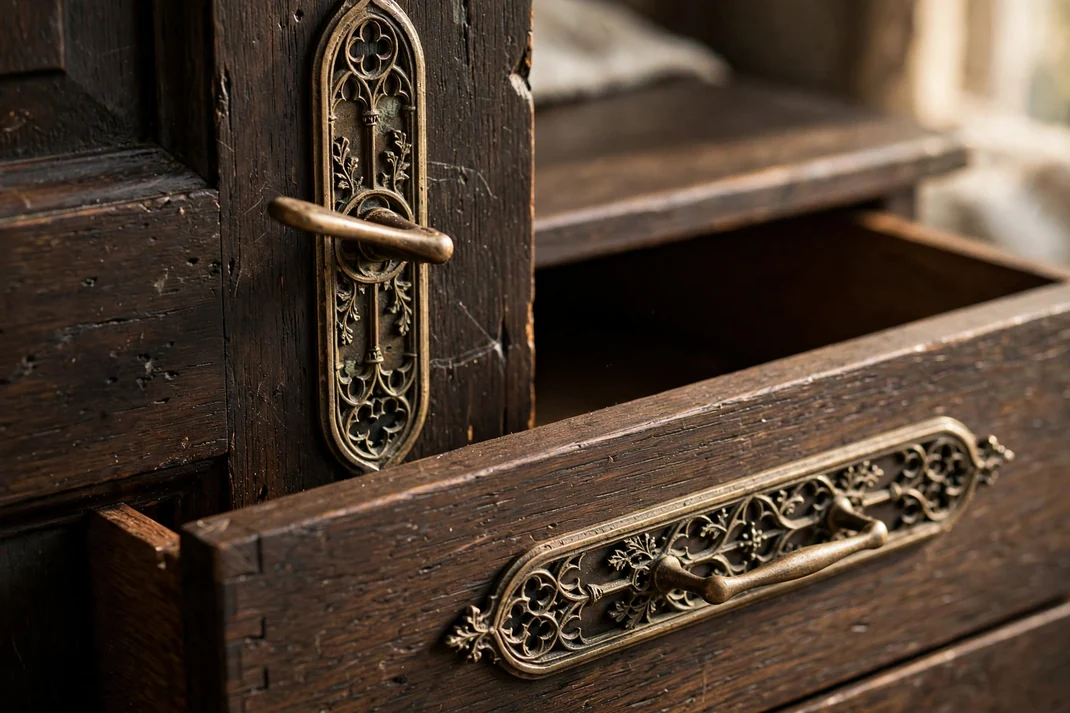
Elongated backplates behind simple lever handles bring delicate Gothic tracery to doors and drawers. This is a close-up detail rather than a room-wide gesture, yet it makes everyday touchpoints feel considered and period-minded.
The Setup: Measure the existing spindle, bore, and screw spacing before buying replacement sets in aged brass, blackened bronze, or pewter. Fit matching backplates to the bedroom door and visible dresser drawers, but stop there—repeating ornate hardware on every surface can become fussy. Keep the moving mechanism modern and reliable behind the decorative face.
Why It Photographs Well: A dark door provides a clean background for the narrow metal silhouette, and angled light picks out engraved lines. Detail photographs gain a tactile, lived-in moment from a handle that is actually used.
Pro Tip: Choose living finishes that can patinate naturally, then polish only the lever where hands touch; the contrast makes the hardware look genuinely aged.
18. Hang a Hand-Painted Heraldic Shield
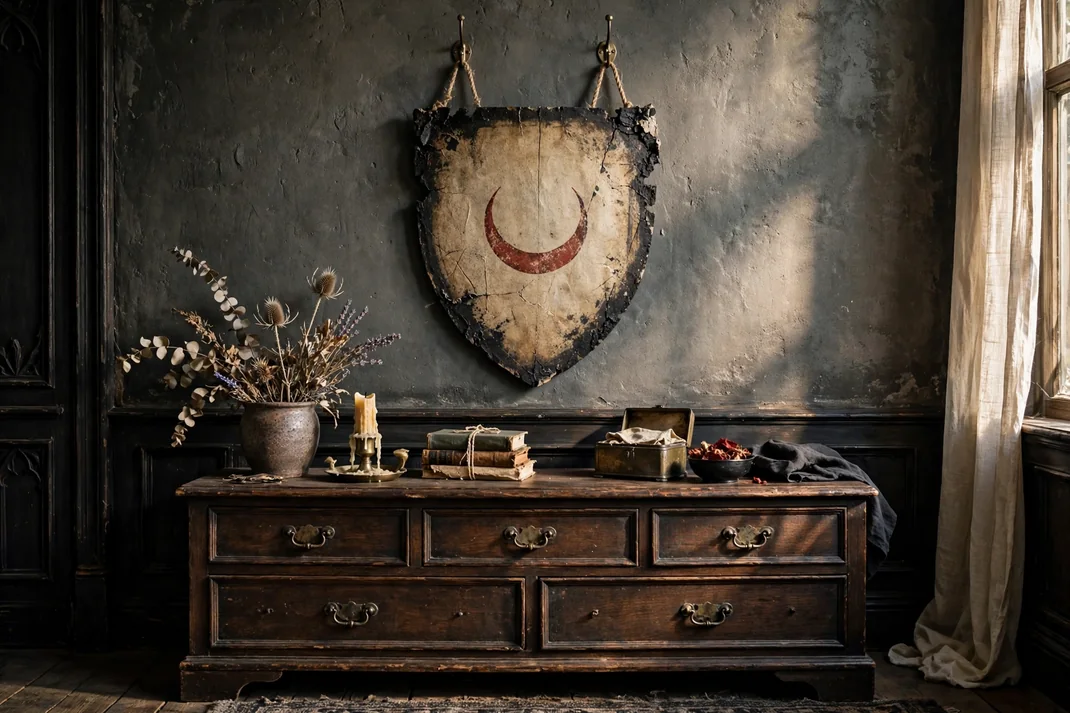
One painted shield above a dresser adds a strong heraldic shape and a restrained sense of ceremony. A muted crest in soot, parchment, and dried red feels collected and graphic without copying a historical family emblem.
The Setup: Start with a lightweight wood or molded-fiber shield 18 to 24 inches tall. Paint a simple invented motif—such as a tower, thorn branch, or crescent—in three matte colors, then distress only the edges with fine sandpaper. Hang it from two secure points so it cannot rotate, centered over furniture that is slightly wider than the shield.
Why It Photographs Well: The tapering silhouette creates an immediate focal point, while the limited palette remains legible against moody walls. Its matte paint avoids glare and preserves the hand-brushed surface.
Pro Tip: Sketch the crest at full scale on paper first; bold shapes with generous negative space look more authentic from across the room than intricate miniature detail.
19. March Ornamental Plaster Bosses Down a Narrow Wall
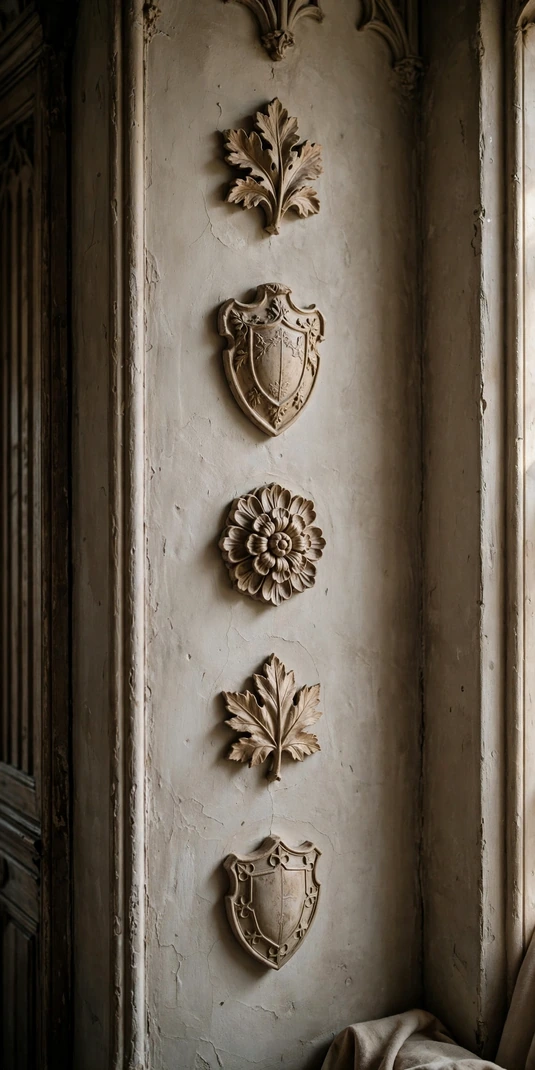
A vertical procession of sculpted plaster bosses turns an awkward strip of wall into a quiet architectural feature. Leaf, shield, and rosette forms in aged bone create relief and rhythm without adding another framed picture.
The Setup: Choose five lightweight cast-plaster or resin ornaments between five and eight inches wide. Paint them warm bone, glaze the recesses with diluted taupe, and mount them in a straight vertical line with six to eight inches between pieces, using fixings rated for the wall and weight. This works especially well between a window and wardrobe or beside a doorway.
Why It Photographs Well: Strong side light creates a sequence of compact shadows, giving a narrow crop unusual depth. The pale relief also breaks up dark paint without introducing a new color family.
Pro Tip: Rotate alternating motifs by a few degrees only if they are asymmetrical; perfectly aligned centers keep the installation architectural rather than crafty.
20. Frost Wardrobe Glass with Smoky Reeded Film
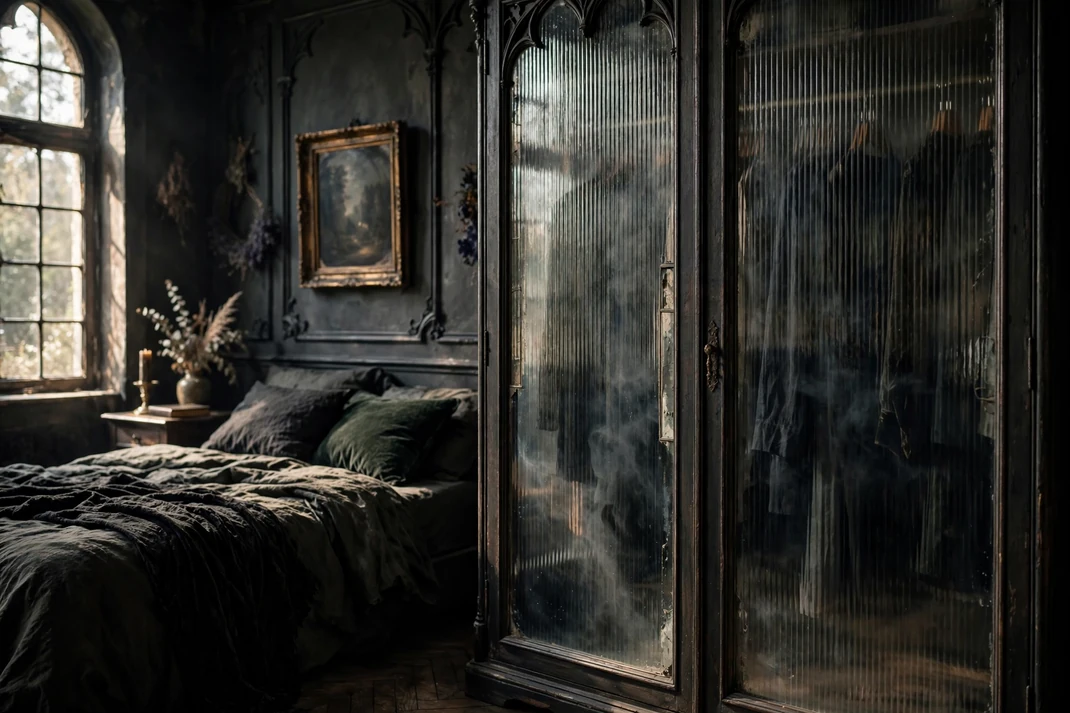
Smoky reeded film gives glass wardrobe doors the wavering opacity of old architectural glazing. Clothing and storage blur into vertical shadows, making the room feel calmer while the dark translucent finish retains a subtle gleam.
The Setup: Apply removable reeded privacy film in smoke gray to the inside face of clean glass doors, aligning every rib vertically before trimming the edges with a sharp craft knife. Add narrow black frame tape only if the existing door frame is pale. Maintain clear ventilation and do not cover mirrors needed for everyday dressing.
Why It Photographs Well: Vertical ribs stretch reflected light into soft bands and conceal distracting closet contents. Shot at an angle, the surface shifts from charcoal to silver without creating a sharp mirror reflection.
Pro Tip: Light the room from the side, not directly opposite the wardrobe; frontal light flattens the ribbing, while side light reveals every groove.
21. Display Antique Clockwork Under a Glass Dome
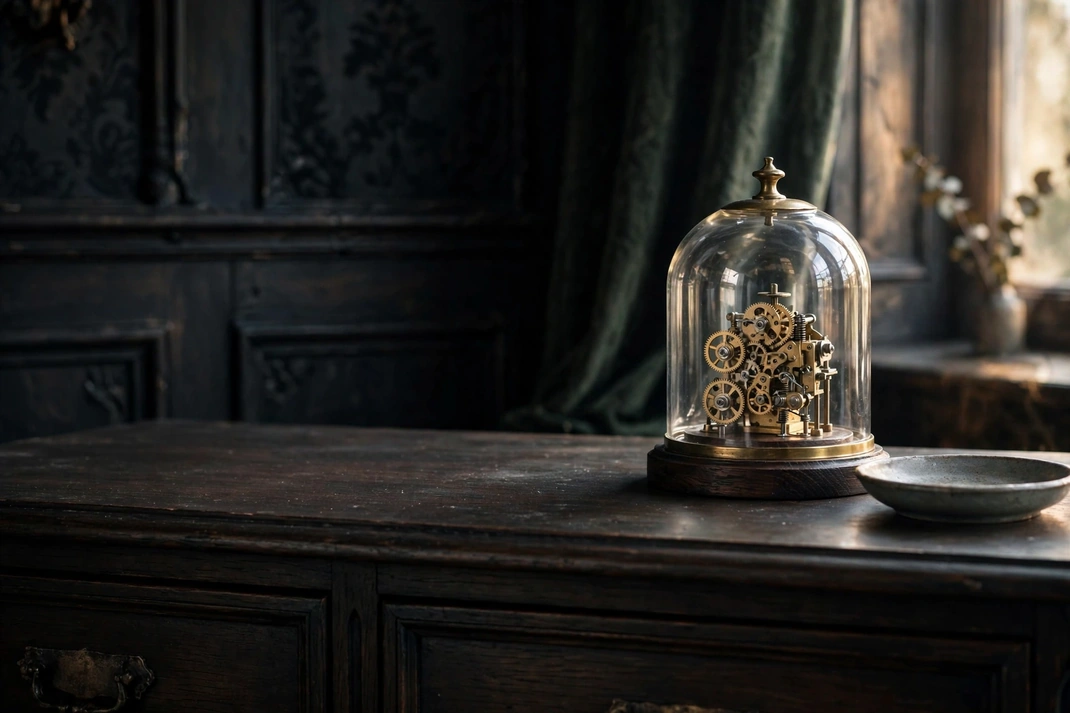
A small brass clock movement beneath a clear dome gives a dresser one precise, mechanical curiosity. The exposed gears and aged metal suggest time passing, but the sealed presentation keeps the vignette polished rather than cluttered.
The Setup: Place a nonworking vintage movement or decorative replica on a dark wood base beneath a glass or clear acrylic dome, keeping the total height under 14 inches. Center it on a dresser with at least one-third of the surface left empty and pair it only with a shallow tray for daily items. Stabilize the dome with discreet museum putty.
Why It Photographs Well: The dome outlines the object with a clean oval highlight, while the gears supply intricate detail at the center. Negative space around the display gives a close-up image an editorial, gallery-like calm.
Pro Tip: Turn the dome a few degrees away from the window to move bright reflections off the clock face while preserving a slim highlight along one edge.
22. Lay a Soot-and-Cranberry Aubusson Runner
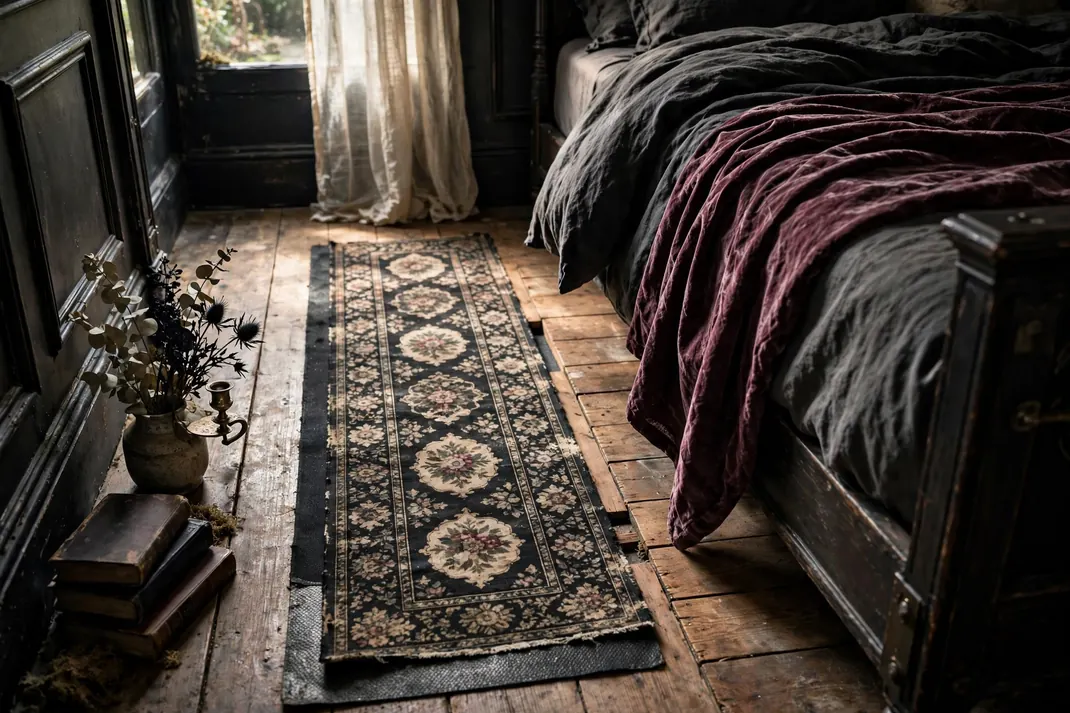
A narrow, distressed runner in soot black, faded cranberry, and old parchment gives the bedside a worn, romantic foundation. Its floral medallions bring pattern to the floor while leaving enough boards visible to keep the room from feeling overly furnished.
The Setup: Choose a low-pile runner long enough to begin near the nightstand and extend at least two feet beyond the foot of the bed. Place it parallel to the mattress with a six- to eight-inch gap between rug and bed frame, and add a nonslip pad cut slightly smaller than the rug. Keep the opposite side of the room unpatterned for balance.
Why It Photographs Well: The runner leads the eye through the room and introduces softened color at floor level. Its distressed pattern tolerates shadows and perspective better than a rigid geometric motif.
Pro Tip: Align one visible medallion with the front edge of the nightstand; that small relationship makes the placement look intentional rather than simply centered on the wall.
23. Add an Ebonized Spindle Chair with Needlepoint
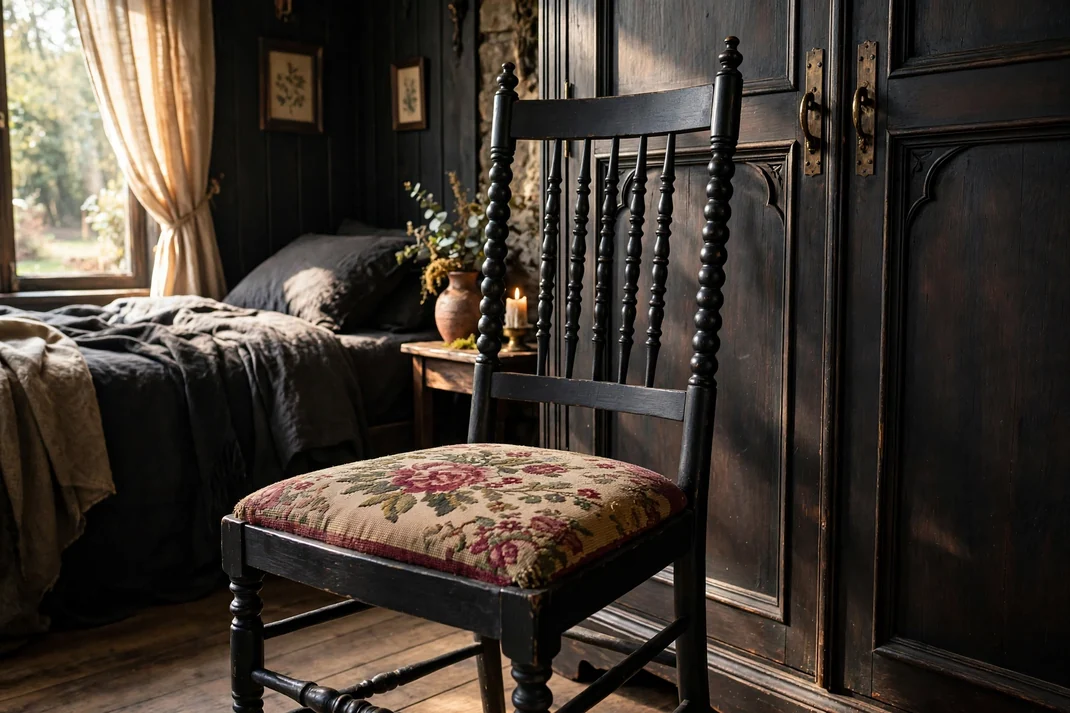
An ebonized spindle chair with a faded needlepoint seat adds a spare, slightly severe silhouette beside a wardrobe or dressing table. Its open back lets the wall color show through, while the stitched cushion introduces muted florals and handmade warmth.
The Setup: Choose a structurally sound side chair with turned spindles and a compact footprint. Refinish the wood in black stain, then recover the drop-in seat with durable needlepoint, tapestry, or a convincing printed upholstery fabric in burgundy, moss, and tobacco. Place it where it can serve a real function and leave the back bare—no draped clothing or extra cushion.
Why It Photographs Well: The spindle back forms a fine dark rhythm against the wall, and the patterned seat supplies a small square of color. Angled slightly toward the bed, the chair adds depth without blocking the main view.
Pro Tip: Keep the needlepoint palette muddy rather than jewel-bright; softened color makes the chair feel collected and keeps the black frame dominant.
The strongest gothic bedrooms are edited, not overloaded. Start with the accent that changes the architecture or light of the room, then add one tactile textile and one sculptural object. With enough negative space around each choice, the mood will feel rich after dark and still composed the next morning.