20 Bedroom Renovation Ideas with Smart Decor Upgrades
A bedroom renovation is your chance to fix everything that ever bothered you about the room where you start and end each day. Maybe the lighting is harsh, the closet never fit your life, or the space simply feels tired and dated. The good news is that a thoughtful renovation does not require tearing the house apart. Smart upgrades, planned well, can transform the room completely.
The ideas below blend real renovation moves with clever decor upgrades that punch above their weight. You will find structural improvements like better windows and heated floors alongside smart technology that makes daily life easier. Each idea is practical, achievable, and designed to add genuine comfort and value to your home.
Whether you are planning a full gut renovation or a series of weekend projects, start with the upgrades that solve your biggest frustrations. Work through this list, pick the projects that fit your budget and timeline, and watch your bedroom become the retreat you always wanted. Let us explore 20 renovation ideas that truly make a difference.
1. Statement Ceiling Treatment

The ceiling is the most ignored surface in any bedroom, yet it covers the entire room. A statement treatment like applied molding, wood planks, or a soft color wash draws the gaze upward and adds instant character. This one change makes even a simple bedroom feel custom and considered. Choose a treatment that echoes your style, from classic coffered grids to modern slatted wood. The result feels like a designer touched every corner of the room.
What to Get
- Decorative ceiling molding or planks
- Construction adhesive and finishing nails
- Paint or stain in a tone you love
- Caulk and wood filler
How to Style It
Start with a clean, primed ceiling and map your pattern lightly in pencil. Install the molding or planks working from the center outward for perfect symmetry. Fill every nail hole and caulk the seams before painting. Two finish coats give the treatment a professional, custom millwork look.
Designer’s Secret
Paint the ceiling treatment to match the walls for a cocooning effect that leaves the room feeling larger. A subtle sheen like eggshell bounces light beautifully across the ceiling.
2. Floor to Ceiling Wardrobe Wall
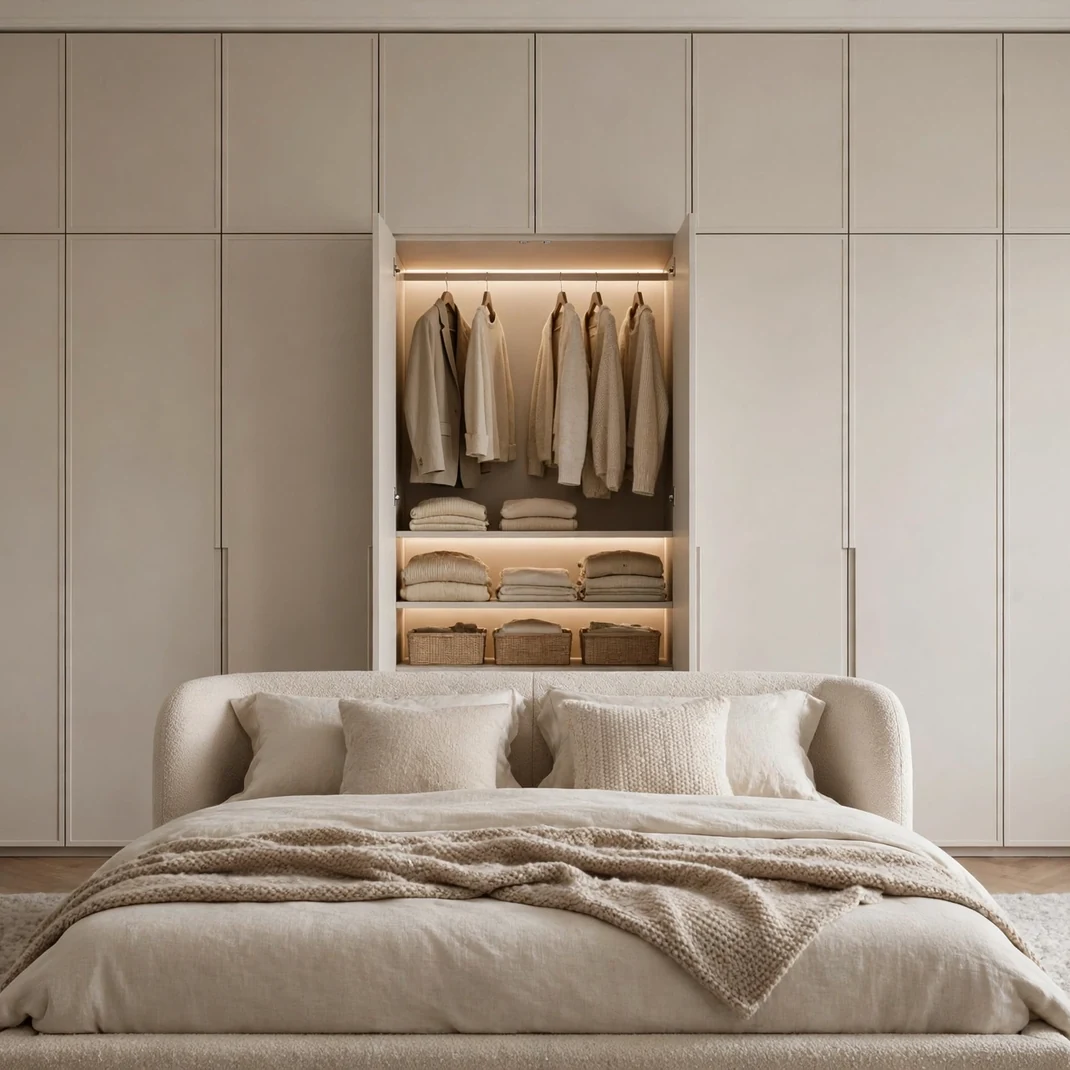
A full wall of floor to ceiling wardrobes replaces bulky dressers and visual clutter in one move. The uninterrupted run of cabinetry makes the space look bigger while swallowing an enormous amount of storage. Choose handleless fronts for a sleek modern feel or shaker fronts for timeless warmth. Inside, customize with drawers, shelves, and hanging zones that match how you actually dress. This is the upgrade that finally ends the battle with bedroom clutter.
What to Get
- Modular wardrobe units or custom cabinetry
- Handleless or shaker style fronts
- Interior organizers and drawers
- Soft close hinges
How to Style It
Measure the wall precisely and plan the layout on paper before ordering anything. Anchor every tall unit securely to wall studs for safety. Fit the interior organizers after the carcasses are level and plumb. Add LED strips inside before loading clothes so every shelf glows.
Designer’s Secret
Take the wardrobes to the ceiling and add a library ladder or a simple step stool for the top shelves. Dead space above stock wardrobes is wasted storage you already own.
3. Smart Lighting System
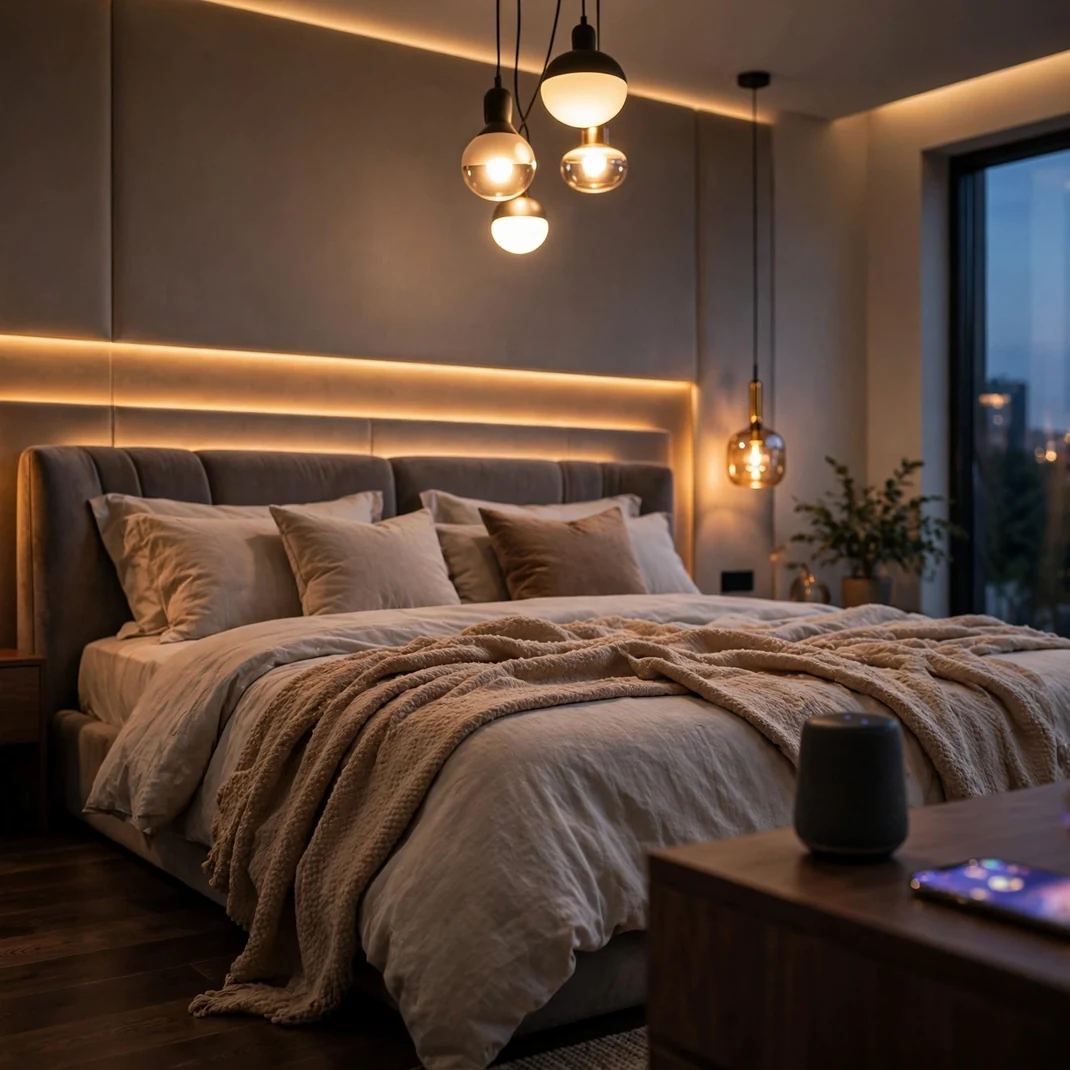
Smart lighting changes the mood of a bedroom at every hour of the day. Program bright energizing light for mornings and warm dim scenes for winding down at night. Voice or app control means you never cross a dark room to flip a switch again. Scenes can wake you gently, simulate sunset, or set the perfect mood for reading. Once you live with it, ordinary switches feel ancient.
What to Get
- Smart bulbs or smart switches
- Voice assistant speaker or hub
- Dimmable fixtures
- Bedside wireless remotes
How to Style It
Replace the main bedroom bulbs with smart versions first for the biggest immediate impact. Group the lights by zone within the app, such as overhead, bedside, and accent. Create three scenes to start: morning, relax, and sleep. Place a wireless remote beside the bed so adjustments stay within reach.
Designer’s Secret
Set a gentle wake up routine that brightens the lights gradually over twenty minutes. It mimics sunrise and makes dark winter mornings far less painful.
4. Wood Slat Accent Wall
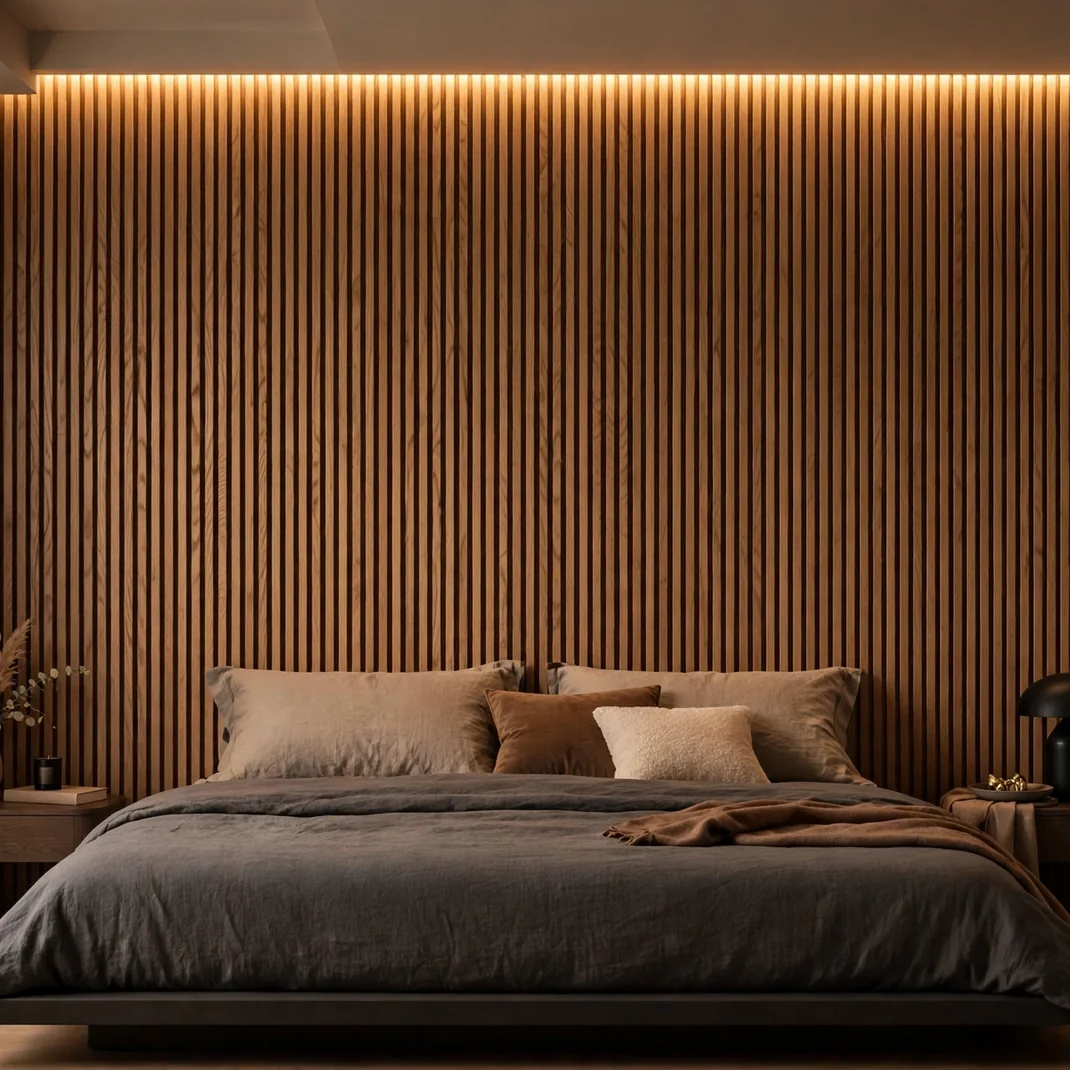
Vertical wood slats add warmth, texture, and rhythm to a plain bedroom wall. The repeating lines lift the eye upward, which makes ceilings feel taller than they are. Natural oak or walnut slats bring an organic richness that paint alone cannot deliver. This feature works beautifully as a dramatic headboard alternative. It photographs like a boutique hotel and feels like one too.
What to Get
- Wood slat kit or individual battens
- Black backing boards
- Construction adhesive
- Stain or clear sealer
How to Style It
Fix black backing boards against the wall first so the gaps between slats read as deep shadow. Cut each slat to length and test fit before gluing. Work from one corner across, checking every fifth slat with a level. Seal the wood after installation to protect it from dust and fading.
Designer’s Secret
Run the slats behind floating nightstands and let them disappear behind the furniture for a seamless look. Backlighting the top edge with a hidden LED strip creates a stunning evening glow.
5. Walk In Closet Conversion
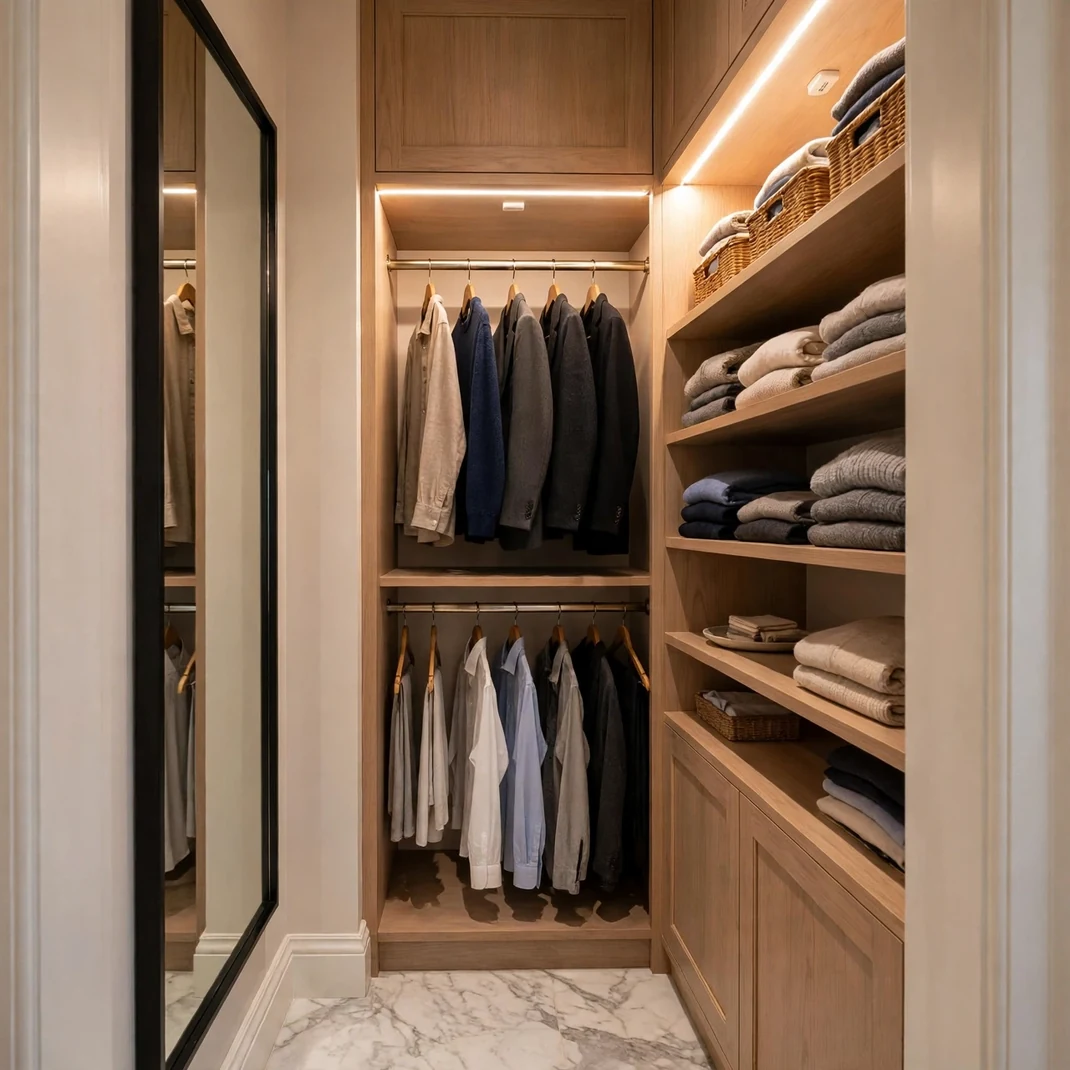
Converting a spare corner or an underused alcove into a walk in closet is pure lifestyle luxury. Even a modest six by six foot space holds more than a wall of dressers ever could. Proper hanging, shelving, and lighting turn getting dressed into a pleasure instead of a chore. A small closet also keeps the bedroom itself calm and uncluttered. This project adds daily joy and real resale appeal.
What to Get
- Closet system or modular shelving
- Double hang rods
- Motion sensing LED light
- Full length mirror
How to Style It
Empty the space completely and patch the walls before mounting anything. Plan hanging zones at two heights to double your capacity. Install the motion sensing light so it triggers the moment the door opens. Finish with a full length mirror on the inside of the door or an end wall.
Designer’s Secret
Borrow space from an adjoining hallway or an oversized bedroom corner rather than sacrificing the whole room. A curtain can stand in for a door and saves the swing space a door needs.
6. Soundproof Window Upgrade
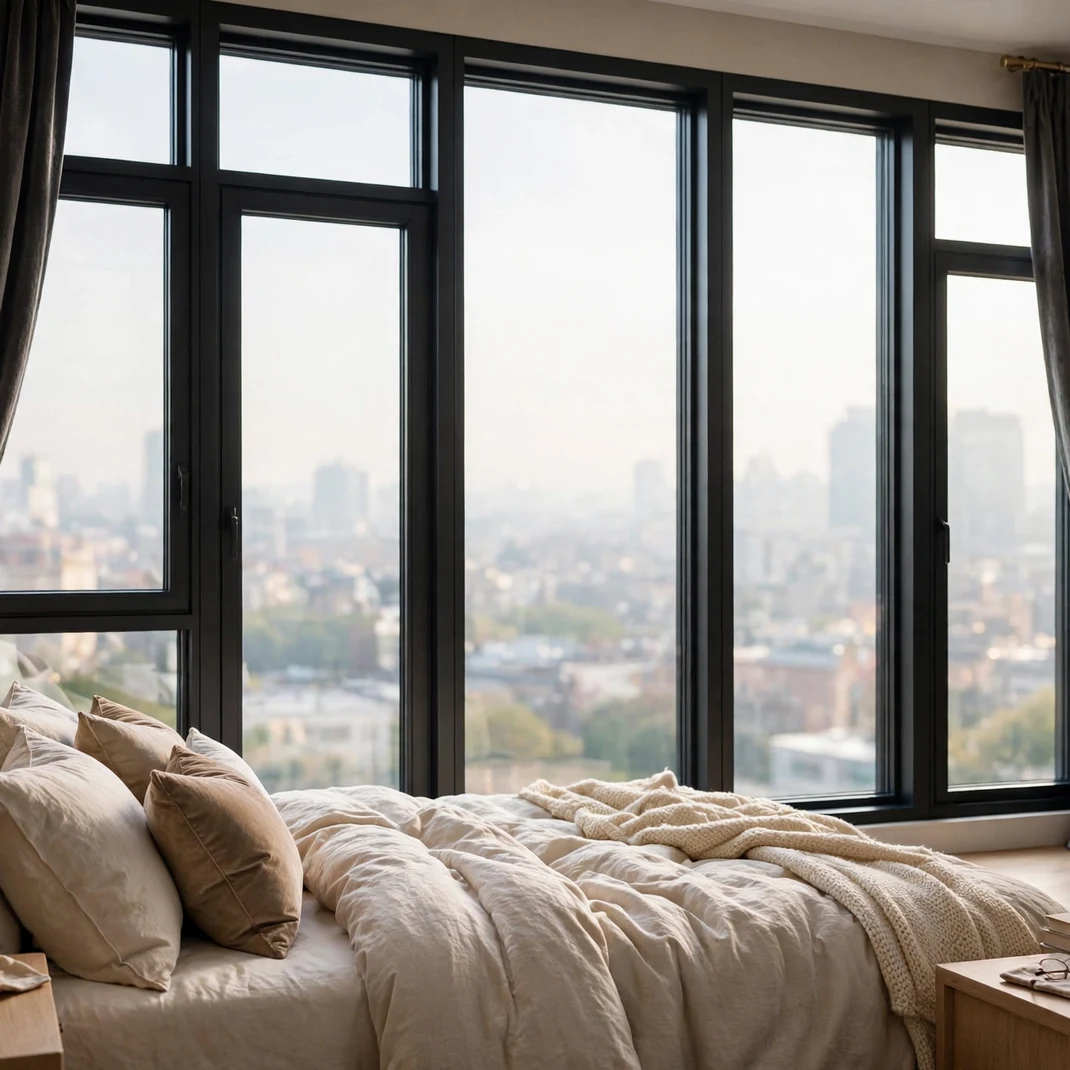
New soundproof windows are the renovation you feel more than you see. Traffic noise, barking dogs, and early morning lawn crews simply fade away. Better windows also seal drafts, which leaves the bedroom warmer in winter and cooler in summer. Laminated acoustic glass blocks sound without blocking light or views. Sleep quality improves measurably when the room goes truly quiet.
What to Get
- Acoustic rated replacement windows
- Acoustic caulk and backer rod
- Heavy window trim
- Window locks
How to Style It
Have the windows professionally measured, since acoustic units are heavier than standard glass. Pry off the old trim carefully if you plan to reuse it. Set each new unit plumb and level, then seal the gaps with acoustic caulk. Reinstall deep trim to cover the new frame and add a finished look.
Designer’s Secret
If full replacement is out of budget, a secondary glazing panel cuts noise nearly as well. Heavy lined curtains over any window add one more layer of sound softening.
7. Radiant Heated Floors
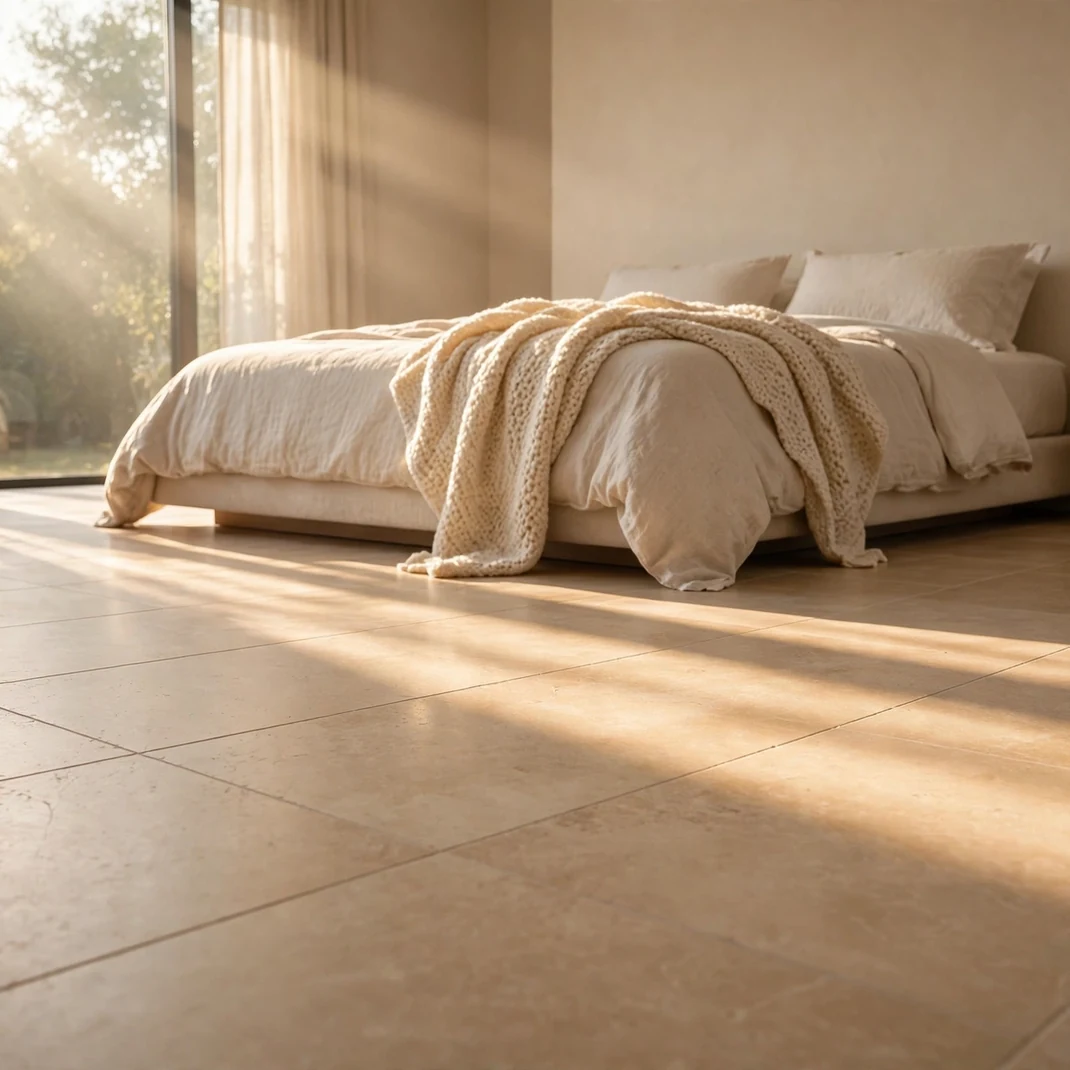
Stepping onto a warm floor on a cold morning feels like pure indulgence. Radiant heating installs beneath tile, stone, or engineered wood and warms the room evenly from below. Unlike forced air, it creates no dust, no noise, and no dry blasts of heat. The setup is invisible once installed and sips electricity on a programmable thermostat. Your feet will thank you every single frosty morning.
What to Get
- Electric radiant heat mats
- Flooring rated for radiant heat
- Programmable thermostat
- Self leveling compound
How to Style It
This project pairs best with a planned flooring replacement, so time them together. Roll out the heat mats and test every circuit before covering them. Pour self leveling compound to protect the mats and create a flat base. Lay the new flooring on top and connect the thermostat last.
Designer’s Secret
Program the floor to warm up thirty minutes before your alarm so you wake to warmth. Zone the bathroom too if it shares the renovation, since cold tile is the worst offender.
8. Upholstered Headboard Wall
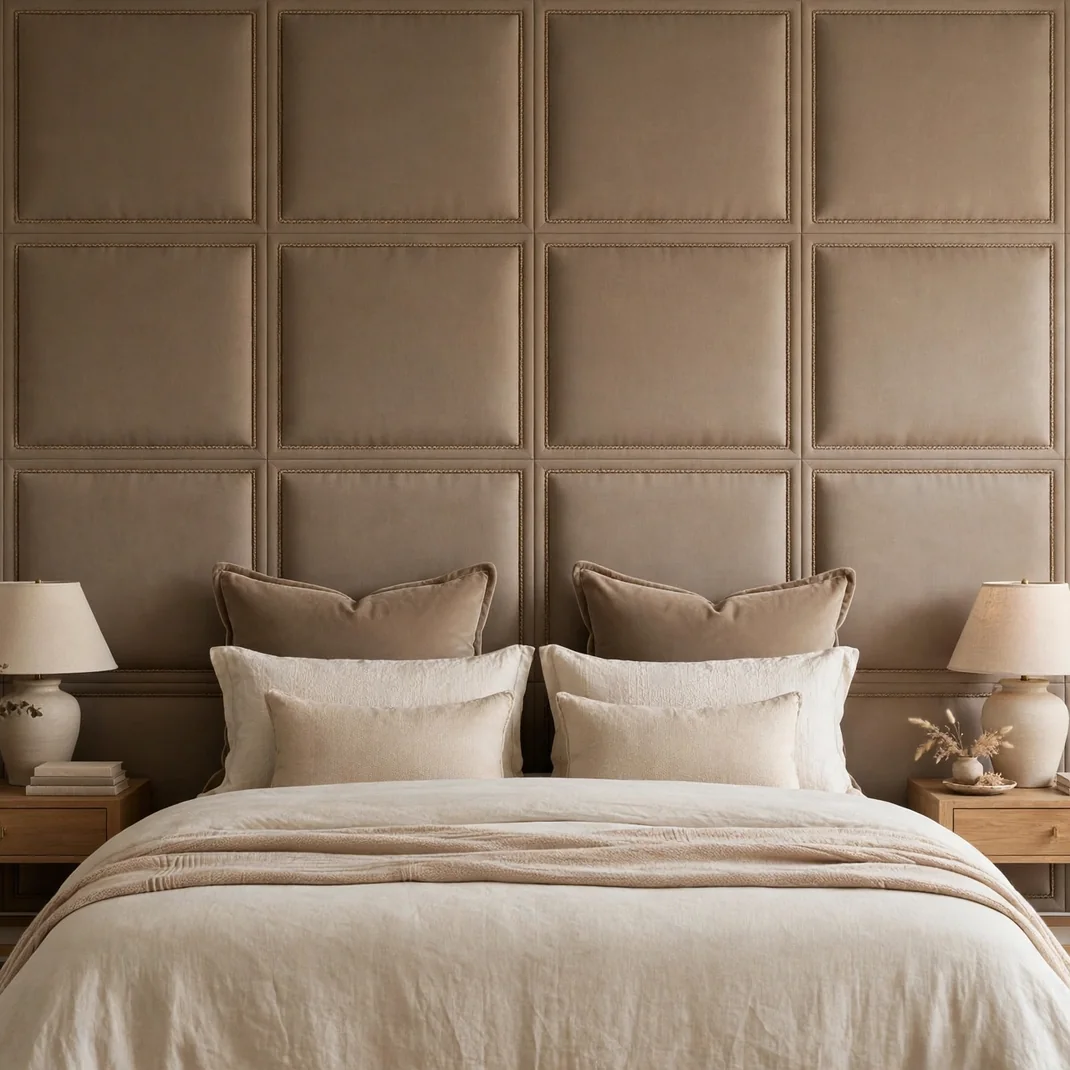
Extending upholstery across the entire wall at the head of the bed creates a soft, luxurious backdrop. Padded panels absorb sound, which makes the bedroom noticeably quieter and more restful. The continuous surface looks far more luxurious than a standard headboard. Choose a performance fabric that resists stains and fading for long term beauty. Leaning back to read against a padded wall is a comfort you will never give up.
What to Get
- Upholstered wall panels
- French cleat hanging rails
- Performance fabric in a color you love
- Piping or nailhead trim
How to Style It
Mark the panel layout across the wall and install the cleat rails perfectly level. Set the panels from the top down, pressing each one firmly onto its rail. Butt the panels snugly so the seams nearly disappear. Add piping or trim along the outer edge for a tailored finish.
Designer’s Secret
Choose a mid tone fabric that hides dust better than very light or very dark colors. Panels can be lifted off their cleats for cleaning or recovering years later.
9. Storage Platform Bed Build

A custom storage platform bed eliminates the need for a dresser entirely. Deep drawers on smooth glides hold clothes, linens, and off season items out of sight. The platform raises the mattress to a comfortable height while using every inch below it. A custom build fits your exact mattress and room dimensions with zero wasted space. This is small bedroom renovation at its smartest.
What to Get
- Plywood and solid wood framing
- Full extension drawer glides
- Drawer boxes or prebuilt drawers
- Paint and primer in one
How to Style It
Build the frame to match your mattress size exactly, allowing a finger width of clearance. Install the drawer glides dead level so every drawer moves like silk. Face the drawer fronts to match your room trim for a fitted, custom look. Finish with paint or sealer before loading anything inside.
Designer’s Secret
Add motion activated LED strips beneath the bed frame to create a gentle night light for midnight trips. Leave one drawer shallow for chargers, controllers, and bedtime essentials.
10. Smart Climate Control
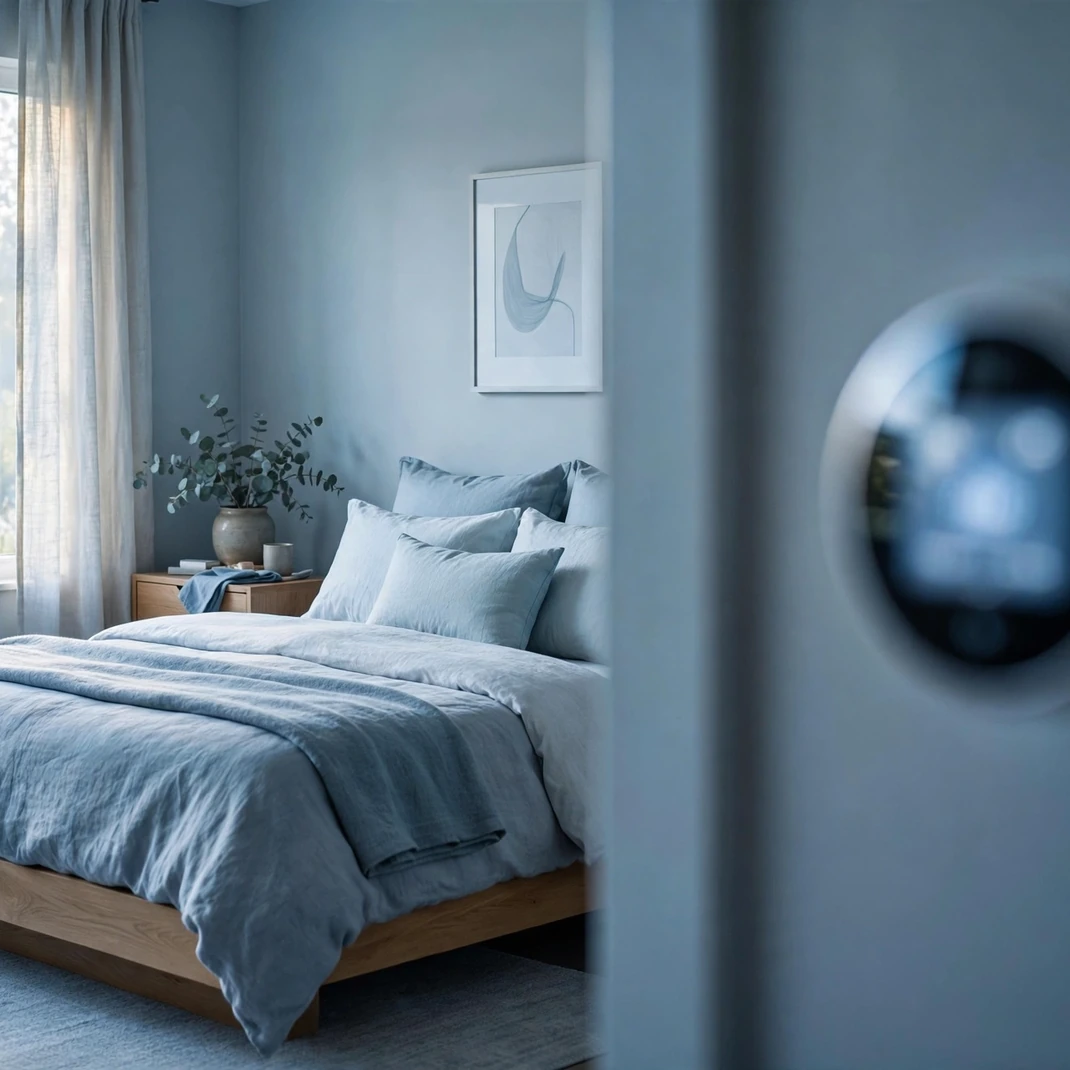
A smart thermostat with room sensors holds the bedroom at your perfect sleeping temperature automatically. It learns your schedule and precools or preheats before bedtime. Sensors fix the classic problem of a thermostat in the hallway ignoring the bedroom. Better sleep starts with a cool, consistent room, and automation delivers it nightly. Energy bills drop too, since it never heats an empty house.
What to Get
- Smart thermostat
- Wireless room sensors
- C wire adapter if needed
- Screwdriver and level
How to Style It
Install the thermostat in a central hallway location away from drafts and direct sun. Set a sensor on the nightstand or dresser in the room. Connect everything to your home wifi and label the rooms clearly in the app. Set a sleep schedule that drops the temperature an hour before bed.
Designer’s Secret
Pair the schedule with your smart lights so the air cools as the lights dim for a powerful sleep cue. Most energy companies offer rebates that cut the thermostat cost significantly.
11. Reading Nook Build Out
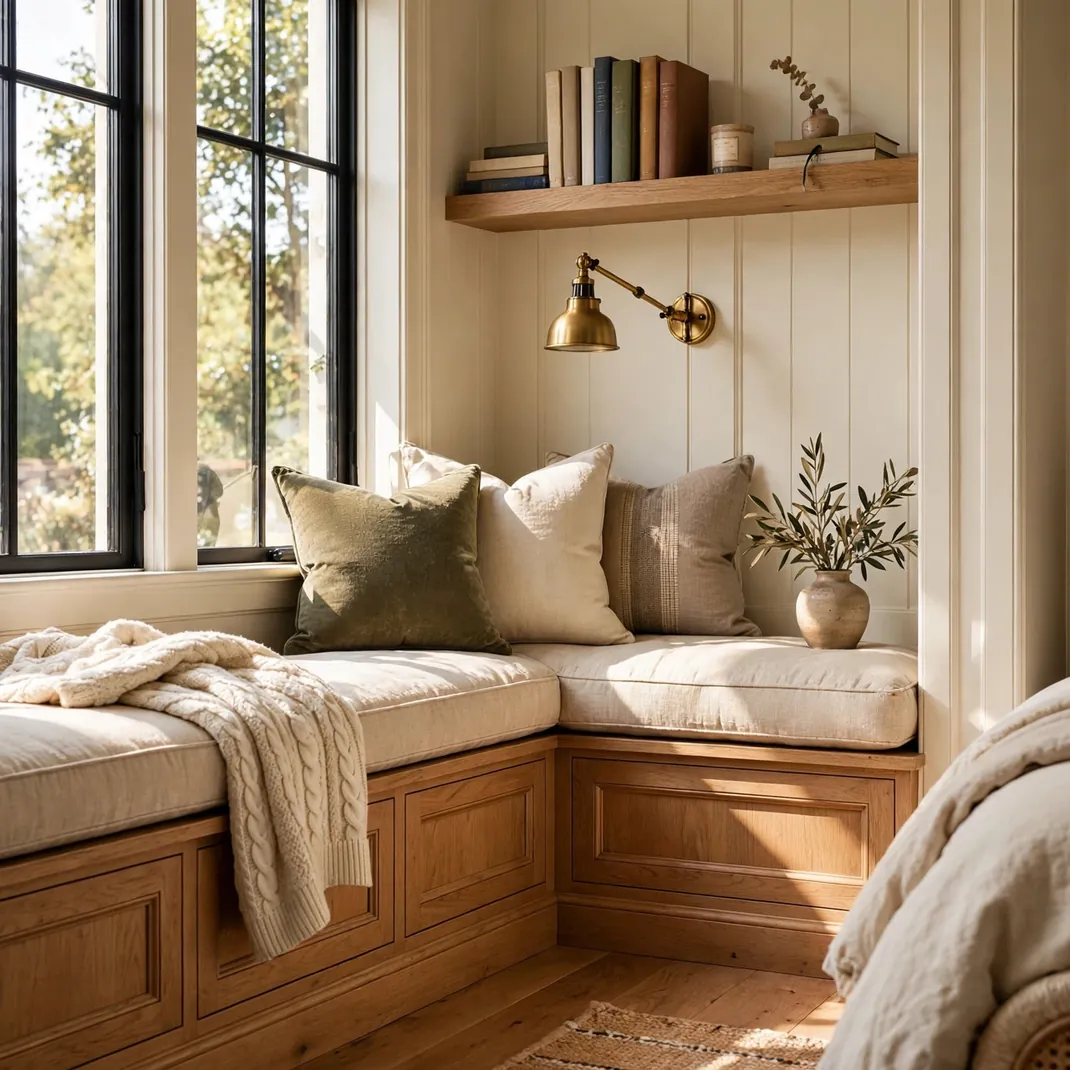
A dedicated reading nook turns an awkward corner or a broad windowsill into the favorite spot in the house. a fixed bench with a thick cushion, good light, and nearby storage invites long lazy chapters. This small addition gives the bedroom a second function beyond sleeping. It also adds charm and character that buyers remember. Every bedroom deserves one corner devoted purely to pleasure.
What to Get
- Bench framing lumber and plywood
- Thick made to measure cushion
- Wall mounted reading light
- Small wall mounted shelf
How to Style It
Frame the bench to fit the corner exactly, anchoring it into the wall studs. Top it with plywood and a cushion trimmed to fit edge to edge. Mount the reading light at seated shoulder level. Add the floating shelf within arm’s reach for books and tea.
Designer’s Secret
Hinge the bench top for hidden storage of blankets and spare bedding. A cushion in outdoor fabric survives sunlight and daily use far longer.
12. Ensuite Bathroom Refresh
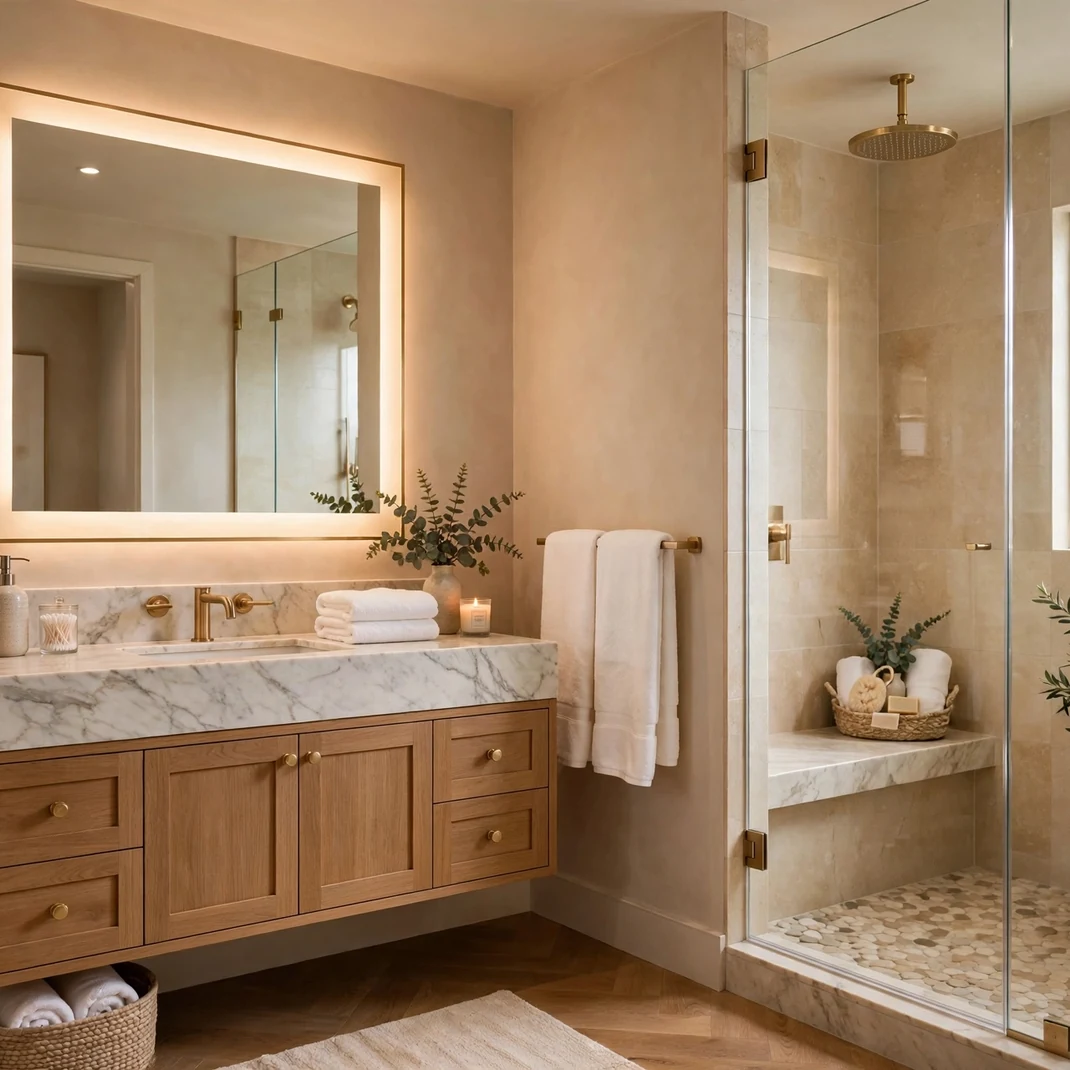
Refreshing the ensuite bathroom multiplies the indulgence of the whole bedroom suite. New fixtures, fresh grout, and updated lighting make the space feel brand new without moving any wall. A rainfall showerhead and a backlit mirror deliver a spa feel on a modest budget. Coordinating the bathroom palette with the bedroom creates a seamless retreat. This is the renovation guests never see but you enjoy daily.
What to Get
- New faucet and showerhead
- Grout refresh pen or new grout
- Backlit mirror
- Fresh caulk
How to Style It
Replace the faucet and showerhead first for the fastest visible change. Scrub and refresh the grout lines, which alone can make tile look new. Swap the mirror for a backlit version and update the light bulbs to warm white. Recaulk the tub and shower for a crisp clean edge.
Designer’s Secret
A large mirror across from the window doubles the natural light for free. Decant shampoos into matching dispensers to erase visual clutter instantly.
13. Automated Blackout Shades
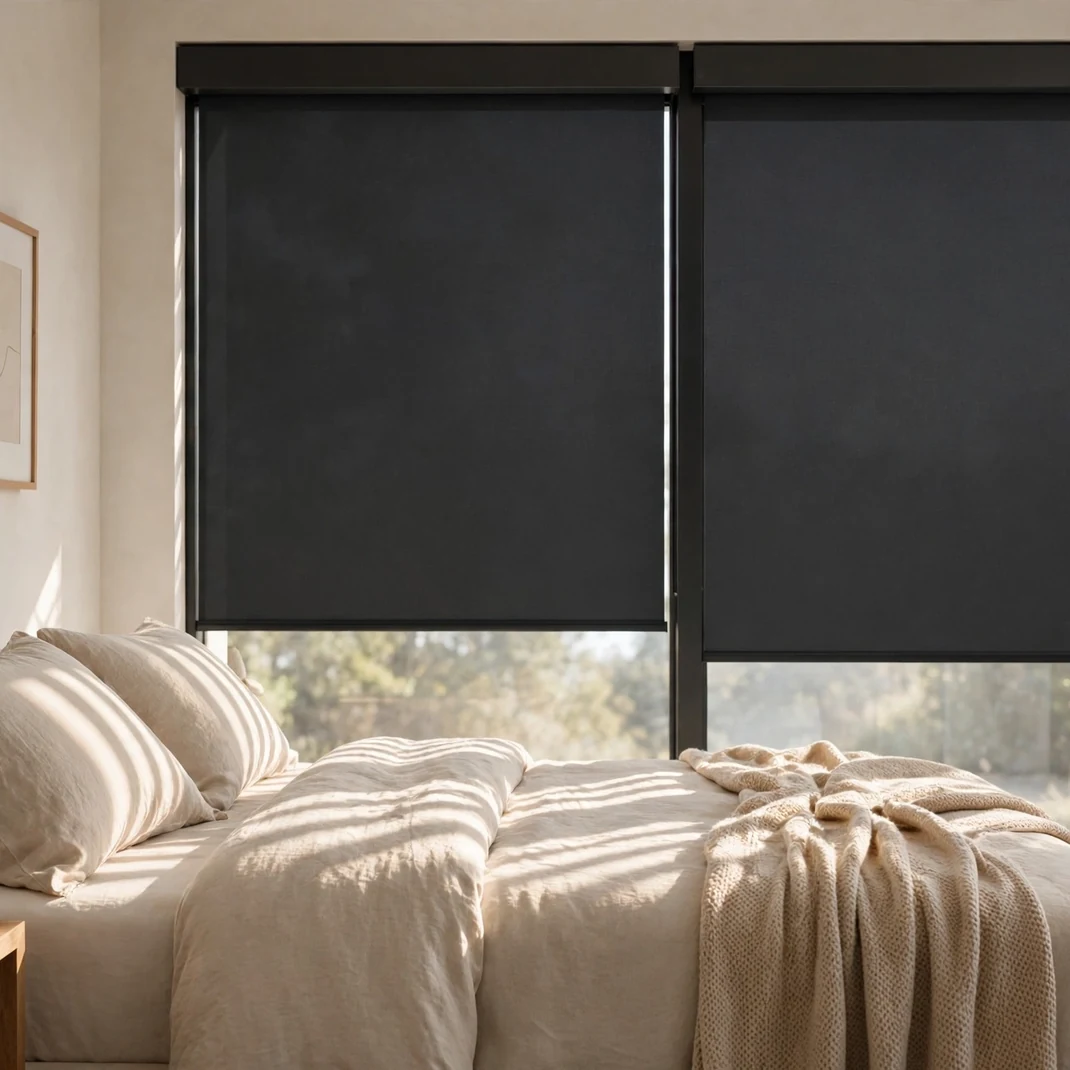
Automated blackout shades give you total darkness for sleep and instant light when you want it. They lower on a schedule, rise with your alarm, and close with a voice command. True darkness boosts melatonin and noticeably deepens sleep. The clean look beats bulky curtains, especially in modern bedrooms. Once automated, you will wonder how you slept any other way.
What to Get
- Motorized blackout roller shades
- Smart hub or bridge
- Rechargeable battery wands
- Mounting brackets
How to Style It
Size each window inside the frame for a neat recessed fit. Fix the brackets level and click each shade into place. Charge the battery wands fully before the first use. Set a schedule that closes the shades at night and opens them with your morning alarm.
Designer’s Secret
Choose side channels for the shades if streetlights leak around the edges. Solar power units keep the batteries topped up with zero maintenance.
14. Floating Nightstand Pair
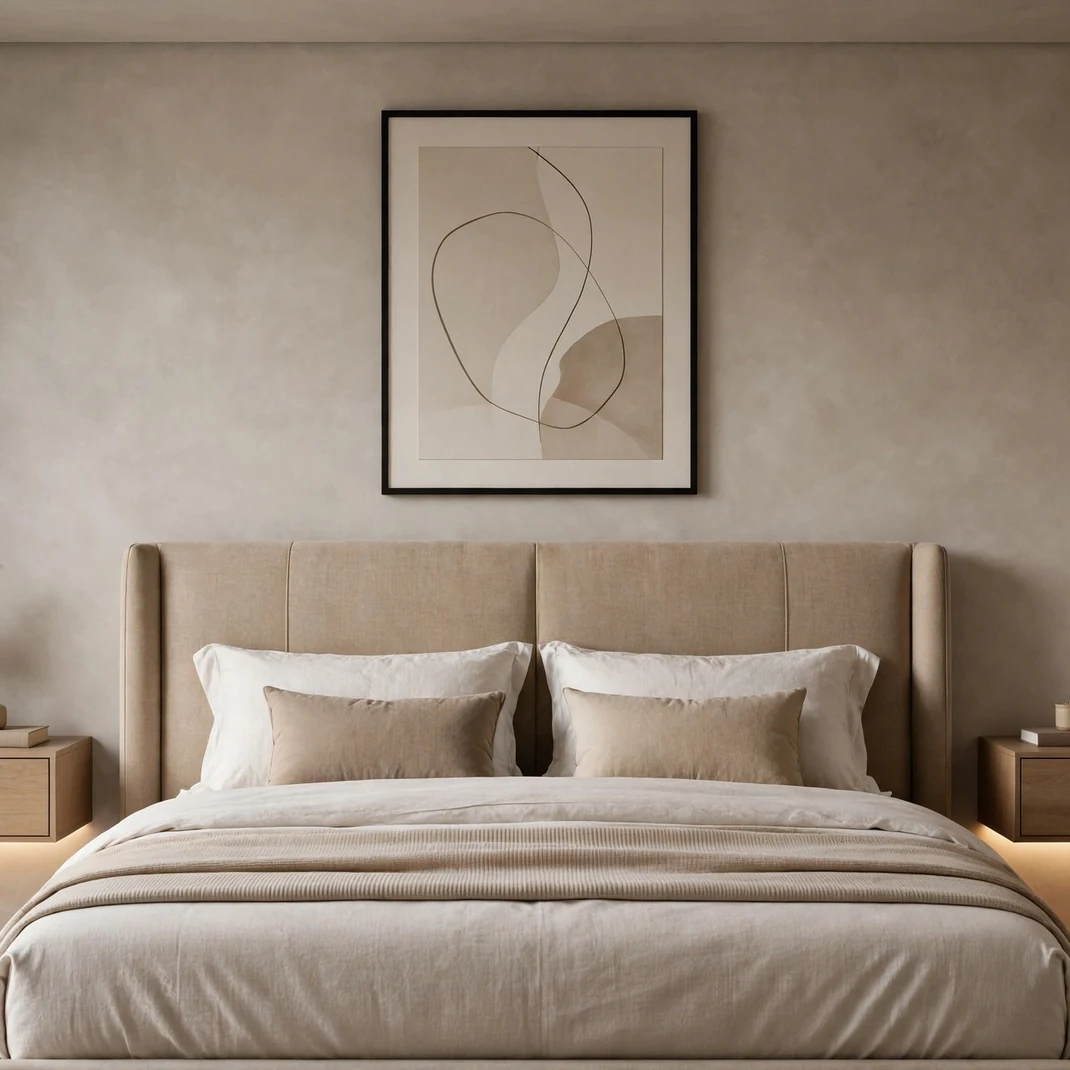
Wall mounted floating nightstands free up floor space and make cleaning effortless. The absence of legs creates a light, modern look that suits small bedrooms beautifully. A matching pair frames the bed with beautiful symmetry. Choose designs with a drawer to keep chargers and controllers neatly tucked away. This small carpentry job delivers an outsized style upgrade.
What to Get
- Two floating nightstand boxes or shelves
- Heavy duty wall brackets
- Cable grommets
- Wood finish or paint
How to Style It
Mark the height so the nightstand tops sit level with the mattress. Locate the studs and fasten the brackets with serious hardware. Slide the nightstand boxes onto the brackets and check for level. Drill a grommet hole in the back corner for tidy charging cables.
Designer’s Secret
Mount them two inches narrower than traditional nightstands to gain precious walkway space. A small LED strip under each one doubles as a soft night light.
15. Layered Lighting Plan
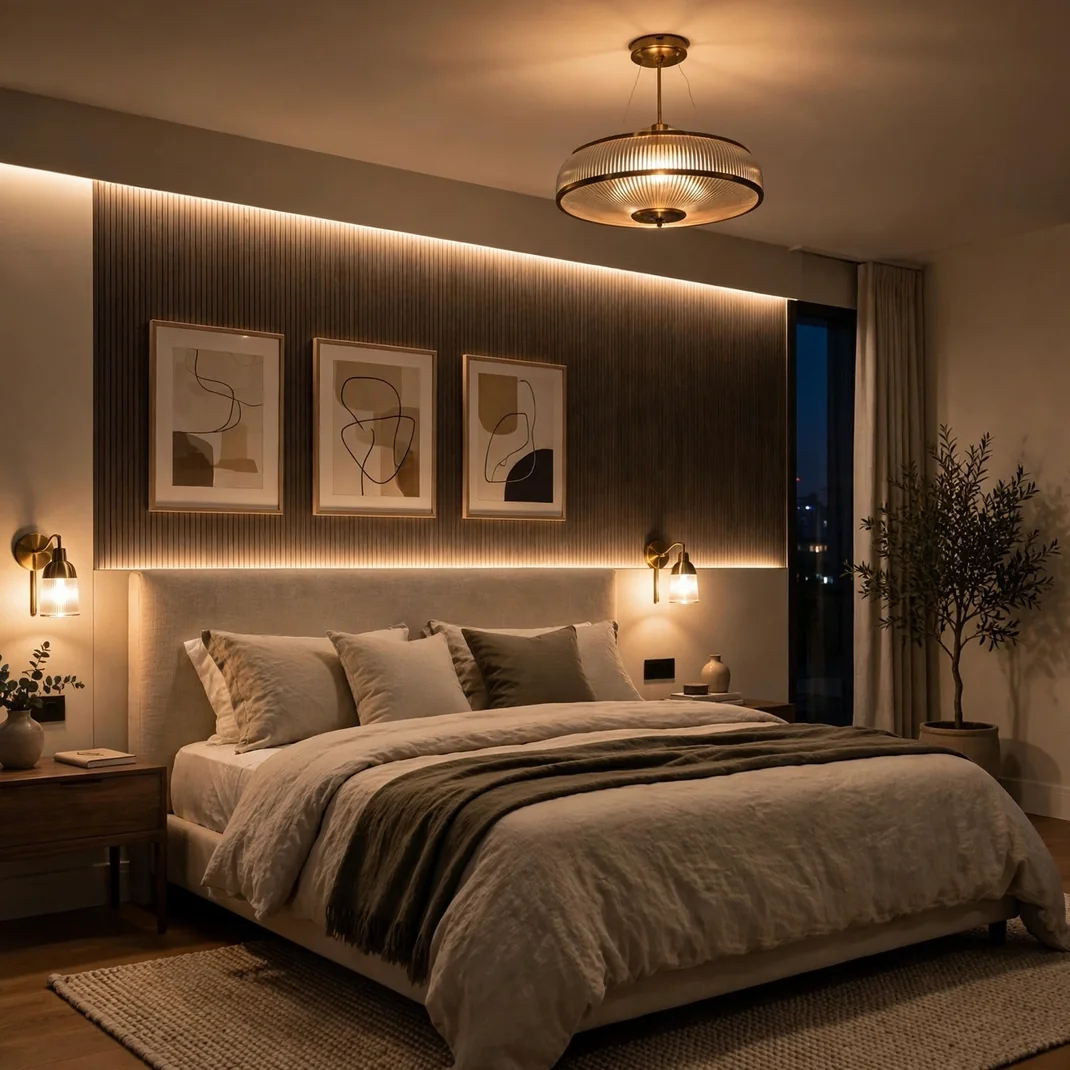
A layered lighting plan replaces the single harsh overhead with a mix of ambient, task, and feature light. Each layer serves a purpose, from reading in bed to highlighting art on the walls. Dimmers on every circuit let you tune the mood in seconds. The room feels larger, warmer, and far more polished with light in the right places. Good lighting is the cheapest luxury in renovation.
What to Get
- Dimmable overhead fixture
- Bedside wall sconces or pendants
- LED strip for highlights
- Smart dimmer switches
How to Style It
Start by mapping where you read, dress, and relax. Place ambient light overhead, task light by the bed, and accent light to wash walls or art. Put every layer on its own dimmer switch. Test the scenes at night before finalizing bulb choices.
Designer’s Secret
Keep all bulbs at the same warm color temperature so the layers blend seamlessly. Three layers is the magic minimum, while five layers feels professionally designed.
16. Built In Work Alcove
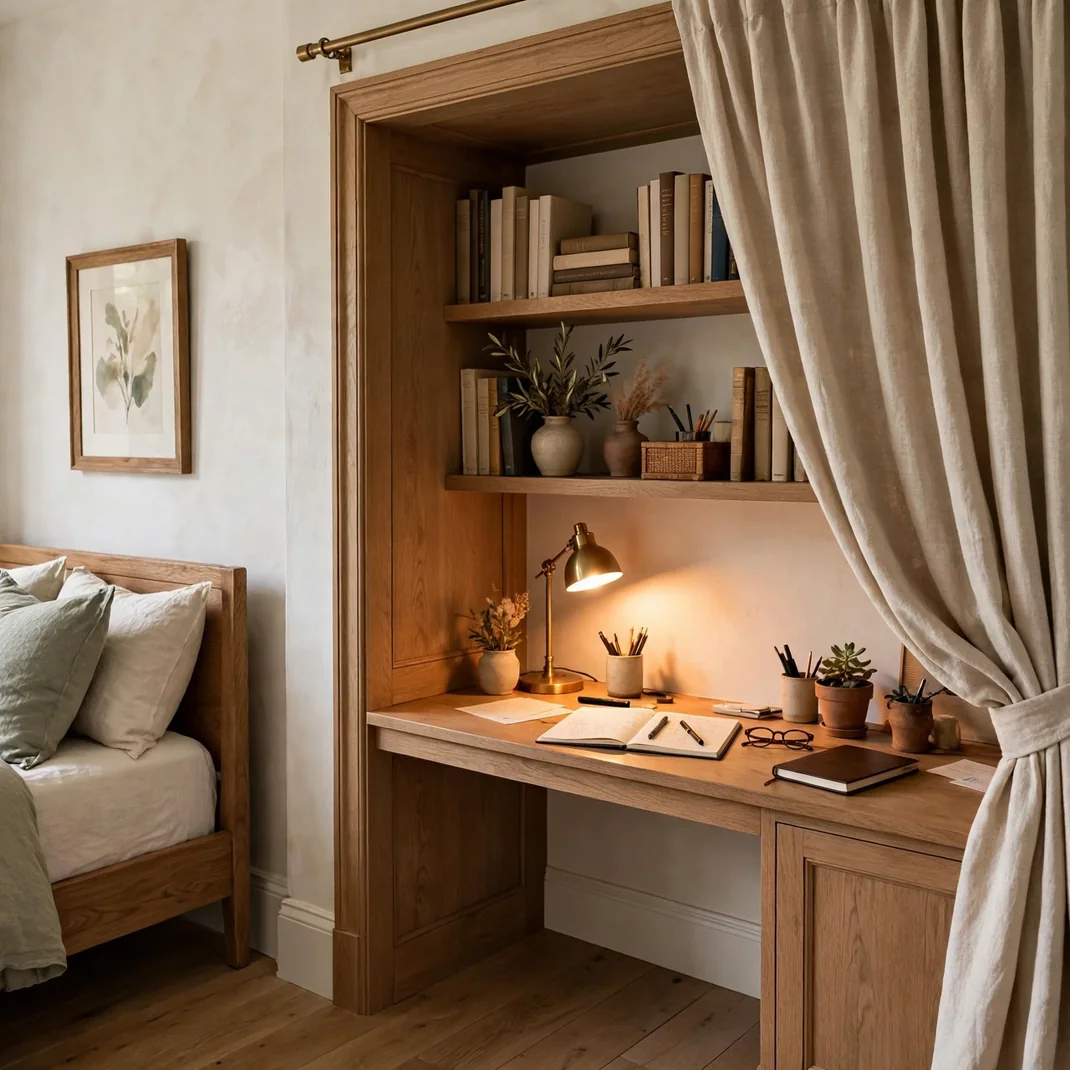
A recessed work alcove carves a home office out of bedroom space without cluttering it. A desk surface, shelving above, and task lighting fit neatly into a shallow recess. Sliding doors or a curtain close the office away when the workday ends. This preserves the bedroom’s restful feel while adding genuine function. Remote workers gain a real office that vanishes at five o’clock.
What to Get
- Desk surface sized to fit
- Upper shelving planks
- Task light
- Cable management tray
How to Style It
Choose an alcove or a generous section of wall near an outlet. Mount the desk surface 30 inches off the floor with sturdy supports. Install shelving above within easy reach from the chair. Add the task light and route every cable through the management tray.
Designer’s Secret
A barn door or linen curtain on a ceiling track hides the workspace entirely. Paint the alcove interior a focus enhancing color like deep green or navy.
17. Skylight Installation
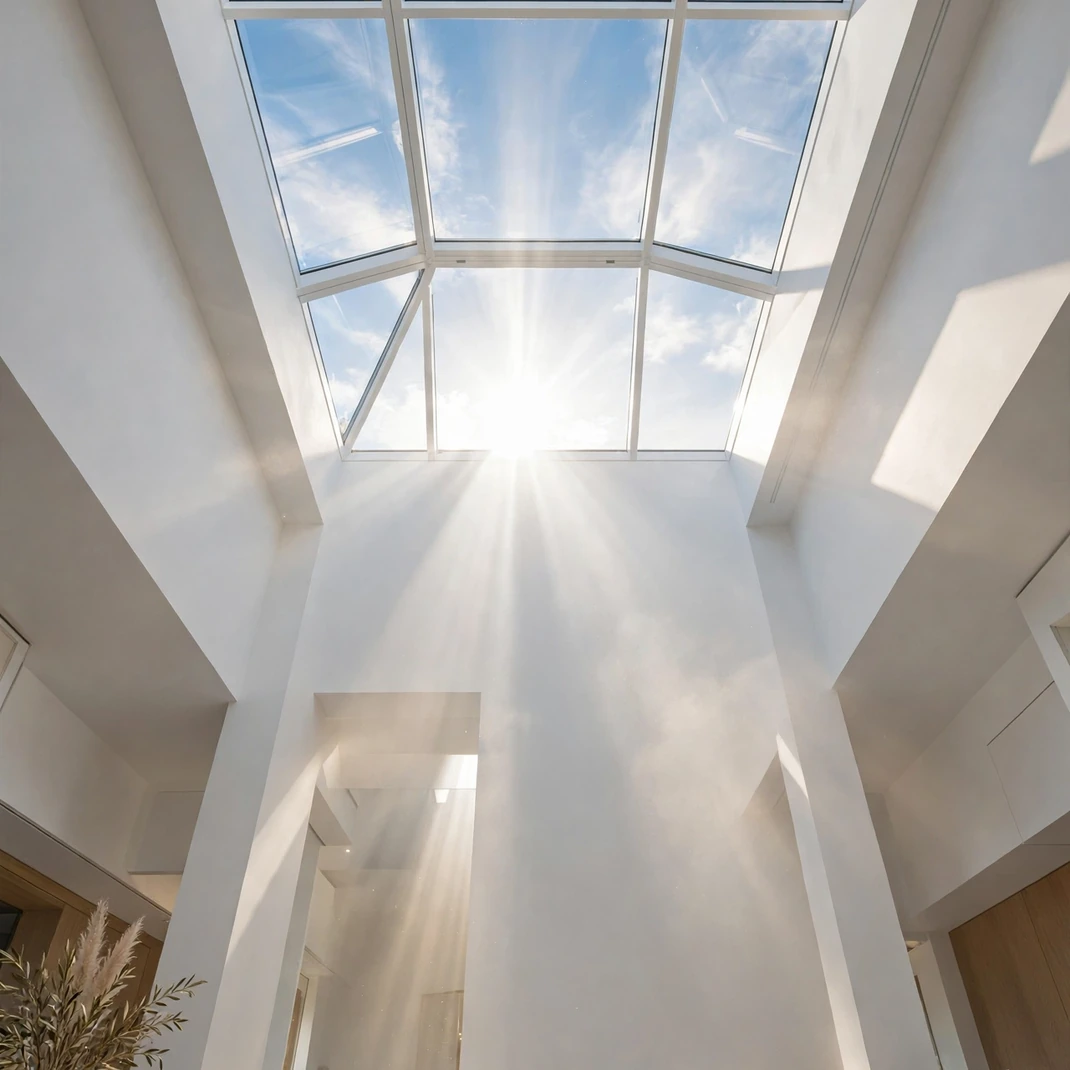
A skylight floods the bedroom with natural light and opens the room to the sky. Morning sun becomes your alarm clock and stargazing becomes a nightly ritual. Modern skylights seal tightly, block UV, and even open for fresh air. The architectural drama of a sky view transforms an ordinary room. Few upgrades transform how a bedroom feels as completely as this one.
What to Get
- Vented or fixed skylight unit
- Flashing kit
- Roofing shingles to match
- Interior light shaft materials
How to Style It
Hire a professional for the roof cut, since waterproofing is not a DIY gamble. Position the skylight to catch morning sun without overheating the afternoon room. Build the interior light shaft with flared sides to spread light widely. Finish the shaft in white to bounce every ray into the room.
Designer’s Secret
Choose a vented model with rain detection for fresh air without worry. An integrated blackout blind preserves the darkness your sleep needs.
18. Backlit Vanity Mirror
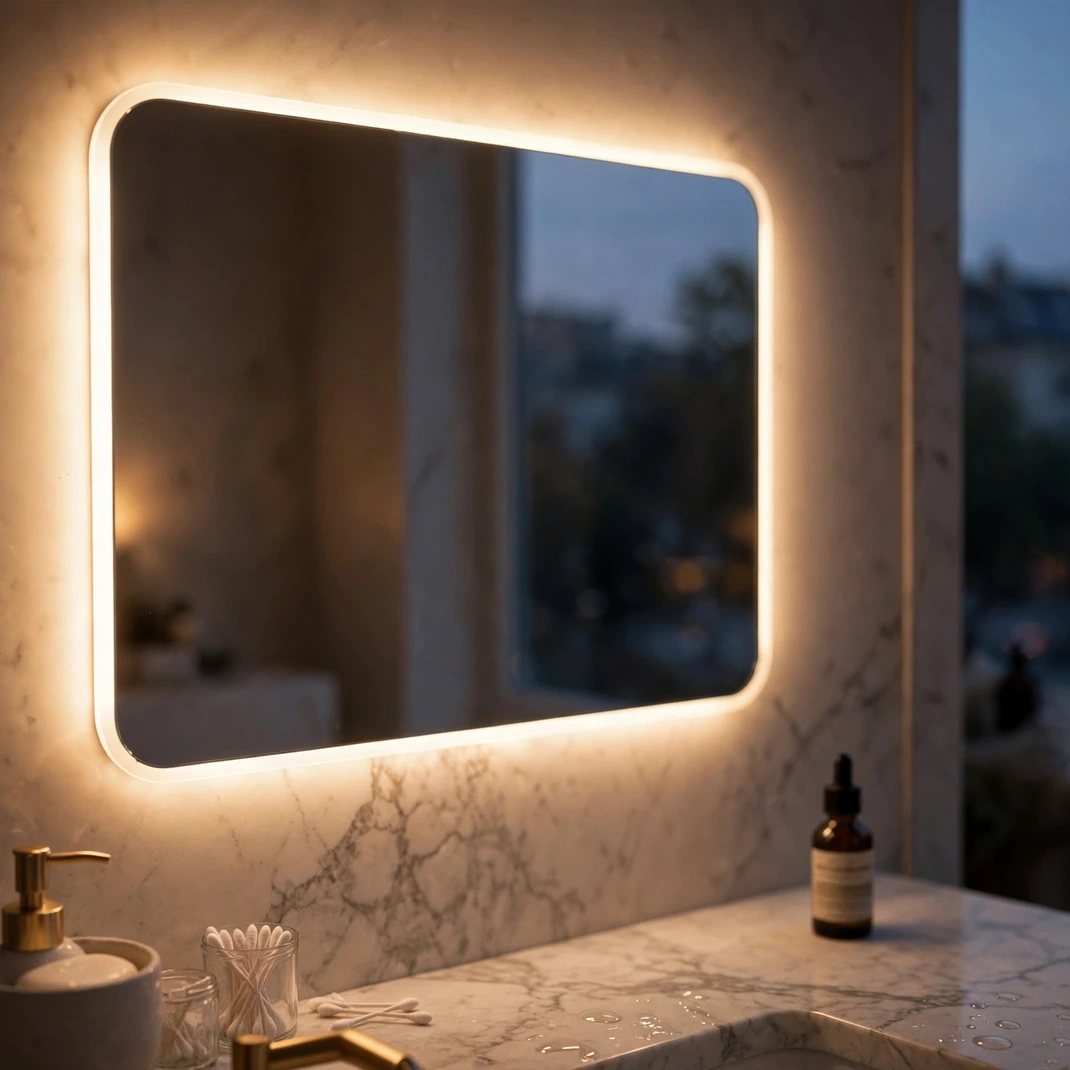
A backlit vanity mirror wraps your face in soft even light that flatters and clarifies. Harsh overheads cast shadows, but a glowing mirror makes mornings kinder. The floating halo of light also acts as a beautiful night light. Fitting is simpler than it looks, often using the existing mirror position. This is the vanity upgrade with the biggest daily payoff.
What to Get
- Backlit LED mirror
- Electrical box and wiring
- Mirror adhesive or mounting brackets
- Dimmer switch
How to Style It
Turn off the power and take down the old mirror carefully. Confirm the electrical box sits centered behind the new mirror position. Secure the brackets, then hang the mirror, connecting the wiring. Add a dimming dial so the glow adjusts from bright mornings to soft nights.
Designer’s Secret
Choose a mirror with a defogger pad so it stays clear after hot showers. A 3000 kelvin glow flatters skin better than cooler daylight tones.
19. Acoustic Fabric Panels
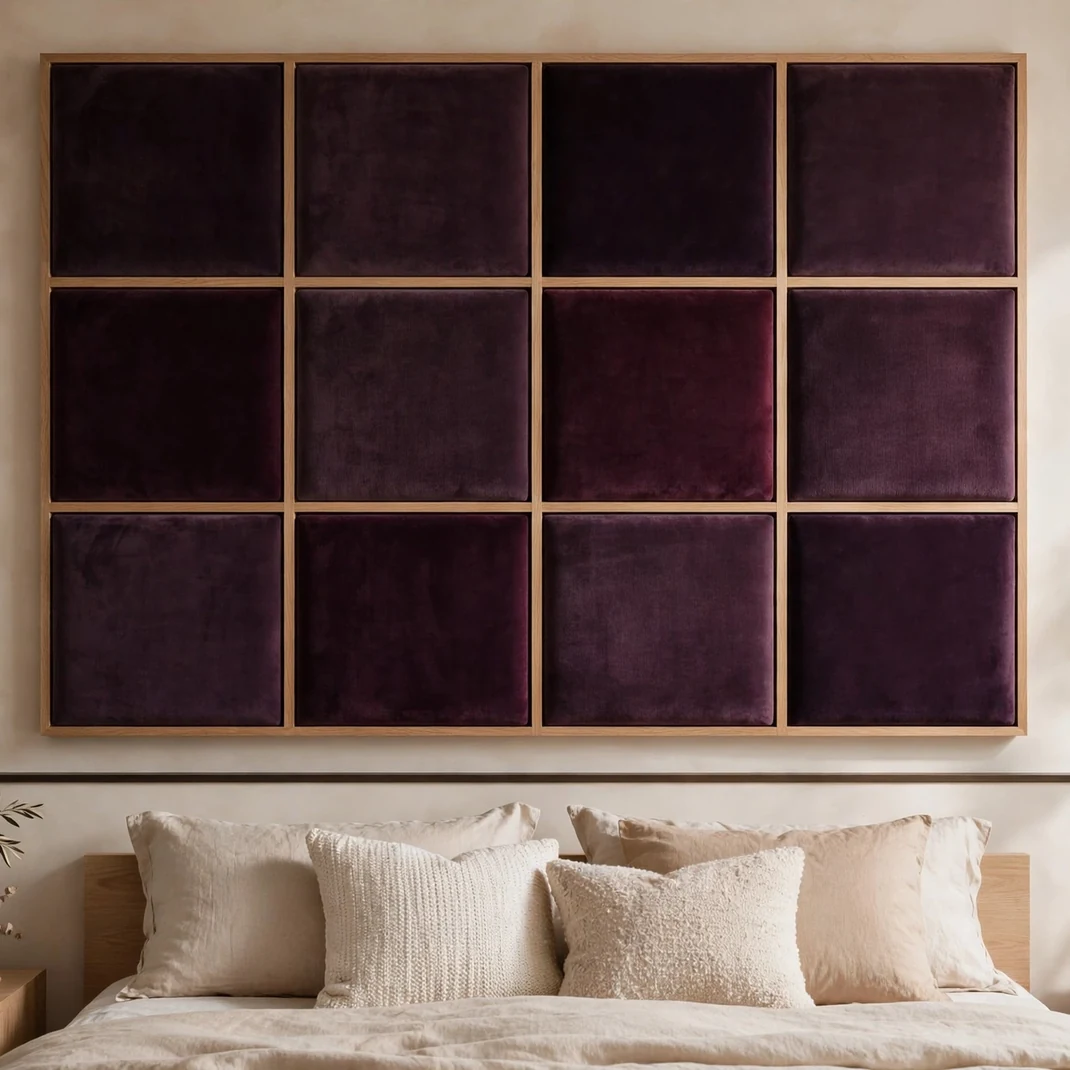
Acoustic fabric panels wrapped in beautiful textiles quiet echo and soften the room. Hard bedrooms bounce sound and feel restless and cold without treatment. Panels absorb that energy and add a tailored, upholstered look to the walls. Arrange them as art, in a grid, or as a full statement wall. The room instantly feels calmer, softer, and more expensive.
What to Get
- Acoustic insulation boards
- Textile in a weave you love
- Wooden frame slats
- French cleat hangers
How to Style It
Build simple frames and wrap each board snugly like a gift. Staple the fabric at the back, keeping the front smooth and taut. Hang the panels with French cleats at ear height along the walls. Group them in odd numbers for the most artful arrangement.
Designer’s Secret
Place panels opposite the bed first, where echo is strongest. Performance velvet looks luxurious and absorbs sound better than flat cotton.
20. Full Color Drench Paint
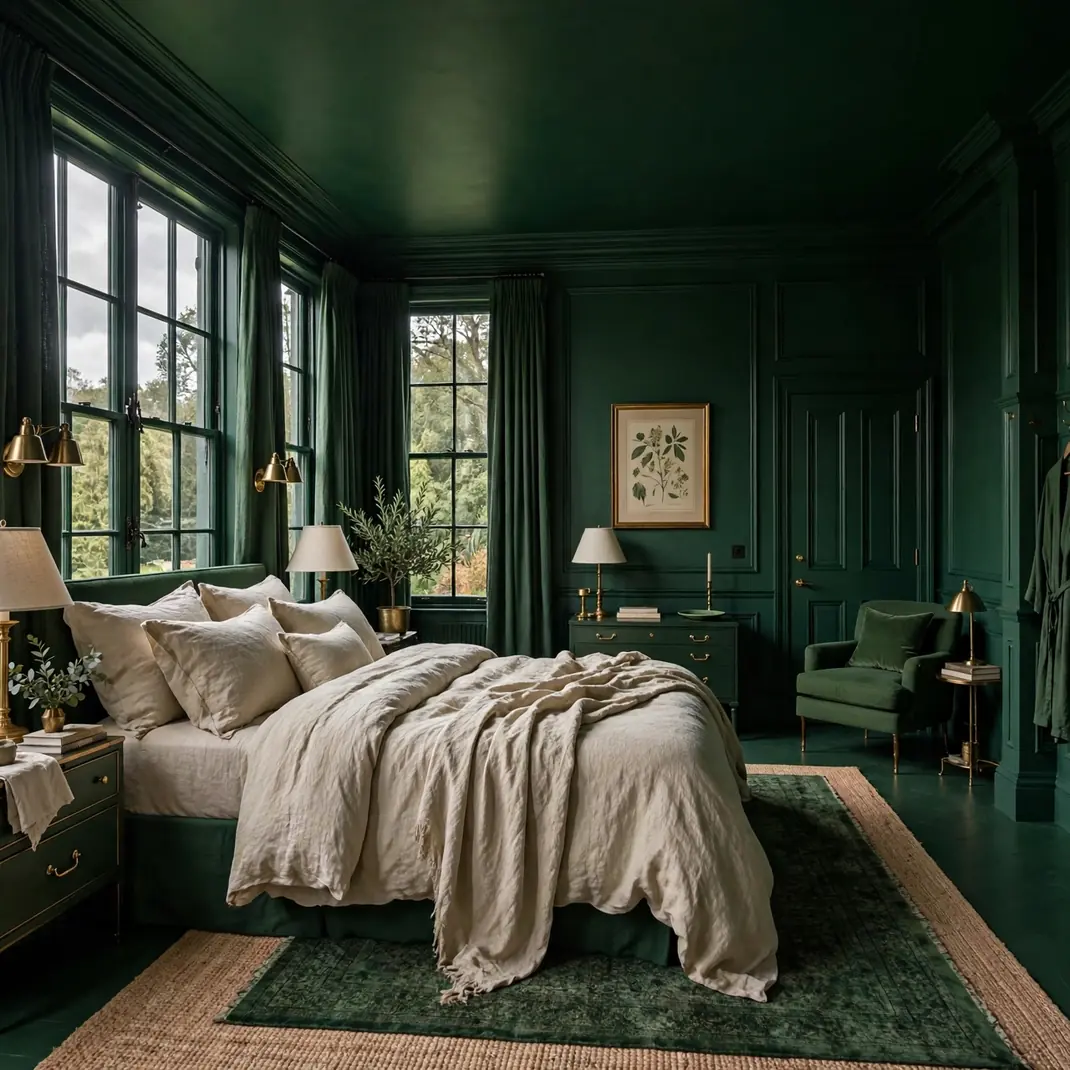
Color drenching paints the walls, ceiling, trim, and even the doors in one enveloping tone. The room wraps around you like a cocoon with no visual interruptions. This bold move makes small bedrooms feel intentional and surprisingly spacious. Deep greens, warm clays, and inky blues work beautifully for the technique. It is the fastest way to make a bedroom look designer finished.
What to Get
- Wall paint in one color, multiple finishes
- Quality rollers and brushes
- Painter’s tape
- Drop cloths
How to Style It
Use flat paint on walls and ceiling, eggshell on trim, all in one unifying color. Cut in with care where surfaces meet so the lines stay razor sharp. Apply two full coats everywhere for rich even coverage. Remove tape while the last coat is tacky for perfect edges.
Designer’s Secret
Test the color on a large board and move it through the room for two days first. North facing rooms need warmer tones to avoid feeling cold when drenched.
Conclusion
A bedroom renovation succeeds when every change solves a real problem or adds real comfort. The ideas in this guide range from weekend projects to professional installs, but they share one goal: a bedroom that works as beautifully as it looks. Start with the upgrades that fix your daily frustrations, then layer in the smart technology that makes life easier. Renovate with intention and your bedroom will reward you every morning and every night.