17 Hallway Halloween Magic That Leads to Spooky Nights
Nobody decorates the hallway. It is the corridor we sprint through carrying laundry, the walls we see in peripheral vision. And that is exactly why it is Halloween’s secret weapon. A hallway has something no living room can offer: a journey. You enter at one end not knowing what waits at the other, and for one month a year, that ordinary walk to the bedroom can feel like the opening scene of a film. The seventeen ideas below treat your hallway as a story with a beginning, a middle, and a finale worth walking toward.
1. Line the Floor with a Candlelit Path
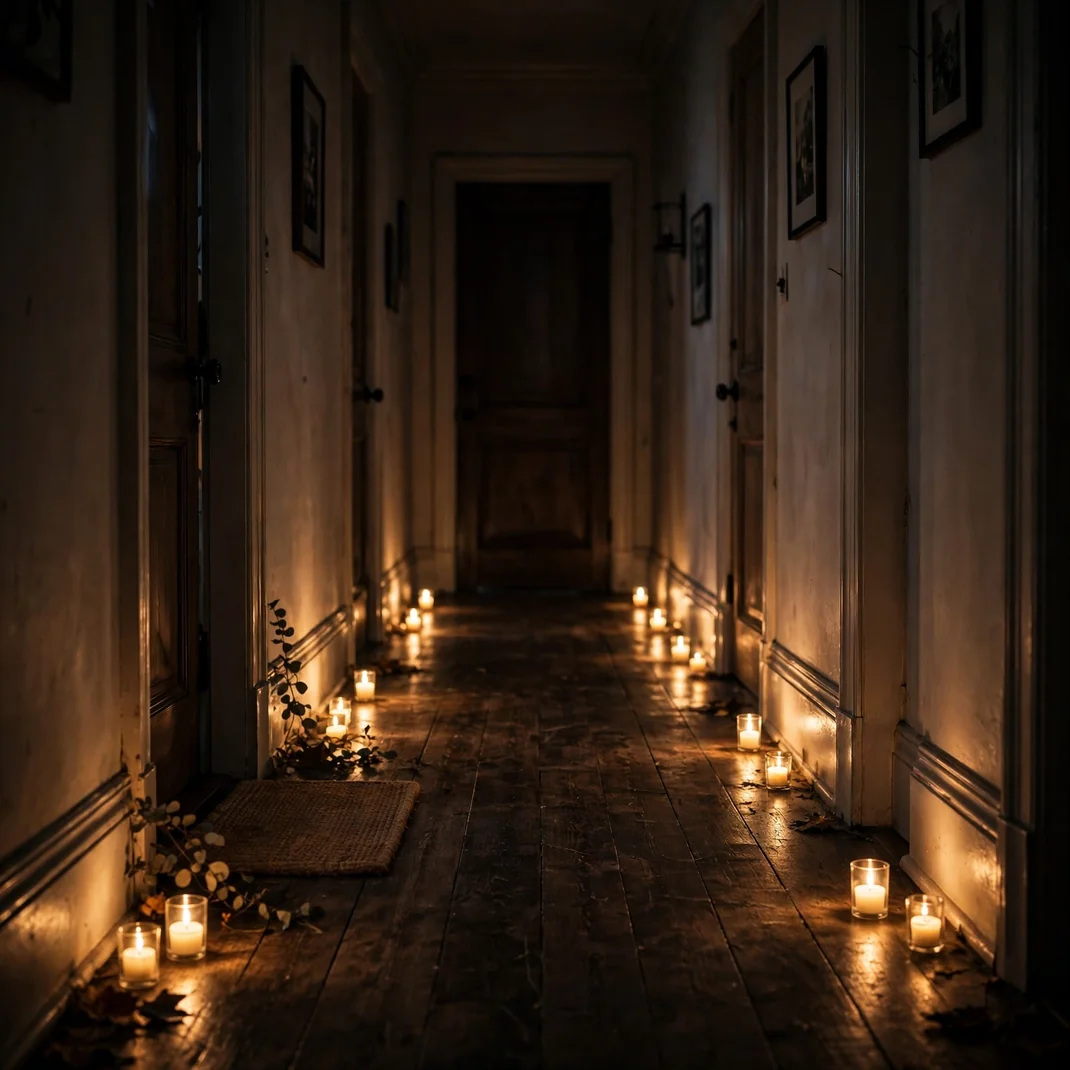
Start the story at the entrance. A row of LED candles down both edges of the hallway floor does something primal to people: they slow down. Real candles would be a fire inspector’s nightmare in a narrow corridor, but the flickering LED kind give you the same golden pool of light with zero risk. Space them unevenly. Perfection reads as a hotel lobby; a slightly wandering line reads as magic.
How to Style It: Set flickering LED candles along both floor edges, staggering the spacing for a natural, wandering line.
Why It Photographs Beautifully: The low golden light pooling on the floor makes the hallway look cinematic from either end.
Pro Tip: Put them on a timer plug set for dusk. Manually switching twenty candles every evening lasts about three days before you give up.
Budget-Smart Swap: Dollar-store LED tealights in paper bags make glowing luminarias for pennies.
2. Hang Witch Hats at Staggered Heights
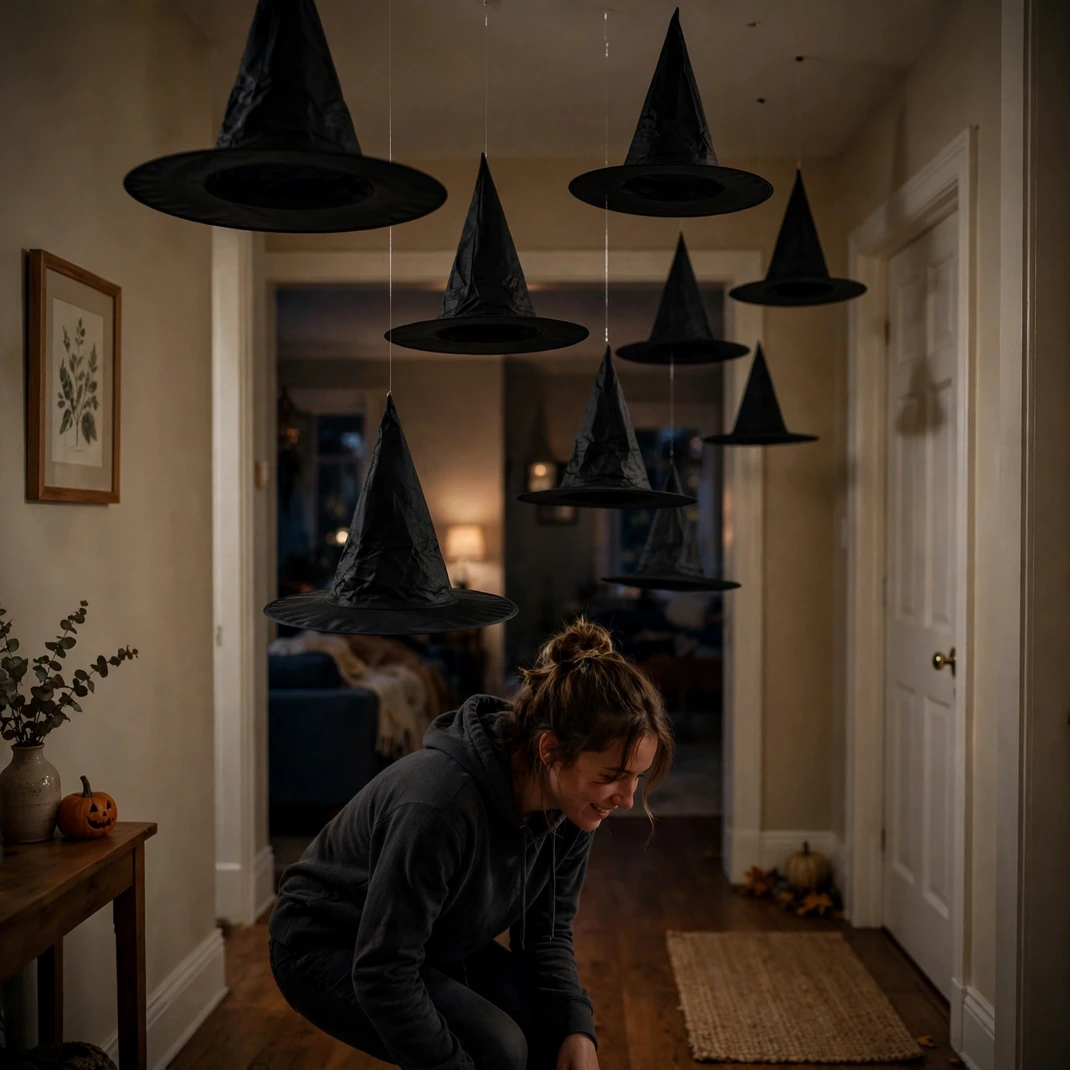
Look up. That empty ceiling is wasted air. Witch hats suspended on fishing line at different heights turn the hallway into something guests have to duck through, laughing. The fishing line is the whole trick: invisible in dim light, the hats appear to float midair. Hang the tallest-person hat first, then go lower. Nobody remembers to account for their brother-in-law.
How to Style It: Suspend witch hats from the ceiling on clear fishing line at varied heights down the corridor.
Why It Photographs Beautifully: Shooting down the hallway through the floating hats gives an incredible depth effect.
Pro Tip: Tie the line to the hat’s inner band, not the tip. Tip-tied hats spin slowly all night and tangle with their neighbors by morning.
Budget-Smart Swap: Paper witch hats from the party store cost almost nothing and weigh less, so they hang straighter.
3. Build a Portrait Gallery of Questionable Ancestors
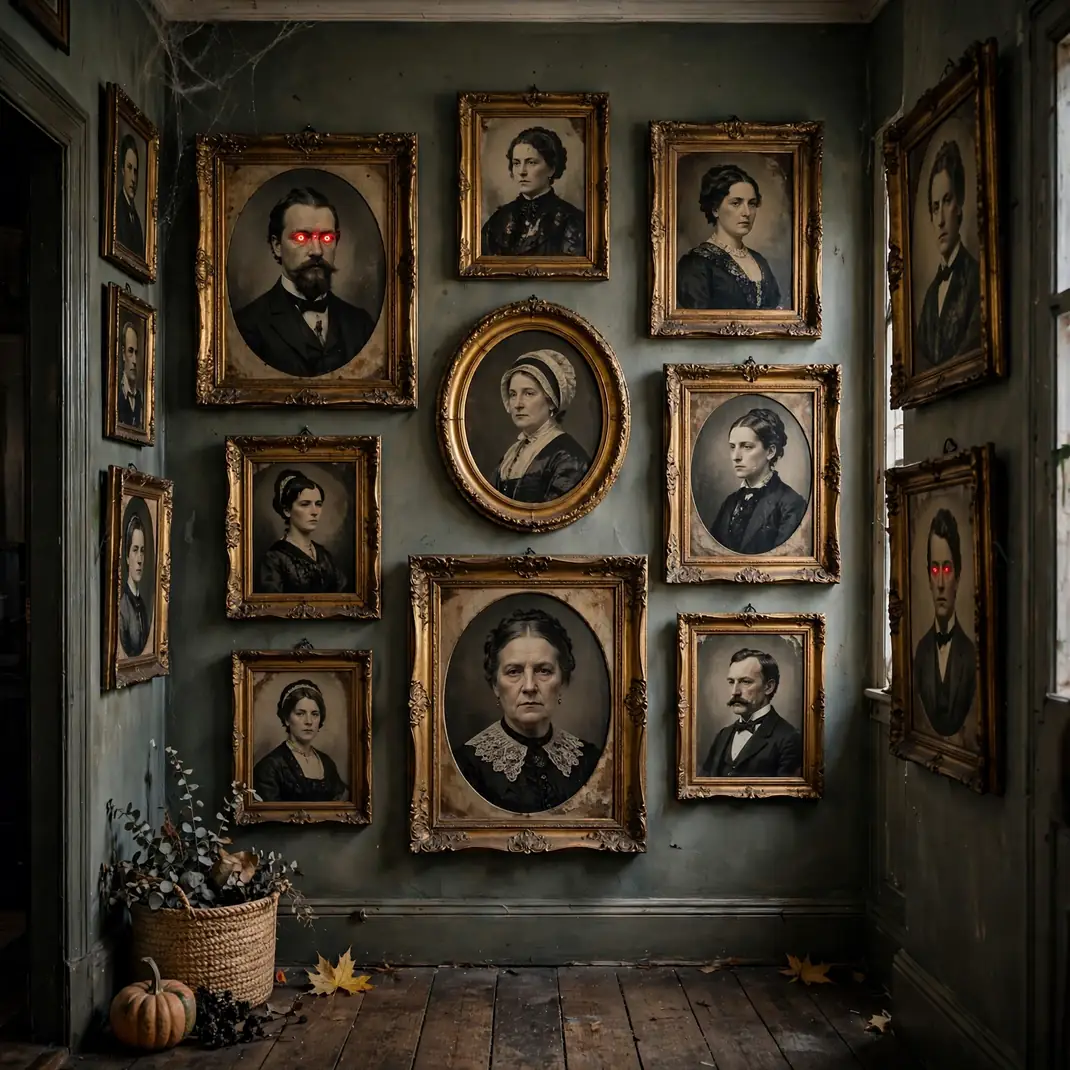
Thrift stores are full of stern strangers in gilt frames, and October is their moment. Hang a row of them down the hallway, then add the details that make guests do a double take: red eyes drawn on with dry-erase marker, a crack across one face, a tiny bat perched on a shoulder. The portraits were already unsettling. You are just finishing the job.
How to Style It: Hang thrifted portraits in a tight salon row, then add dry-erase marker details like glowing eyes.
Why It Photographs Beautifully: The wall of watching faces is the hallway’s most talked-about moment.
Pro Tip: Use dry-erase marker, not permanent. Test a corner first, some old prints have a coating that grabs even dry-erase ink.
Budget-Smart Swap: Print vintage public-domain portraits free online and frame them in mismatched thrift frames.
4. Stretch a Cobweb Ceiling Tunnel
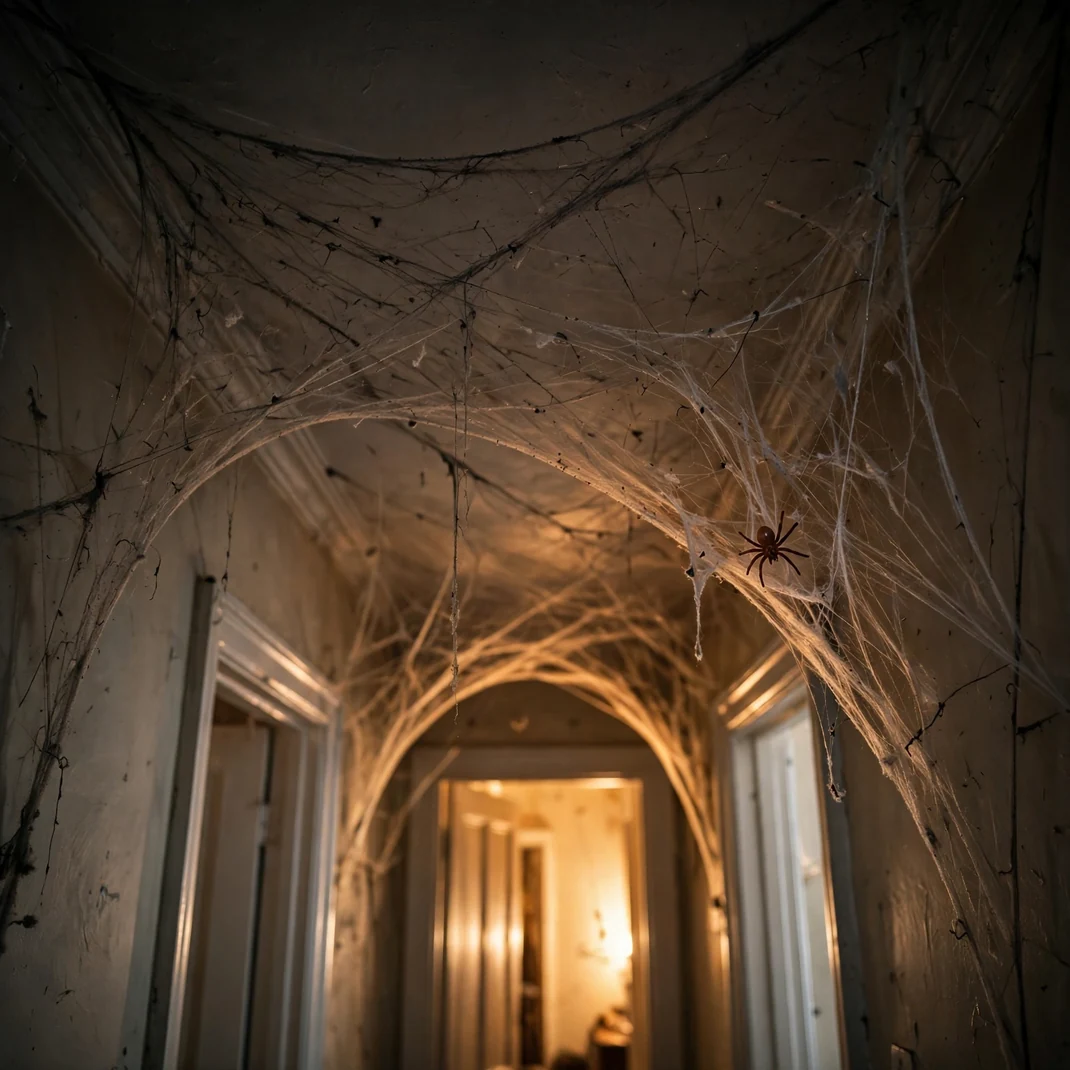
There is a right way and a wrong way to do stretch cobwebs, and the wrong way is a sad clump in the corner. The right way: anchor at multiple ceiling points, pull thin, and let the strands sag into a tunnel guests walk beneath. Less material than you think. A single bag does a whole hallway if you stretch instead of wad.
How to Style It: Anchor stretch-webbing across the ceiling in a loose tunnel, pulling thin between hooks.
Why It Photographs Beautifully: Backlit by the candle path below, the web tunnel glows like a haunted cathedral.
Pro Tip: Wear gloves. Stretch webbing sticks to warm hands and turns into an unworkable ball within seconds of bare-skin contact.
Budget-Smart Swap: One bag of webbing, stretched properly, covers an eight-foot hallway.
5. Stage a Potion Bottle Console Vignette

Every hallway has that one surface, the console table, the radiator shelf, the top of the shoe rack. Claim it for the apothecary. Old bottles, tinted water, handwritten labels in your worst cursive: “Bat Wing Tonic,” “Midnight Ink.” Guests will pick every bottle up and read it. They always do.
How to Style It: Cluster old bottles with food-coloring-tinted water and handwritten labels on the hallway’s one flat surface.
Why It Photographs Beautifully: Backlit bottles in jewel tones make a moody, collectible-looking still life.
Pro Tip: A single drop of dish soap in each bottle keeps the color from settling into a stripe at the bottom overnight.
Budget-Smart Swap: Save interesting glass bottles all year; the labels are just paper and twine.
6. Write Messages on the Mirrors
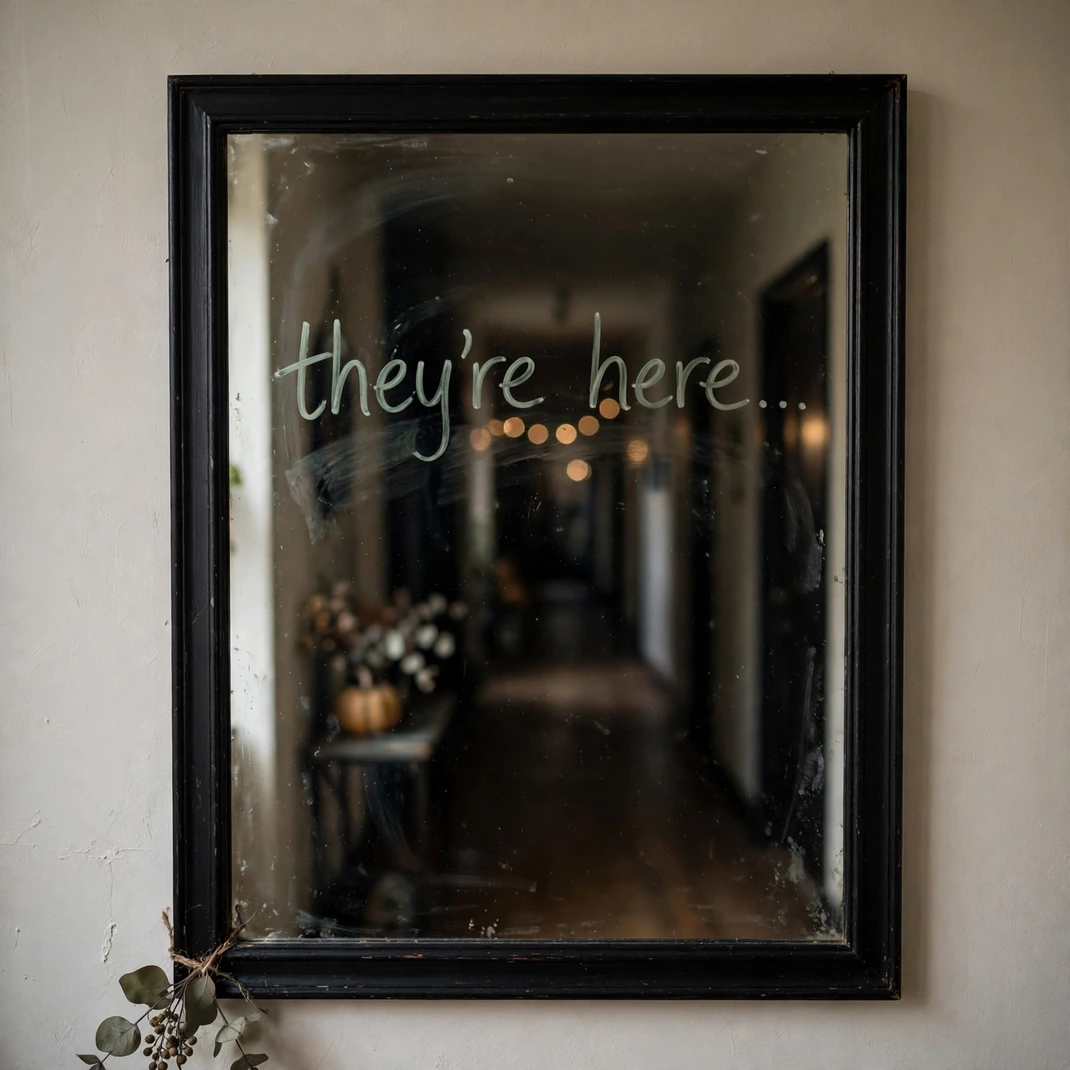
This one is pure mischief. A message on the hallway mirror in glass marker, “BEHIND YOU” or “I SEE YOU”, discovered at 11pm when someone is half asleep and brushing their teeth. It washes off in seconds, costs nothing, and the scream-to-laughter ratio is unbeatable. Keep it kind. The goal is a shriek, not a therapy bill.
How to Style It: Write short spooky phrases on hallway mirrors in erasable glass marker, slightly off-center.
Why It Photographs Beautifully: The message floating over the viewer’s own reflection makes a delightfully creepy selfie.
Pro Tip: Write it backwards if the mirror is one people read while facing it. Forward text in a mirror reads backwards, and backwards text reads forward. Trust the physics.
Budget-Smart Swap: One glass marker does every mirror in the house all month.
7. Send a Ghost Procession Down the Wall
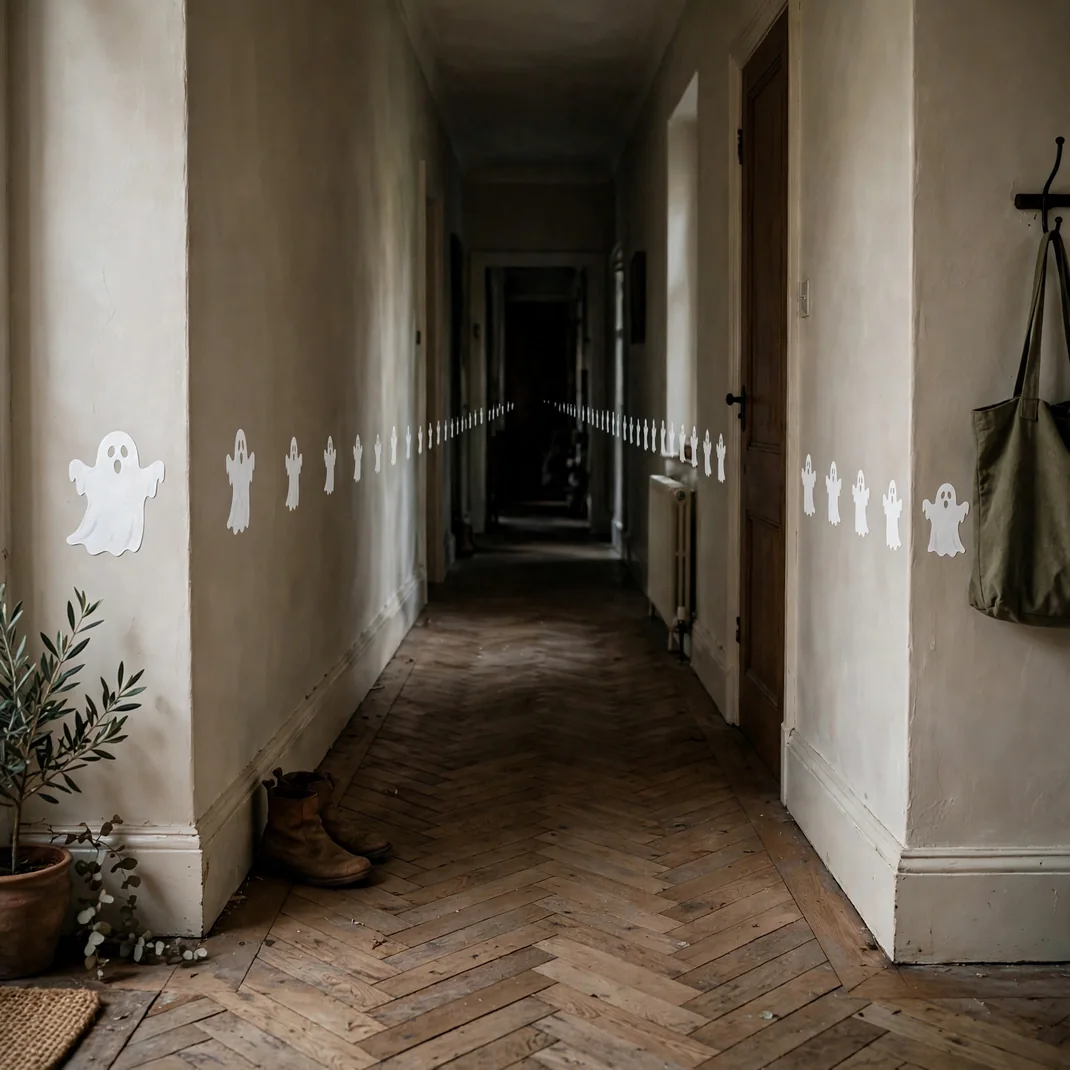
A single ghost decal is a decoration. Twenty of them, shrinking as they march toward the far end of the hallway, is perspective trickery. The procession looks like it is walking away from you into the dark, and every guest follows it with their eyes to wherever it leads. Which is, of course, the finale you have planned.
How to Style It: Apply removable ghost decals in a shrinking line down one wall, ending at the hallway’s far point.
Why It Photographs Beautifully: The forced-perspective march photographs like an optical illusion.
Pro Tip: Lay the decals on the floor first to plan the size progression. Eyeballing it on the wall gives you ghosts that shrink, grow, then shrink again.
Budget-Smart Swap: Cut ghosts from white contact paper; a single roll makes dozens.
8. Row the Hallway with Pumpkin Lanterns
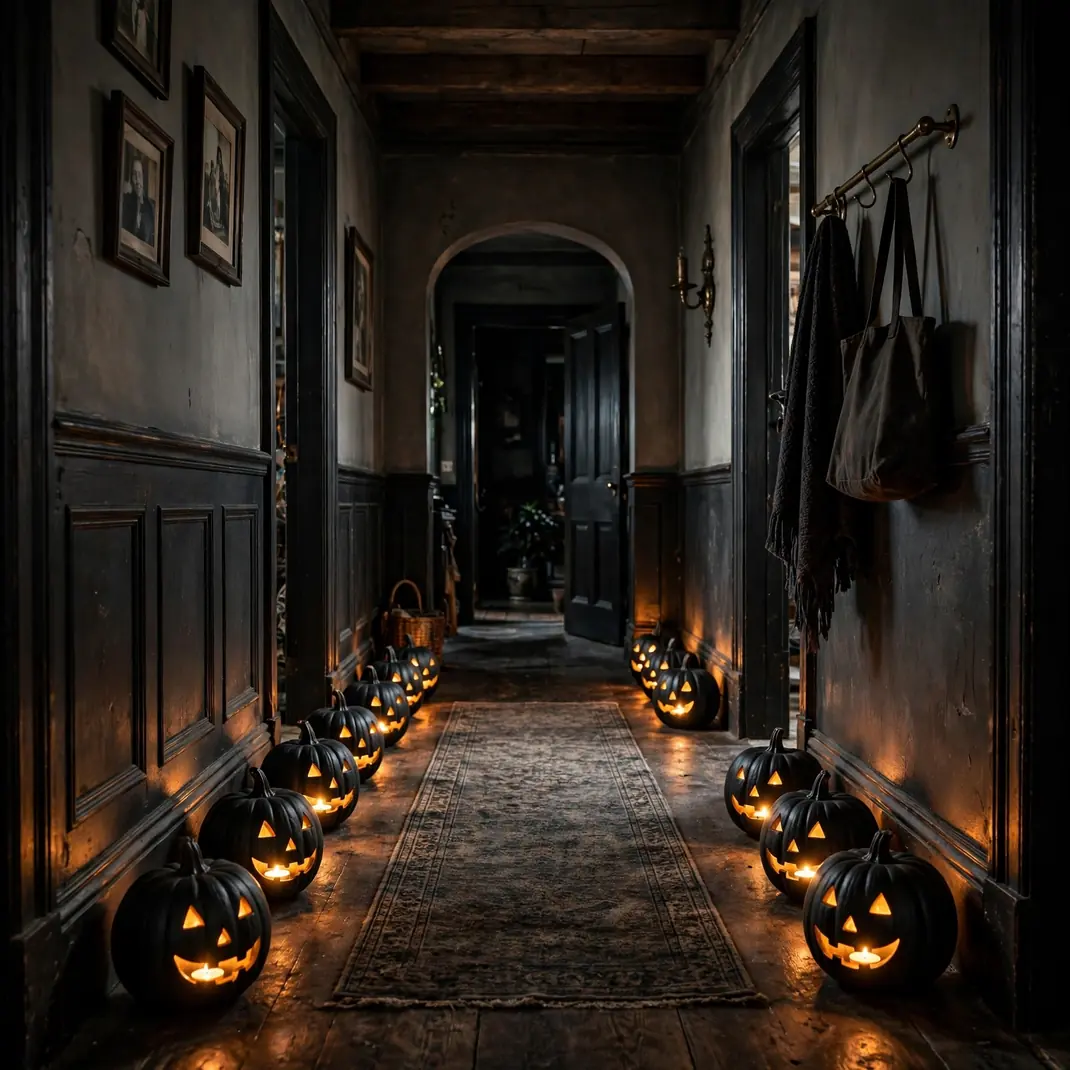
I will be honest: carving seventeen pumpkins is a weekend you will not get back. So do not. Paint them matte black, cut simple eyes with a craft knife, drop in an LED tealight. A row of black pumpkin lanterns flanking a hallway is gothic, dramatic, and takes an afternoon instead of a lost weekend. The matte paint is the secret; glossy black looks like plastic, matte looks like iron.
How to Style It: Paint pumpkins matte black, cut simple faces, light with LED tealights, and line both hallway walls.
Why It Photographs Beautifully: The black lanterns glowing against the walls look straight out of a film set.
Pro Tip: Cut the faces before painting. Paint seals the cut edges and stops them from curling inward as the pumpkin dries.
Budget-Smart Swap: Craft pumpkins, painted once, return every Halloween for years.
9. Cross Broomsticks on the Wall
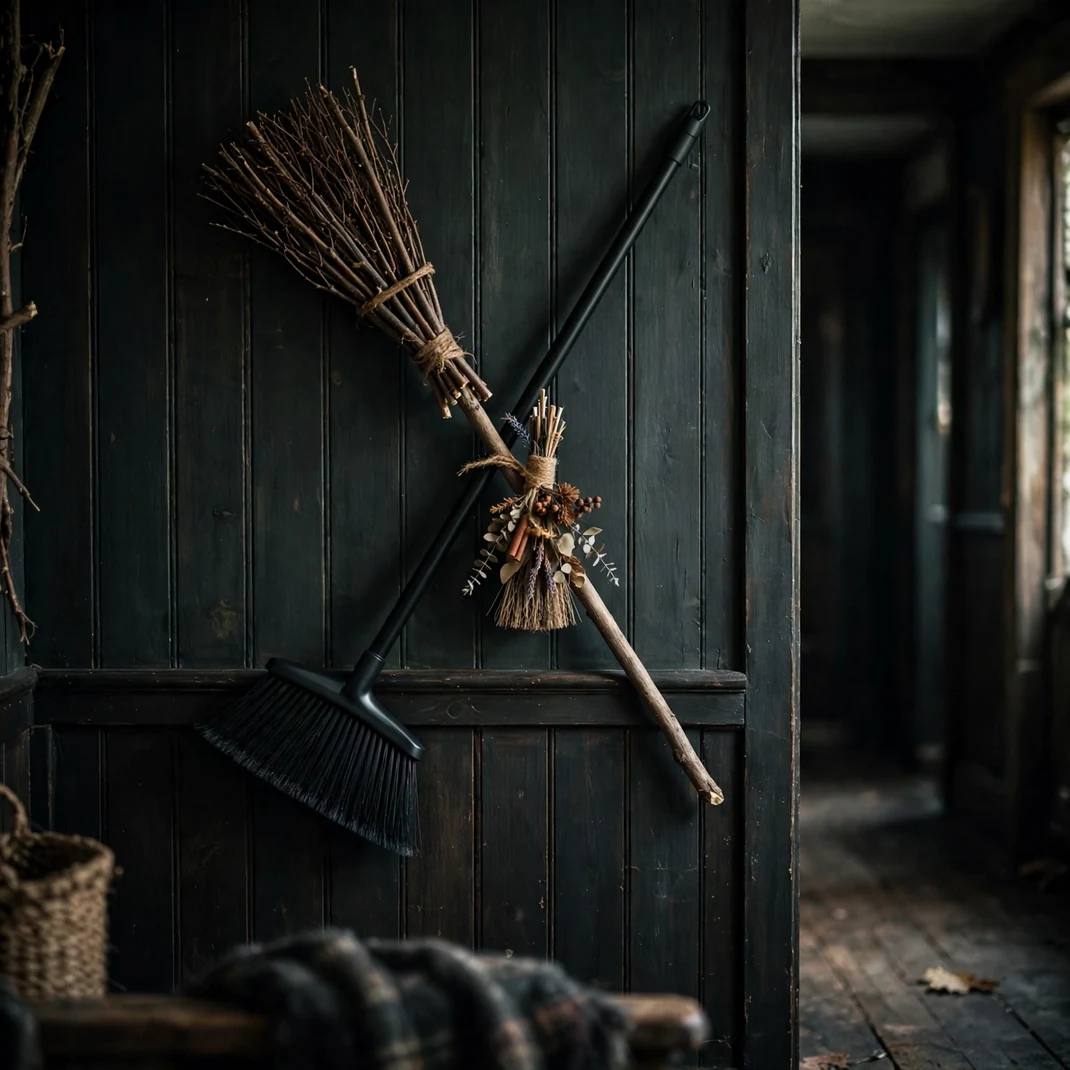
Somewhere between a hunting lodge and a witch’s garage, crossed broomsticks on a hallway wall just work. Vary them: a rustic twig broom, a sleek black one, a tiny decorative one. Three is the magic number. Two looks like you lost one; four looks like a broom store.
How to Style It: Mount three brooms of different styles crossed on the wall with discreet hooks.
Why It Photographs Beautifully: The crossed silhouette against a dark wall is graphic and striking.
Pro Tip: Hang them bristle-down. Bristle-up brooms collect a visible layer of dust within a week and look neglected, not magical.
Budget-Smart Swap: Decorative brooms from the seasonal aisle are a few dollars each.
10. Release a Bat Migration Across the Ceiling
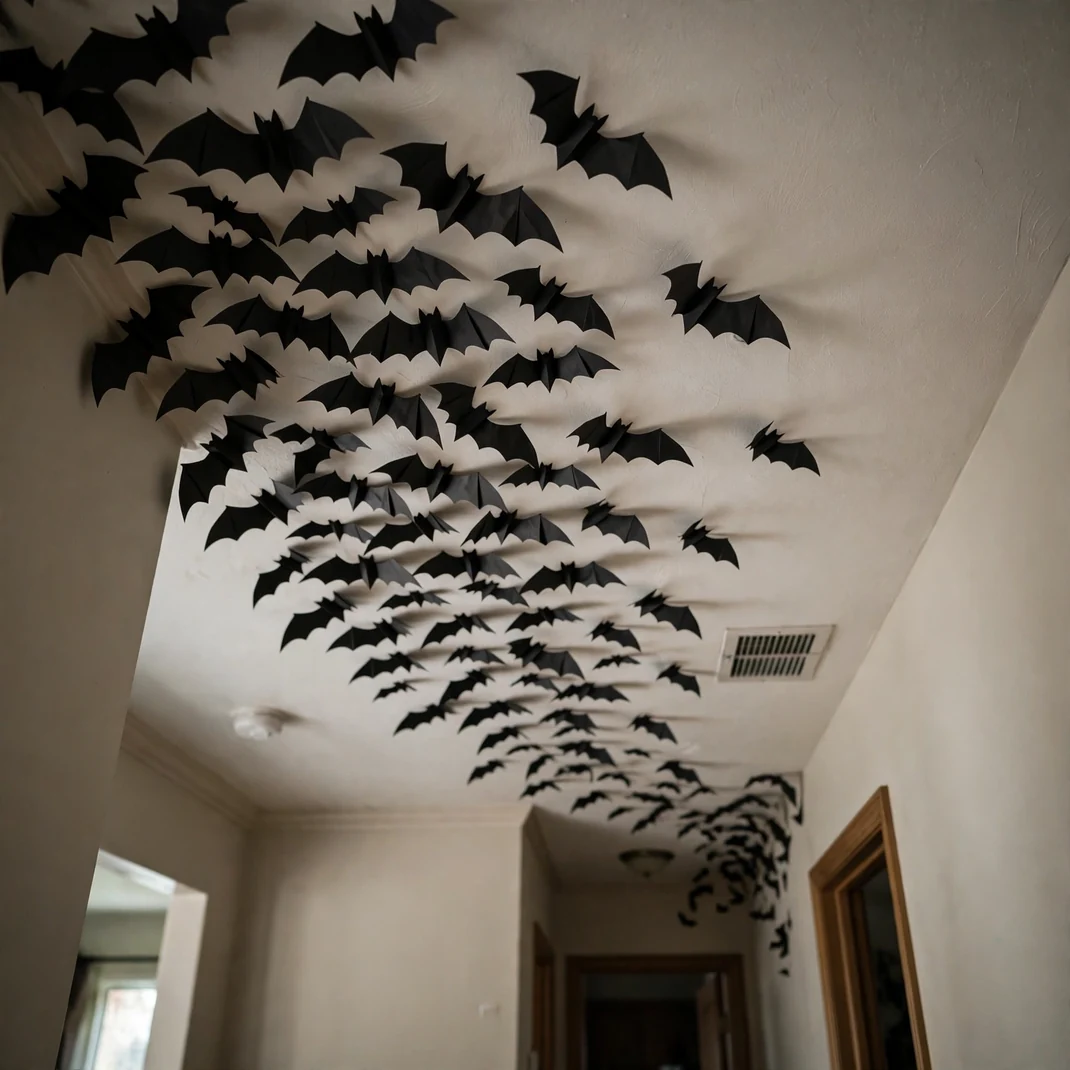
Paper bats are Halloween’s most overused decoration, which is exactly why placement matters more than the bats themselves. Do not scatter them randomly. Run a single dense flock that starts at one end of the ceiling and streams toward the other, thinning as it goes, like they are all fleeing toward the same mysterious destination. Suddenly it is not decor. It is a story.
How to Style It: Stick paper bats in a dense-to-sparse flock streaming down the ceiling toward the hallway’s end.
Why It Photographs Beautifully: Shot from below, the migration looks like it is pouring through the ceiling.
Pro Tip: Fold each bat’s wings slightly before sticking it up. Flat bats read as stickers; folded wings catch the light and read as flight.
Budget-Smart Swap: Black cardstock and a bat template make a hundred bats for nothing.
11. Tuck In a Spooky Book Nook
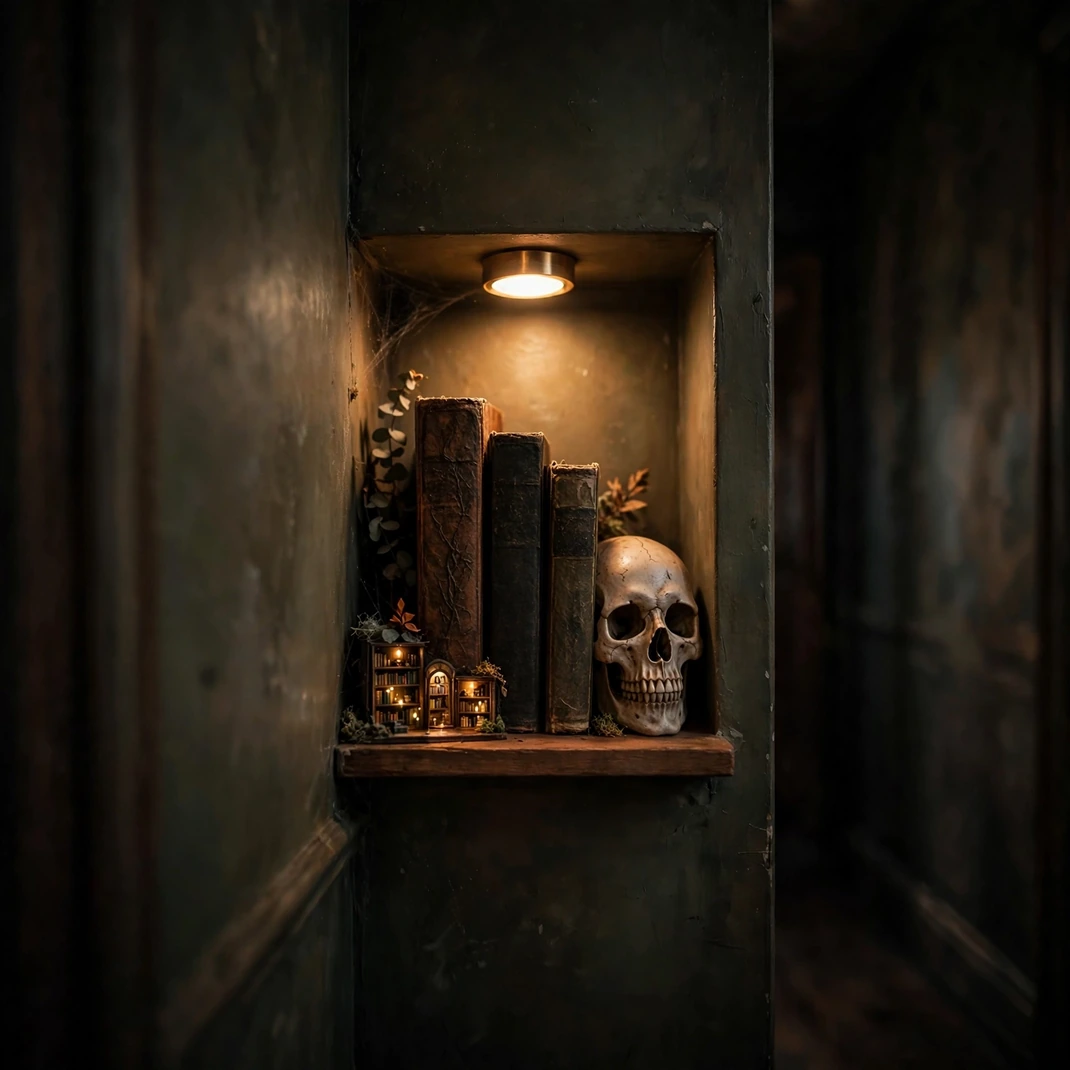
Hallways have dead corners, and dead corners want tiny worlds. A small shelf with three Halloween books, a skull bookend, and a puck light above it becomes the detail guests photograph while waiting for the bathroom. It rewards the lingerer. Every great haunted house has one corner that makes you stop, and this is yours.
How to Style It: Mount a small shelf in a hallway nook with spooky books, a skull bookend, and a puck light.
Why It Photographs Beautifully: The lit miniature library glows like a secret in the dark corridor.
Pro Tip: Angle the puck light at the book spines, not straight down. Straight-down light creates harsh shadows; angled light makes the titles readable and the shelf look curated.
Budget-Smart Swap: A floating shelf and thrifted books build the nook for under fifteen dollars.
12. Post a Skeleton Butler at the Turn
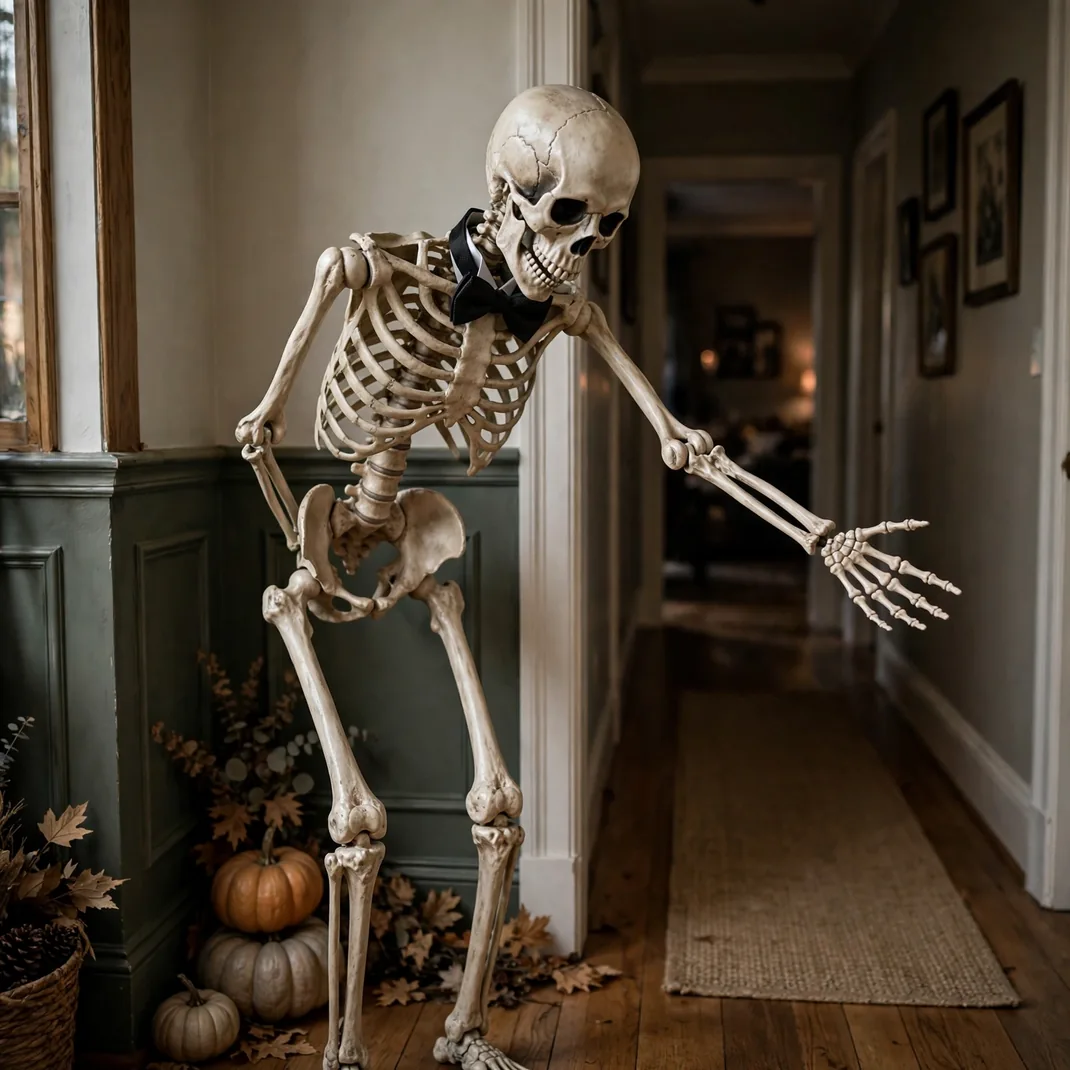
If your hallway turns a corner, that corner is the best jump-scare real estate in the house, and a posable skeleton in a bow tie is the classiest possible tenant. Pose him mid-bow, one arm extended toward the rest of the hallway, as if to say “this way, if you dare.” Guests will pose with him. Everyone does. It is a law of nature.
How to Style It: Pose a life-size skeleton at the hallway corner, bow tie on, arm extended down the corridor.
Why It Photographs Beautifully: The bowing skeleton is the hallway’s official greeter and most-photographed resident.
Pro Tip: Tighten every joint with a small zip tie once posed. Gravity defeats loose skeleton joints within 48 hours, and a collapsed butler is just a pile of bones.
Budget-Smart Swap: A half-size skeleton on a side table bows just as charmingly.
13. Let Fog Crawl Along the Floor
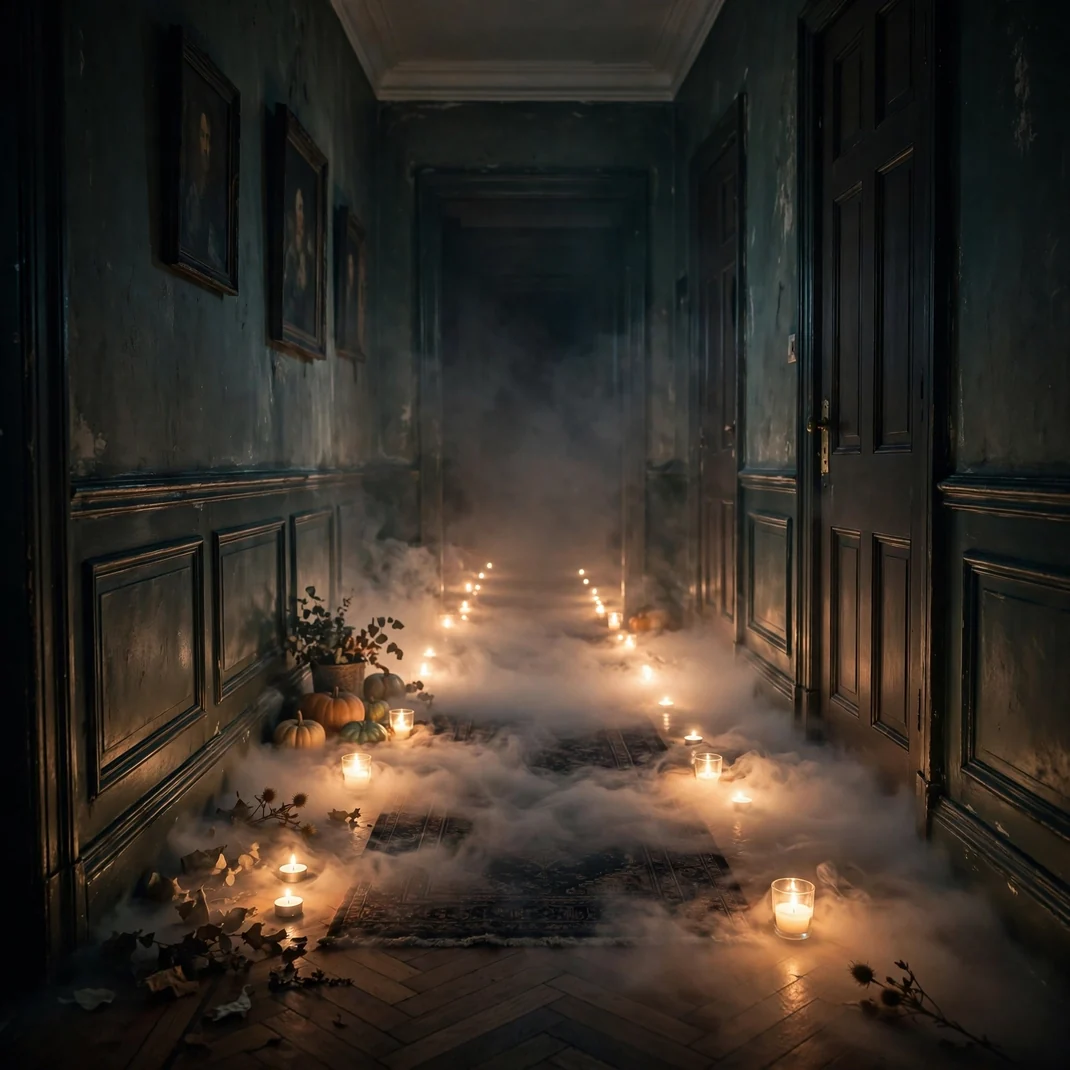
Low fog in a hallway is the closest most of us will get to a film set. A small fog machine at one end, pointed along the floor, and the corridor fills ankle-deep in drifting white. Save it for party night; running it daily will have your smoke alarm filing a formal complaint. Ten minutes before guests arrive is the sweet spot.
How to Style It: Run a small fog machine low at one end of the hallway for party nights only.
Why It Photographs Beautifully: Ankle-deep fog with the candle path glowing through it is pure cinema.
Pro Tip: Aim the nozzle along the floor, never upward. Upward fog rises straight to the smoke detector; floor-level fog stays low and drifts beautifully.
Budget-Smart Swap: Dry ice in a punch bowl gives a smaller, shorter-lived version of the effect.
14. Hang a Tattered Curtain Doorway
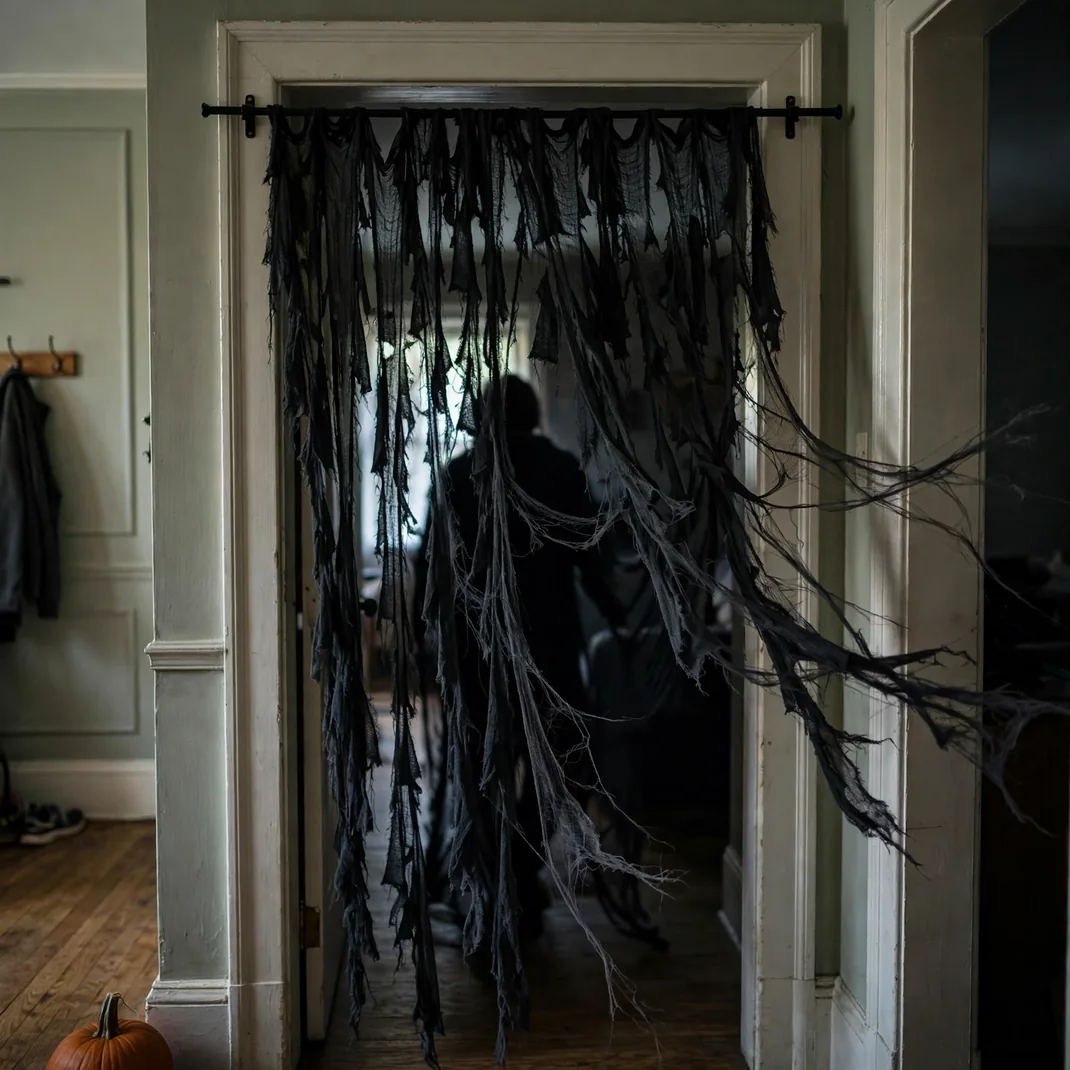
There is a doorway in your hallway, maybe to a bedroom, maybe to nowhere important. Cover it with strips of torn black fabric and suddenly it is a portal. Guests will hesitate before pushing through. That half-second of hesitation is the entire point of Halloween decorating, and a curtain of rags delivers it better than a hundred-dollar animatronic.
How to Style It: Hang torn black fabric strips from a tension rod across a hallway doorway.
Why It Photographs Beautifully: Backlit figures pushing through the strips make haunting silhouette photos.
Pro Tip: Tear, do not cut, the strips. Torn edges fray into wisps that move in the draft; cut edges hang stiff and look like a craft project.
Budget-Smart Swap: An old black sheet, torn into strips, is the whole project.
15. Cast Giant Shadows with Sconce Candles
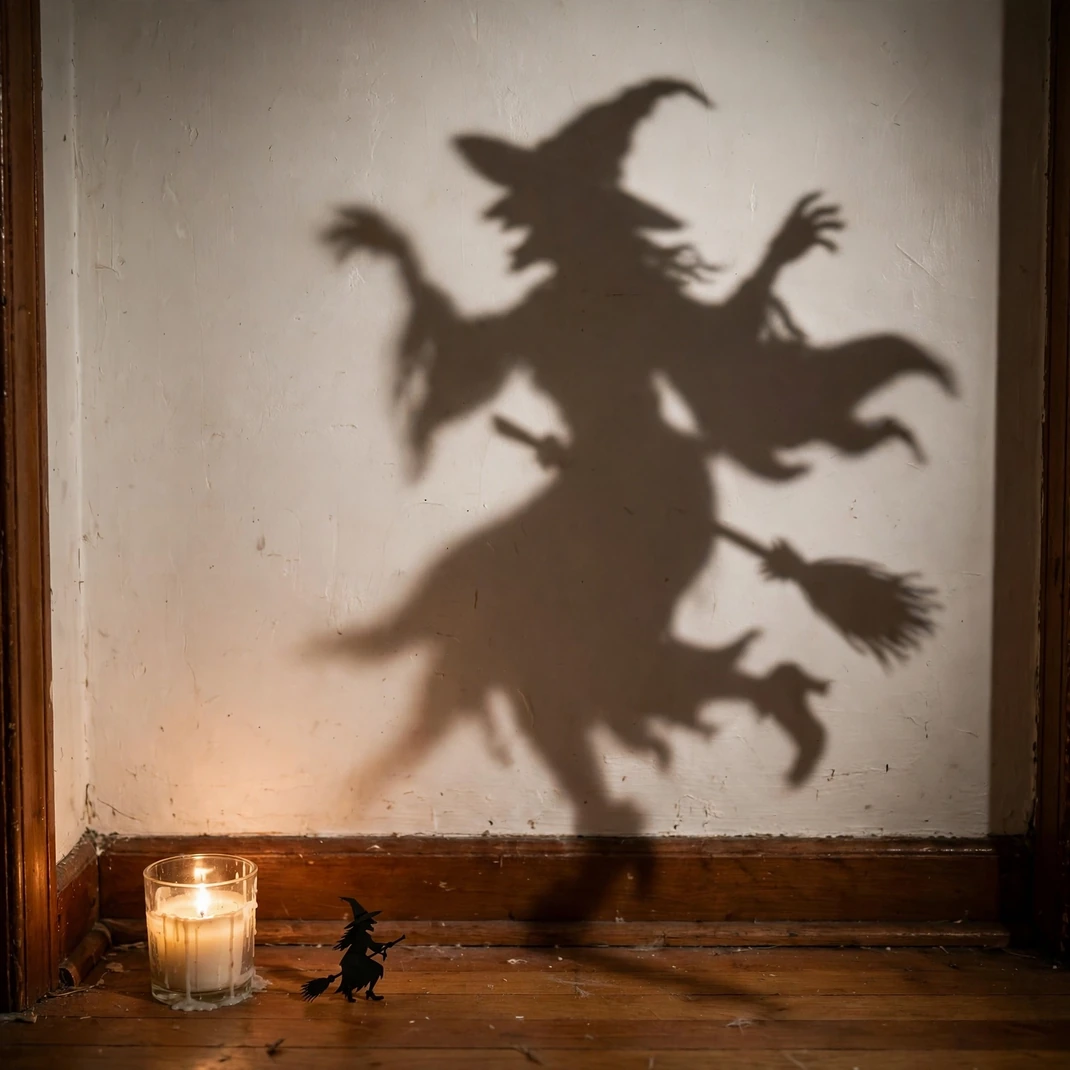
Here is the physics nobody tells you: a candle close to a wall throws shadows ten times the size of the object. Put a small spooky silhouette, a paper witch, a bare branch, between an LED candle and the hallway wall, and the shadow becomes a monster. The decoration is six inches tall. Its shadow owns the corridor.
How to Style It: Place LED candles near the wall with small silhouettes between flame and plaster.
Why It Photographs Beautifully: Oversized dancing shadows turn a plain wall into a haunted theater.
Pro Tip: The closer the object to the candle, the bigger the shadow. Move it inch by inch until the shadow fills the wall without going blurry.
Budget-Smart Swap: Twigs from the yard make the eeriest branch shadows, free.
16. Layer a Halloween Runner Rug
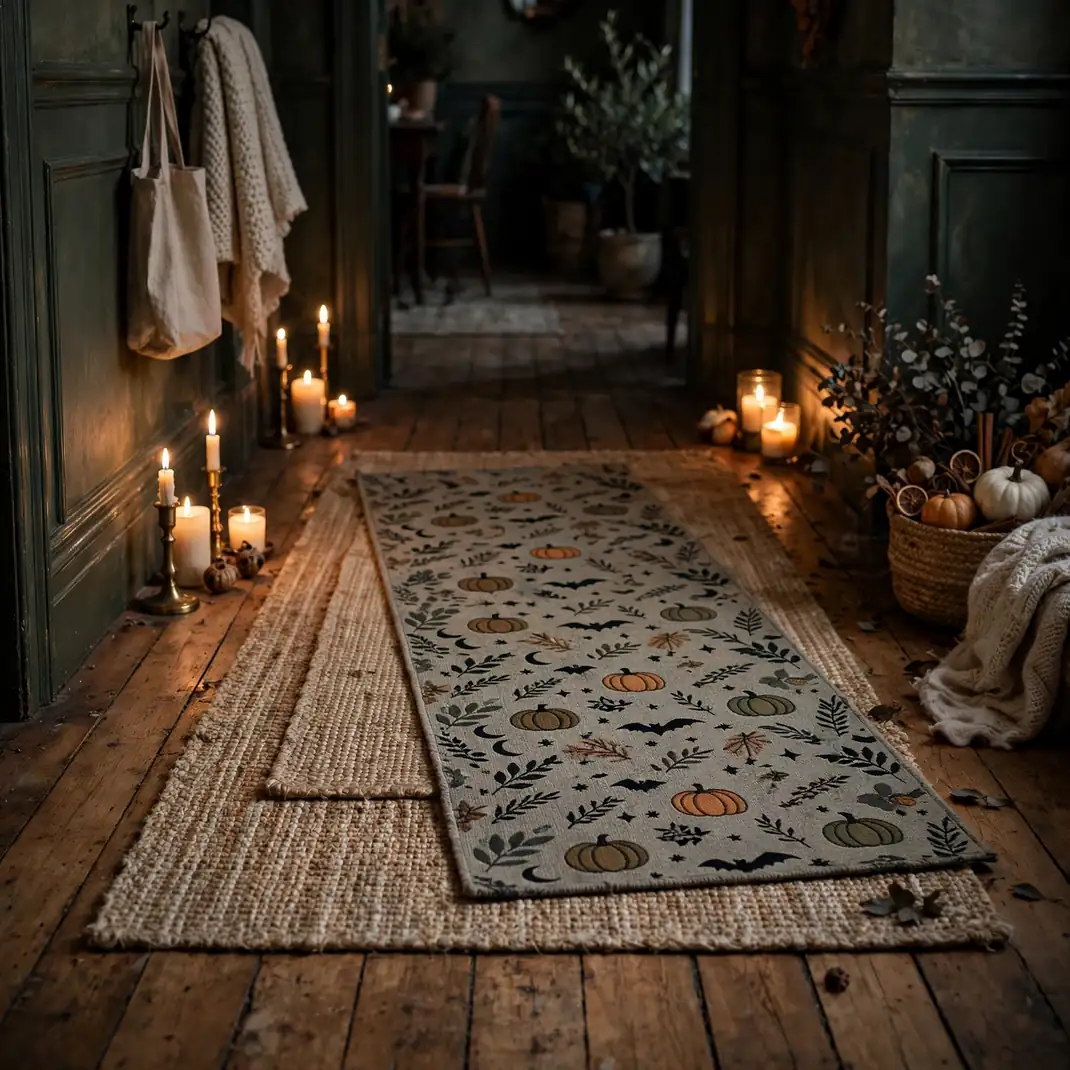
Bare hallway floors are loud, cold, and wasted. Layer a flat Halloween runner over your everyday rug, or lay two runners slightly offset if you have none. Beyond the look, there is a practical magic: rugs hush footsteps, and a silent hallway at night is ten times spookier than an echoing one. Atmosphere you can walk on.
How to Style It: Layer a Halloween-patterned runner over the existing rug, offset slightly for a collected look.
Why It Photographs Beautifully: The layered textiles ground the whole corridor and make the candlelight feel warmer.
Pro Tip: Use rug tape on every corner. A runner that slides on a hard floor in a dark hallway is a twisted ankle waiting for a lawsuit from your own family.
Budget-Smart Swap: A seasonal runner from the discount store transforms the floor for very little.
17. End with a Moonlit Window Finale
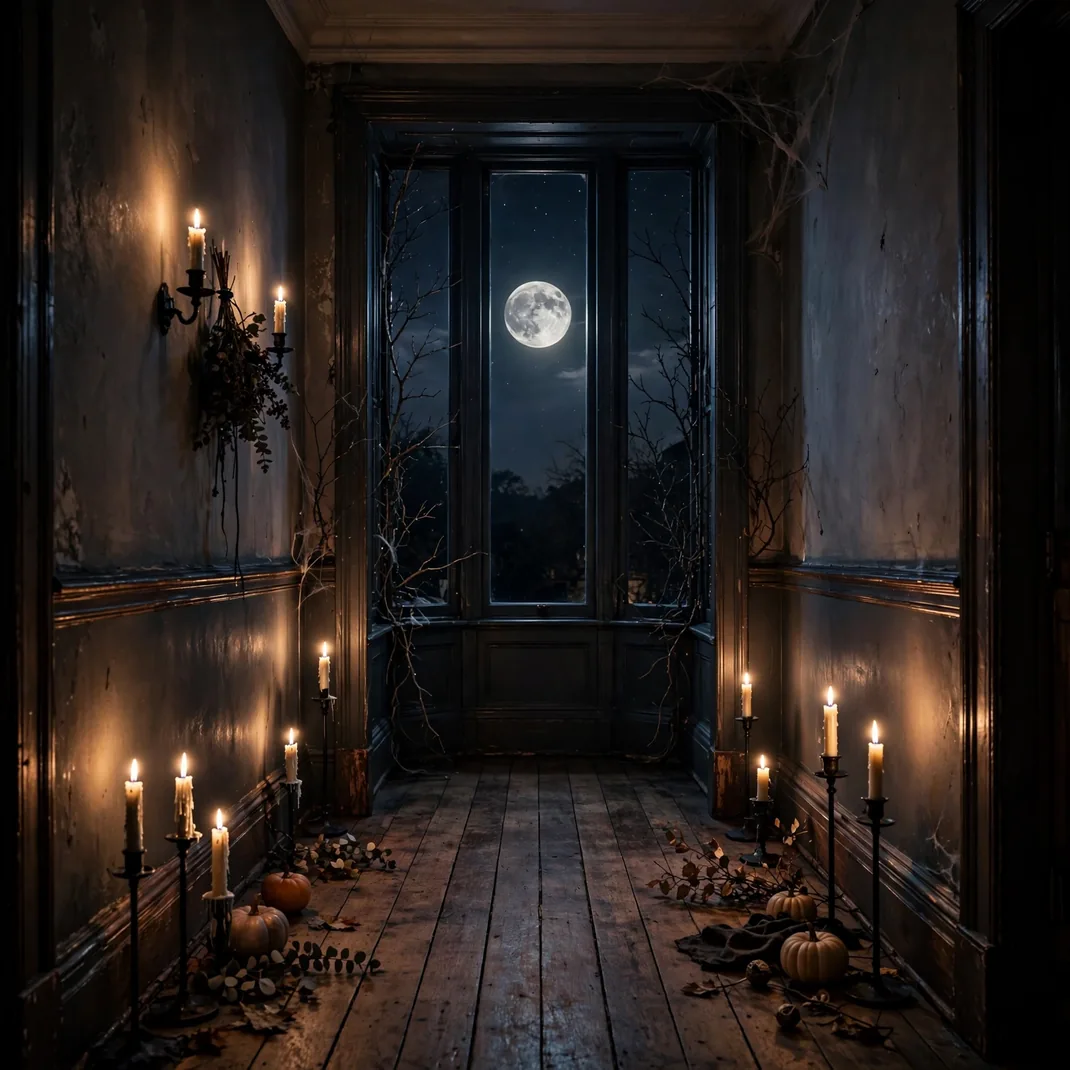
Every story needs an ending, and your hallway’s finale is whatever waits at the far end. If there is a window, you have won the lottery: a full-moon decal on the glass, bare branch silhouettes on either side, and the real night sky doing the rest. Guests walk the whole corridor, past candles and ghosts and fog, and arrive at the moon. That is not decorating. That is directing.
How to Style It: Dress the far-end window with a moon decal and branch silhouettes, letting the night sky complete the scene.
Why It Photographs Beautifully: The moonlit finale, framed by the whole decorated corridor, is the money shot.
Pro Tip: No window at the end? Hang a large round mirror with a moon decal on it. It catches the candlelight and fakes the finale convincingly.
Budget-Smart Swap: A paper moon and cut branches taped to any wall make the same ending.
Seventeen ideas, one corridor, and a single principle: do not decorate the hallway, direct it. Give people a path of candlelight, a reason to look up, a corner that startles them, and a moon to walk toward. The living room is where Halloween sits. The hallway is where it moves. Happy haunting.