15 Entryway Halloween Touches Guests Notice First
The entryway is your home’s first impression, and at Halloween it sets the tone for everything inside. These fifteen touches focus on exactly what guests see in those first ten seconds: the door, the console, the mirror, the light, and the scent in the air. Each idea is unique to this list and designed for maximum first-glance impact.
1. Hang an Oversized Black Wreath
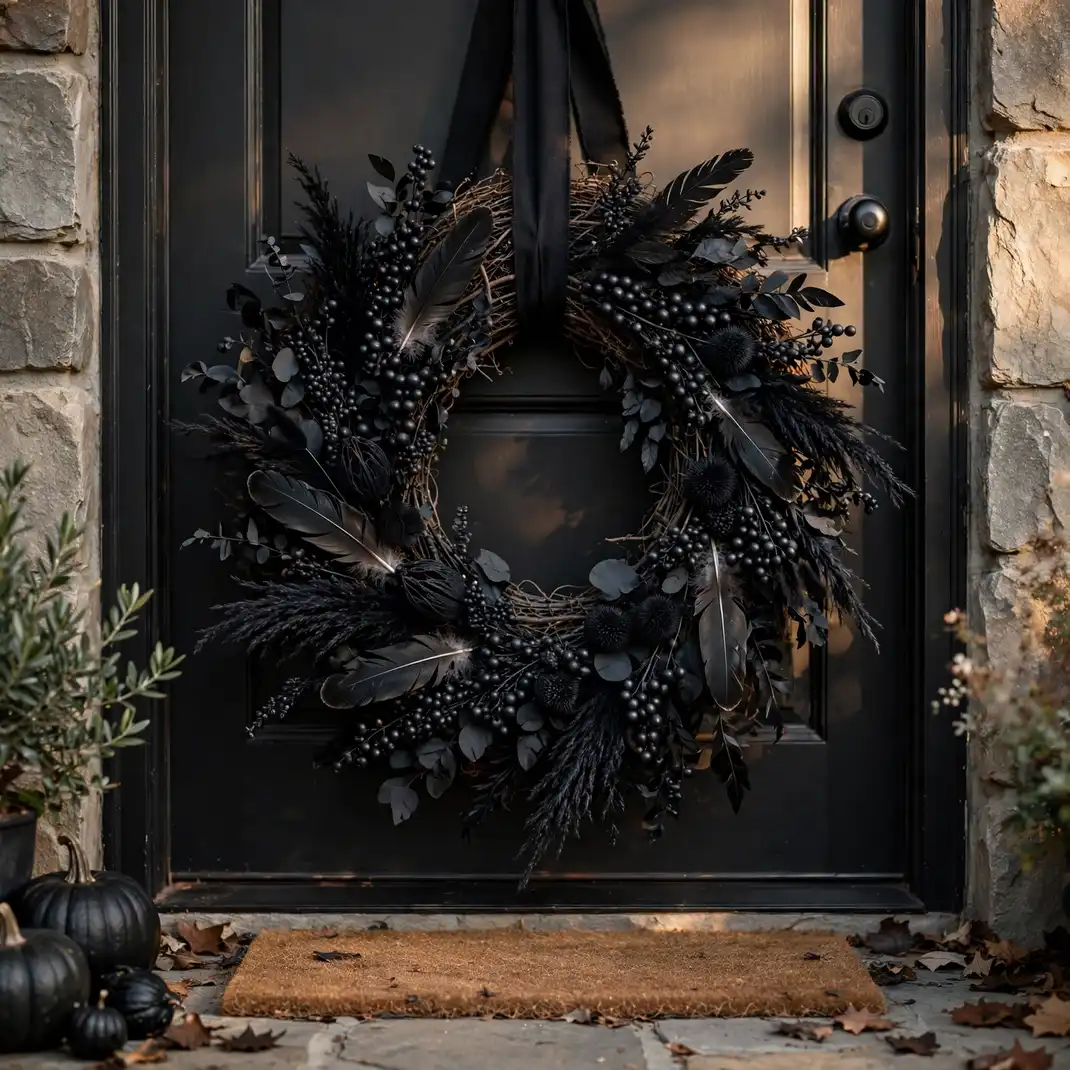
An oversized black wreath on the front door stops guests mid-step: dried black botanicals, dark feathers, and matte black berries wired onto a large grapevine form make a statement no orange wreath can match. It reads chic before it reads Halloween, which is exactly why guests notice it first. Scale is everything here, go bigger than feels comfortable.
How to Style It: Build on a 24-inch grapevine form, wire in black-dyed dried flowers and feathers, and hang it on a wide black ribbon at eye level.
Why It Photographs Beautifully: The dark wreath against the door creates a bold, graphic first photo of the home’s entrance.
Pro Tip: Add one unexpected element, a small brass bell or a velvet ribbon, so the wreath feels designed, not just dark.
Budget-Smart Swap: Spray-paint a clearance fall wreath matte black for the same drama at a fraction of the cost.
2. Stack a Graduated Pumpkin Tower
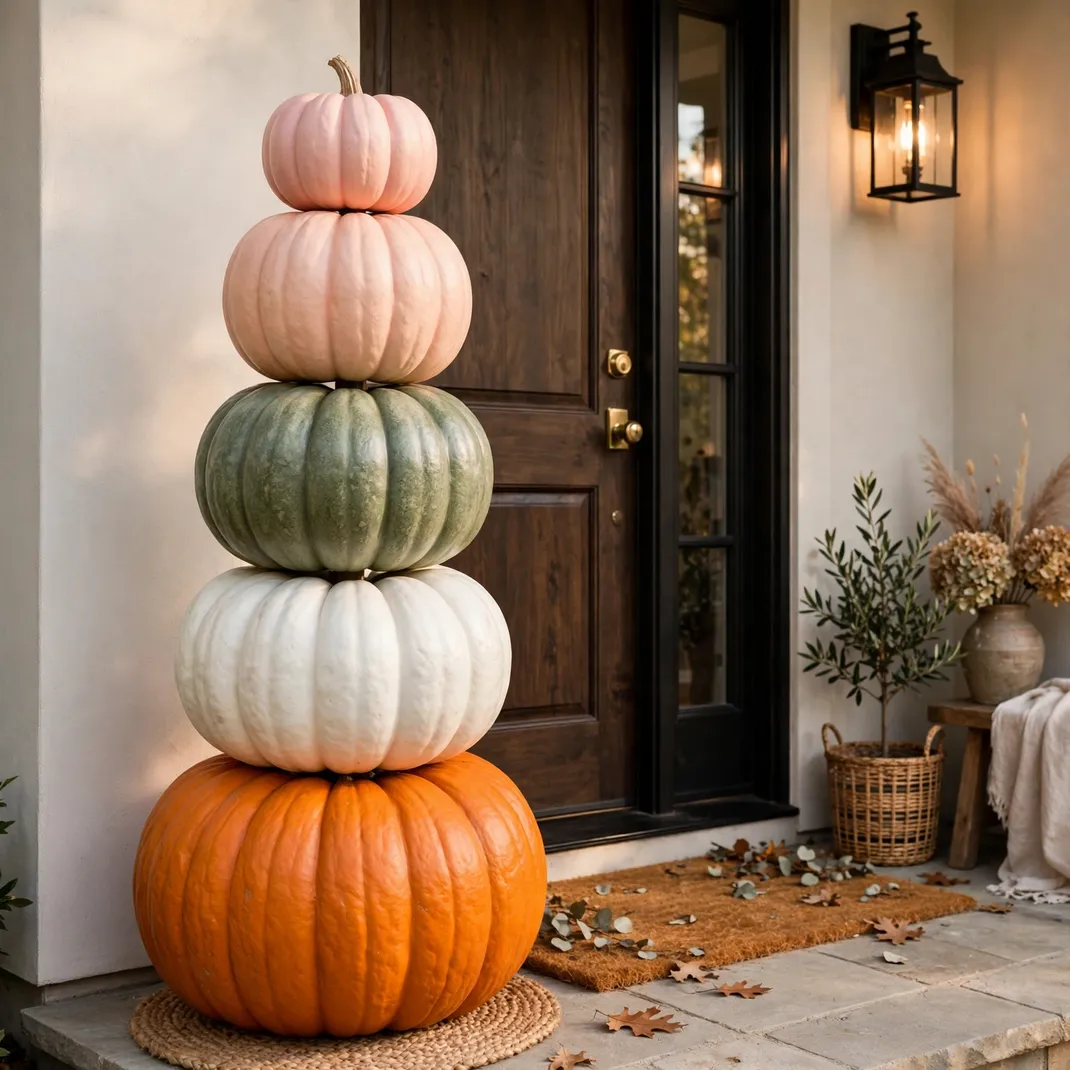
A tower of pumpkins stacked largest to smallest beside the front door is the entryway’s exclamation point: five or six pumpkins in mixed colors, real or faux, threaded onto a hidden dowel for stability. Guests see it before they see the doorbell. Vary the colors, orange, white, green, and blush, for a look that feels curated rather than chaotic.
How to Style It: Drive a sturdy dowel into the ground or a weighted base, thread the pumpkins through their centers, and top with the smallest pumpkin and a sprig of eucalyptus.
Why It Photographs Beautifully: The vertical tower draws the eye upward and photographs as a sculptural welcome.
Pro Tip: Use faux pumpkins for the tower; real ones soften and the whole stack can slump within two weeks.
Budget-Smart Swap: Three pumpkins make a charming mini tower if six feels like too much commitment.
3. Light the Console with a Candle Cluster
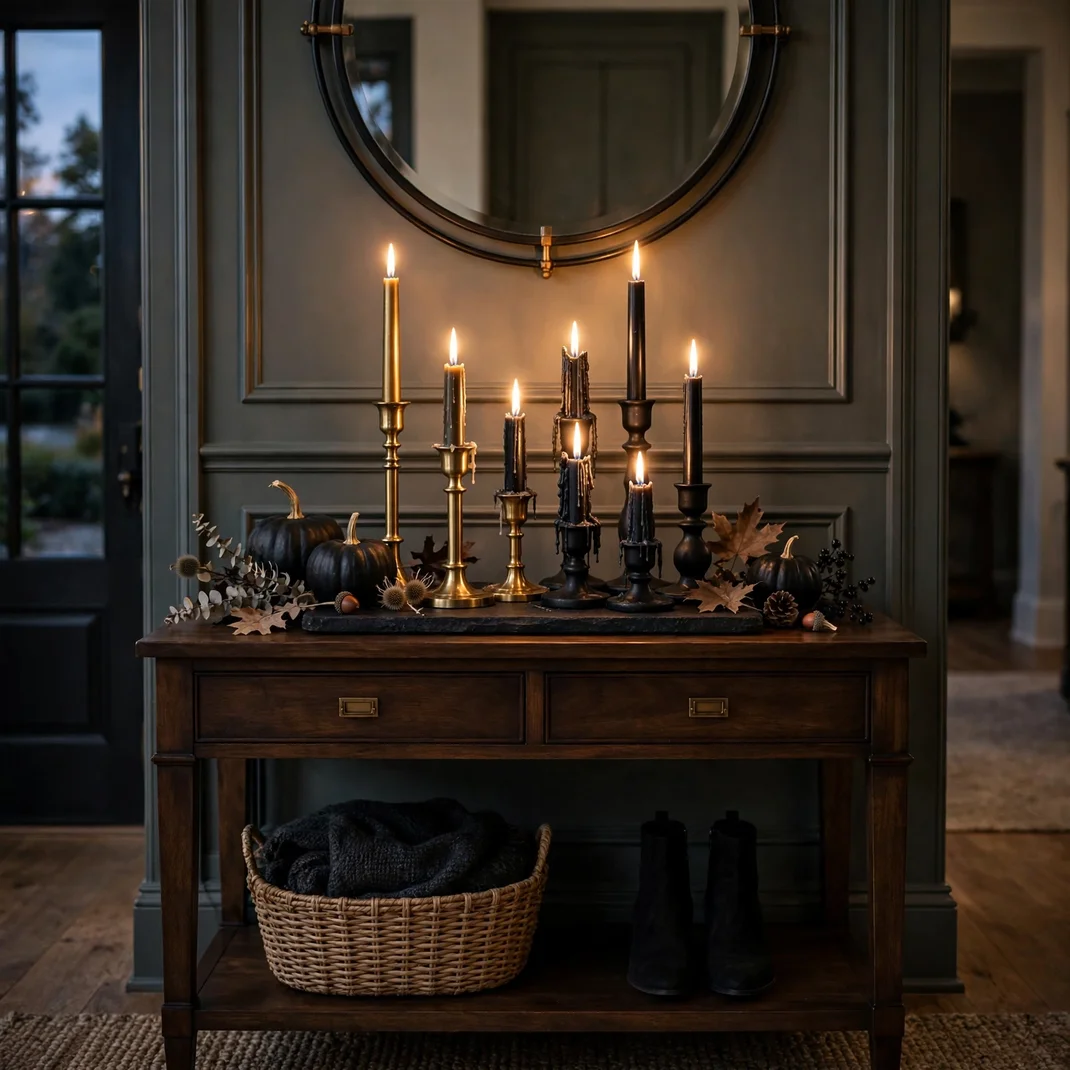
The first thing guests see inside is the entryway console, and a cluster of candles at mixed heights makes it glow: pillar candles, tapers, and tea lights in black and brass holders grouped on a tray. The warm light flatters everyone who walks in and makes the whole entryway feel intentional. It is the simplest high-impact move on this list.
How to Style It: Group seven candles on a dark wood or marble tray, mix heights from tea light to tall taper, and keep the holders in one metal finish.
Why It Photographs Beautifully: Clustered candlelight creates a warm halo effect that makes entryway photos feel instantly welcoming.
Pro Tip: Light the candles thirty minutes before guests arrive so the entryway smells faintly of warm wax when the door opens.
Budget-Smart Swap: LED pillars with timers give the same glow every evening with zero fire worry near the door traffic.
4. Drape the Mirror with a Gauze Veil
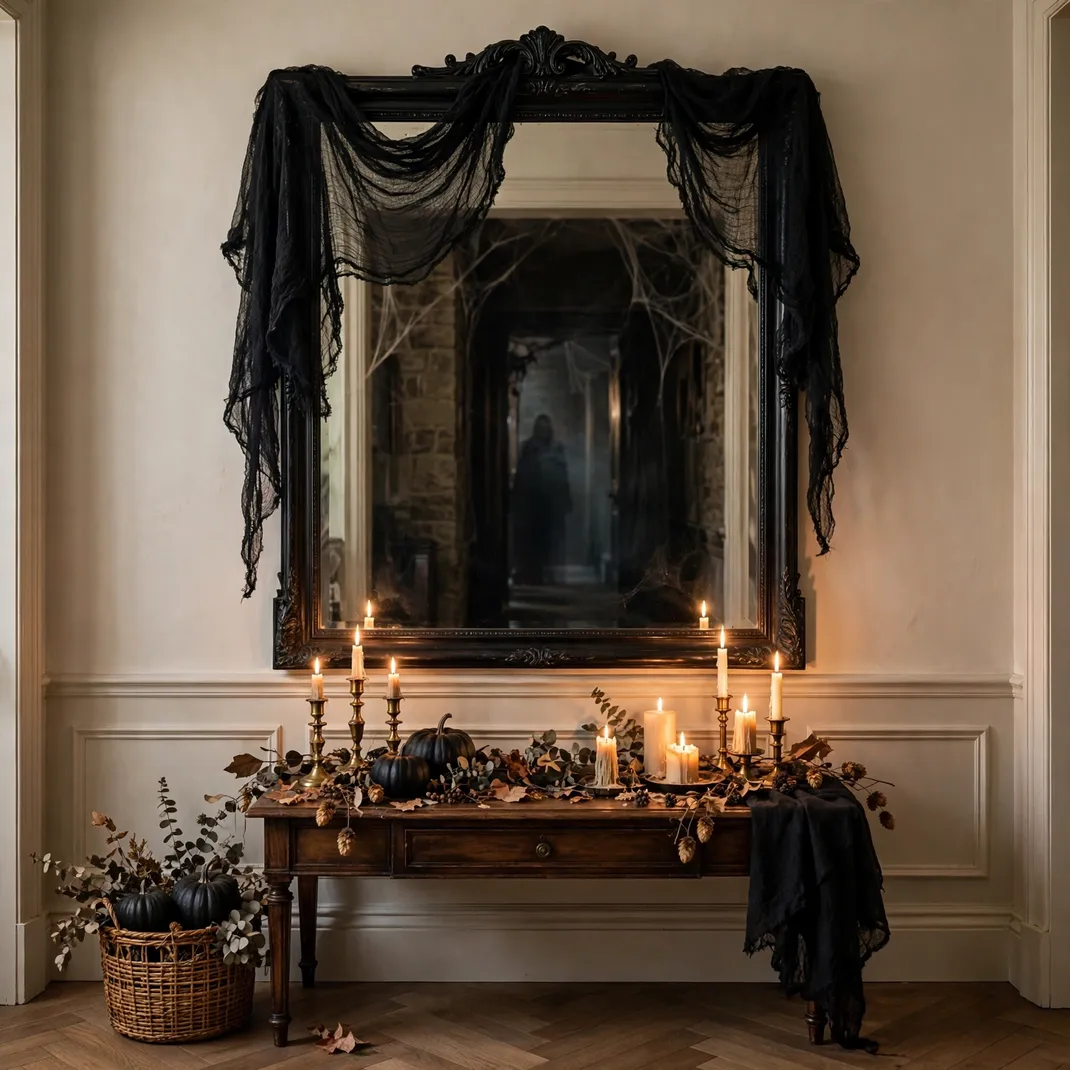
Draping the entryway mirror with a whisper of black gauze changes the whole room’s mood in seconds: the veil softens reflections, catches the candlelight, and makes the familiar mirror feel haunted. Guests always pause at mirrors, and a veiled one guarantees a double take. It takes two minutes and a yard of fabric.
How to Style It: Drape black cheesecloth loosely over the top corners of the mirror, letting it hang asymmetrically, and secure with small removable hooks.
Why It Photographs Beautifully: The gauze diffuses the mirror’s reflection into something dreamy and mysterious in photos.
Pro Tip: Keep the veil to the top third; covering the whole mirror just looks like you are hiding it.
Budget-Smart Swap: A black scarf or pashmina from the closet drapes just as beautifully for zero cost.
5. Roll Out a Halloween Doormat Layer
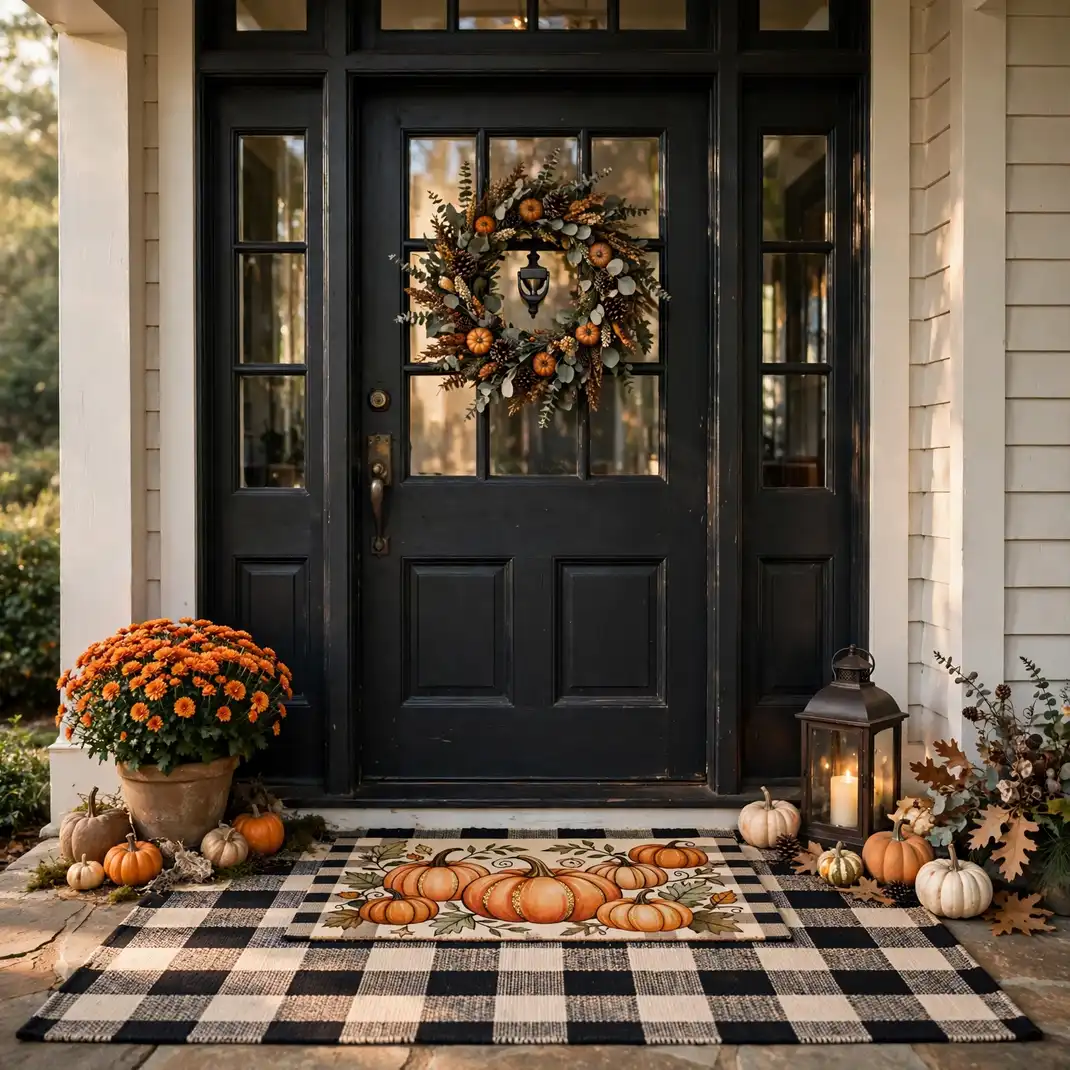
Layering a Halloween doormat over a larger patterned rug doubles the welcome: a buffalo-check or striped base rug with a smaller “Hey Boo” or pumpkin mat on top. Guests literally step onto the theme, and the layered look is straight out of a stylist’s playbook. It is the entryway equivalent of a great first sentence.
How to Style It: Lay a 3×5 patterned outdoor rug first, center the Halloween mat on top, and align both with the door for a tailored look.
Why It Photographs Beautifully: The layered rectangles frame the doorway in photos and add pattern depth to the entrance shot.
Pro Tip: Choose a base rug in black and cream so it works from September through November without swapping.
Budget-Smart Swap: A flat-weave indoor rug you already own works as the base layer; only the top mat needs to be Halloween.
6. Perch a Raven on the Console
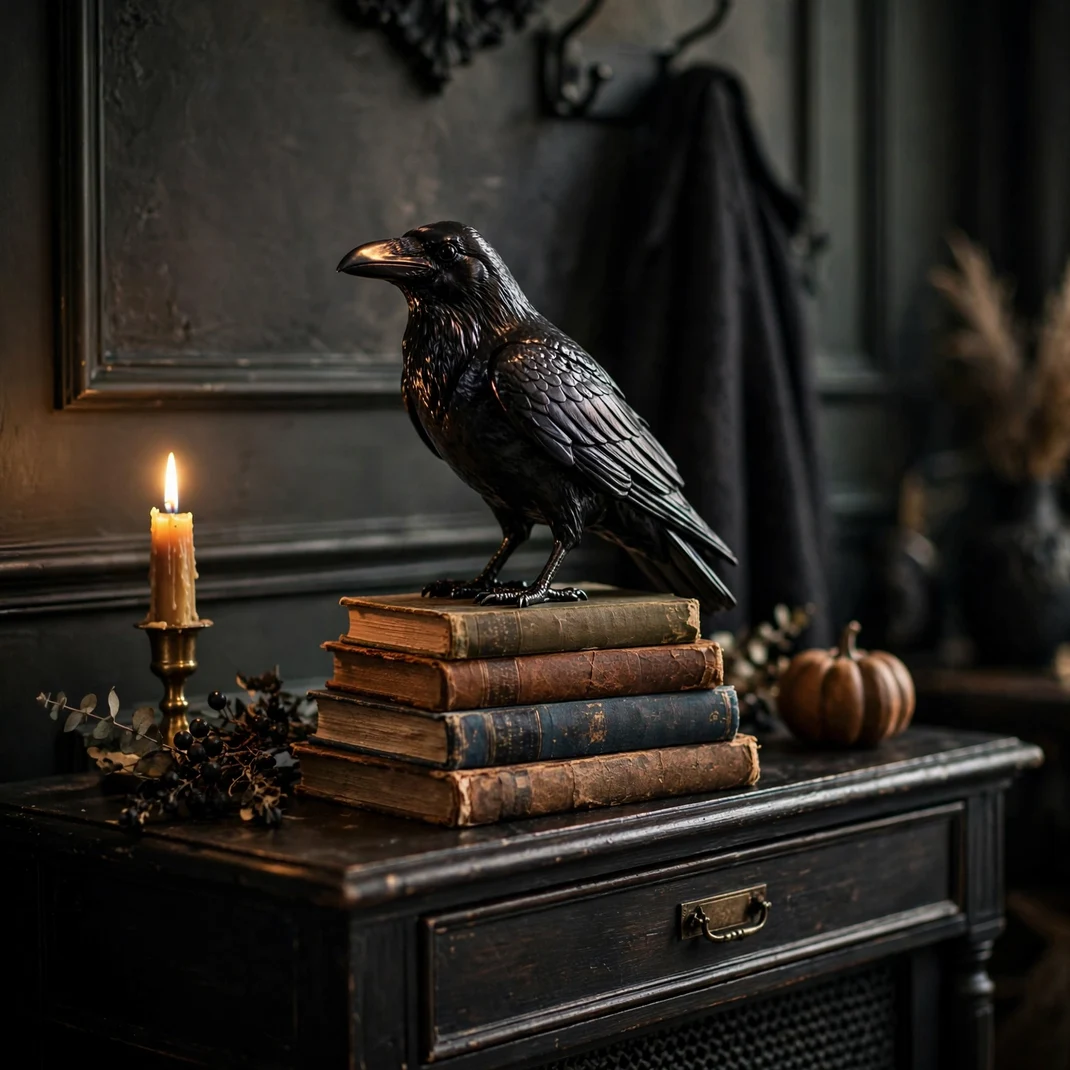
A single black raven figurine perched on the entryway console is the kind of detail guests remember: glossy, watchful, and slightly unsettling in the best way. One raven is art; three is a theme. Place it where the candlelight catches its beak, and let it silently greet everyone who enters.
How to Style It: Set one large raven on a stack of old books at the console’s end, angled as if watching the door.
Why It Photographs Beautifully: The raven’s silhouette against the candlelight creates a striking, moody focal point.
Pro Tip: Move the raven to a new perch each week; returning guests will notice and delight in the game.
Budget-Smart Swap: A black bird from the craft store’s floral section, spray-painted matte, reads as a raven for a few dollars.
7. Fill a Bowl with Black and Gold Candy
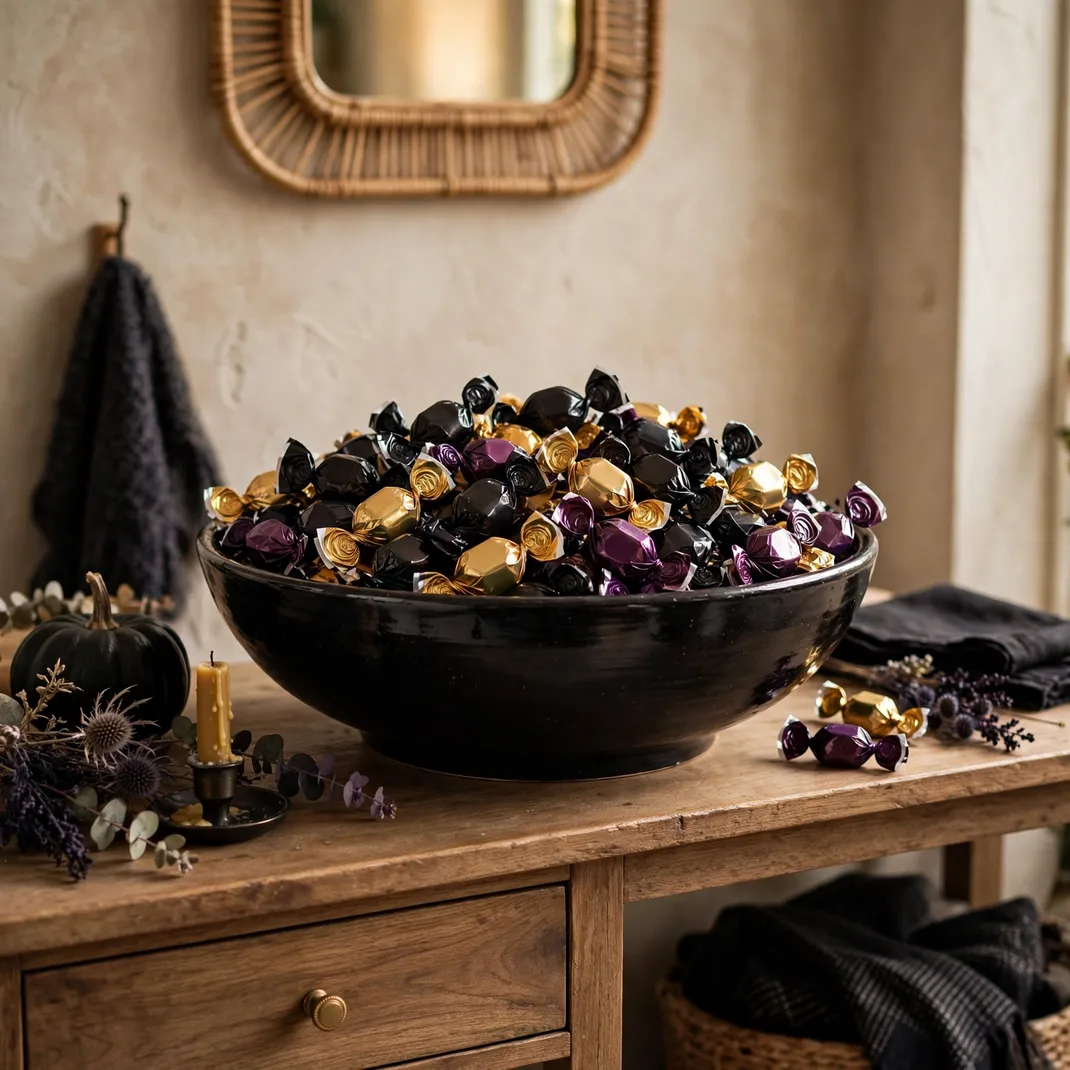
A beautiful bowl of candy in black and gold wrappers on the entryway table is hospitality and decor in one: guests are offered a treat the moment they arrive, and the curated wrapper colors keep it stylish instead of chaotic. Choose a striking vessel, a black ceramic bowl or a brass compote, and keep it filled through the season.
How to Style It: Fill a wide, shallow bowl with wrapped candies in black, gold, and deep purple, and set it at the console’s center where hands naturally reach.
Why It Photographs Beautifully: The jewel-toned wrappers catch light like a bowl of gems in entryway photos.
Pro Tip: Refill from a hidden stash nearby; an empty candy bowl is worse than no candy bowl.
Budget-Smart Swap: Wrap bulk candy in black and gold tissue twists for a fully custom, color-matched bowl.
8. Hang Dried Florals from the Chandelier
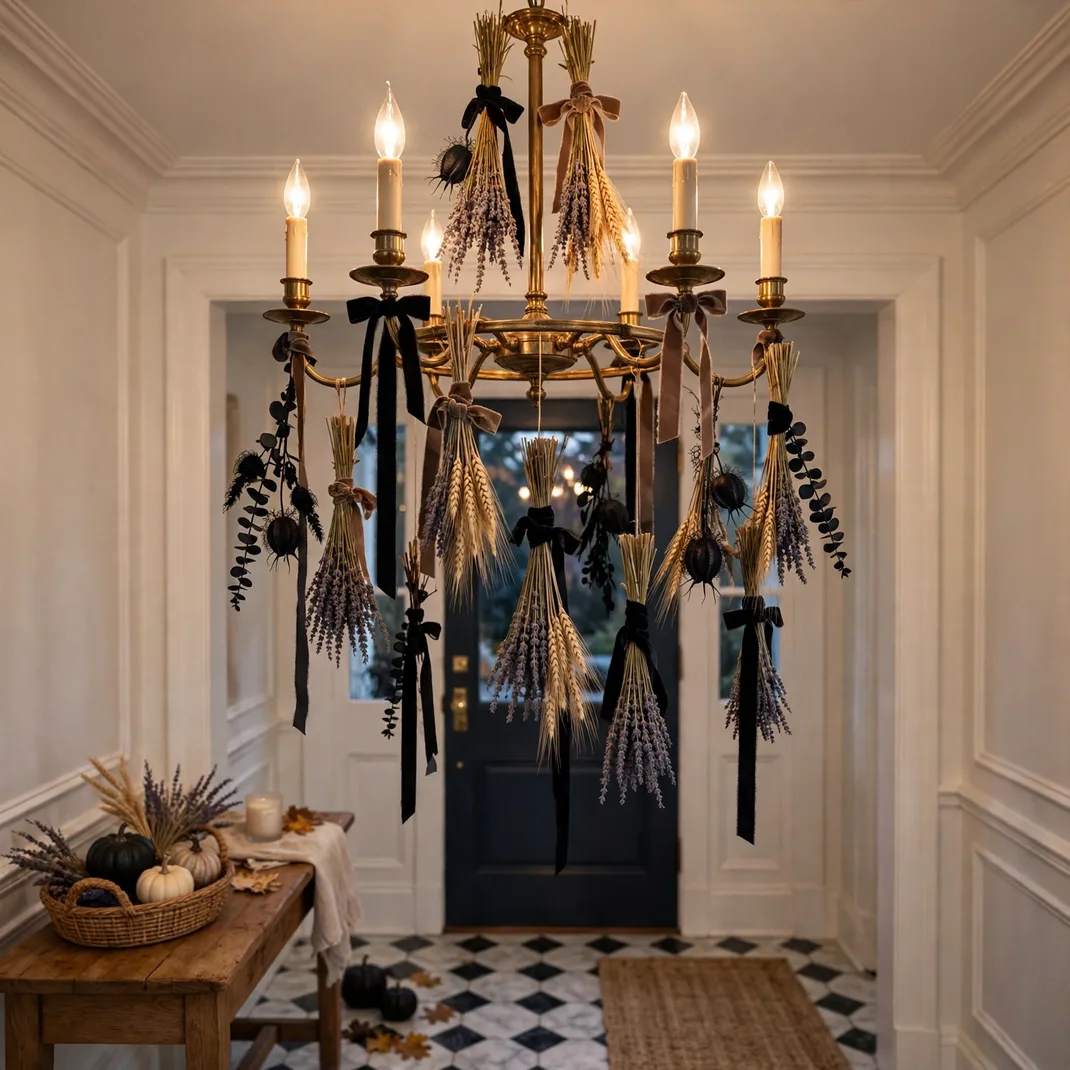
The entryway chandelier or pendant light becomes a Halloween installation with hanging dried florals: bunches of dried lavender, wheat, and black-dyed ruscus tied with ribbon and hung at varied lengths. Guests look up when they enter, and the floating botanicals reward the glance. It is unexpected, elegant, and costs almost nothing.
How to Style It: Tie five to seven small bunches with black ribbon at staggered lengths around the fixture, keeping them clear of the bulbs.
Why It Photographs Beautifully: The hanging florals add a dreamy overhead layer that makes entryway photos feel styled from every angle.
Pro Tip: Keep all botanicals at least six inches from bulbs; dried flowers and heat are a bad combination.
Budget-Smart Swap: Forage dried grasses and seed heads, then spray a few sprigs black for the Halloween twist.
9. Set Out a Scented Autumn Simmer Pot
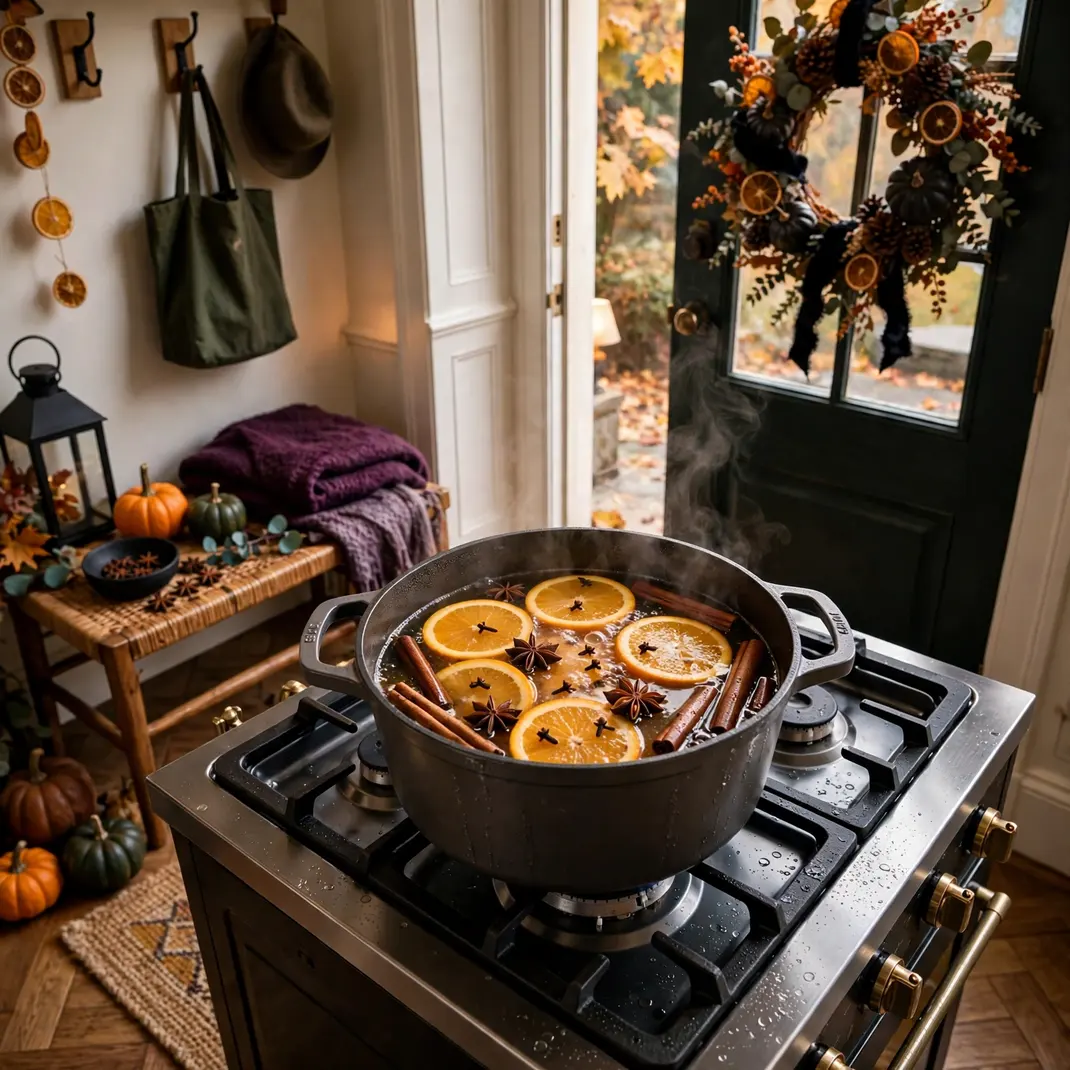
Guests notice scent before they notice decor: a simmer pot of orange slices, cinnamon, cloves, and star anise on the stove perfumes the whole entryway with autumn. The fragrance hits the moment the door opens and frames everything they see. It is invisible decor with the strongest first impression of all.
How to Style It: Simmer the ingredients in a pot on low for two hours before guests arrive, and set the pretty pot on a trivet where its steam is visible.
Why It Photographs Beautifully: The steaming pot of jewel-toned fruit and spices makes a gorgeous, sensory kitchen-entry photo.
Pro Tip: Start the pot thirty minutes before arrival; the scent peaks just as the doorbell rings.
Budget-Smart Swap: A scented candle in the same fragrance family gives the effect with zero tending.
10. Lean a Vintage Broom by the Door
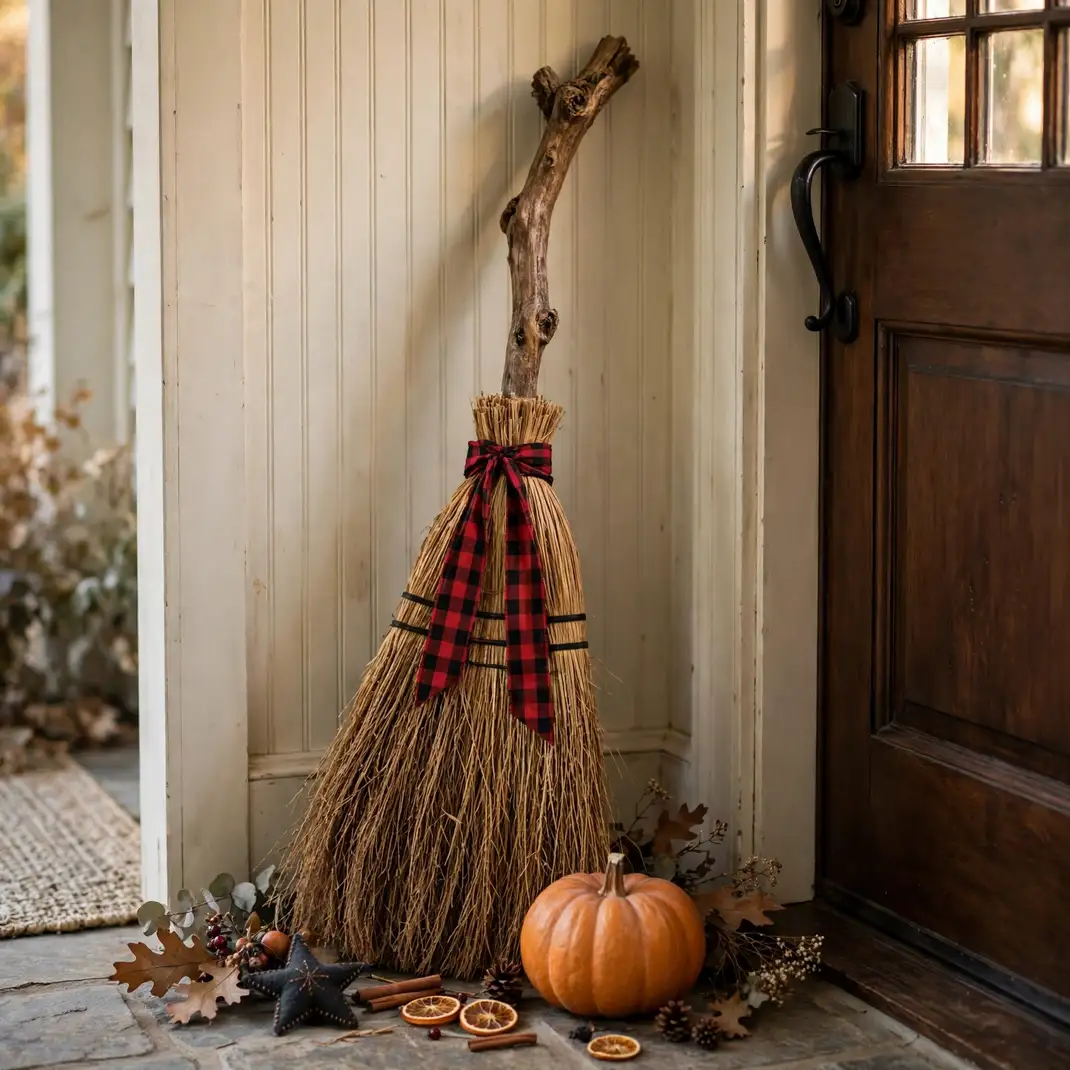
A rustic broom leaning by the front door is the entryway’s wink: bound straw, a gnarled wooden handle, maybe a plaid ribbon tied at the binding. Guests smile before they knock. It is folk-art Halloween, charming rather than scary, and it leans just as well indoors beside the console as it does on the porch.
How to Style It: Lean the broom at a slight angle against the wall beside the door, bristles down, with a small pumpkin at its base.
Why It Photographs Beautifully: The broom’s strong diagonal line adds compositional energy to entryway photos.
Pro Tip: Choose a broom with visible hand-binding; the craft details are what elevate it from cleaning tool to decor.
Budget-Smart Swap: Bind your own decorative broom from a stick and dried grasses for a fully handmade version.
11. Frame the Door with Garland Lights
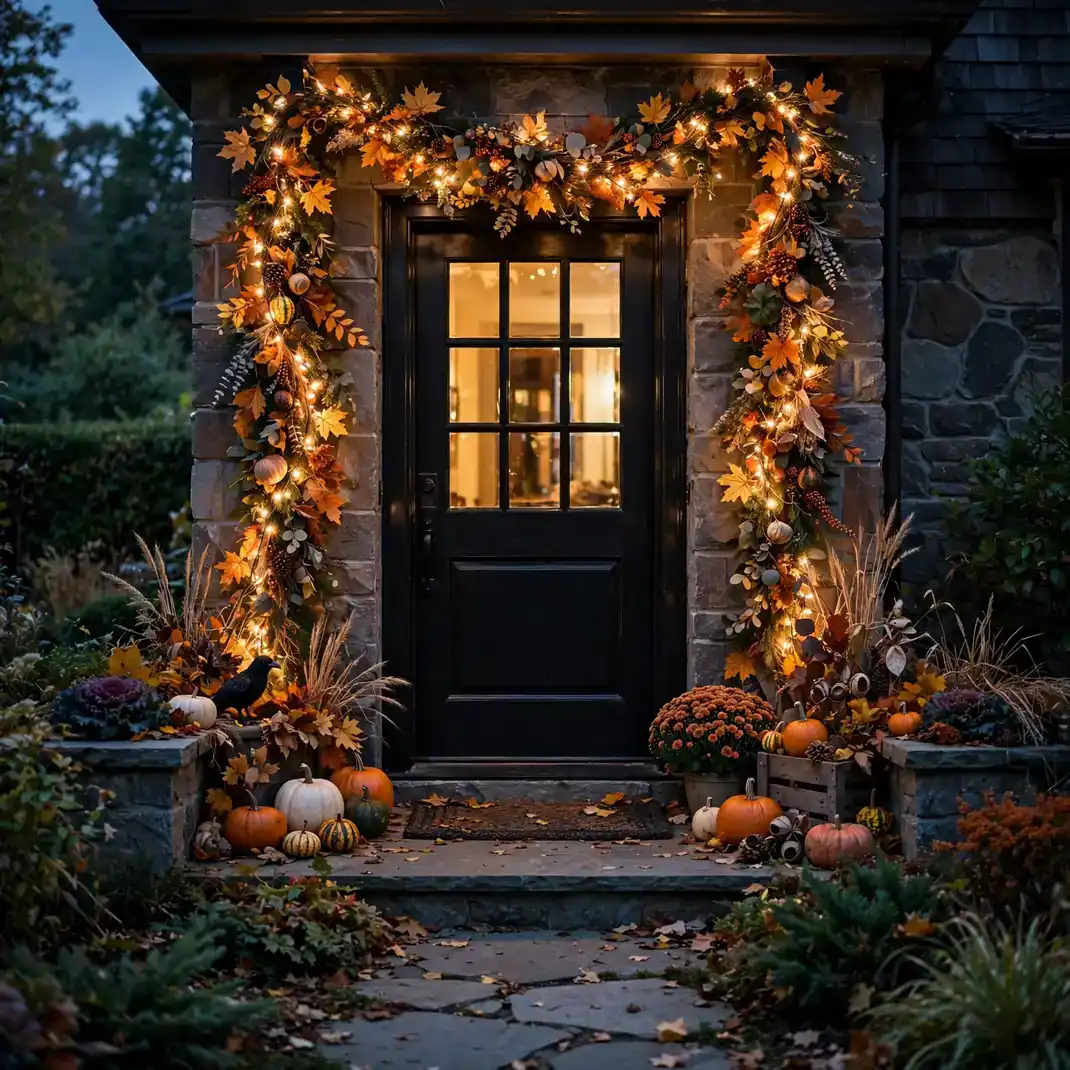
Framing the front door with a garland of warm lights makes the entrance glow like a beacon on dark October evenings: drape the lights around the door frame, weaving in faux autumn leaves or small pumpkins. Guests see the glowing doorway from the street, and the walk to the door feels like an arrival. It is curb appeal and entryway decor in one move.
How to Style It: Swag warm-white lights around the door frame in loose loops, tuck in leaf picks every foot, and set them on a dusk-to-dawn timer.
Why It Photographs Beautifully: The glowing frame makes the doorway the undeniable hero of every exterior photo.
Pro Tip: Warm white beats multicolor here; the goal is welcoming glow, not carnival.
Budget-Smart Swap: One long string of lights does the whole frame; the leaves are optional garnish.
12. Place a Skull on the Book Stack
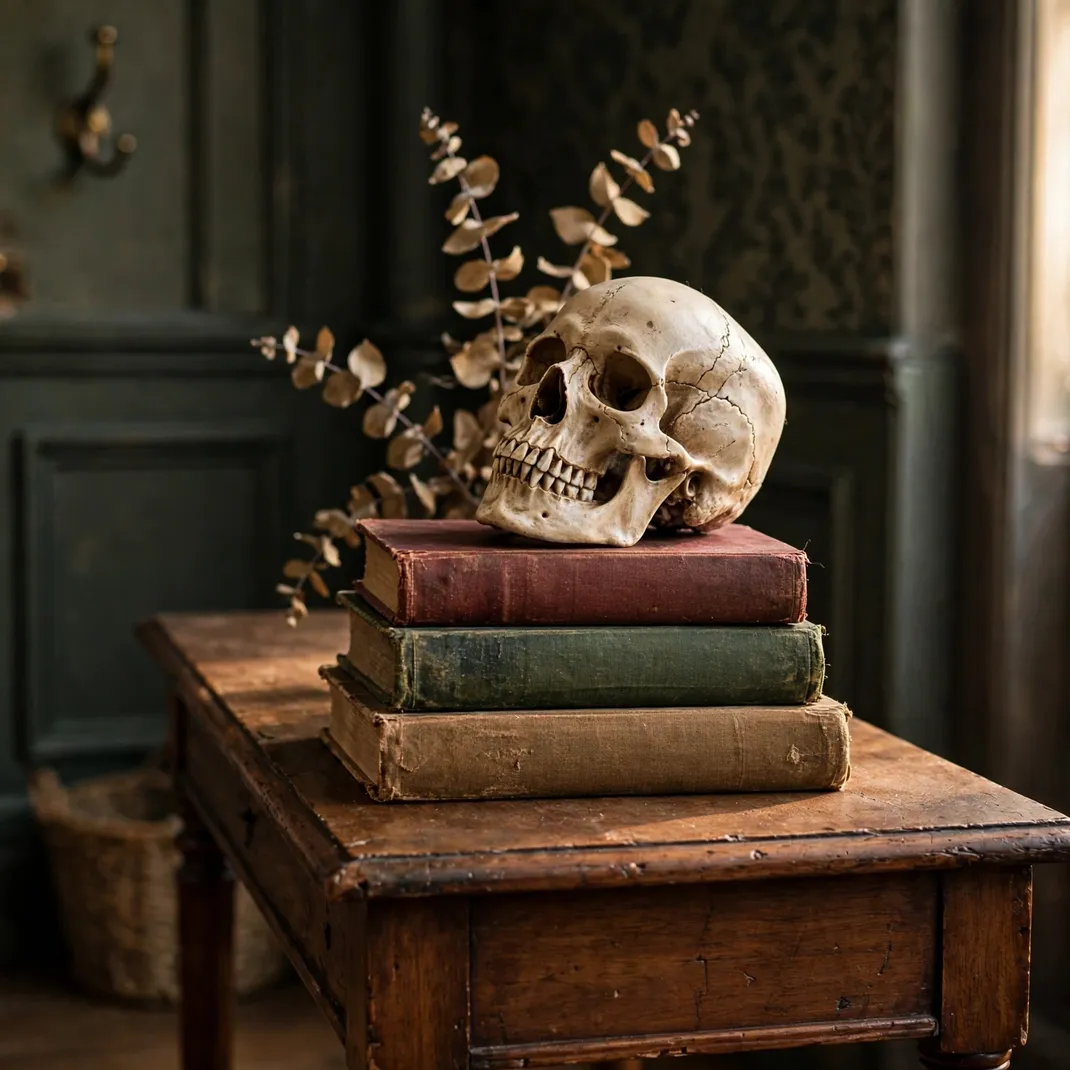
A realistic skull resting on a stack of old books on the console is the entryway’s conversation piece: part library, part curiosity cabinet, entirely Halloween. Guests will pick it up, turn it over, and ask where it came from. Style it with the books slightly askew and a dried stem tucked behind for the full dark-academia effect.
How to Style It: Stack three clothbound books, set the skull at a slight angle on top, and add a sprig of dried eucalyptus behind it.
Why It Photographs Beautifully: The skull-and-books still life is a classic composition that always photographs with drama.
Pro Tip: Choose a skull with realistic weight and detail; a flimsy plastic one breaks the illusion on pickup.
Budget-Smart Swap: Thrift-store books cost little and the cloth bindings age beautifully into the look.
13. Swap in Halloween Throw Pillows
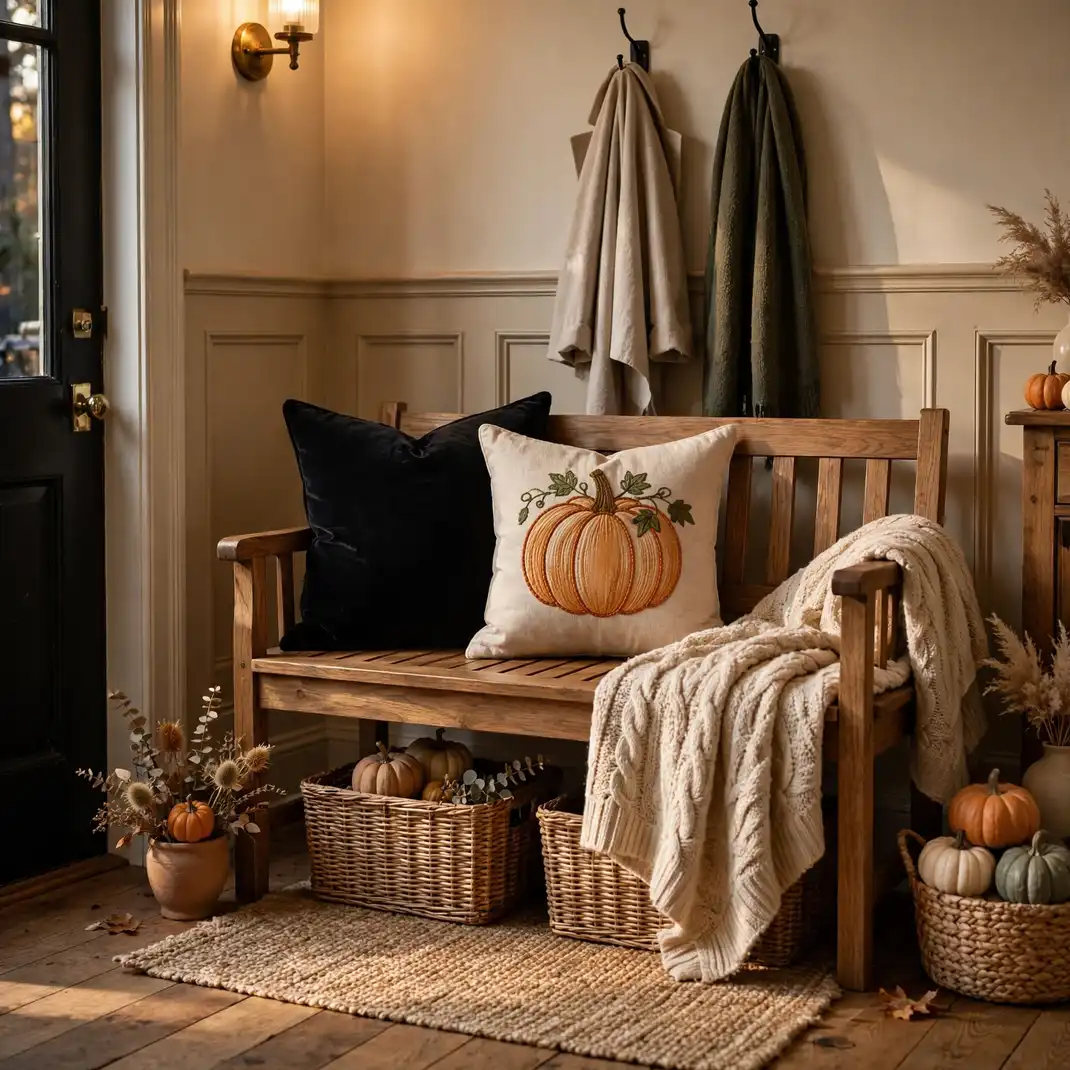
If the entryway has a bench or chair, swapping in Halloween throw pillows is the fastest seasonal change you can make: black velvet, pumpkin embroidery, or a witty “Trick or Treat” script. Guests sit, they touch, they notice. Keep the pillow count tight, two is plenty, so the bench still looks styled rather than stuffed.
How to Style It: Use 18-inch covers over your existing inserts, one patterned and one solid, karate-chopped for that styled dent.
Why It Photographs Beautifully: The pillows add soft pattern and color exactly where entryway photos need warmth.
Pro Tip: Store the covers flat in a labeled bag with the Halloween bin so next year’s swap takes five minutes.
Budget-Smart Swap: Covers alone transform the bench; there is no need to buy new inserts every season.
14. Line the Stairs with Mini Pumpkins
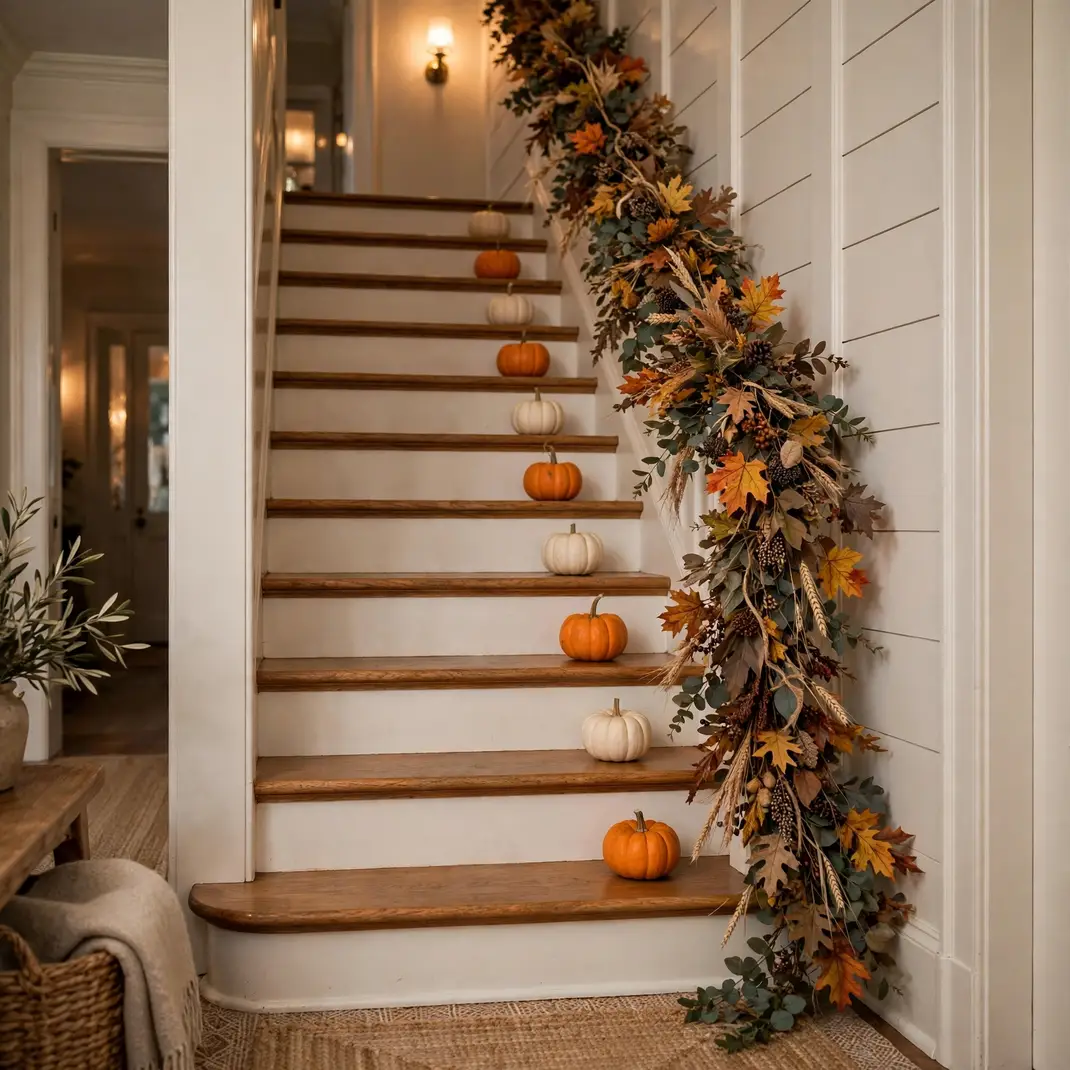
For entryways with stairs, lining each step with a mini pumpkin turns the staircase into a harvest cascade: alternate orange and white minis, one per step, hugging the wall side. Guests climbing the stairs pass through the display, and the repetition is deeply satisfying. It is the kind of detail that makes people photograph your stairs.
How to Style It: Place one mini pumpkin on each step against the wall, alternating colors, and keep them clear of the walking path.
Why It Photographs Beautifully: The repeating rhythm of pumpkins up the staircase creates a stunning leading-line photo.
Pro Tip: Use faux minis on stairs; real ones roll, and a rolling pumpkin on stairs is a hazard.
Budget-Smart Swap: Bagged mini pumpkins from the grocery store are the cheapest per-piece pumpkin you can buy.
15. Greet with a Chalkboard Welcome Sign
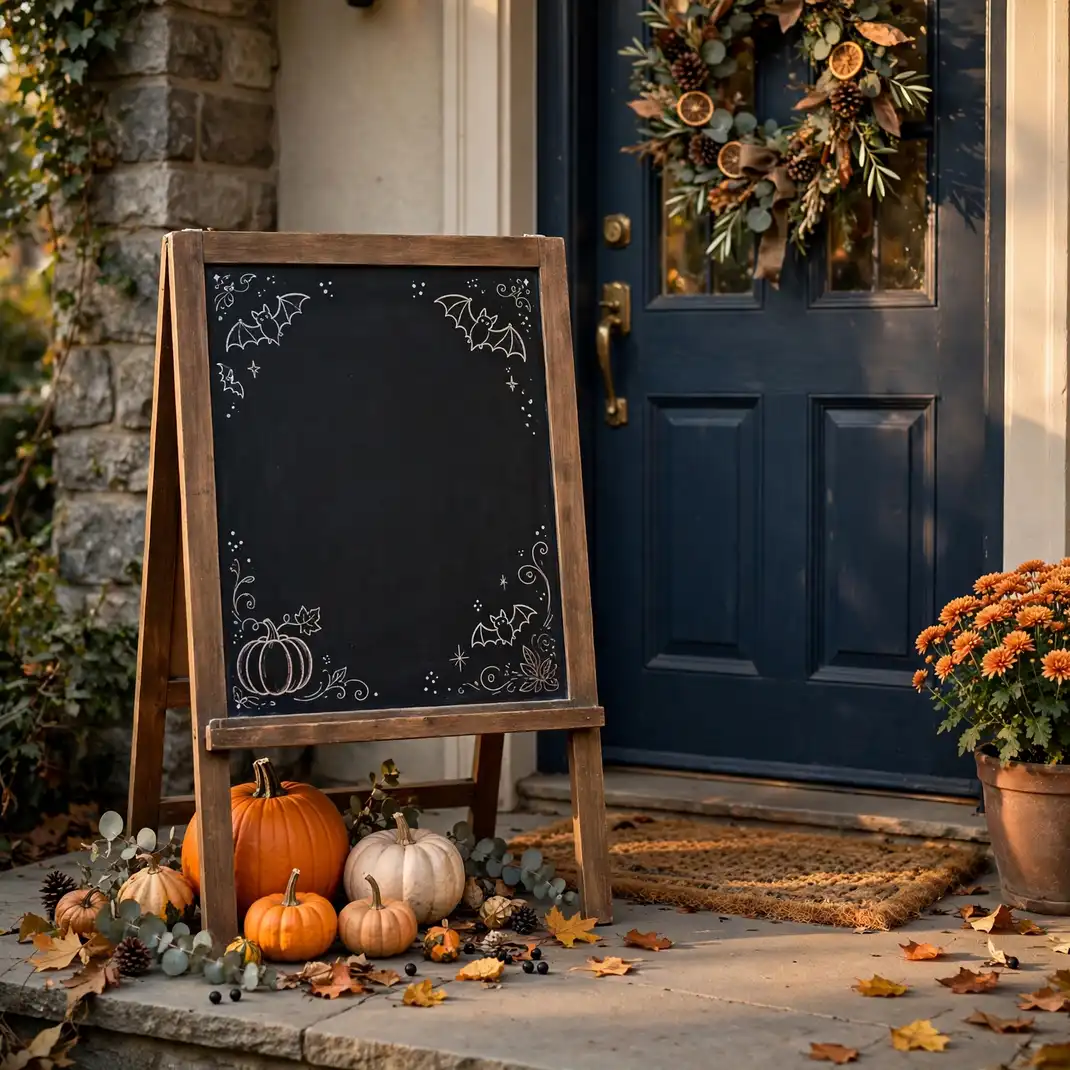
A chalkboard easel by the door with a hand-written Halloween welcome is the entryway’s personal note: “Witches welcome, ghosts tolerate the wait,” or simply “Happy Halloween” in your best script. Guests read it while they wait for the door to open, and the handwriting makes it feel like the house itself is greeting them. Change the message for parties.
How to Style It: Set a small chalkboard easel beside the door, write the message in chalk markers, and doodle bats or stars in the corners.
Why It Photographs Beautifully: The handwritten message adds a personal, human touch that guests love to photograph and share.
Pro Tip: Chalk markers write cleaner than real chalk and survive a light drizzle on the porch.
Budget-Smart Swap: A framed piece of chalkboard-painted cardboard on an existing easel works just as well.
First Impressions That Linger
Guests decide how they feel about your home in the first ten seconds, and at Halloween those seconds are yours to direct. A glowing doorway, a scented welcome, a raven watching from the console, these are the touches that turn an arrival into an experience. You do not need all fifteen; pick the five your entryway is asking for, and let the first impression do the talking.