23 Peel and Stick Backsplash Ideas That Look Like a Luxury Kitchen Makeover
Peel and stick backsplash panels turn a plain kitchen wall into a finished feature without grout, saws or messy tools. A clean wall, a level line and the right pattern are enough to create a look that feels designed.
The 23 ideas below cover marble looks, mosaics, bold patterns and removable options, with sizes, heat notes and prep steps, and a style comparison table at the end.
Marble Look Slab Panels
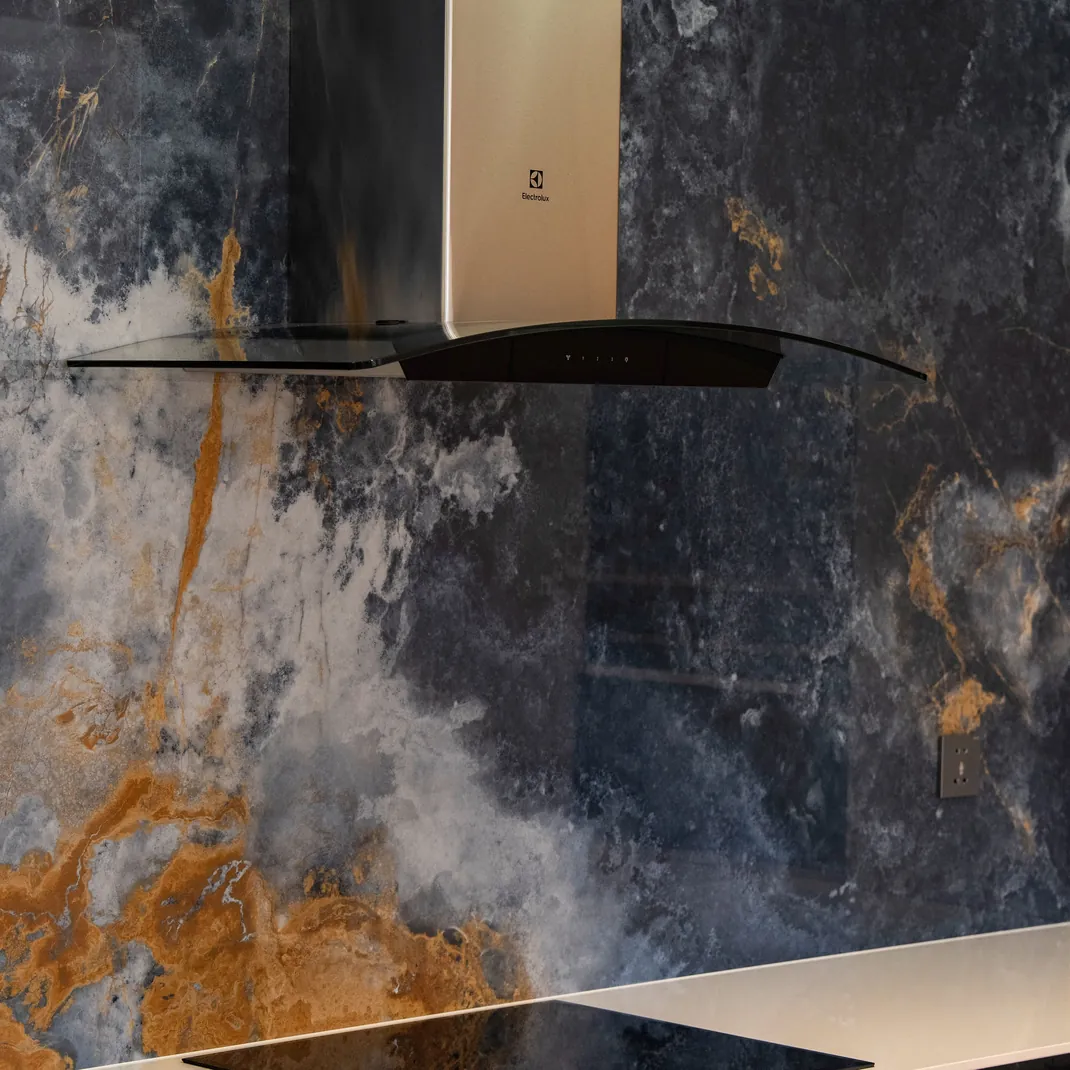
Large veined panels give a kitchen the look of polished stone. Panels of about 12 by 24 inches cover a wall with fewer seams than small tiles. Choose a soft gray vein on a white base for a calm look.
Line up the veining from one panel to the next for a continuous pattern. Wipe the wall with a degreaser and let it dry fully before pressing the panels on. Apply the panels at a room temperature of about 65 to 75°F (18 to 24°C).
Press from the center outward with a plastic scraper to push out air. Keep panels away from direct flame and follow the heat rating on the package.
Herringbone Layout in Soft Gray
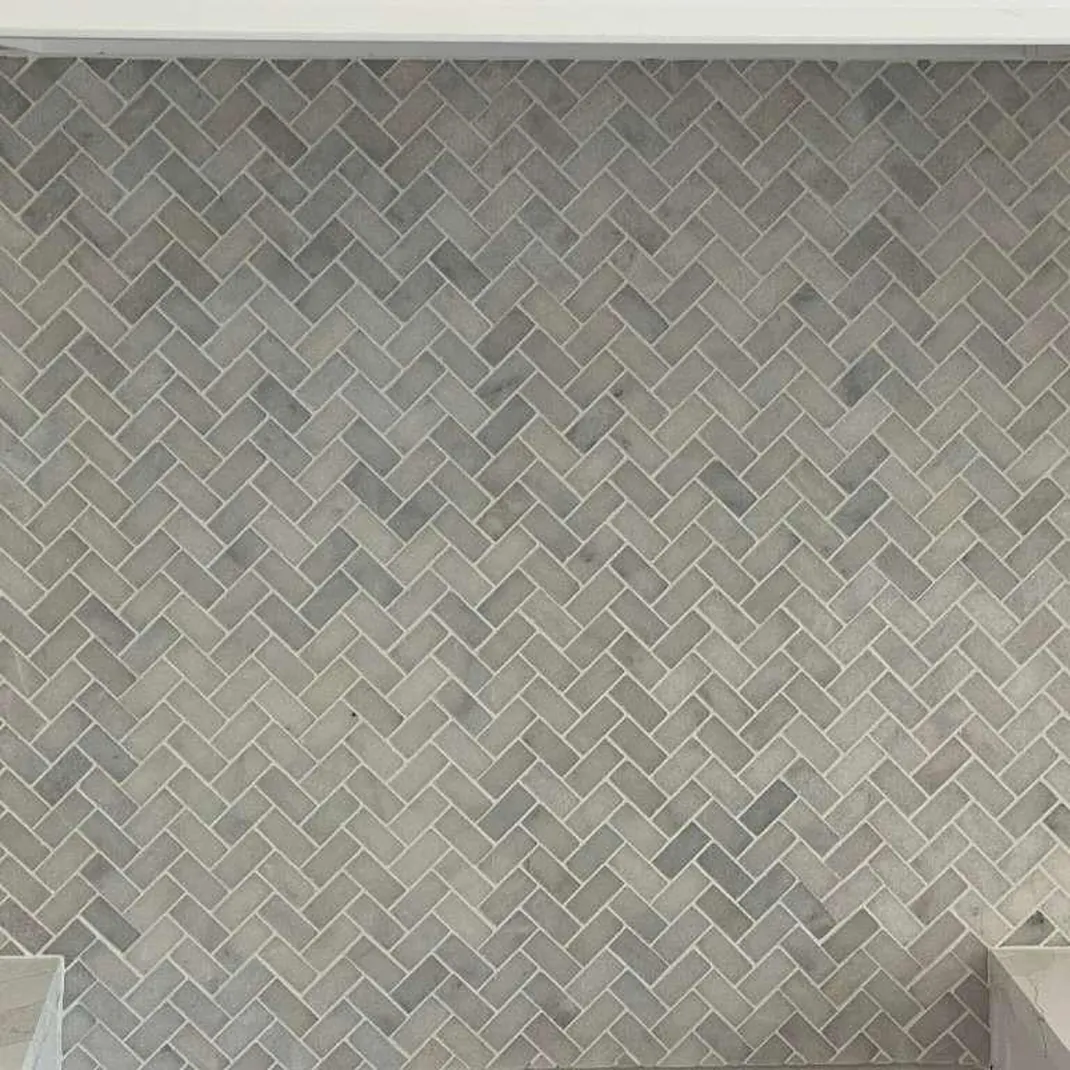
A herringbone pattern adds movement to a plain kitchen wall. Tiles of 2 by 8 inches create the classic zigzag when set at right angles. Start at the center of the wall and work toward both ends.
Mark a level line with a pencil before placing the first tile. Cut border pieces with sharp scissors or a craft knife. Pick a matte finish to hide fingerprints and splashes.
Run a thin bead of clear caulk along the upper border. Soft gray pairs well with white cabinets and wood shelves.
Zellige Inspired Glossy Tiles
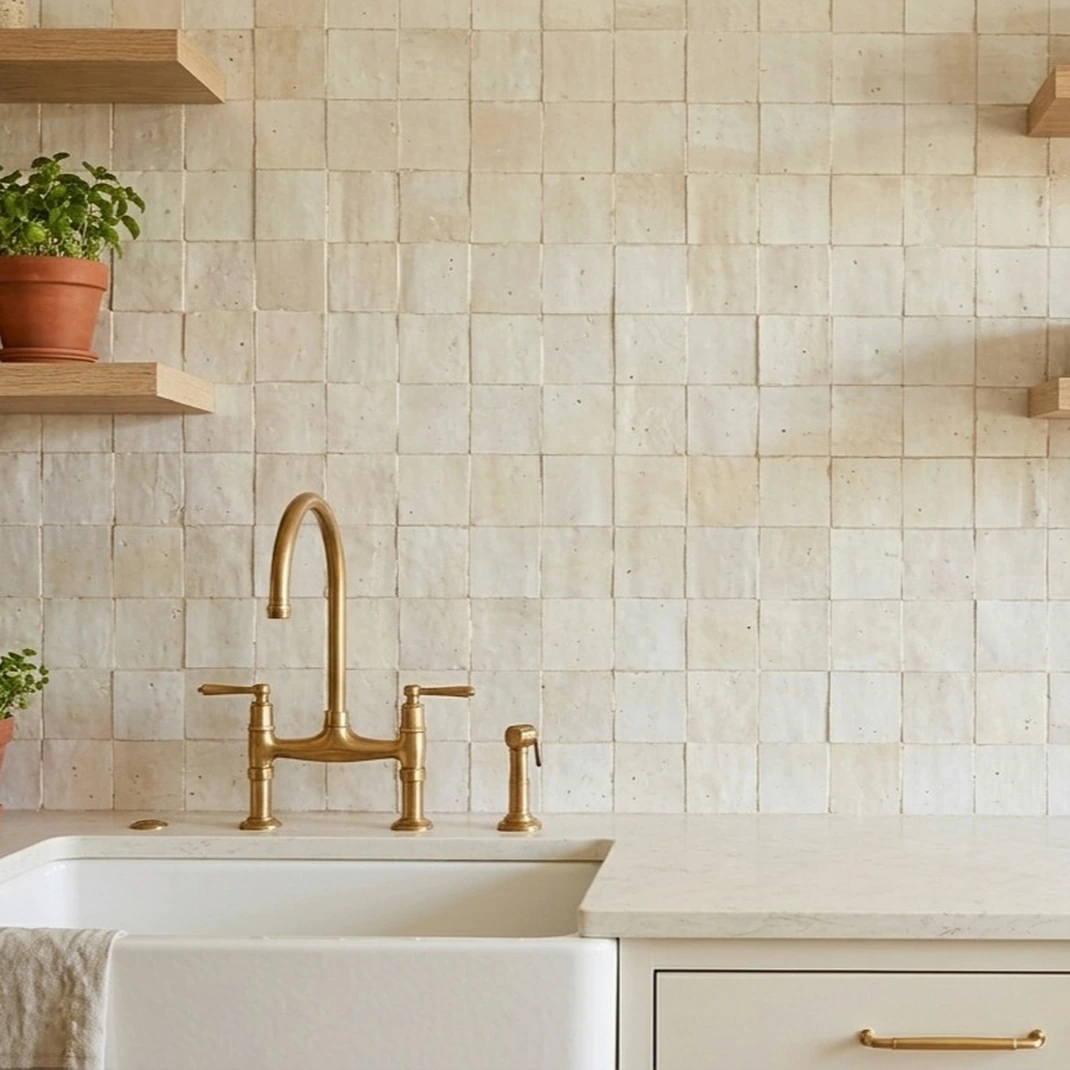
Slight color variation gives glossy tiles a handmade, artisan look. Squares of about 4 by 4 inches mimic traditional glazed clay. Mix several shades of the same color for a rippled effect.
Place tiles in a loose grid with thin grout lines. Choose cream, olive or soft blue for a natural look. Gloss reflects light and brightens a small kitchen.
Wipe fingerprints with a soft cloth and mild soap. Avoid abrasive pads that dull the surface. Cream and olive shades suit both modern and rustic kitchens.
Offset Brick Layout in Warm White
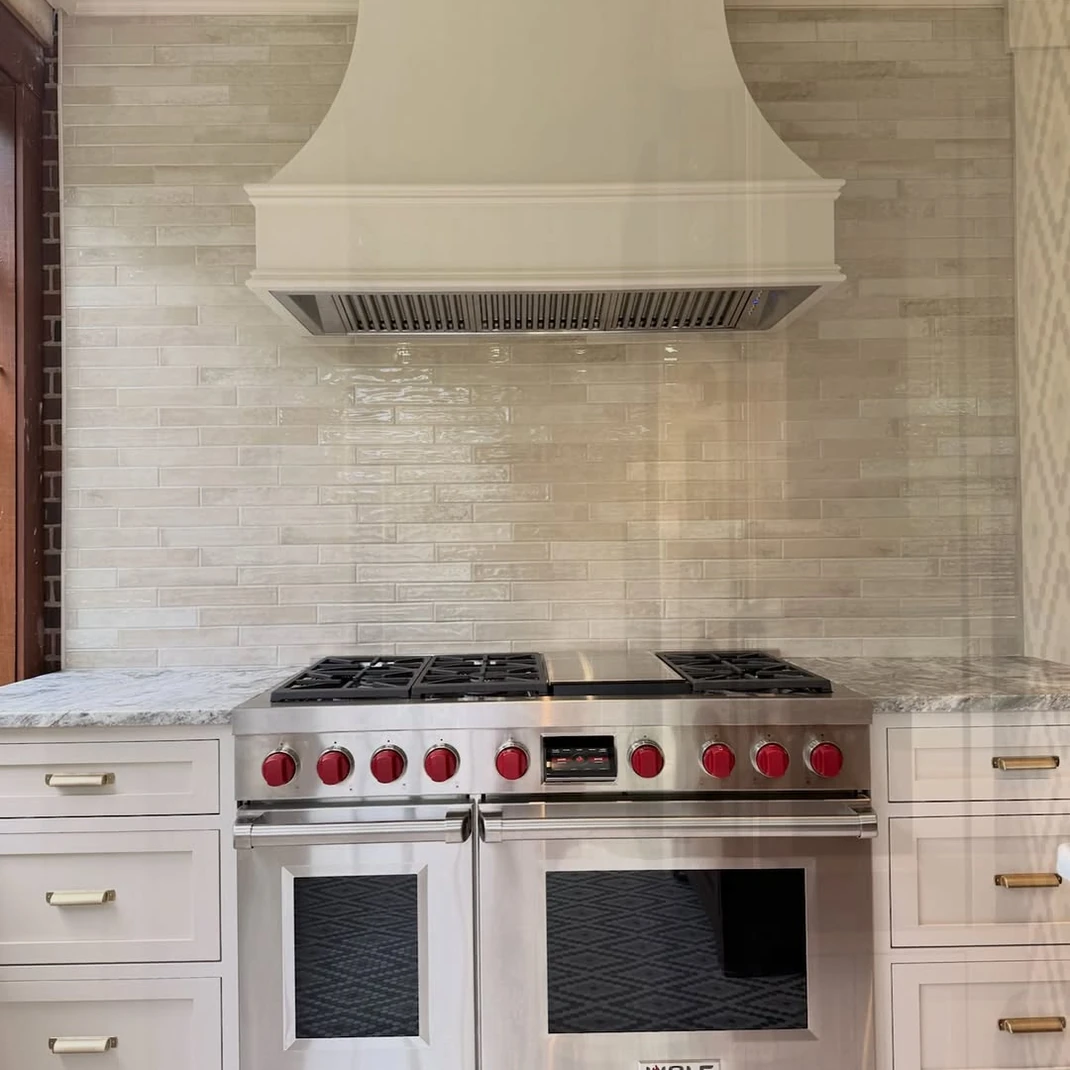
An offset brick layout feels classic and easy to live with. Tiles of 3 by 6 inches stagger each row by half a tile. Use warm white rather than stark white for a softer look.
Start from the bottom and keep each row level. Trim the last tile in each row to fit the wall edge. Keep gaps between tiles tight and even.
Pair with brass hardware and warm wood accents. Wipe weekly with a damp cloth to keep the finish bright.
Hexagon Mosaic Sheets
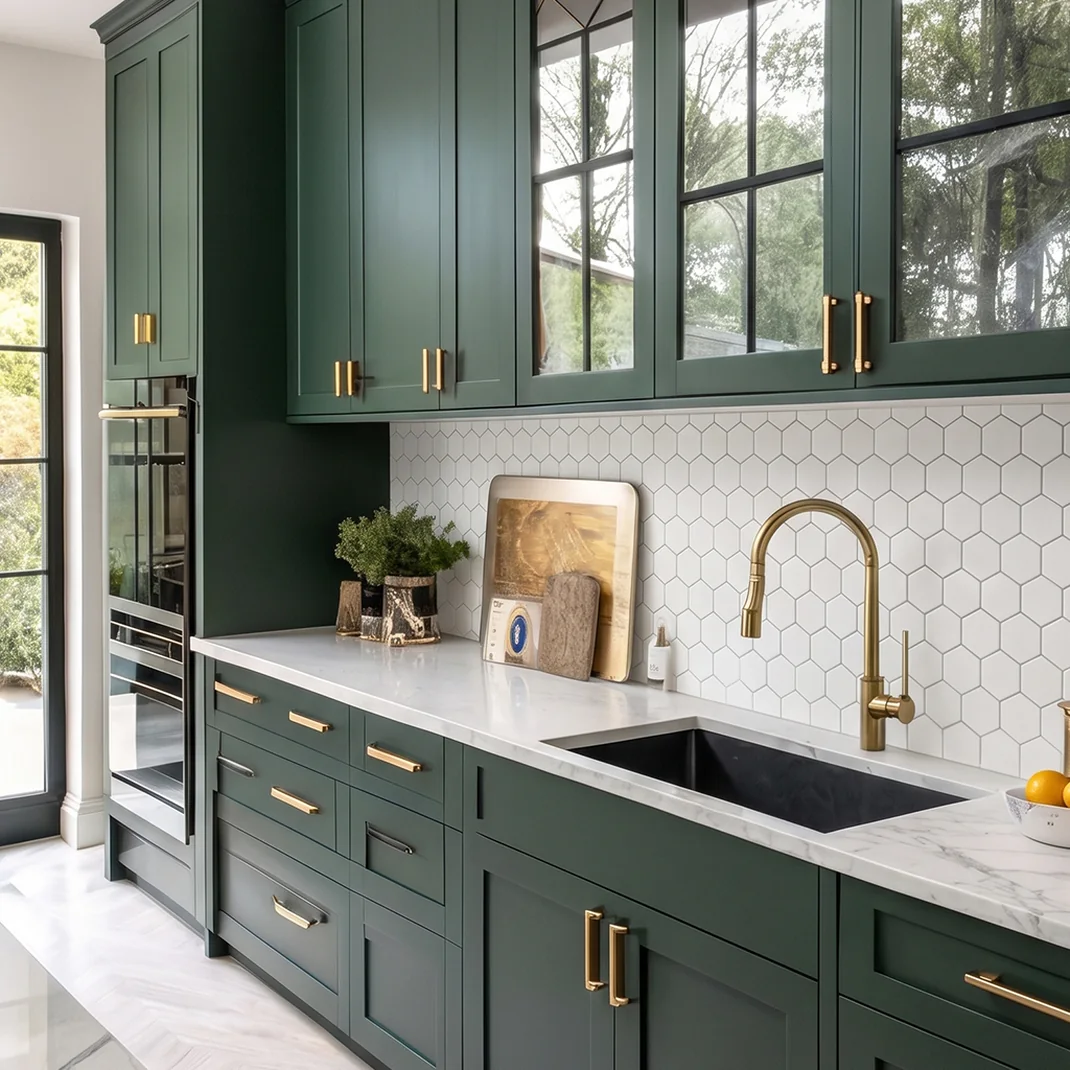
Hexagon sheets create a honeycomb pattern with very little cutting. Each sheet usually spans about 10 by 12 inches. Join sheets so the pattern flows without a visible seam.
Use contrasting colors in a loose scatter for a playful design. Cut sheets at the outlet openings with a craft knife, after turning off the power at the breaker. Keep outlet covers off until the edges are neat.
Press the sheet firmly along every edge. Hold the last corners for ten seconds to help the adhesive grip.
Terracotta Look Tiles

Terracotta shades bring an earthy, Mediterranean feel. Each 6 by 6 inch square shows subtle variation. Match the tone to wooden shelves or woven baskets.
Choose a matte surface for a sun baked look. Pair with cream cabinets for a bright contrast. Wipe with mild soap rather than harsh cleaners.
Add a few green herbs in pots for a fresh accent. Check the product label for heat limits near the range.
Brass hooks and wooden spoons echo the warm tone. Soft white grout lines keep the surface looking fresh.
Black and White Checker Pattern
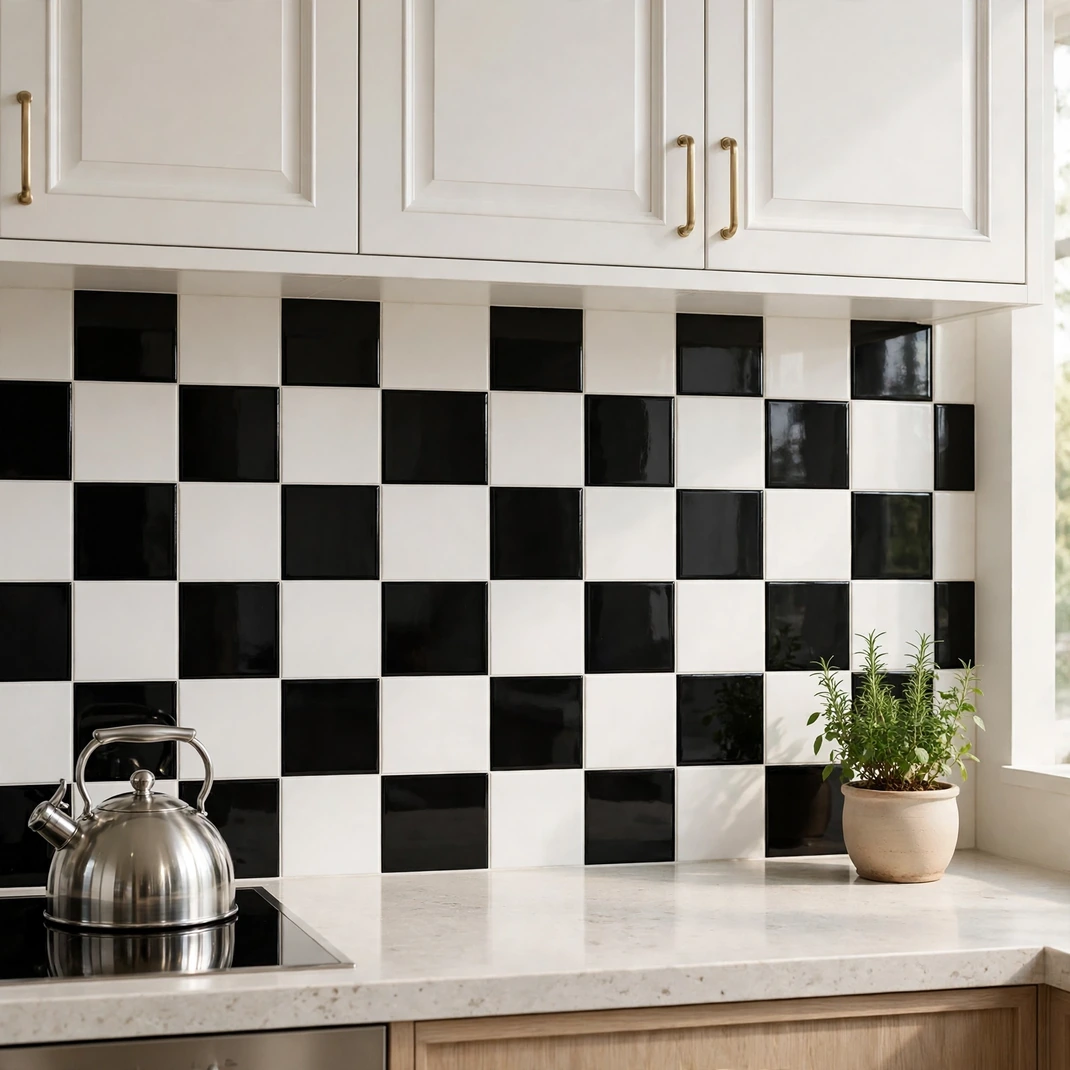
A checker pattern adds a bold retro touch. Tiles measuring 4 by 4 inches make a tidy grid. Lay a chalk line first so the checks run straight.
Start from the center and work toward the corners. Keep other decor simple so the pattern stands out. Use a brass or black faucet for contrast.
Wipe off grease promptly to keep the white squares clean. Finish edges with thin trim for a neat frame.
A black and white runner on the floor repeats the theme. Use a single bold pattern, since a second print competes for attention.
Sage Green Gloss Tiles
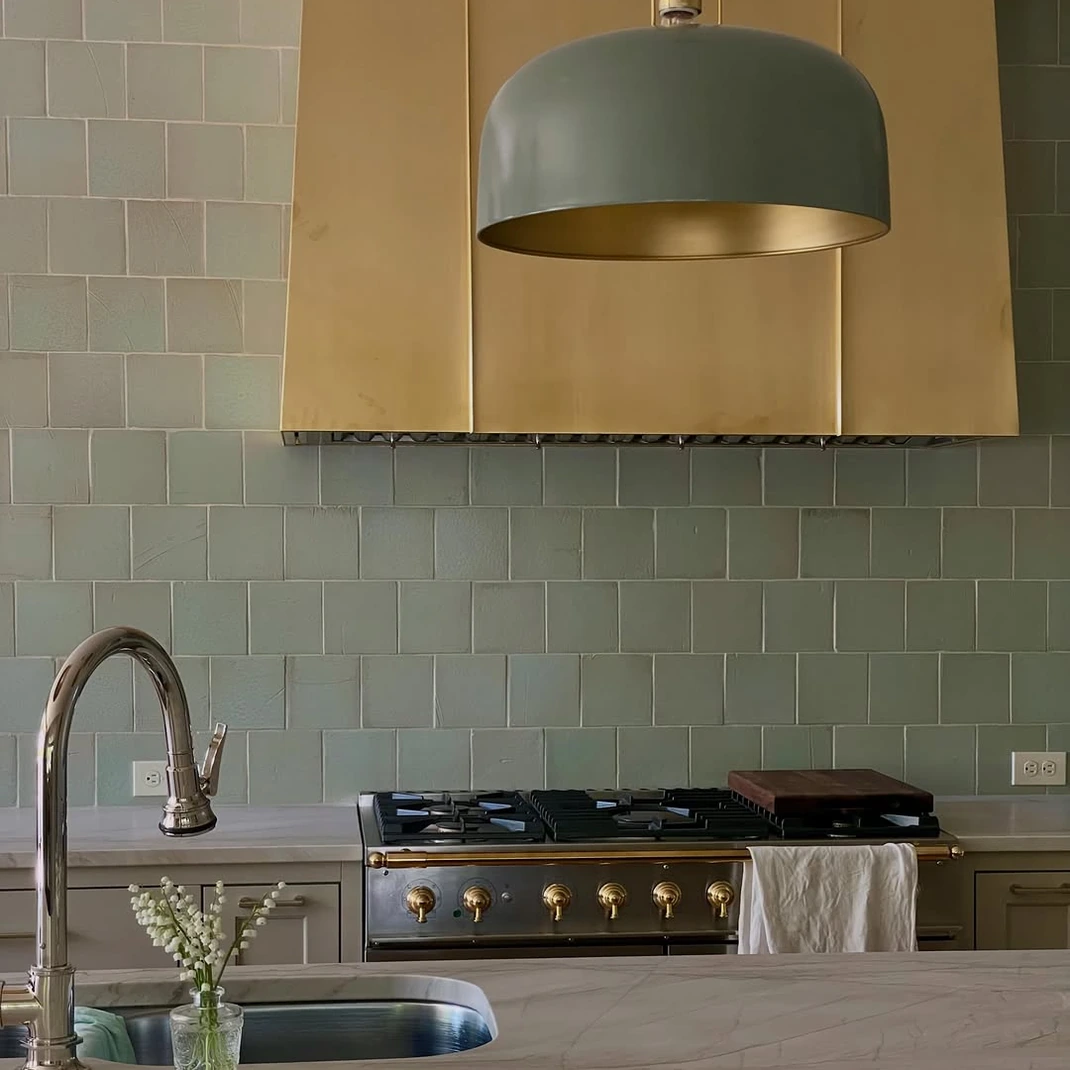
Sage green keeps a kitchen calm and fresh. Rectangles of 3 by 12 inches stretch across a wall quickly. Pair with white countertops and natural wood.
Choose a satin or gloss finish that wipes clean. Test the color against cabinet paint under daylight and evening light. Place the first row on a level line above the counter.
Trim around windows with a sharp blade. Add brass pulls for a warm accent.
Hang woven baskets or a linen towel for a soft accent. A small plant by the window repeats the green.
Penny Round Mosaic
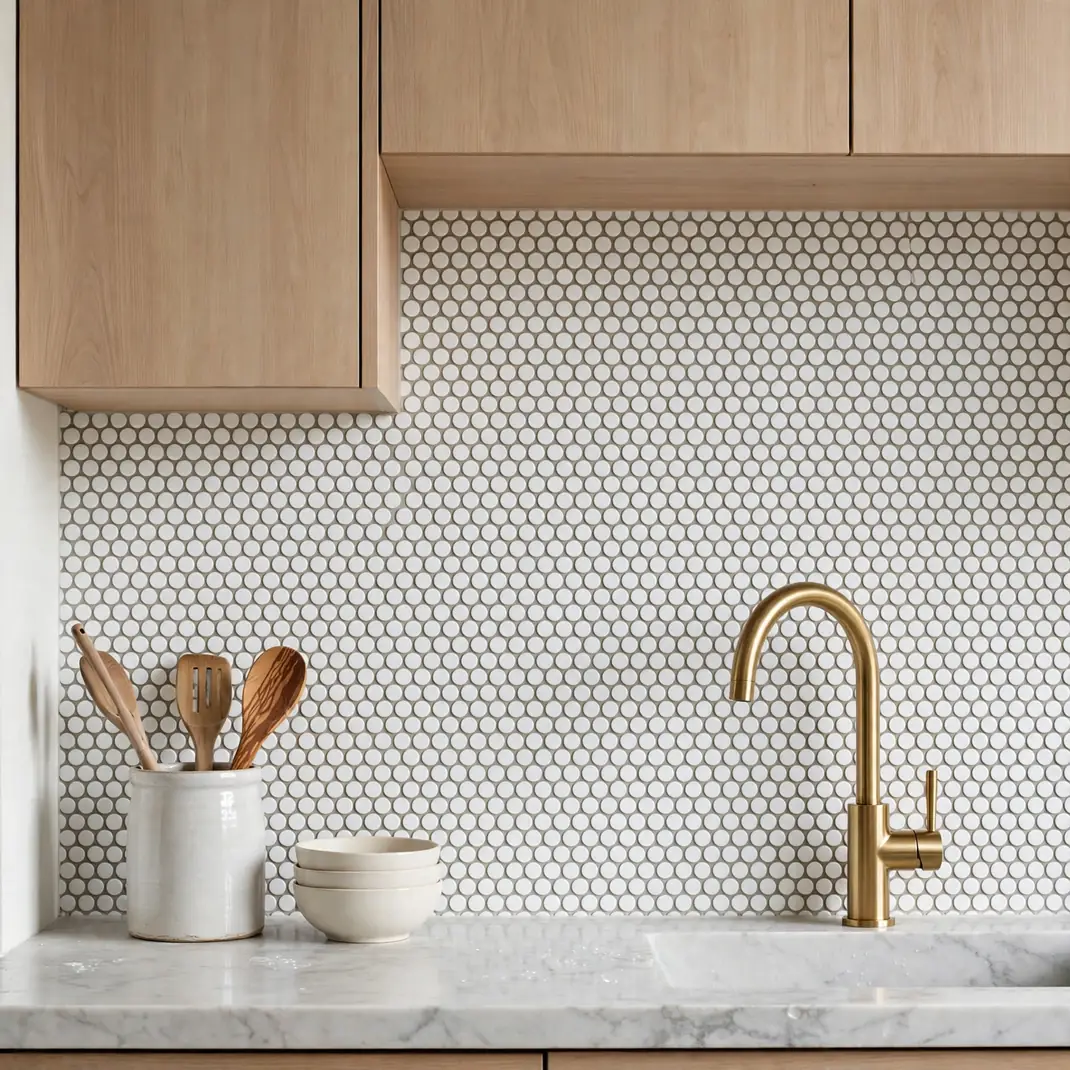
Small circles bring a vintage charm to a modern kitchen. Sheets of penny rounds usually measure about 12 by 12 inches. Mix white and gray circles for subtle depth.
Press each sheet from the center out to remove air. Use the flexible sheet to wrap around curved edges. Cut sheets between circles for a clean edge.
Wipe often near the sink because water spots show on gloss. Pair with a farmhouse sink for a classic feel.
The small scale suits narrow walls beside windows. Choose a satin finish to reduce glare from overhead lights.
Brushed Metal Look Tiles
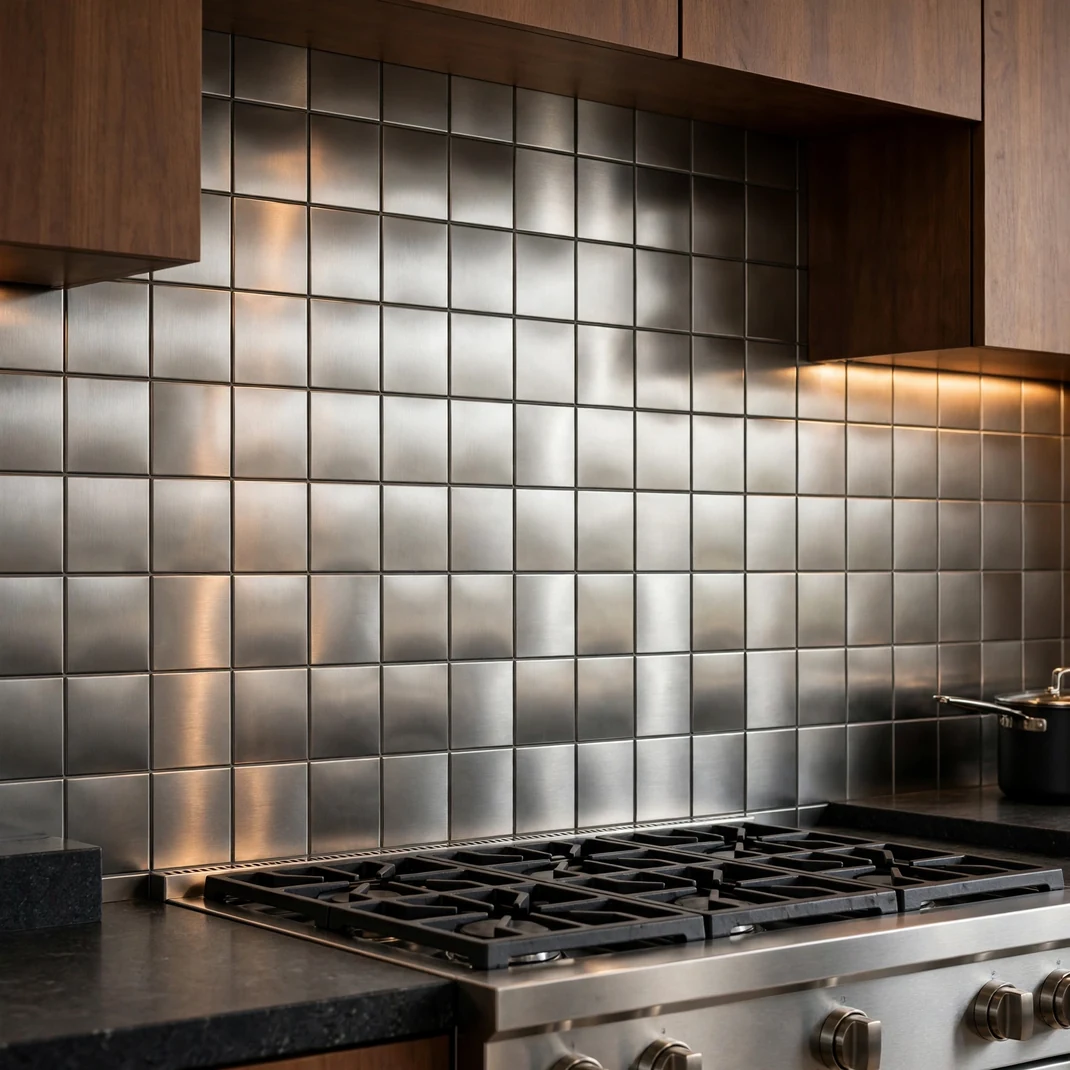
A metal finish adds a glow without real metal weight. Brushed gold or silver tone tiles at 4 by 4 inches suit narrow wall sections. Use the tiles as an accent behind the sink.
Check product limits before placing near a stove. Keep metal look tiles away from direct flame and open burners. Buff gently with microfiber to prevent scratching.
Match faucet and hardware tones. Avoid covering the whole wall to keep the look refined.
Limit the accent to a panel of about 24 inches wide. Combine with matte white cabinets to keep the glow balanced.
Wood Grain Panels Beside Open Shelves

Wood grain panels soften a cool white kitchen. Plank strips of about 6 by 36 inches run horizontally for width. Pick light oak or ash tones for a Scandinavian look.
Hang open shelves in the same shade. Keep panels away from the stove and sink splash zones. Use a level on every row to avoid slants.
Seal gaps with clear silicone caulk. Wipe with a damp cloth to maintain the finish.
Add a woven basket and a ceramic jar on the shelves. Seal the cut ends with matching paint to hide raw edges.
Fish Scale Pattern Tiles
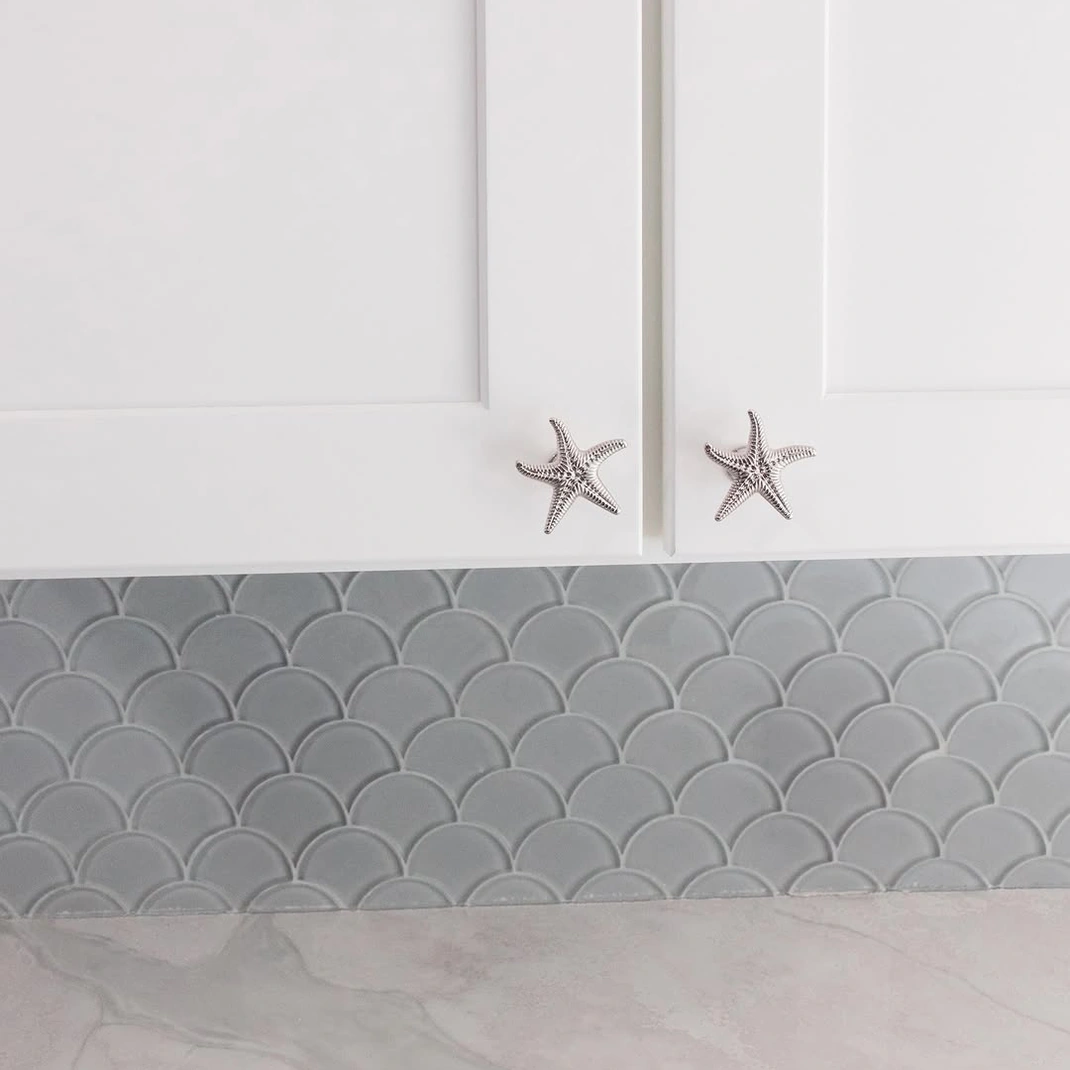
Scalloped tiles make a graphic statement. Tiles of about 6 by 6 inches overlap in a repeating curve. Choose soft blue, cream or blush for a gentle look.
Start at the bottom and let each row overlap the one below. Check the pattern alignment after every few tiles. Cut partial scallops at edges with scissors.
Wipe off grease promptly near the stove. Pair with simple cabinets so the pattern leads.
Blush and cream tones pair well with brass hardware. Hang a single framed print nearby to keep the wall balanced.
Dimensional Gel Tiles
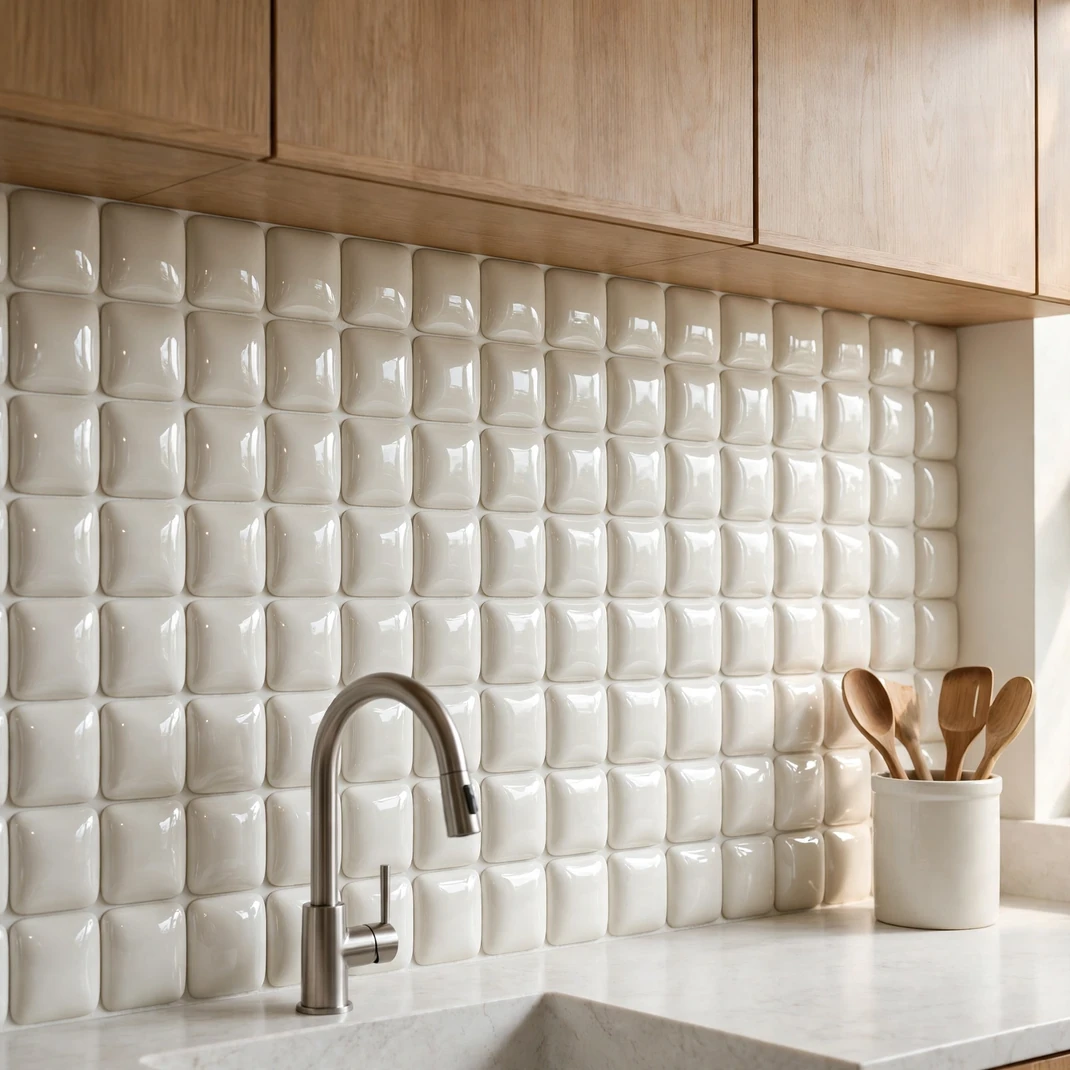
Raised gel tiles add depth and a glassy sheen. Each 4 by 4 inch tile has a domed top that catches light. Smooth the wall first, because bumps show through.
Press gently so the domes do not flatten. Wipe with a soft sponge and mild soap. Avoid placing them above a heat source.
Combine with simple counters to let the texture shine. Check the tiles for bubbles after a day.
Clear and white domes mimic glass and suit a bright kitchen. Brush dust from the domes with a clean paintbrush.
Stone Look Slab to the Ceiling
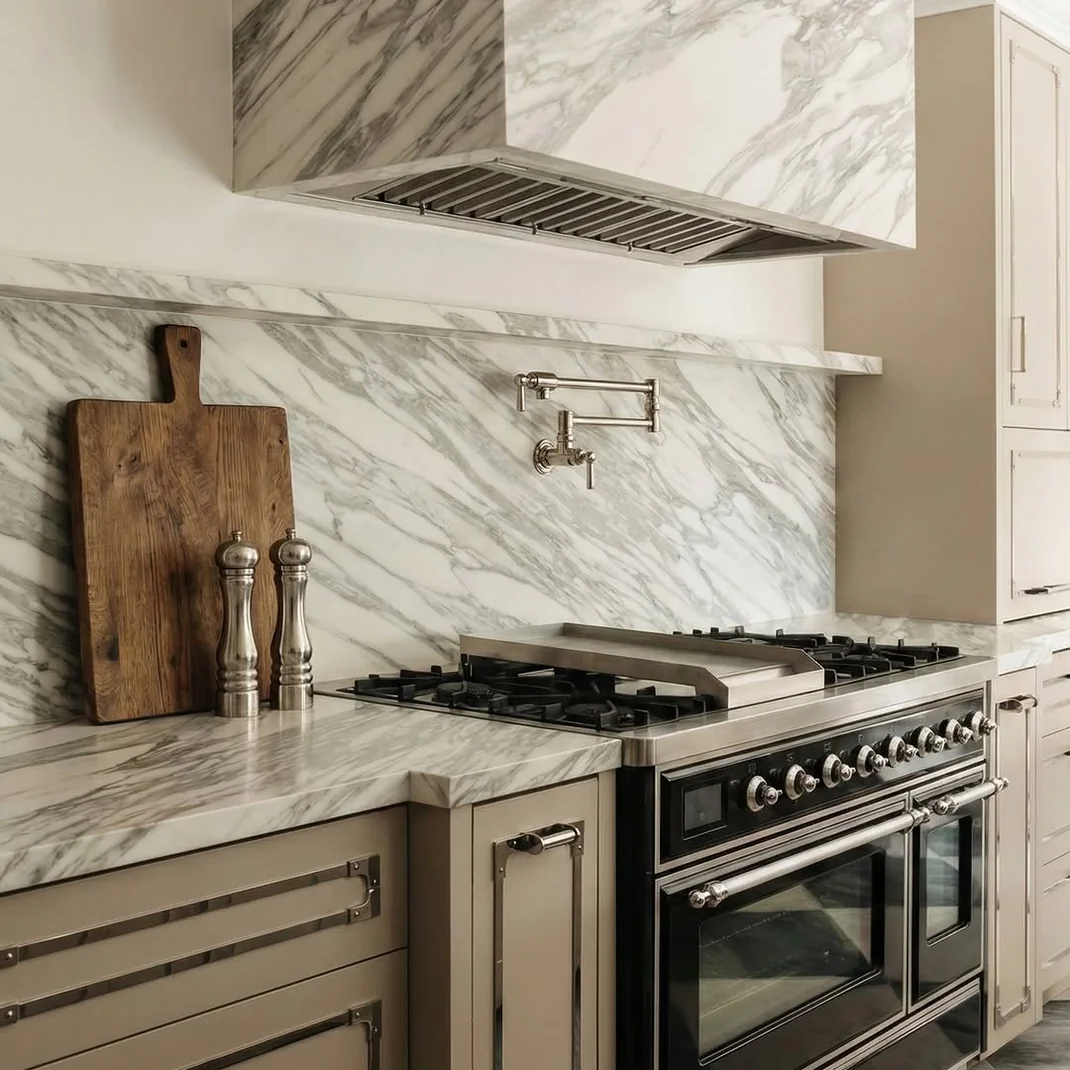
A full height backsplash makes a wall look built in. Extend panels about 60 inches above the counter or all the way to the ceiling. Cover the wall behind a range hood only if the heat rating allows it.
Leave the area directly behind burners to a heat safe surface such as metal or tile. Choose gray stone patterns with soft veins. Use a ladder safely and have a helper hold panels.
Trim the final panels along the ceiling line. Ask a pro to handle gas or wiring near the range.
Two Tone Half Wall Backsplash
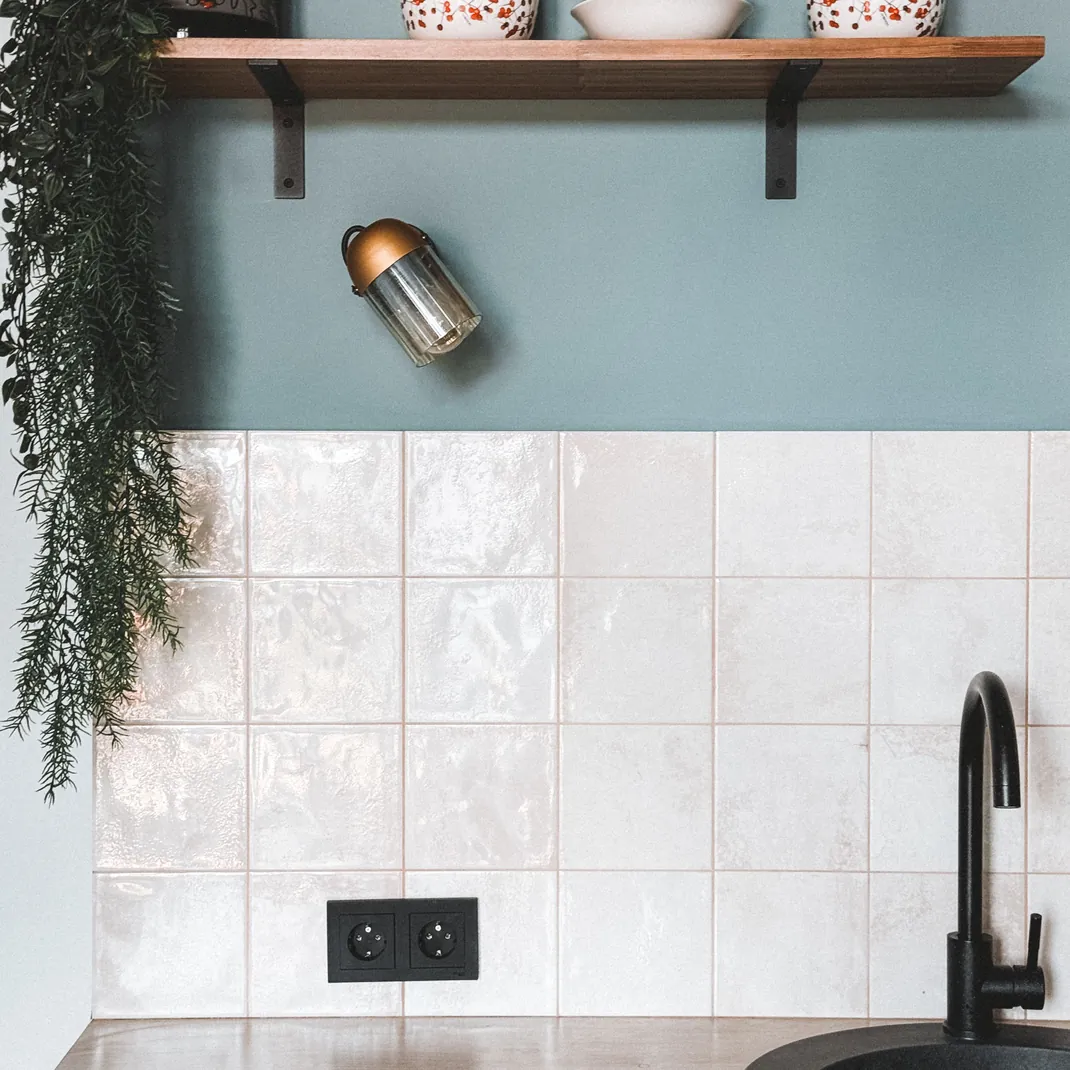
A half height backsplash saves material and adds a stylish line. Cover the wall to about 36 inches above the counter. Paint the upper half in a color that matches the tile.
Cap the upper border with a thin trim strip. Use a level to mark the line. Choose washable paint for the upper section.
Add a small shelf at the line for herbs or oils. Wipe the tile weekly to keep it clean.
Choose a paint with a satin finish for easy wiping. Hang a rail with hooks along the dividing line.
Patterned Cement Look Tiles
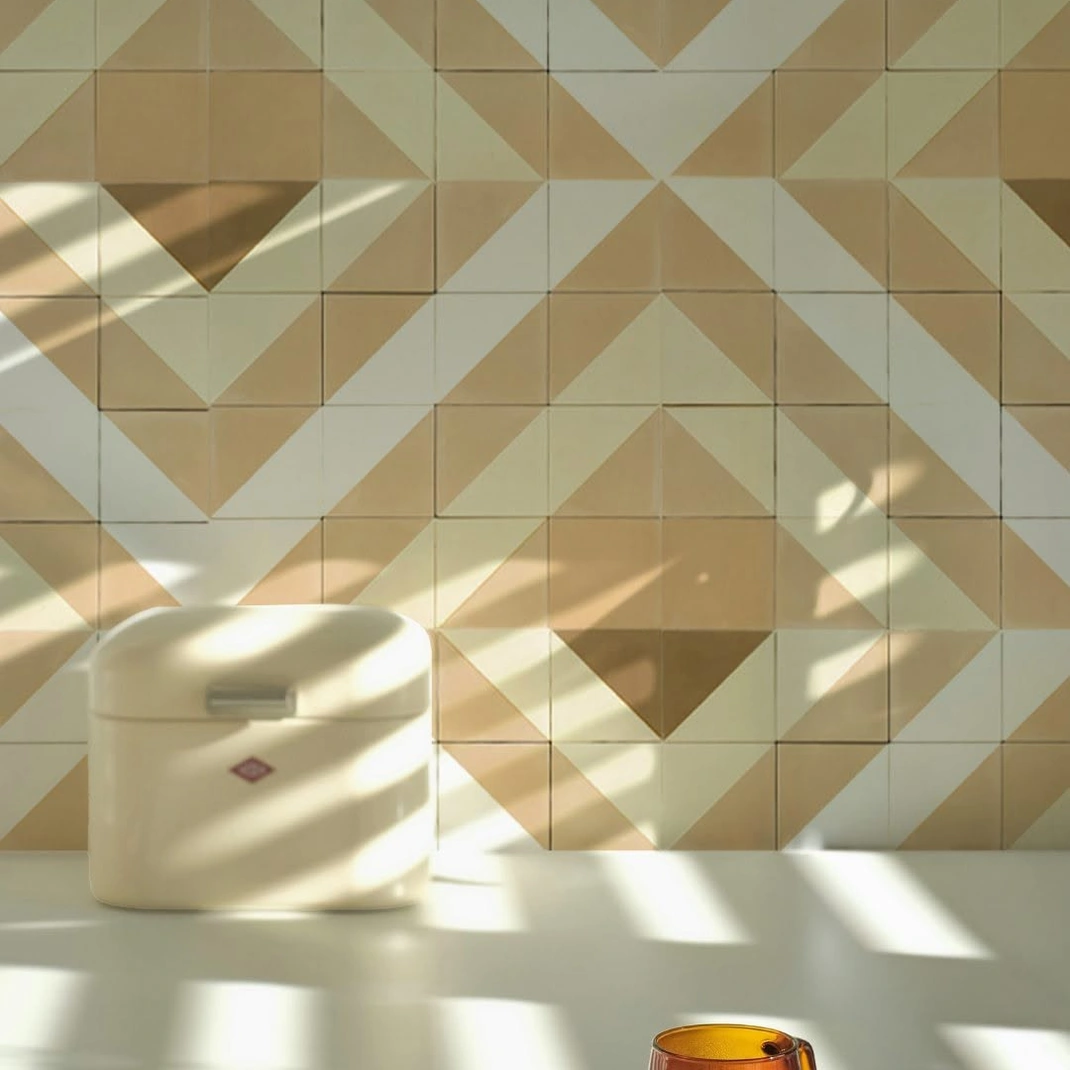
Cement look prints bring bold pattern into a small area. Tiles of 8 by 8 inches show a repeating geometric design. Use them in an alcove or behind the range for a focal point.
Match the pattern so shapes connect from tile to tile. Keep the rest of the kitchen quiet. Pick colors that echo cabinet paint.
Wipe with a damp cloth regularly. Choose products with a heat rating for the area behind a stove.
Pick two colors only so the pattern stays tidy. A black faucet balances the busy print.
Beveled Glass Look Squares
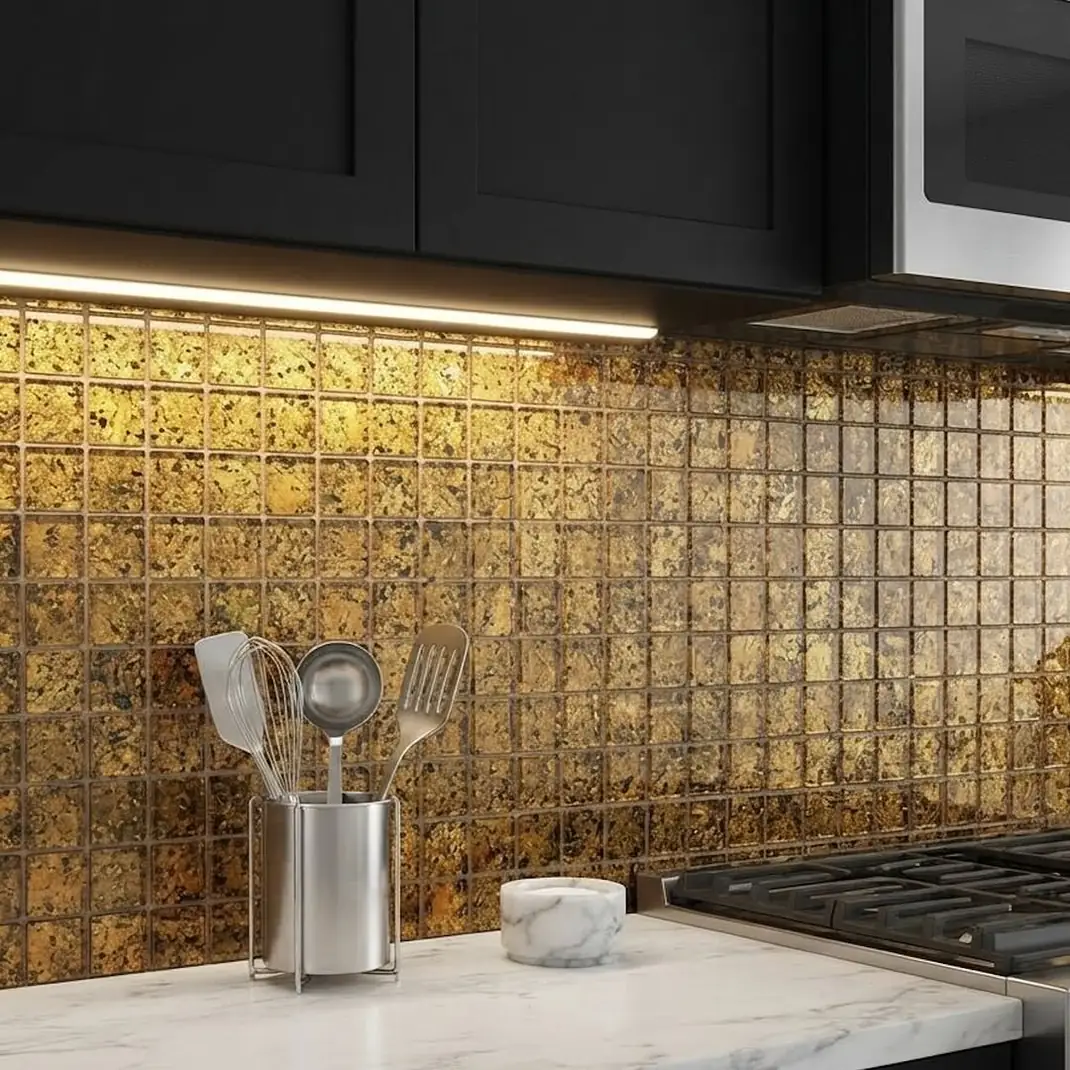
Beveled edges catch light and add subtle shine. Pale gray pieces of 3 by 6 inches suit white cabinets. Choose a reflective finish for a small kitchen.
Line up the bevels for a crisp look. Polish with a dry microfiber cloth to prevent smudges. Press edges firmly to avoid lifting.
Pair with polished fixtures. Handle sheets carefully to avoid creasing. Consider a white grout line printed on the sheet for a subtle frame.
Store extra tiles flat in a cool, dry place for repairs. Light colors keep a small kitchen bright, while darker shades add drama. Clean with a damp microfiber cloth to protect the gloss.
Navy Tile With Light Grout Lines

Navy tiles with light lines create a crisp, tailored look. Squares of 4 by 4 inches with printed lines read as real grout. Pick a matte navy that hides fingerprints.
Pair with white cabinets and brass accents. Keep lighting bright to prevent a heavy feel. Align the lines carefully so they run straight.
Wipe off splatters quickly to avoid staining. Seal edges to resist moisture near the sink.
Hang a pair of small pendant lights above the counter to reflect off the surface. Wooden cutting boards on display add warmth.
Vertical Stack Layout
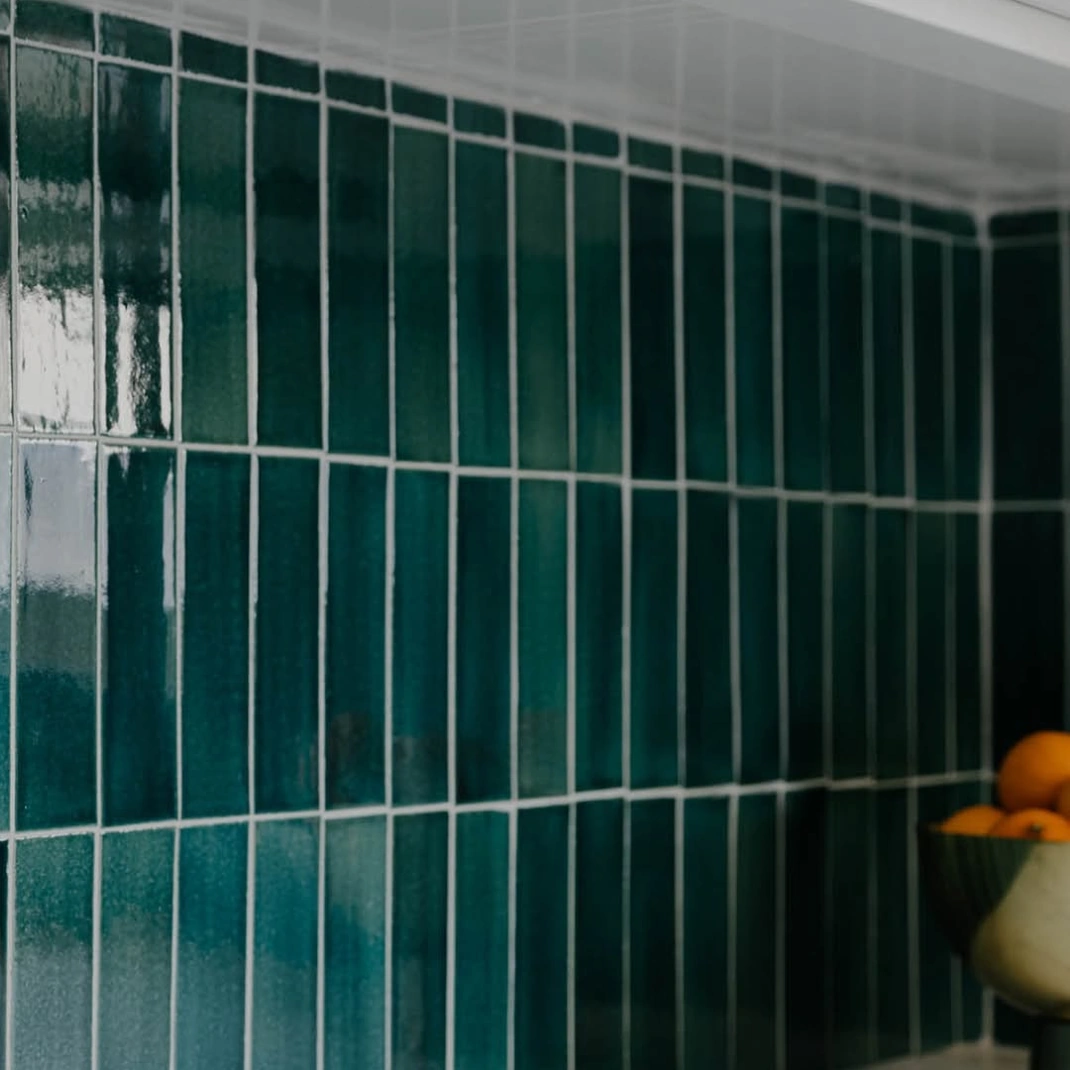
Stacking tiles vertically makes the ceiling feel taller. Rectangles of 3 by 12 inches stand upright in clean columns. Use a plumb line to keep columns straight.
Keep gaps even from top to bottom. Pick cream, white or pale gray for an airy look. Cut the last tiles flush with the ceiling.
Wipe with mild soap each week. Use matching caulk at the counter edge. This layout works well in narrow kitchens with low ceilings.
Pair with open shelves in a matching wood tone. Light paint on the neighboring walls keeps the look airy. Press each column firmly from the middle outward.
Short Backsplash Behind the Sink
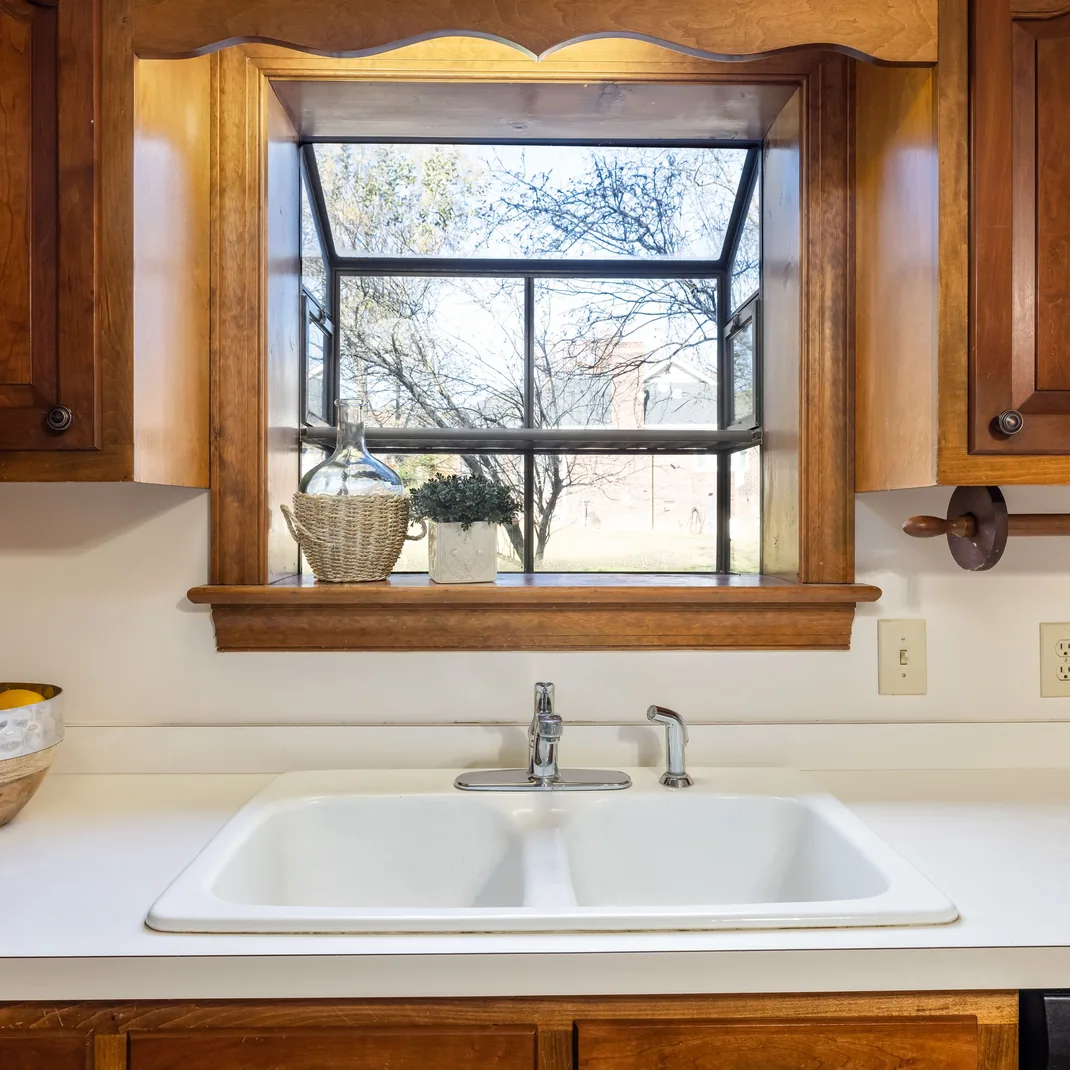
A short backsplash protects walls without taking over. A strip of about 4 inches high suits a sink wall. Use waterproof caulk along the counter to seal the join.
Pick tiles with a matte finish to hide water spots. Add a small ledge to hold soap and plants. Wipe the area daily to prevent mineral spots.
Check for loose edges every few months. Match the tile to the faucet finish.
Add a thin metal edge strip for a polished finish. A small window nearby keeps the area bright.
Coffee Bar Accent Panel
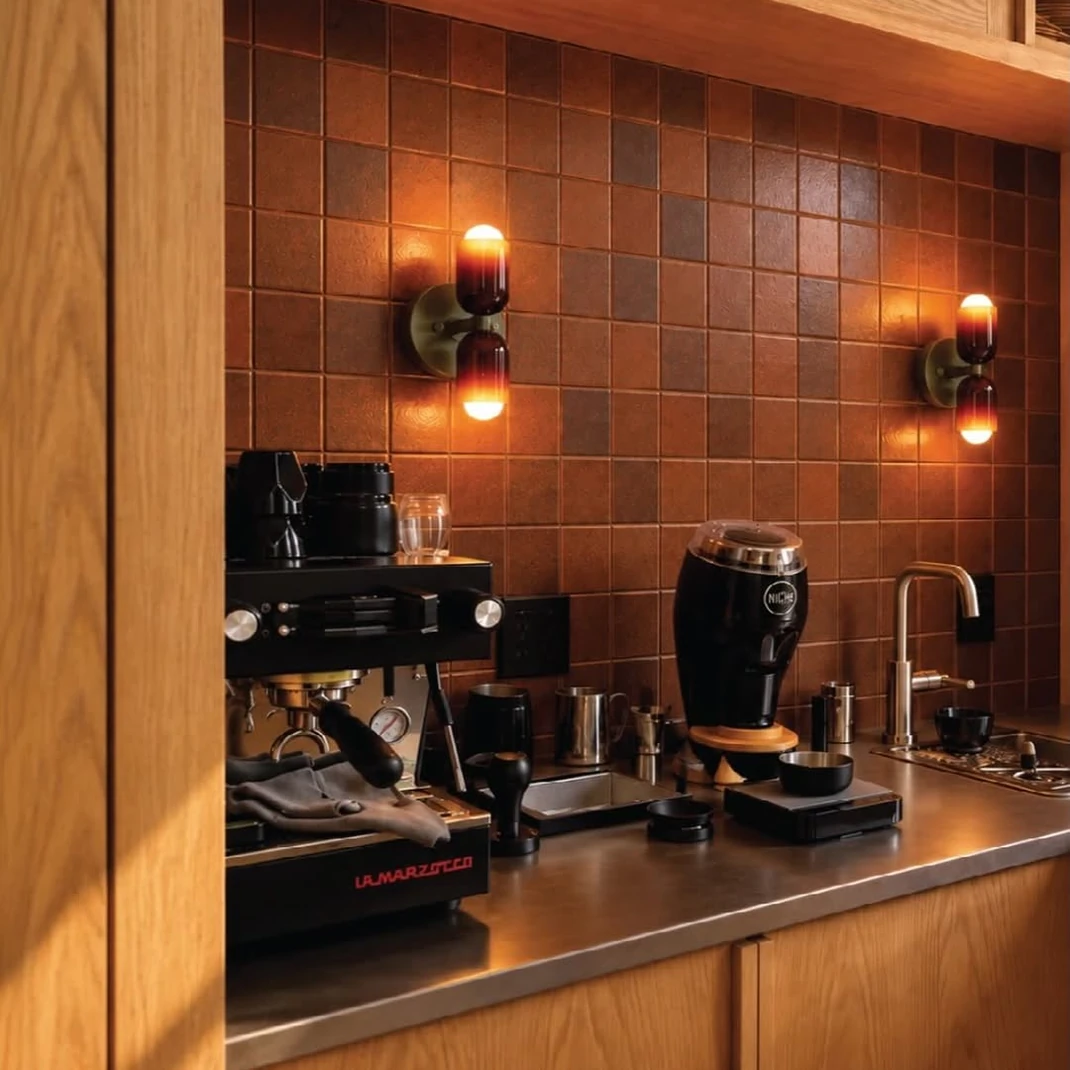
A small accent panel gives a coffee station its own look. A panel of 24 by 24 inches behind the kettle protects the wall from splashes. Pick a pattern that stands out from the main backsplash.
Mount hooks or a shelf directly over the panel. Use a tray for the machine and mugs. Dab spills right away with a dry rag.
Keep the cord on the counter and away from water. A coffee corner fits small layouts, as in small kitchen ideas.
Wall Prep for a Lasting Finish
Careful prep decides how long the tiles stay in place. Clean grease with a degreasing cleaner and rinse with water. Let fresh paint cure for at least four weeks before applying tiles.
Sand rough or textured walls so tiles lie flat. Fill holes and dents with spackle and sand smooth. Press a test tile in a hidden spot and wait a day.
Warm the tiles slightly if the room feels cold. Use a squeegee to press out bubbles. Wait a full day after cleaning so no moisture stays behind.
Renter Friendly Removal Plan
Peel and stick tiles suit rentals when they are removed with care. Warm each tile with a hair dryer on low heat for about 20 seconds. Peel slowly at a low angle to protect the paint.
Remove sticky residue with warm soapy water. Test a small patch first, because some paints lift with the tile. Check the lease for permission before applying.
Take photos of the wall before starting. Plan for a touch up with matching paint if needed. Keep leftover tiles to patch any spot that lifts later.