25 Fun Kitchen Wall Sticker Ideas for Instant Personality
A kitchen with bare walls feels unfinished, like a recipe missing its final seasoning. You cook there every single day, you gather there with people you love, and yet those empty stretches of paint rarely get the attention they deserve. Wall stickers change that story in an afternoon, bringing color, humor, and character to the hardest working room in your home.
The beauty of stickers lies in their freedom. Unlike paint or tile, they peel away cleanly whenever your taste evolves, which makes them perfect for renters, commitment phobes, and serial redecorators alike. A single sheet can turn a dull backsplash zone into a cheerful focal point, and a coordinated set can give the whole space a designer pulled together feel for less than the cost of a takeout dinner.
This collection gathers twenty five playful concepts that range from sweet and subtle to bold and hilarious. You will find fruity motifs, witty lettering, faux textures, and kid approved doodles, each one ready to stick, style, and enjoy. Pick the ones that match your personality, mix a few together, and watch your kitchen come alive.
1. Vintage Citrus Slice Decals
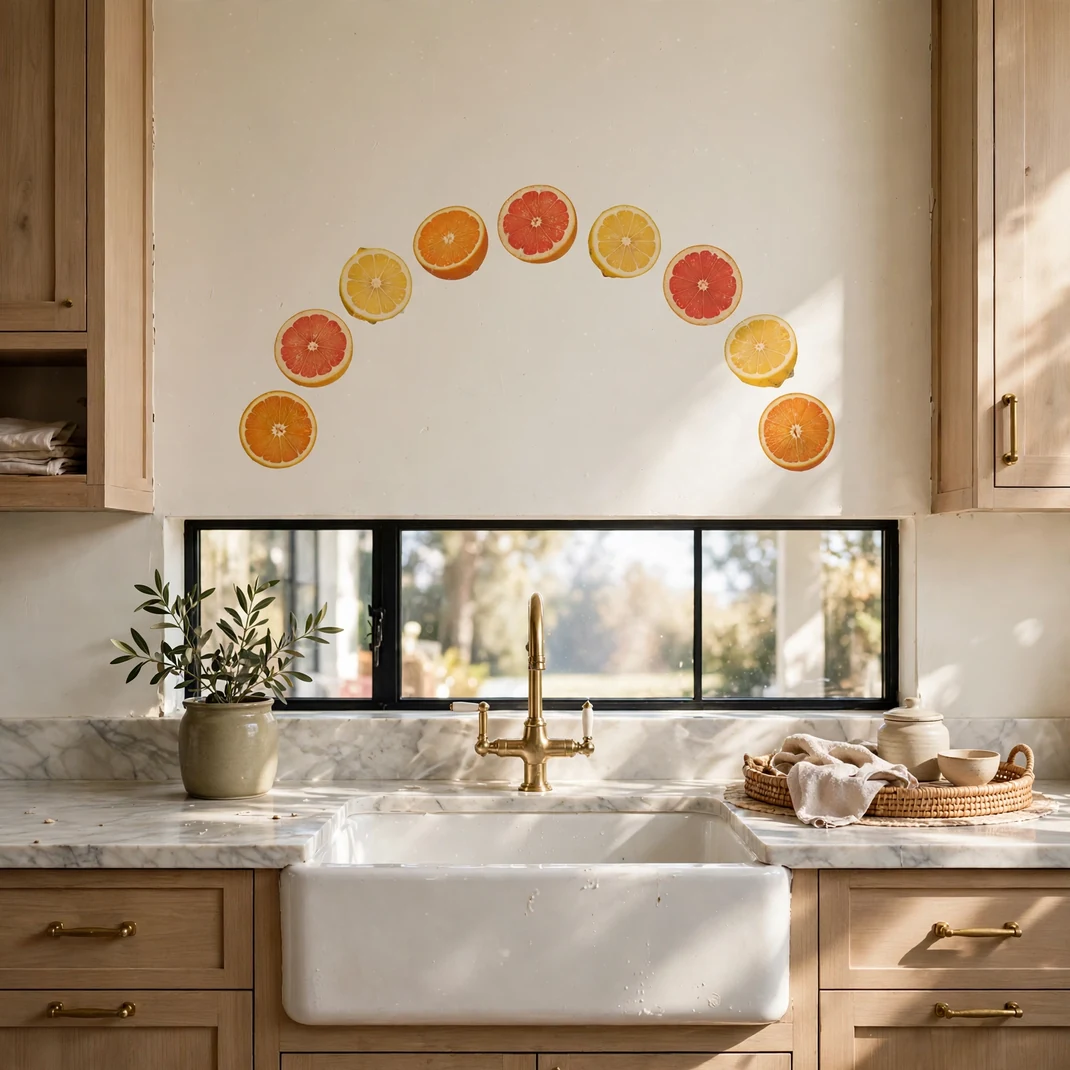
Nothing wakes up a tired kitchen faster than the juicy brightness of citrus. These vintage style cutouts show halved oranges, lemons, and grapefruits in warm retro tones that glow against cream paint. Scatter a few near the sink ledge or frame the space above your sink with a sunny arc of slices. The imagery feels nostalgic, like a postcard from a Mediterranean grove, yet the hues stay fresh and current. Guests will smile before the kettle even boils.
What You Need
- A sheet of vintage citrus cutouts
- A soft burnishing card
- A damp microfiber cloth
- Chalk for faint guide marks
How to Set It Up
Sponge the chosen patch using a damp cloth and allow it to dry fully. Hold the sheet up to the wall to preview the composition before peeling any liner. Release the first slice and glide it on with the burnishing card, easing from the hub to the rim. Continue adding fruit around it, stepping back often to judge the balance.
Pro Tip
Group the slices in odd numbers, since trios and quintets look more organic than pairs.
2. Coffee Cup Silhouette Row
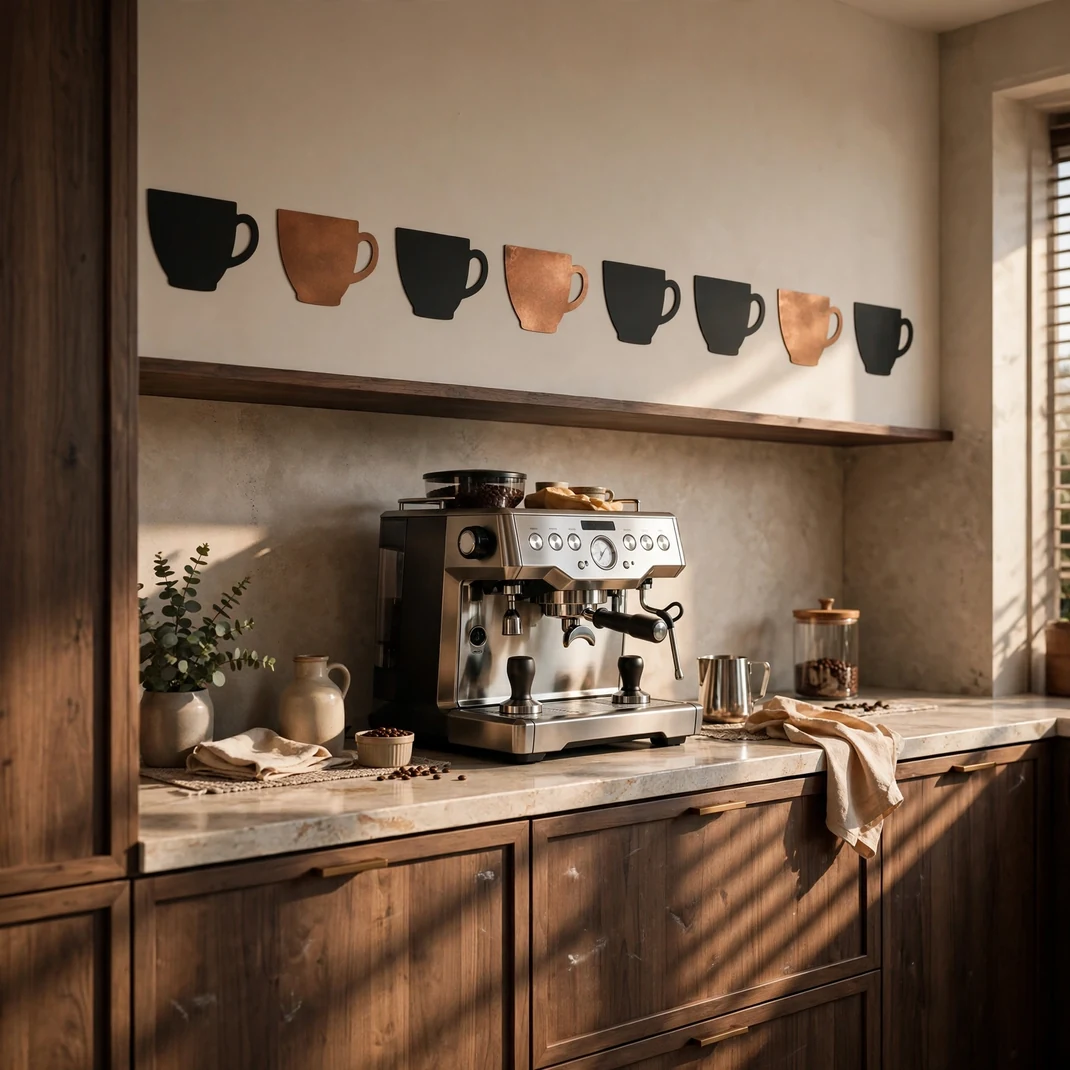
For the household that runs on espresso, a marching row of espresso cup silhouettes feels like a personal anthem. These sleek vinyls come in matte black, copper, or soft gray, and they line up beautifully above a brew station or along the bulkhead over your cupboards. Each cup shape differs slightly, from tiny demitasse to tall travel mug, so the rhythm never feels repetitive. The result reads as modern art with a wink toward your caffeine ritual. Early risers and night owls both approve.
What You Need
- A bundle of espresso cup silhouette vinyls
- A small spirit level
- Low tack masking tape
- An old gift card for burnishing
How to Set It Up
Fix a strip of masking tape in a horizontal run, verifying straightness with the spirit level. Arrange the cups on the table first to settle the order and gaps. Lift each decal and set it above the tape line, pushing out air with the gift card. Pull the tape free once the row sits true.
Pro Tip
Leave slightly uneven gaps between cups so the lineup feels hand placed rather than stamped.
3. Potted Herb Labels
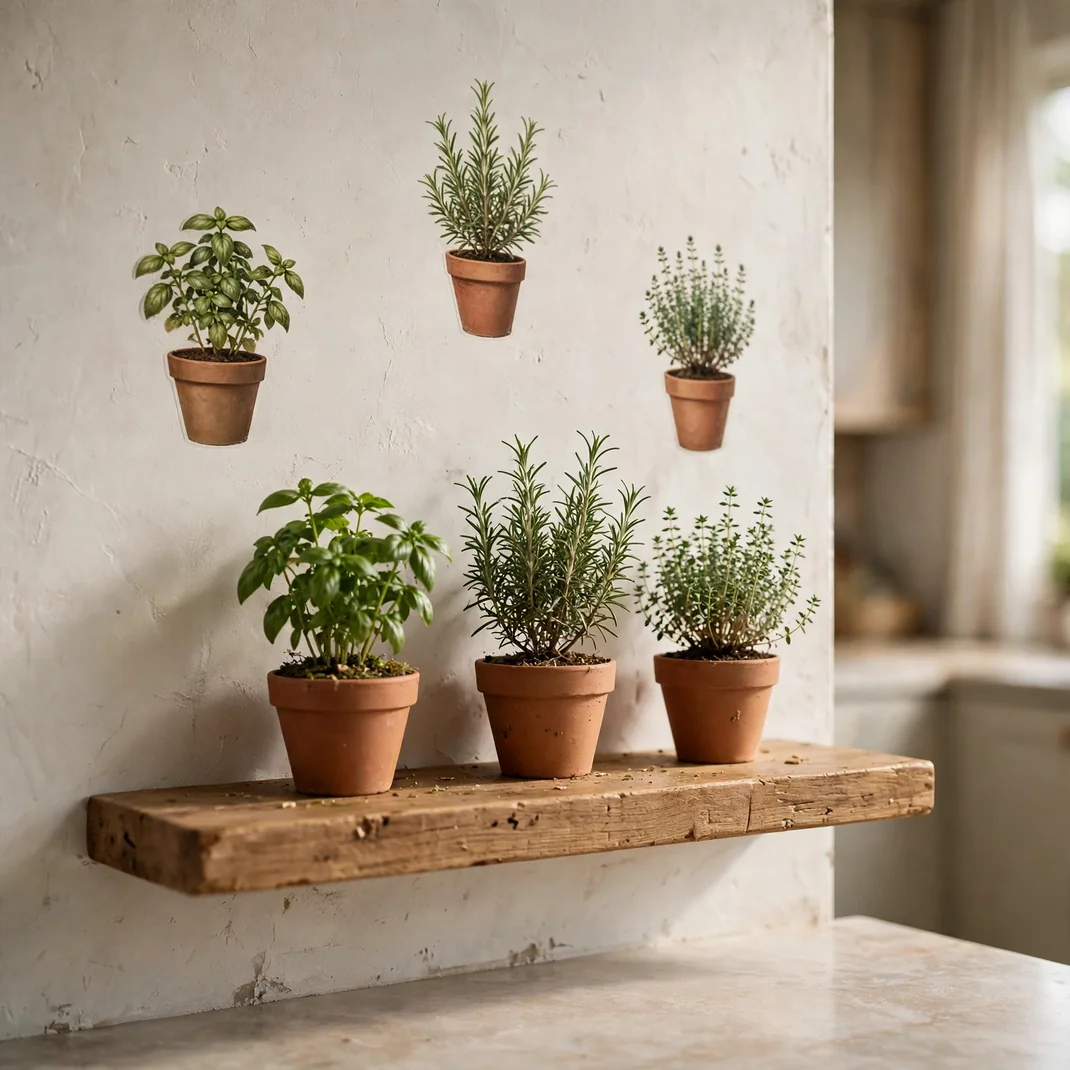
Turn a blank stretch beside your prep counter into a charming indoor garden with potted herb graphics. Basil, rosemary, thyme, and mint sit in terracotta pots with delicate hand drawn foliage spilling over the rims. They pair perfectly above real potted herbs, doubling your greenery with zero watering chores. The illustration style stays soft and botanical, adding life to nooks that never see sunlight. It is the easiest garden you will ever grow.
What You Need
- One page of herb pot decals
- A plastic flattening tool
- A moistened gentle cloth
- A ruler for alignment
How to Set It Up
Wipe the surface using the moistened cloth, then let it air dry. Trace a gentle arc lightly in chalk where the pots should sit. Separate the first pot from its liner and press it down, rubbing from the base upward into the leaves. Overlap a frond or two to link neighbors for a lush continuous feel.
Pro Tip
Set the tallest herbs at the outer ends so the row tapers gracefully inward.
4. Whimsical Chef Characters
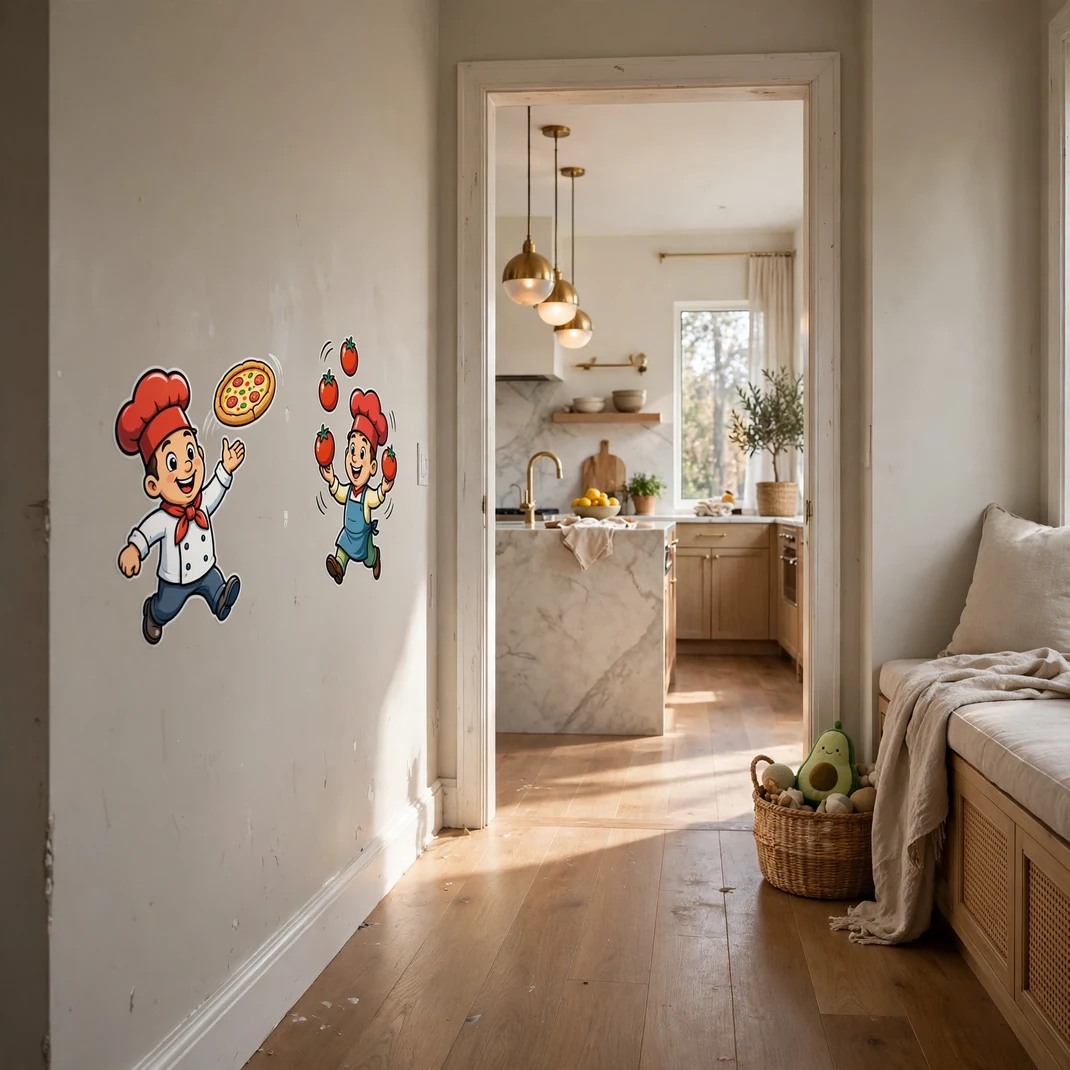
A parade of jolly cartoon chefs brings instant laughter to family cookeries. These characters toss pizza dough, juggle tomatoes, and stir giant pots, all rendered in cheerful colors that pop on neutral paint. Kids adore spotting new details every day, and adults secretly love them too. Place the crew at child eye level along a hallway wall or above the breakfast nook for maximum giggles. Dinner prep suddenly turns into a party.
What You Need
- A kit of chef character artwork
- A felt edged flattening paddle
- A dampened lint free wipe
- A step stool for high spots
How to Set It Up
Dust the target zone with the dampened wipe. Choose the largest chef as the centerpiece and decide the scatter around him. Unback each figure and fix it in place, gliding the paddle over the vinyl until bubbles vanish. Keep a few inches between characters and check the scene from across the room.
Pro Tip
Tilt one or two chefs at a slight angle to make the whole scene feel alive and in motion.
5. Farmhouse Rooster Motif
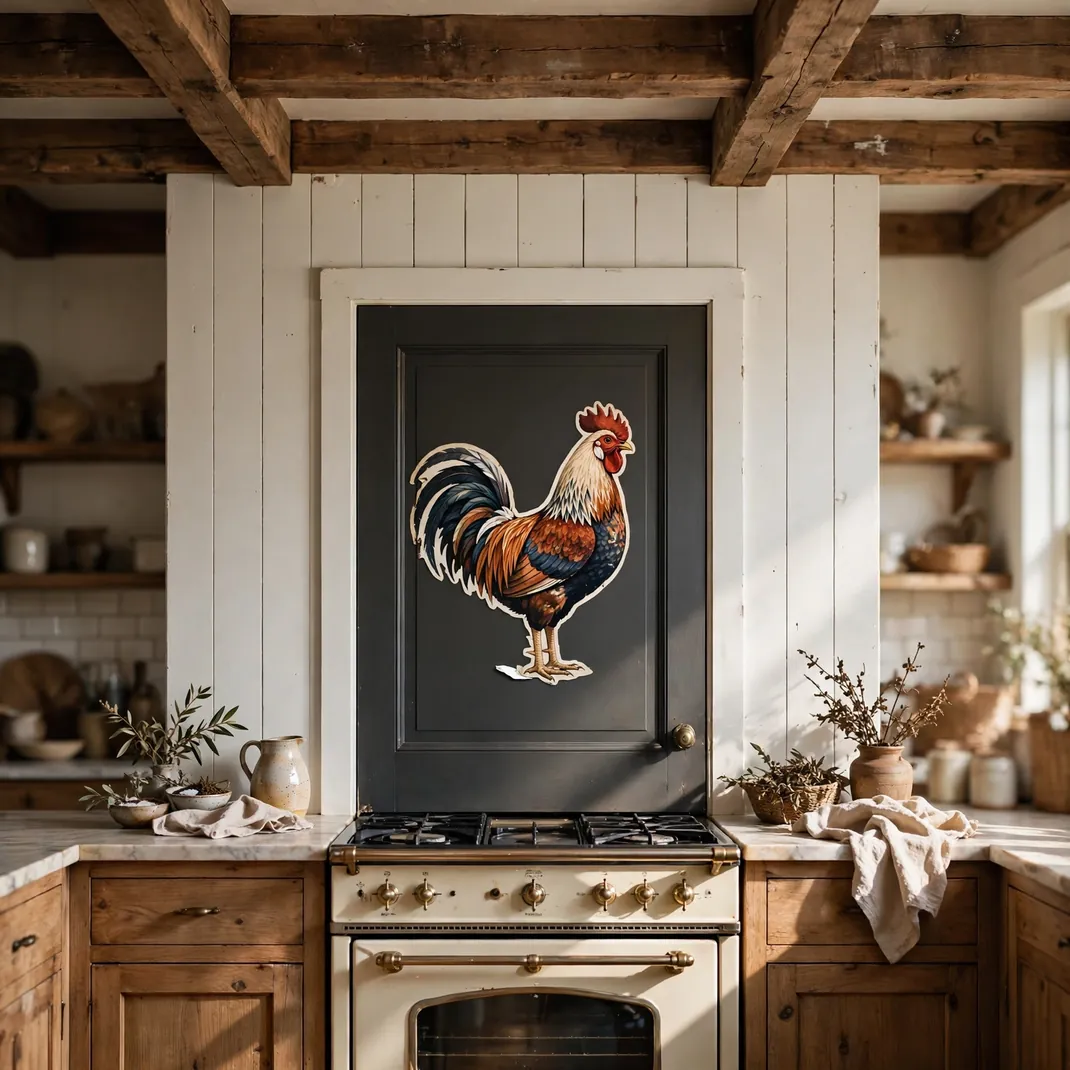
The proud rooster has ruled country cookeries for generations, and a decal version delivers that charm without hunting down antiques. Look for graphics with rich layered feathers in rust, navy, and cream that read almost like a mounted painting. One large rooster above the stove or centered on a larder door becomes a beloved heirloom style focal point. Smaller companion motifs like eggs or wheat stalks can trail along adjacent walls. It is countryside warmth with zero dusting required.
What You Need
- One jumbo rooster graphic
- A steel ruler
- A bubble vial level
- A rubber bladed burnisher
How to Set It Up
Find the visual hub of your accent wall and mark it faintly. Place the rooster and position it carefully, gliding from the body into the feather tips. Add the companion motifs around it, allowing generous breathing room. Seal every intricate edge with the rubber blade.
Pro Tip
Pick matte vinyl so the feathers catch light softly instead of glaring under spotlights.
6. Chalkboard Border Trim
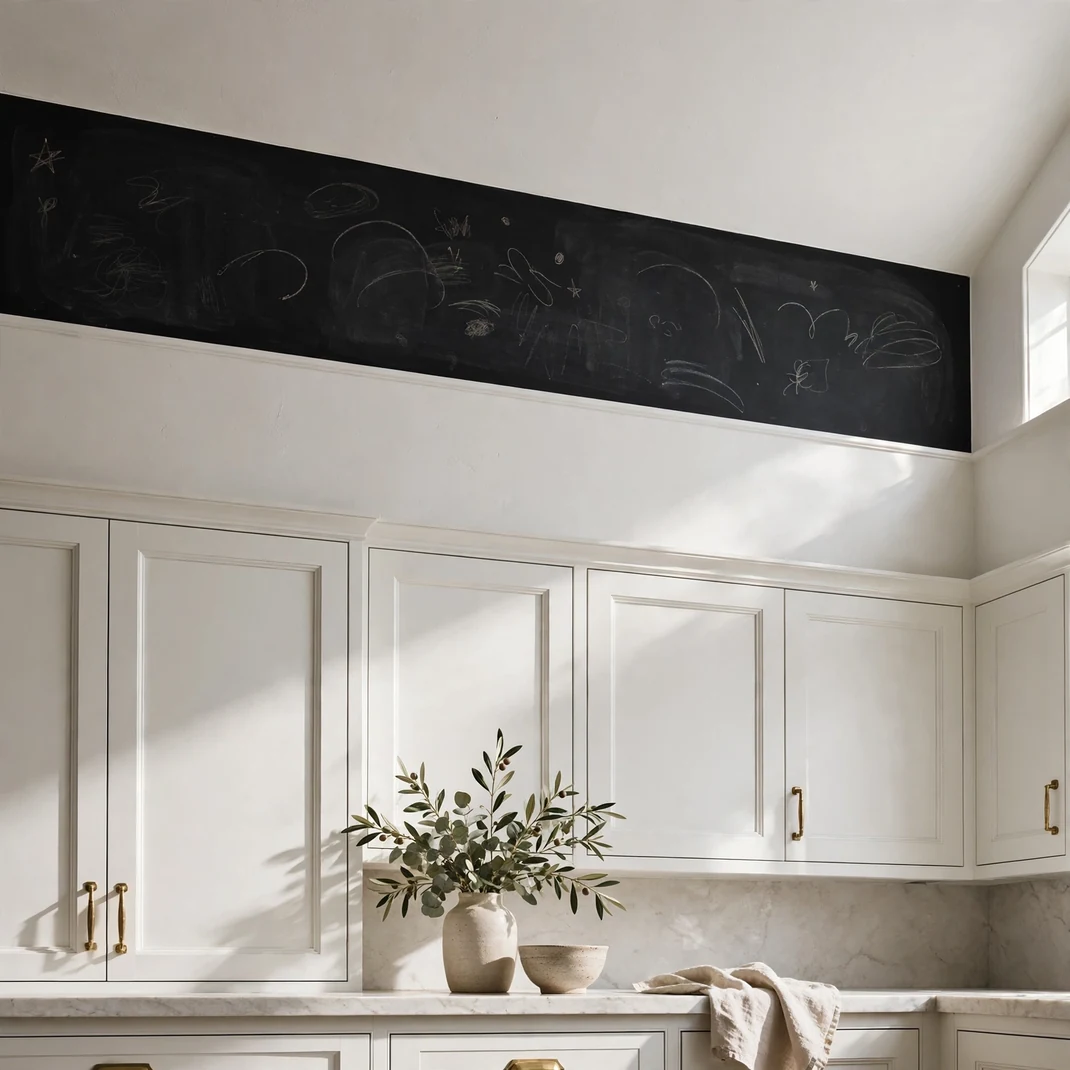
A chalkboard border running along the top of your walls turns the whole food prep area into a writable canvas. Doodle the evening menu, leave love notes, or let kids practice spelling while you chop vegetables. The deep black band also adds striking contrast, grounding light cabinetry and making white walls feel intentional. Unlike real chalkboard paint, the decal version lifts off cleanly when you move. Creativity joins the decor.
What You Need
- One roll of chalkboard border trim
- A laser line projector
- Sharp scissors
- A vinyl glider tool
- Dust free chalk markers
How to Set It Up
Measure the wall length and cut the trim with a touch extra for turns. Fix the first length along the laser line, easing it down steadily as you unroll. Butt the miter joints neatly and snip away the surplus. Rub chalk over the whole band once, then wipe it clean before writing.
Pro Tip
Let your first chalk marker message cure overnight so the colors stay vivid for weeks.
7. Watercolor Vegetable Art
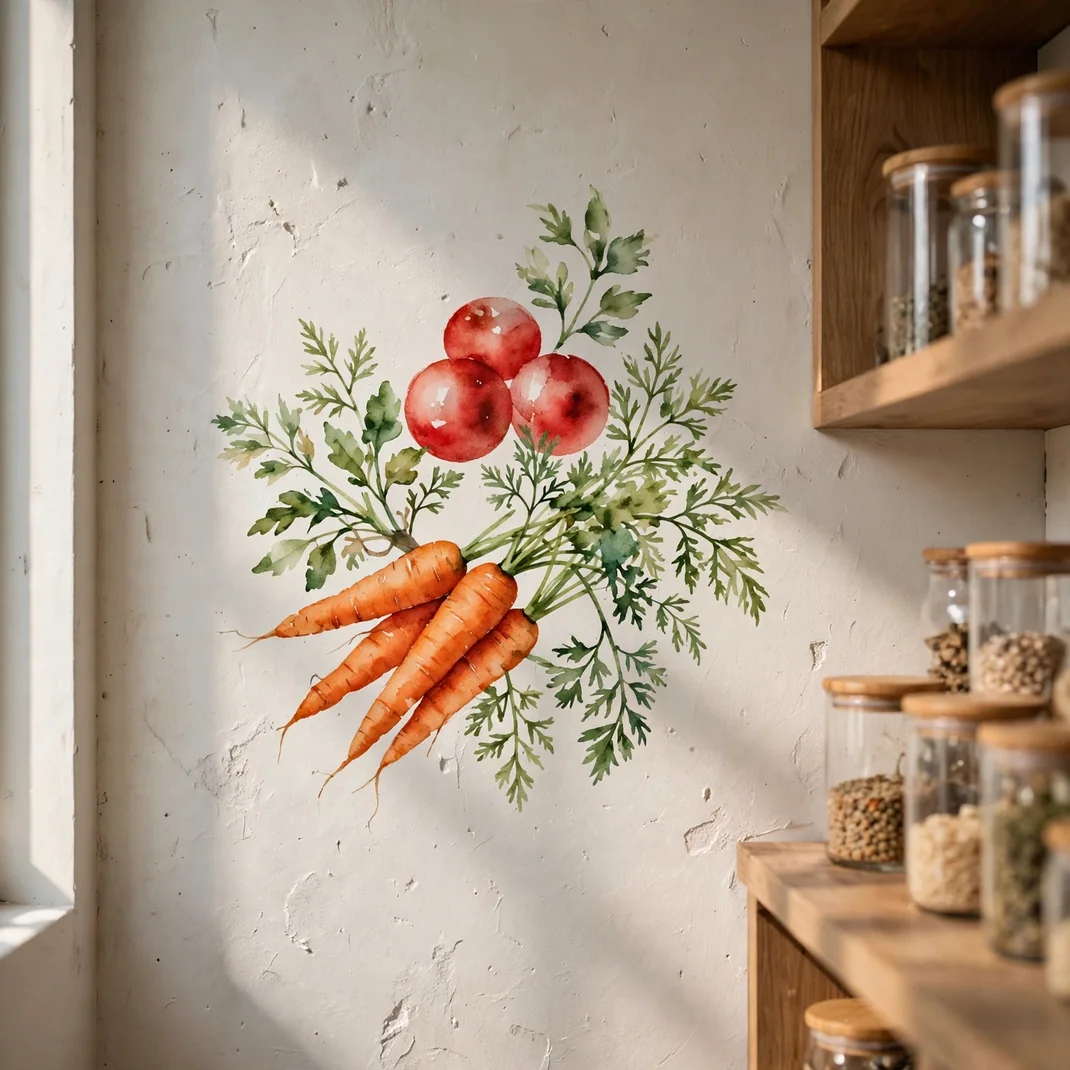
Soft watercolor vegetables bring an atelier feeling to the space where you actually cook. Tomatoes blush in translucent reds, carrots glow in layered oranges, and leafy greens shimmer with clear brushwork. These prints mimic real brushwork so convincingly that guests lean in for a closer look. Stage a loose cluster near the storage shelves or float one large artichoke above the range hood. The palette stays earthy and appetizing, never loud.
What You Need
- A kit containing watercolor vegetable prints
- A soft block applicator
- A barely damp sponge cloth
- A crayon for sketching lines
How to Set It Up
Pass the sponge cloth over the area and draft the plan in a notebook first. Set the largest vegetable as the hero piece, then surround it with petite companions. Press each print gently since watercolor coatings reveal trapped air easily. Pause often to keep the composition feeling organic.
Pro Tip
Surround the cluster with generous empty space so each vegetable reads like a museum print.
8. Retro Diner Lettering
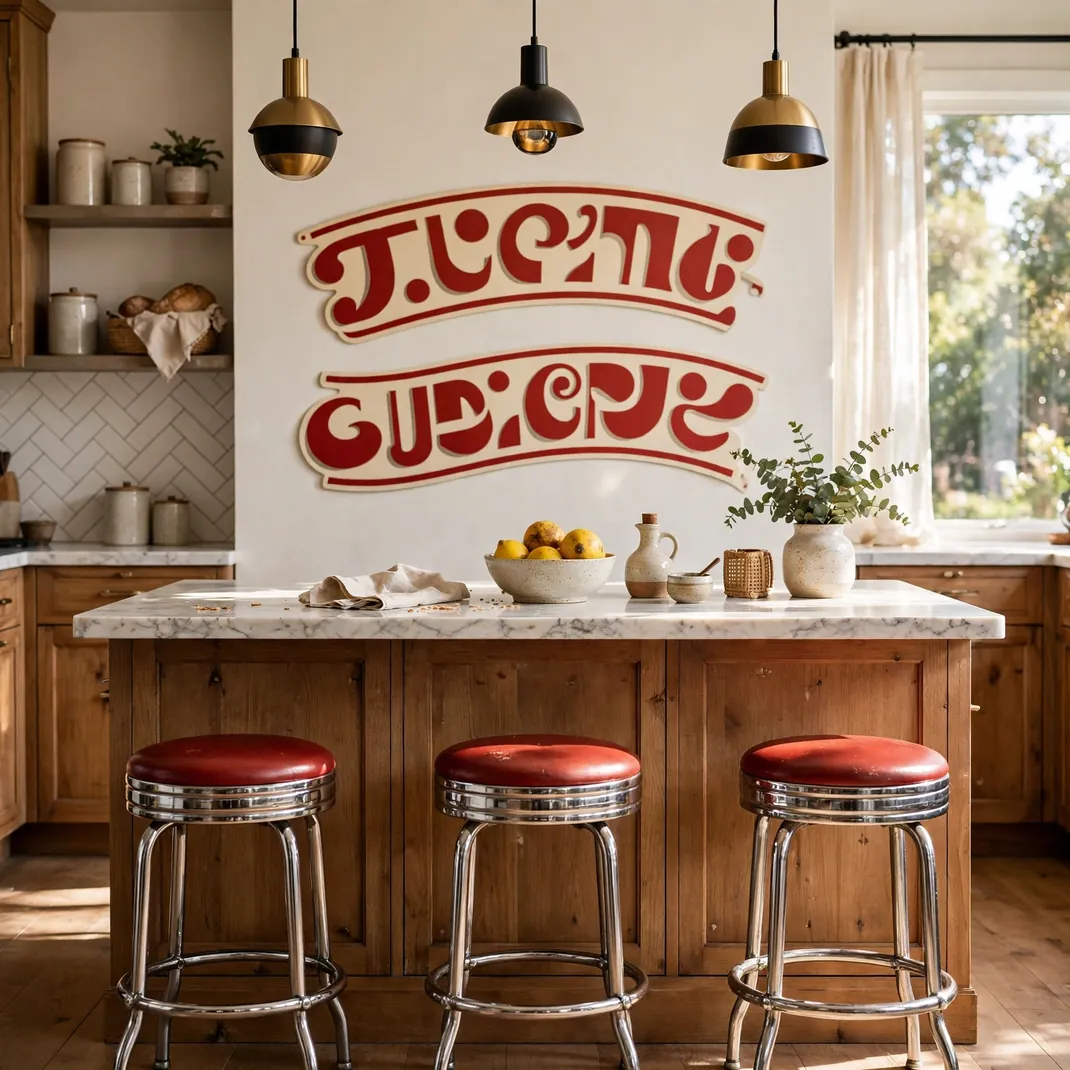
Channel the golden age of soda fountains with bold retro lettering that spells out diner favorites. Words like EAT, YUM, and PIE appear in cherry red and cream with playful drop shadows, instantly setting a fun nostalgic tone. These transfers shine above a breakfast bar or flanking a doorway, greeting everyone like a friendly neon sign. The typography does all the decorating work, so surrounding walls can stay simple. Milkshakes optional but encouraged.
What You Need
- An assortment of retro diner transfers
- A long box beam level
- Drafting tape for alignment
- A flat plastic scraper
How to Set It Up
Lay the words on the rug to lock in the formation. Run drafting tape on a straight course, verified with the box beam level. Mount one word at a time, working the scraper firmly around every letterform. Strip the tape away and admire the rhythm.
Pro Tip
Pair one large hero word with two petite ones for a layout that feels designed.
9. Hanging Utensil Illustrations
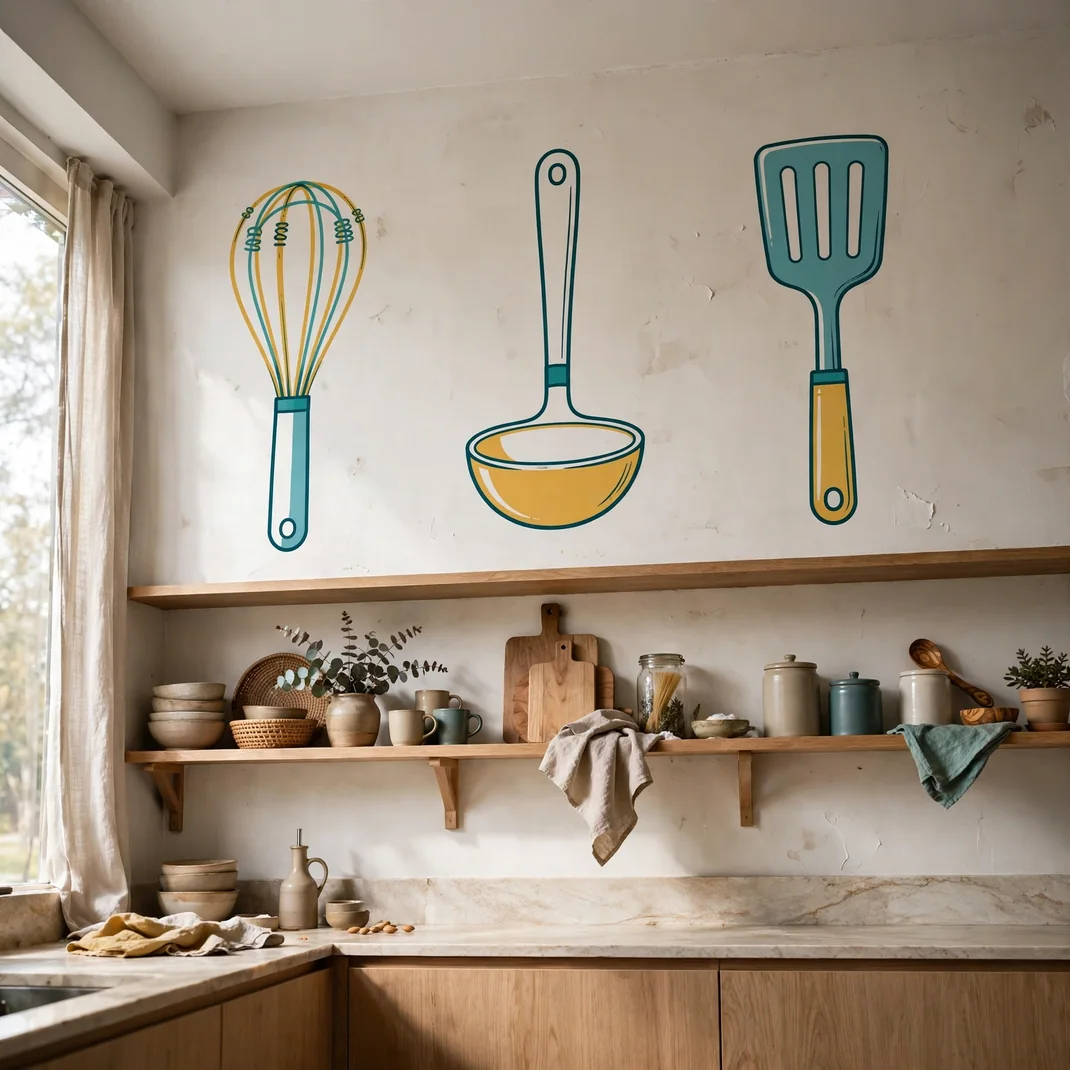
Oversized illustrated utensils create a visual punch that real tools never could. Think giant whisks, ladles, and spatulas drawn in clean contemporary lines with pops of mustard, teal, or coral. They look fantastic marching in a row over open shelving or clustered beside the range where cooking happens. The scale makes them read as art rather than clutter, and the flat finish keeps sightlines calm. Form meets function in the most delightful way.
What You Need
- A collection of utensil art pieces
- A yardstick for spacing
- A laser level line
- An edge presser tool
How to Set It Up
Project a straight baseline with the laser. Decide the order on the sideboard, alternating tall and short silhouettes. Hoist each piece into place and drive the edge presser from top to bottom. Sight along the row from the doorway to confirm the straightness.
Pro Tip
Echo one utensil color in a nearby towel or rug to tie the whole vignette together.
10. Eucalyptus Branch Sprays
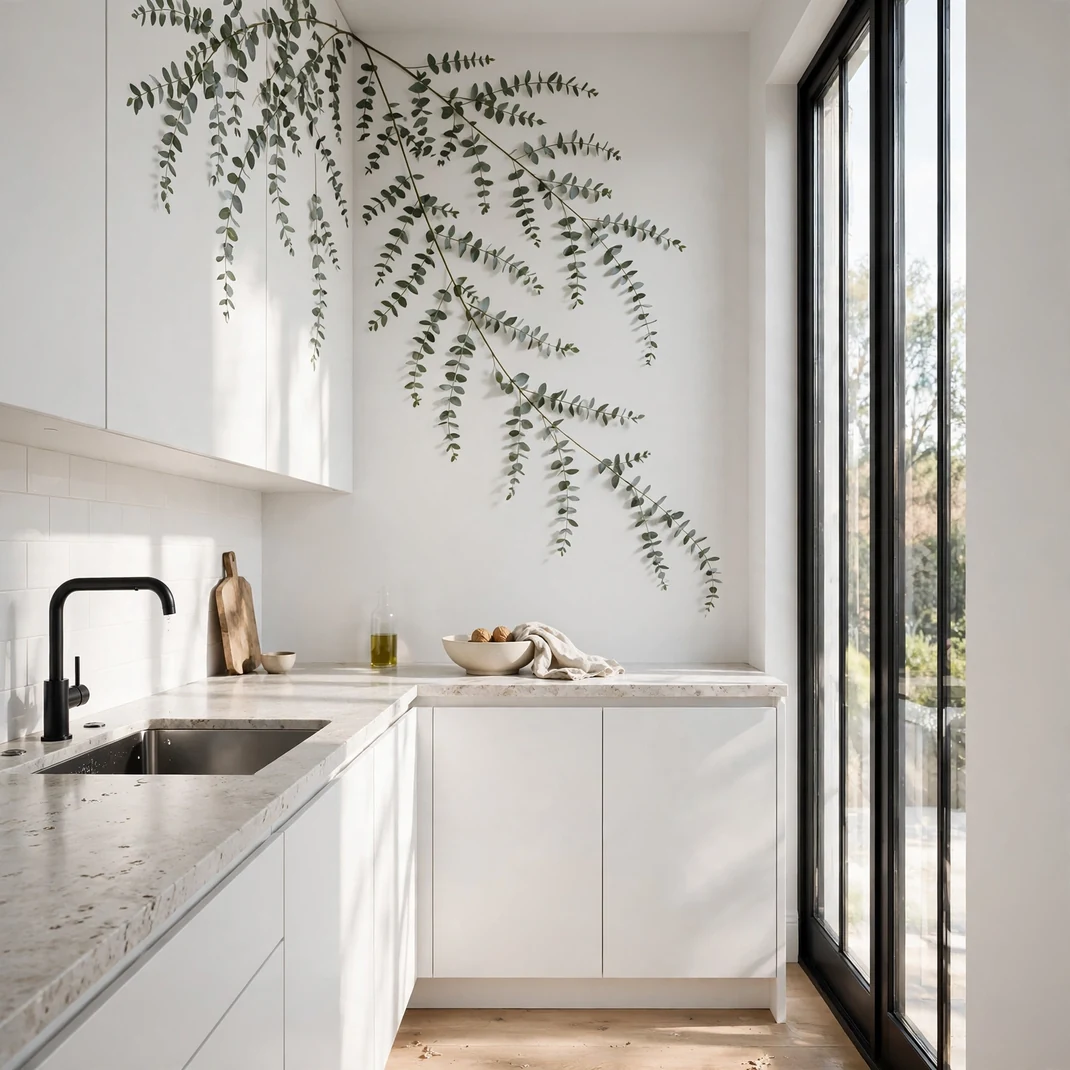
Delicate eucalyptus sprays drift over the plaster like a breath of fresh air. The silvery green leaves bring calm and a hint of spa luxury to busy meal zones. Drape them from upper edges, let them trail where daylight pours in, or encircle a mirror with arching stems. Their fine lines add texture while keeping even compact galleys airy. The effect is serene, leafy, and quietly sophisticated.
What You Need
- One folio of eucalyptus spray illustrations
- An electrostatic cloth
- A fingertip burnisher
- Charcoal for direction marks
How to Set It Up
Flick dust off the plaster with an electrostatic cloth. Sketch the flow direction for each spray in charcoal before peeling anything. Start at the top and let the branches cascade naturally downward. Rub the tiny leaves tenderly with the fingertip burnisher and layer two sprays for depth.
Pro Tip
Point the sprays at your main light source so the leaves seem to reach for the sun.
11. Playful Fruit Patterns
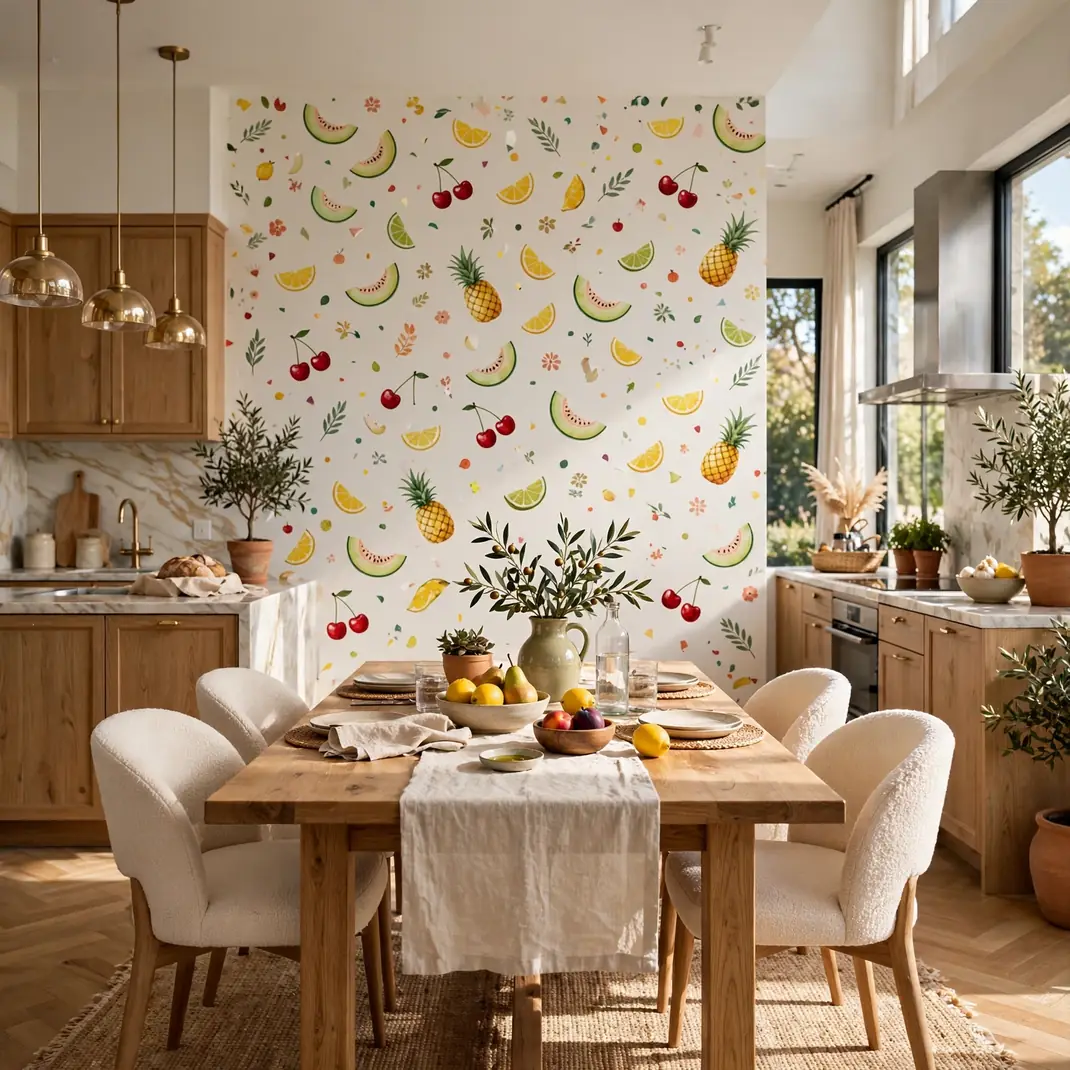
A confetti of cherries, pineapples, and melon slices turns any backdrop into a celebration. These images work brilliantly as a full feature wall behind a dining table or as a cheerful band above wainscoting. The tones stay juicy and saturated, holding their own even in sun filled rooms. Little ones gravitate to the playful figures while the overall pattern keeps things stylish. Happiness, quite literally stuck on the wall.
What You Need
- Several sheets of fruit pattern images
- A sturdy creasing blade
- Sharp trimming shears
- A level for row starts
How to Set It Up
Begin at the most visible end and progress in horizontal rows. Butt each sheet edge to edge, chasing bubbles to the seams. Snip precise openings around outlets and switches. Keep stepping back to ensure the motif flows evenly over the expanse.
Pro Tip
Buy one sheet beyond your measurements so pattern matching at seams stays flawless.
12. French Bistro Script
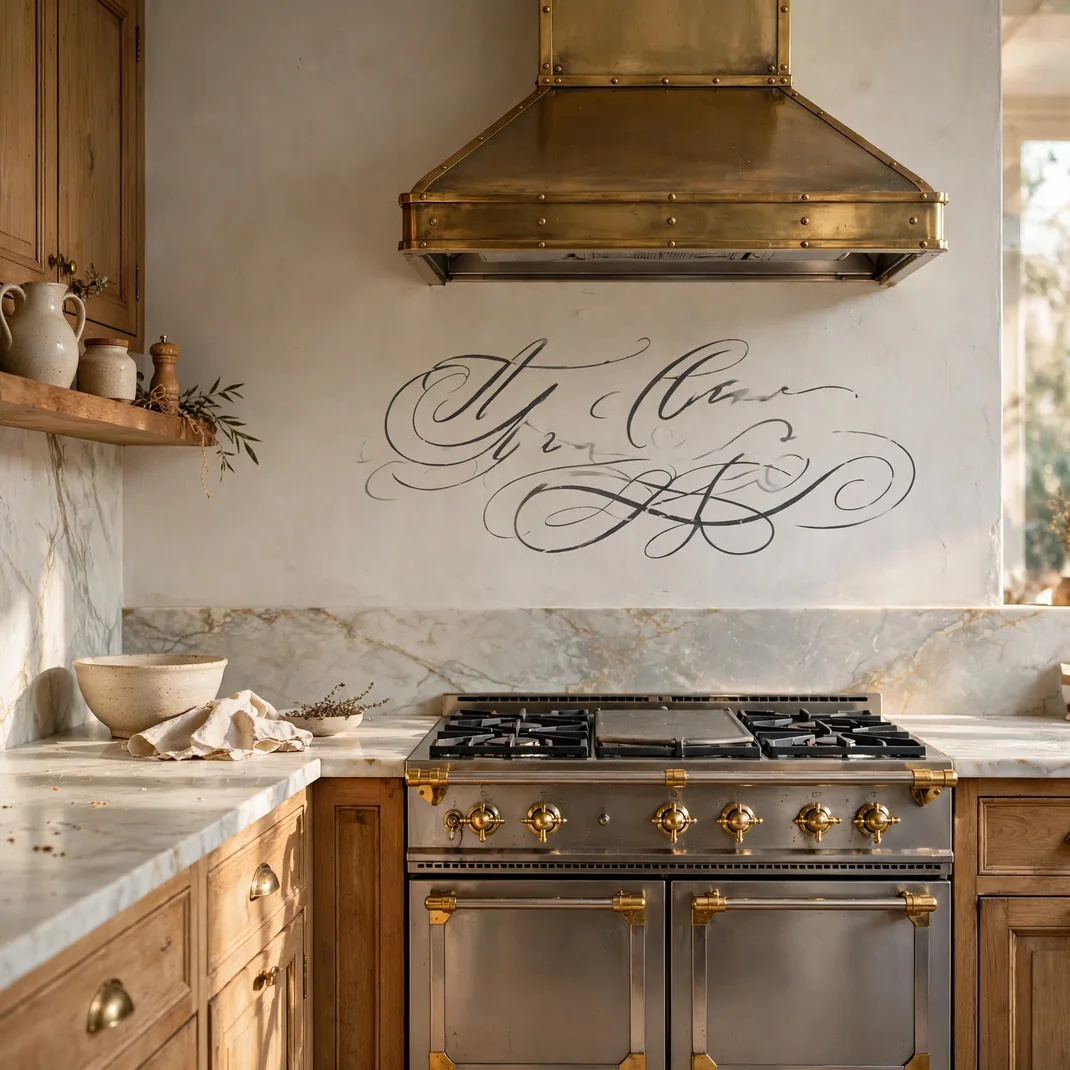
A whisper of French script lends instant café romance to your culinary corner. Elegant words like Bon Appétit and Boulangerie curl over the paint in flowing letterforms that feel directly from a Parisian side street. These accents elevate simple white walls into something worthy of a croissant and coffee morning. Place them over the range or near a cozy banquette for maximum charm. Très chic, zero airfare needed.
What You Need
- A selection of Parisian script accents
- A short torpedo level
- Removable washi strips
- A soft felt smoother
How to Set It Up
Lift the script into place with washi strips to test the height. Trace a faint baseline once the spot feels right. Release the script slowly, guiding the felt smoother along every curve. Remove the strips and enjoy your private bistro.
Pro Tip
Flank the script with a small framed print or a candle sconce to complete the Parisian vignette.
13. Mason Jar Pantry Tags
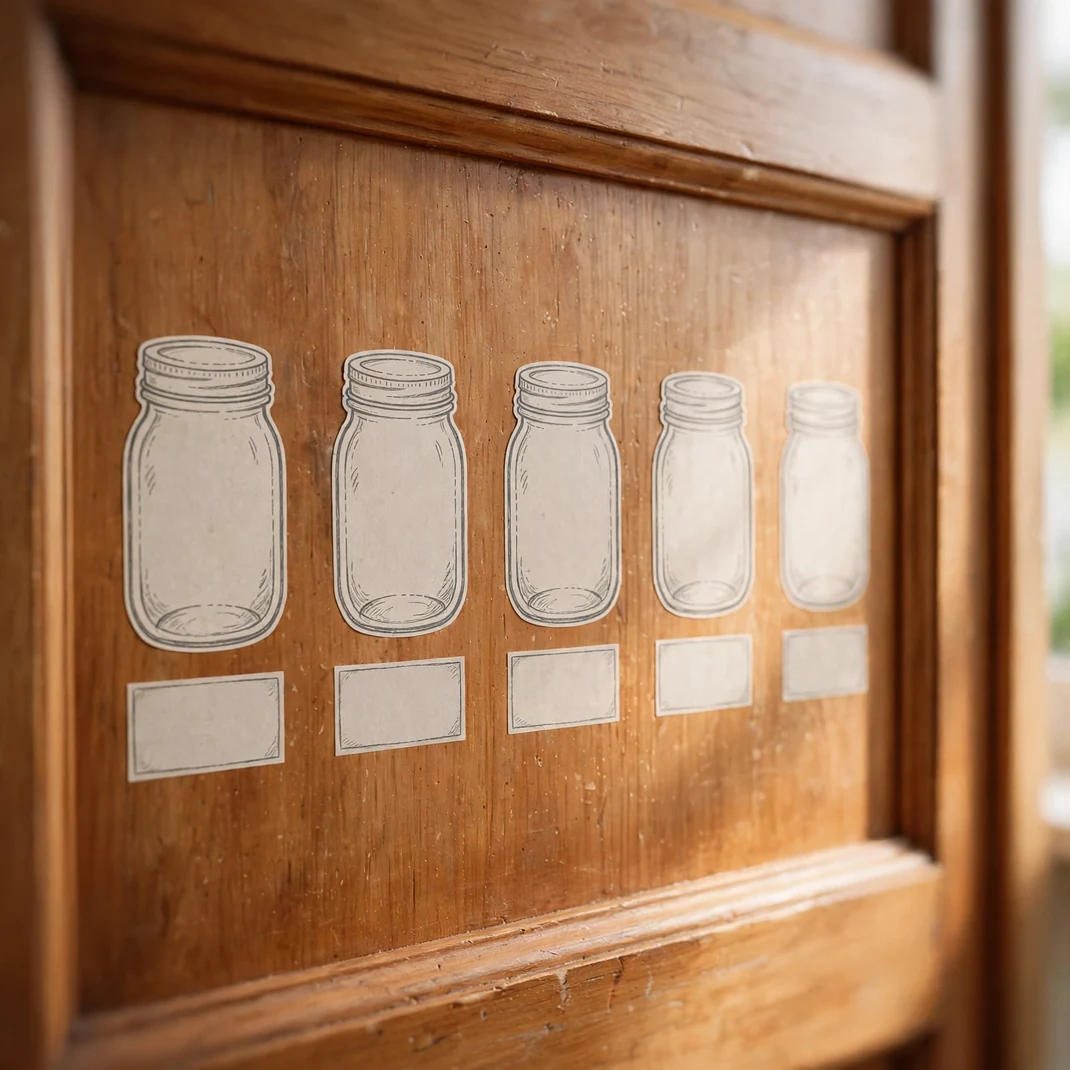
Mason jar appliqués with writable labels bring farmhouse order to pantry walls and cabinet sides. Each jar drawing looks hand sketched in soft gray ink, ready for you to name its contents in your own handwriting. Line them along the inside of a pantry door or above open grain storage for a market fresh look. The system keeps staples neat and pretty at once. Organization has never looked this adorable.
What You Need
- A grouping of preserving jar appliqués
- Fine tip chalk pens
- A lint free cloth
- A firm squeegee card
How to Set It Up
Draw a dry cloth across the surface to clear the label zone. Map jar positions with even gaps in a journal first. Fix each jar onto the wall, sweeping the squeegee card from core to rim. Rest the vinyl for an hour, then letter the contents with chalk pens.
Pro Tip
Sort jars by ritual, baking staples together and morning goods together, so the wall works wonderfully.
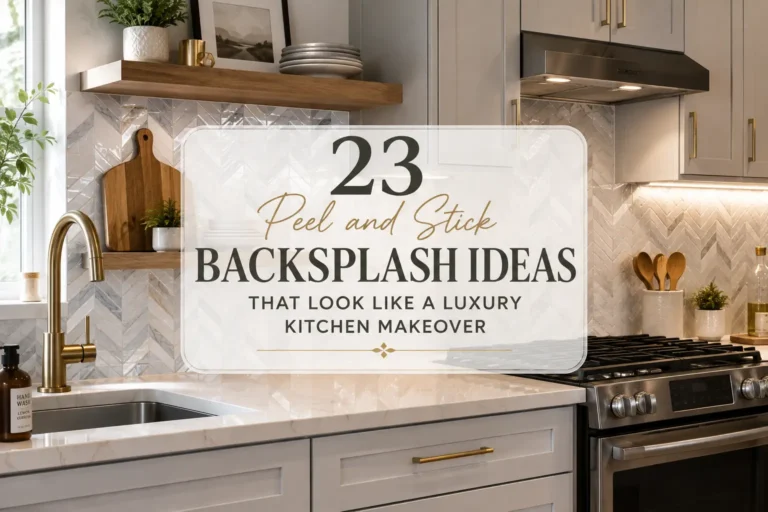
14. Faux Tile Backsplash
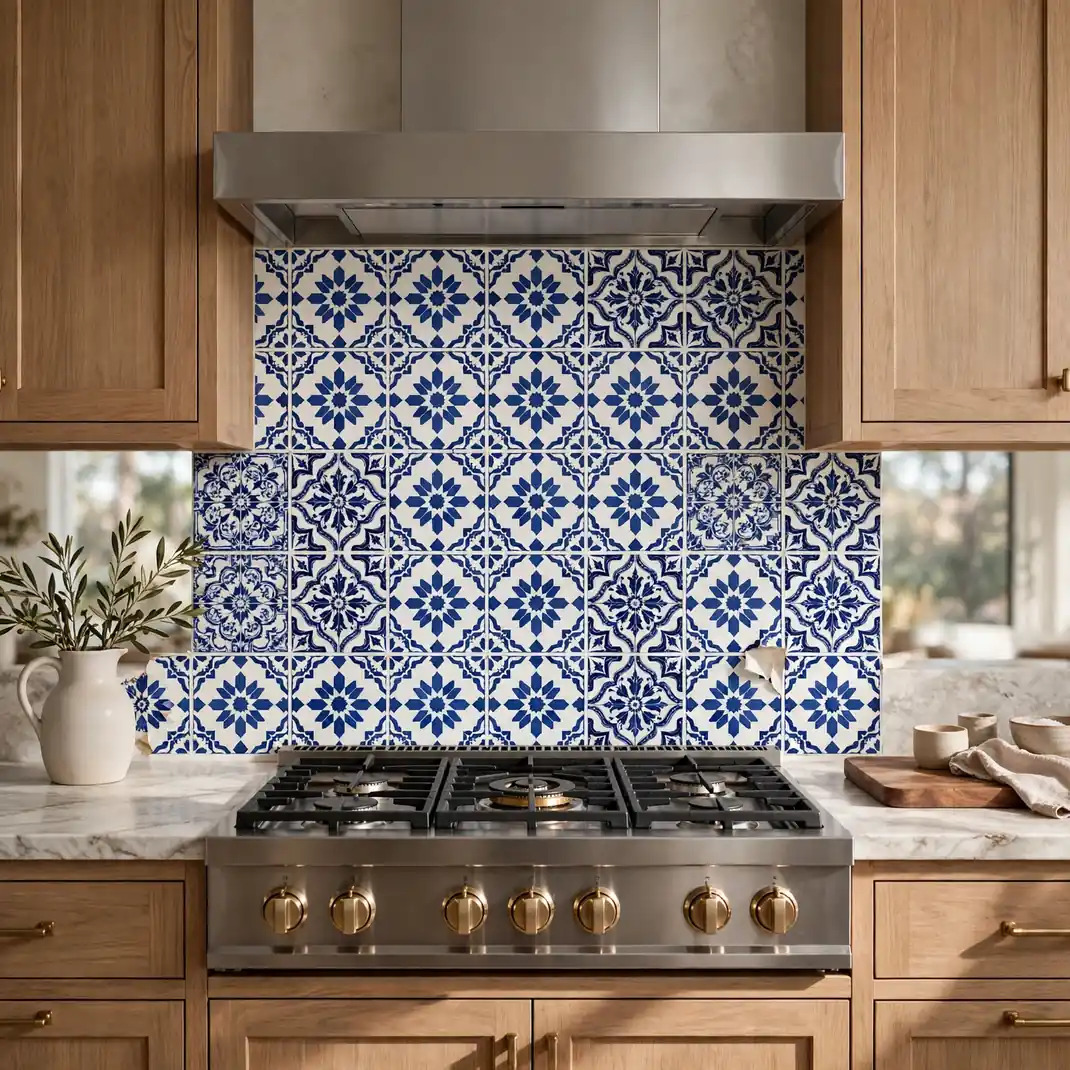
Get the look of hand painted tile for a fraction of the cost and effort with faux tile stickers. Moroccan stars, Portuguese azulejos, and classic subway patterns all come as peel and stick squares that fool the eye completely. They transform a plain painted splash zone into a designer moment in a single afternoon. Renters rejoice, since the whole installation releases, leaving paint unharmed.
What You Need
- Enough faux tile sticker squares
- A long aluminum level
- A firm rubber float
- A snap blade for trimming
- A steel gauging ribbon
How to Set It Up
Measure the zone and chalk a hub cross as your starting point. Lay the first square dead center, keeping its edges true with the level. Expand row by row, kissing each edge tight to its neighbor. Slice outlet openings with the blade for a tailored fit.
Pro Tip
Launch from the star spot so any fiddly cuts hide in the least noticed corners.
15. Cute Avocado Faces
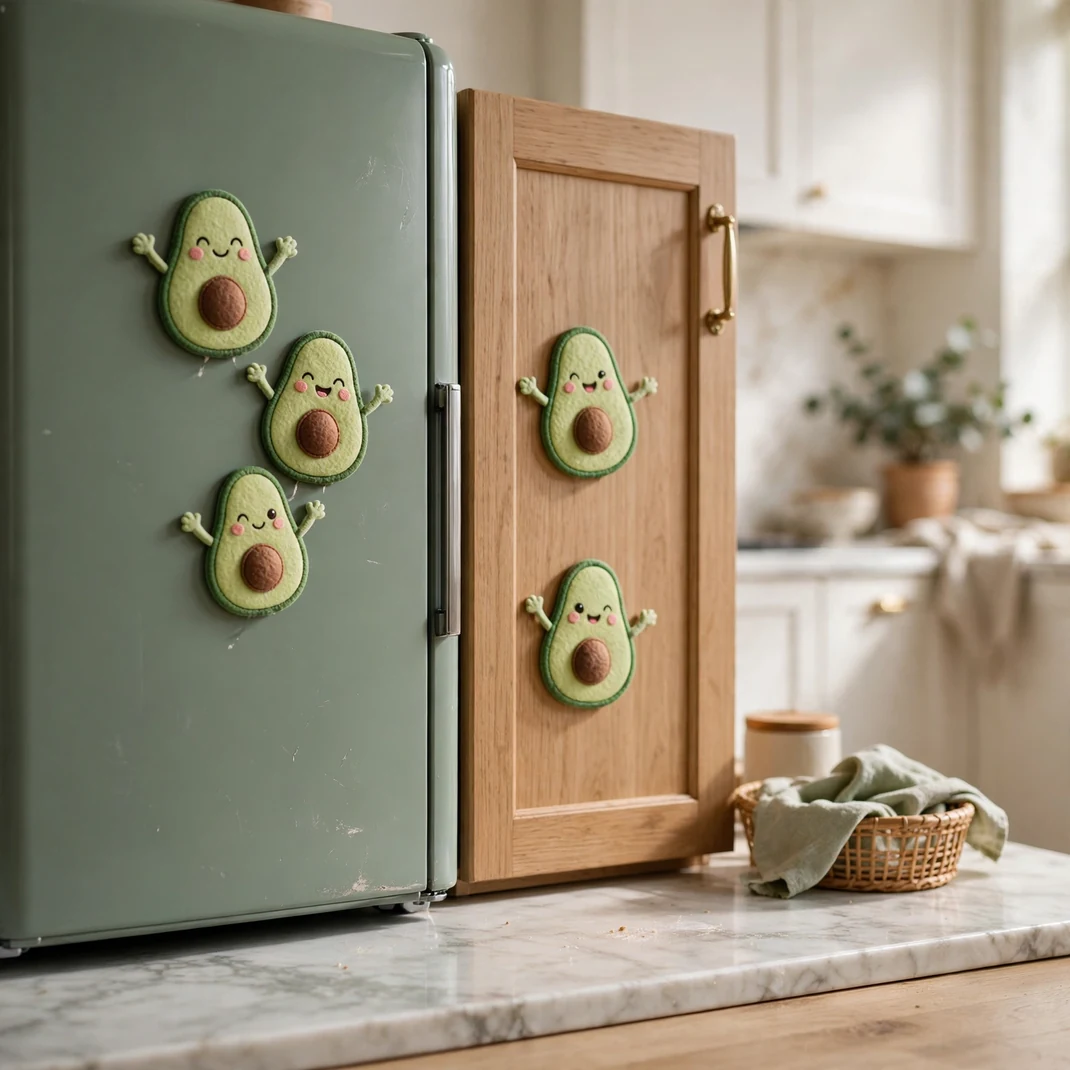
Smiling avocado halves with rosy cheeks bring pure joy to sunrise nooks. These kawaii style decals show happy pits, tiny arms waving, and expressions so sweet they border on irresistible. Stick a cluster of them within a cupboard door, above the toaster, or trailing up the fridge side. Youngsters will name each one within minutes. Guacamole never had such jolly ambassadors.
What You Need
- A pack of avocado face clings
- A mini rubbing tool
- A dry gentle cloth
How to Set It Up
Rub the chosen spot using the dry gentle cloth until dust free. Outline a loose bunch grouping with mixed sizes and expressions. Free each avocado and pat it down, guiding the mini tool over the curved halves. Cock a few faces at jaunty angles for personality.
Pro Tip
Tuck one avocado peeking around an edge for a delightful surprise discovery.
16. Rustic Market Quotes
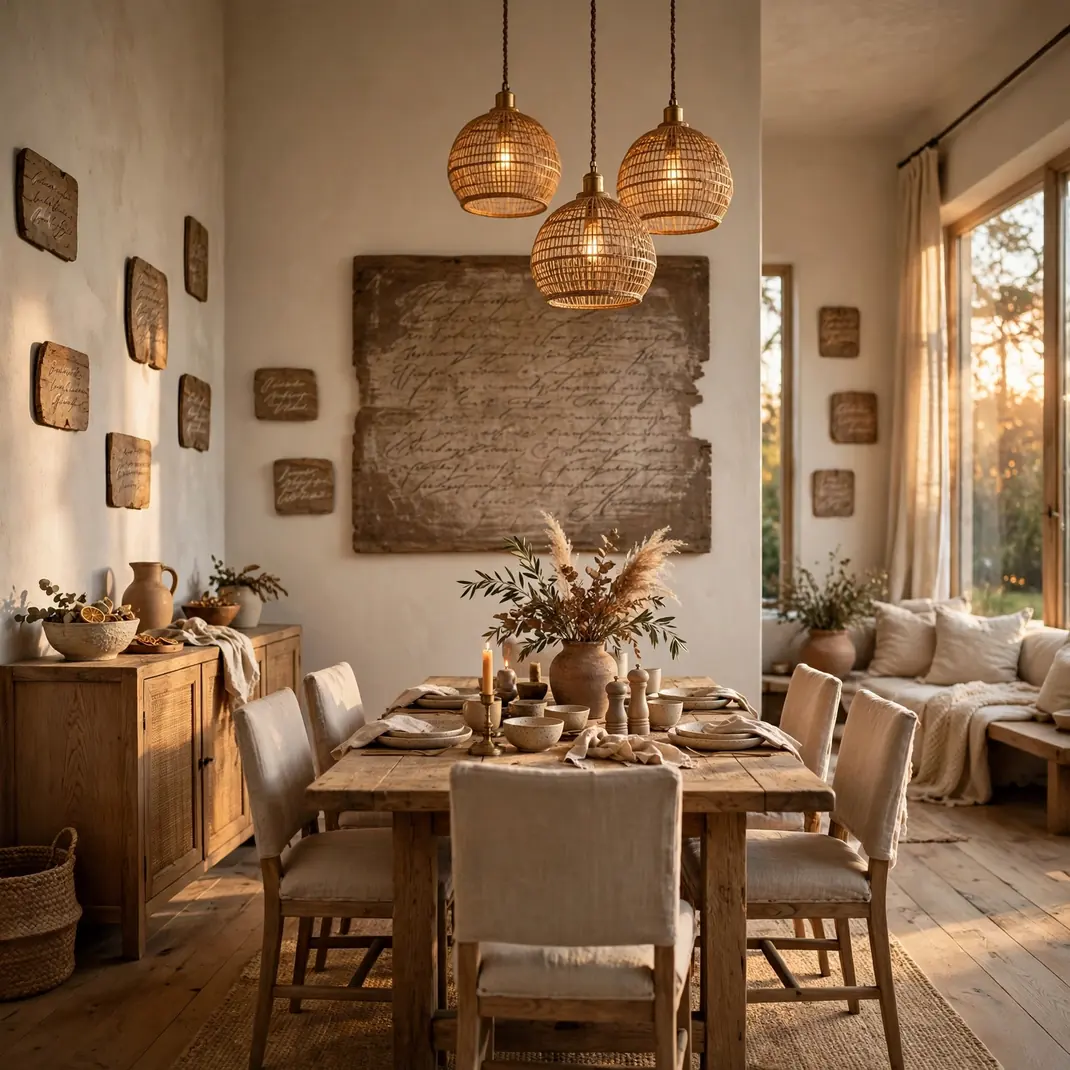
Heartfelt market sayings in rustic lettering wrap the kitchen in warmth. Phrases about gathering, gratitude, and good food appear in weathered wood tones and hand lettered styles that suit farmhouse spaces. Hang one large statement over the dining table and let smaller ones dot the surrounding walls. The words set the emotional tone of the room better than any wall paint could. Home truly starts with the right sentence.
What You Need
- A parcel of rustic quote motifs
- A beam level
- Painter tape tabs
- A broad joint blade
How to Set It Up
Center the hero quote on the main wall, using the beam level as reference. Tack the smaller sayings around it with tape to audition the constellation. Mount the big piece first, then fill in the companions one by one. Burnish each letterform carefully before pulling the tape.
Pro Tip
Read every saying aloud before mounting, since the words will greet you daily for years.
17. Mediterranean Medallions
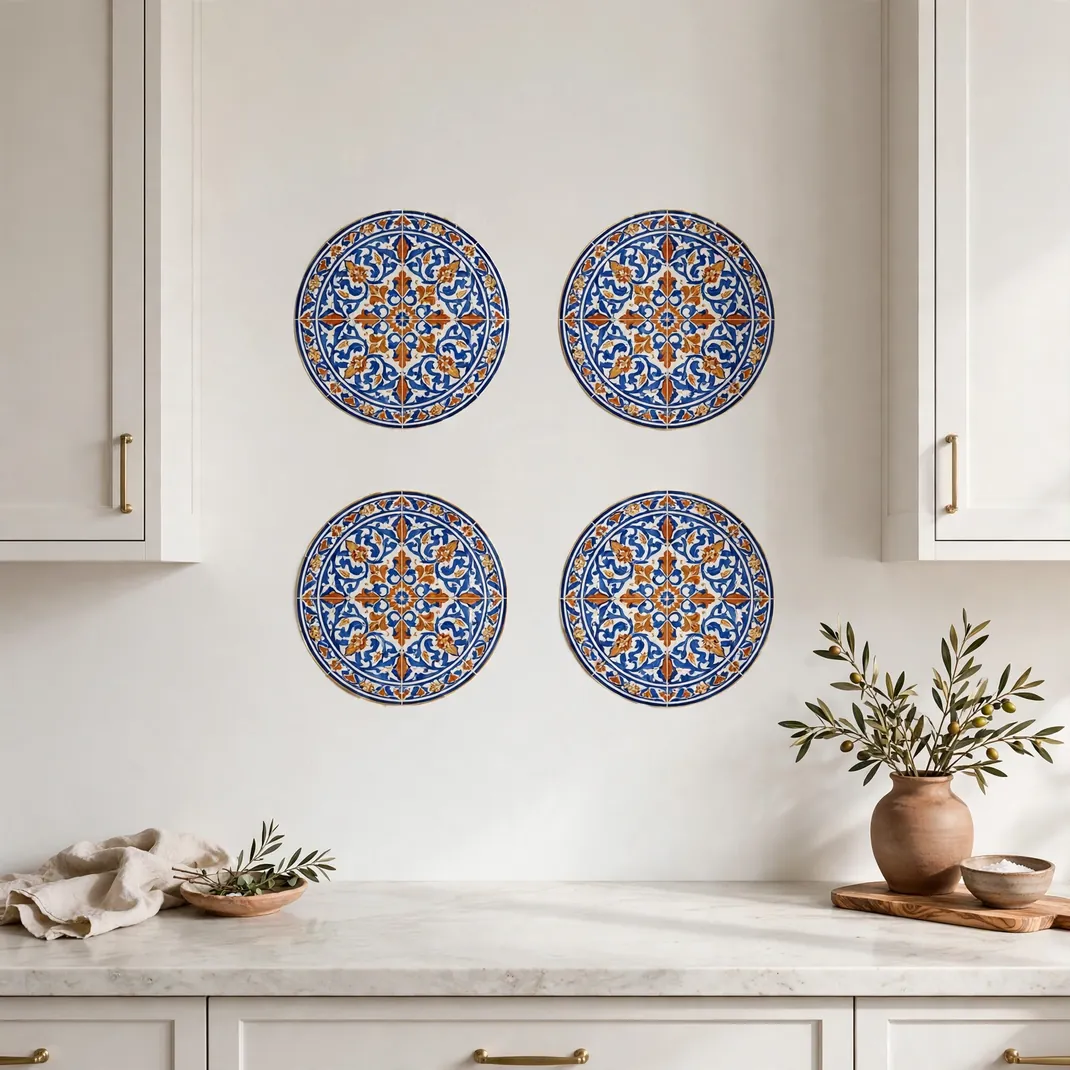
Intricate Mediterranean medallions sprinkle old world elegance over contemporary walls. These circular medallions in cobalt, terracotta, and gold echo hand painted ceramics from coastal villages. Dot them above the cooktop, frame a mirror, or build a symmetrical panel on a blank expanse. The detailed patterns reward close inspection while reading as rich texture from afar. A touch of wanderlust for your weeknight suppers.
What You Need
- A medley of medallion art
- A flexible sizing cord
- A pen for dot marks
- A circular edge tool
How to Set It Up
Plot your motif with pen dots, either a strict grid or a freeform sprinkle. Set the central medallion first and expand from the middle. Press each circle from its middle to the edge to expel trapped air. Keep the gaps consistent for a polished finish.
Pro Tip
Favor an odd total of medallions, since a clear middle makes symmetry feel intentional.
18. Menu Board Panel
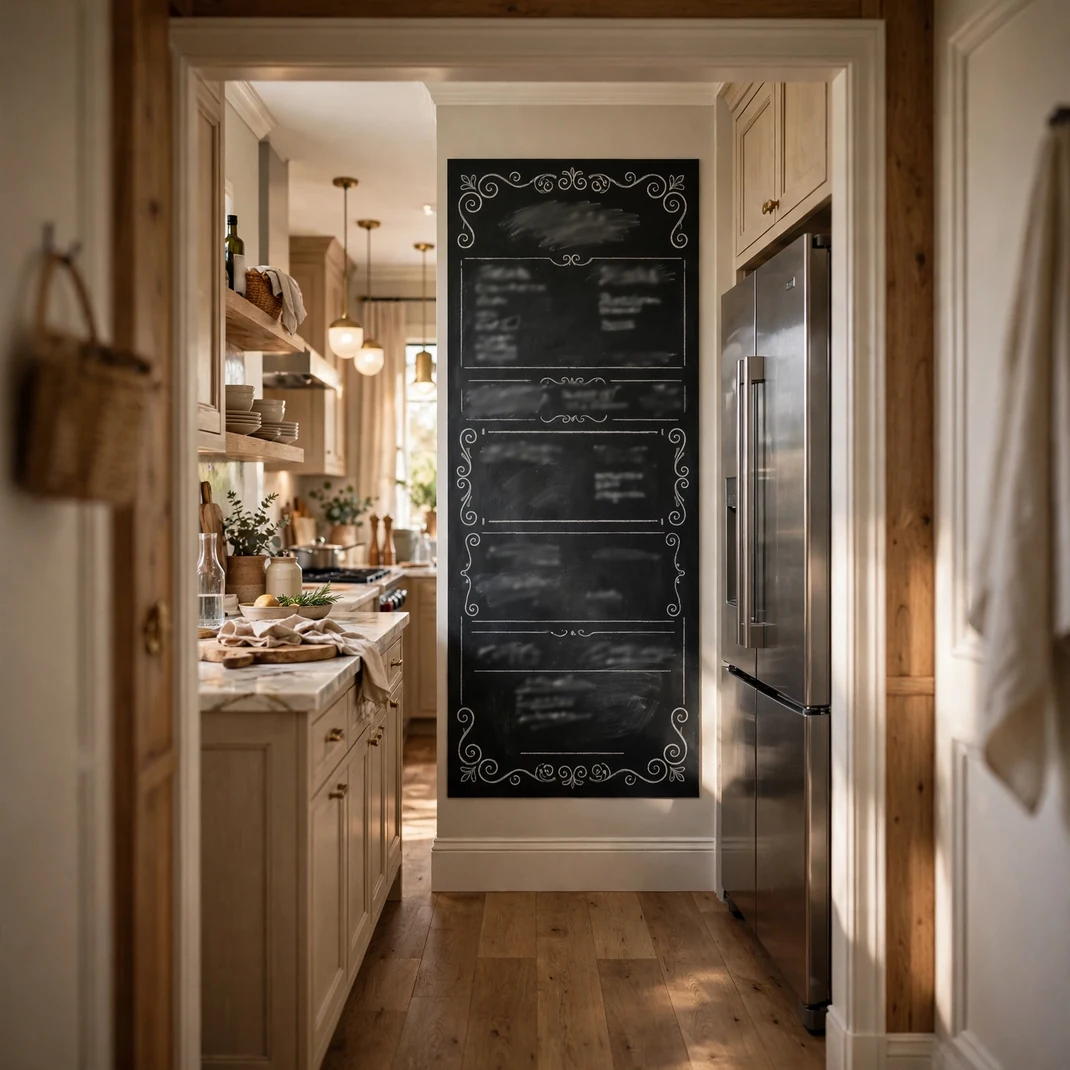
A large menu board transfer turns one wall into the headquarters of your galley. With zones for the weekly dinner plan, shopping list, and family notes, it keeps busy households running smoothly. The framed piece looks like real chalkboard craft, complete with decorative flourishes at the edges. Mount it near the fridge where everyone passes daily. Chaos becomes choreography.
What You Need
- One jumbo menu board graphic
- A precision torpedo level
- A wide felt applicator
- Liquid chalk markers
- A clean damp rag
How to Set It Up
Mop the wall lightly with the damp rag and mark the panel footprint. Hoist the transfer into position with a helper steadying the far side. Sweep the wide applicator smoothly across the vinyl to erase wrinkles. Prime the board with a chalk rub, wipe it off, then ink your first weekly plan.
Pro Tip
Snap a photo of each completed week so you build an archive of proven family menus.
19. Woodland Mushroom Cluster
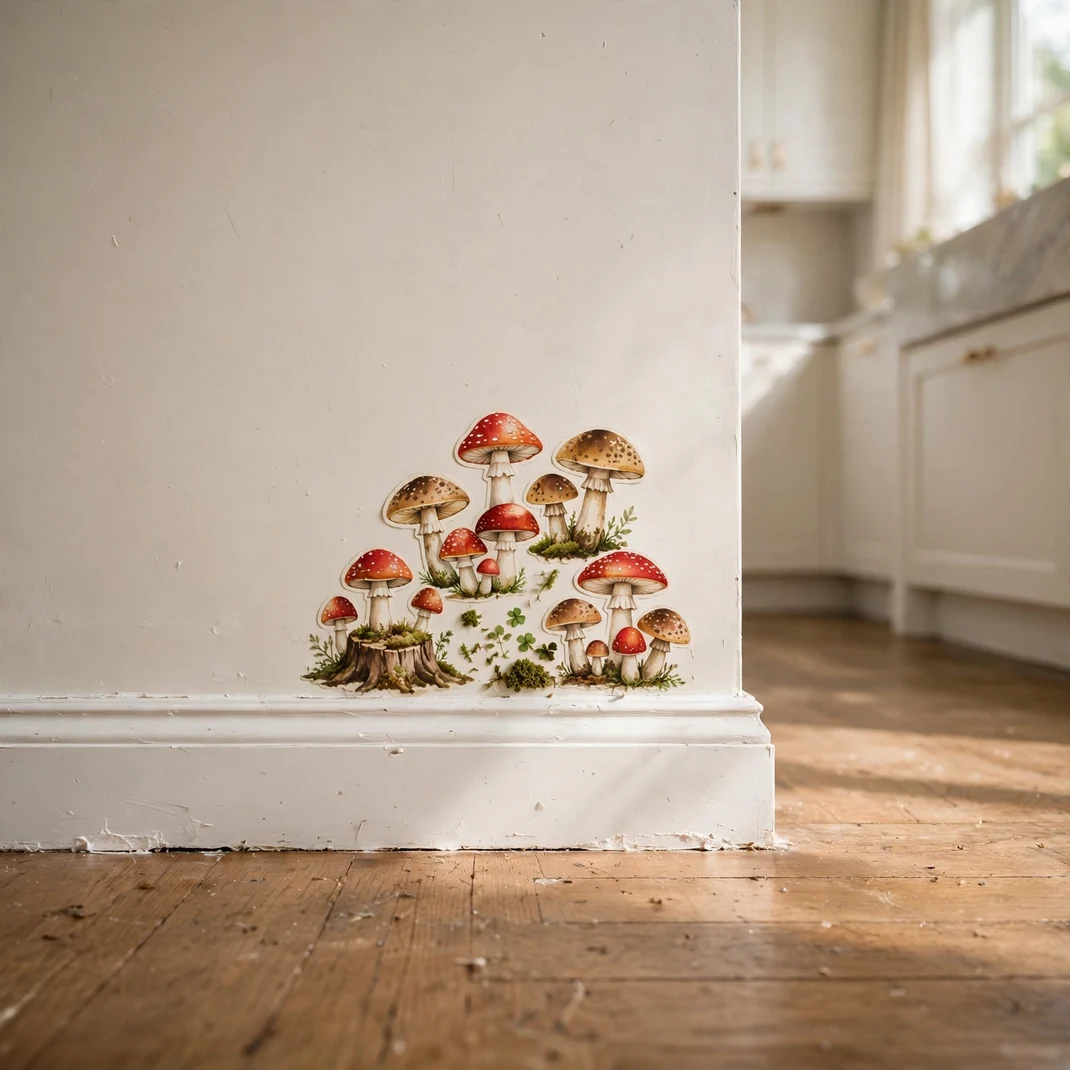
Charming toadstools and forest mushrooms sprout storybook magic in unexpected corners. Red capped fly agarics, speckled boletes, and tiny mossy stumps gather near baseboards or climb the larder wall. The tones remain woodsy with flashes of crimson that draw the eye playfully downward. Children invent tales about the fairy folk living there. A tiny woodland wonderland, no forest required.
What You Need
- One packet of mushroom designs
- A soft dusting mitt
- A small vinyl roller
How to Set It Up
Whisk the dusting mitt along the lower wall. Build groups of three to five fungi at staggered heights. Set the boldest mushroom first, then tuck tinier ones at its feet. Roll each cap and stem tenderly to seat the vinyl.
Pro Tip
Let one tiny mushroom stray slightly from the group, as if it wandered off on an adventure.
20. Metallic Gold Accents
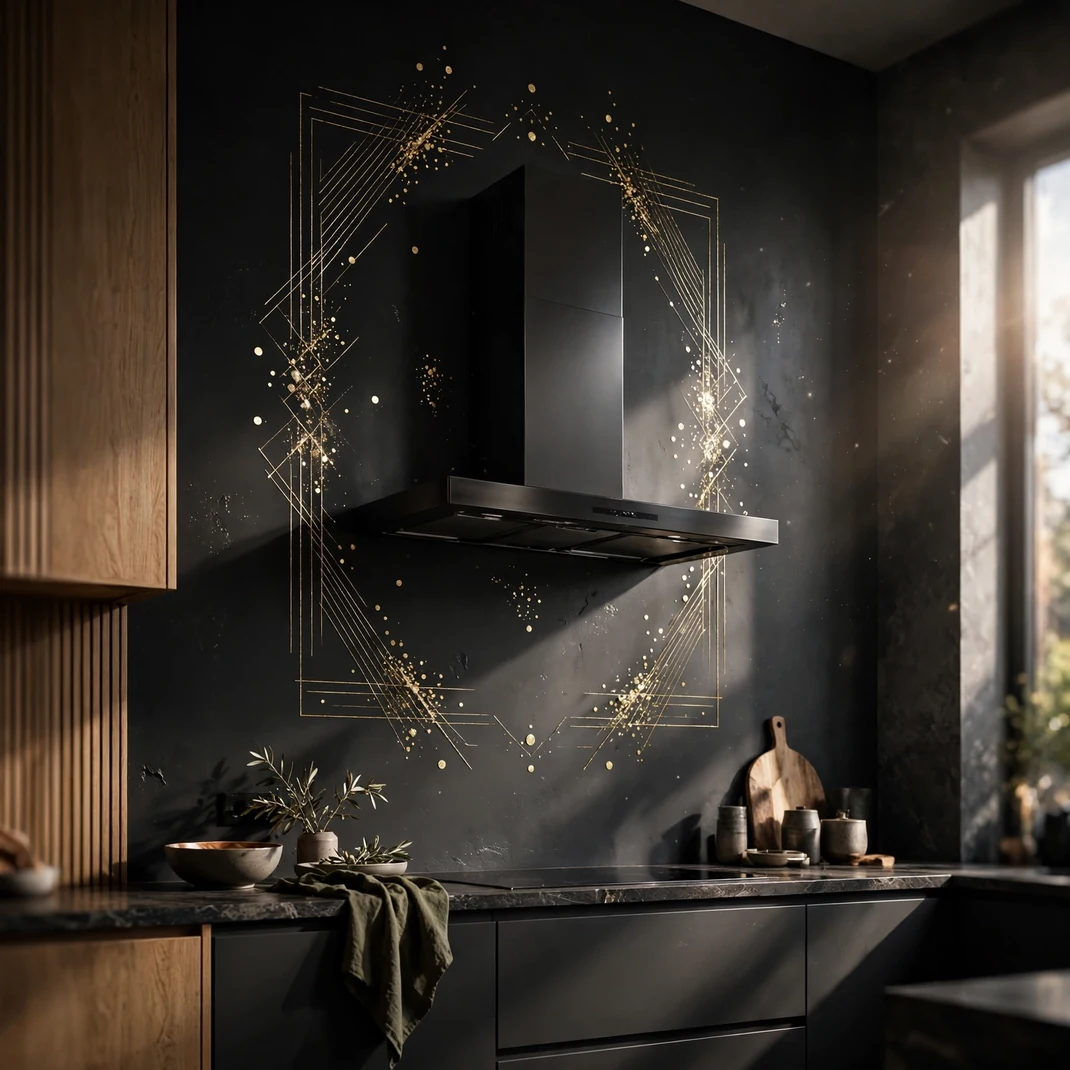
Shimmering gold prints add a jewelry like sheen to walls that crave glamour. Dots, fine lines, and small geometric shapes catch the light and shift with it through the day. They frame a range hood gorgeously, edge a backsplash, or sprinkle like stars over a dark feature wall. The metallic sheen elevates everything nearby, never overwhelming. A dash of luxury, applied in a flash.
What You Need
- An envelope of metallic gold prints
- Tailor chalk for tracing guides
- Fine tweezers for positioning
- A plush cotton pad
How to Set It Up
Clear dust from the wall, then map the motif flow in tailor chalk. Pluck each piece with tweezers and place it precisely on its mark. Buff softly using the cotton pad instead of a hard blade to protect the sheen. Build the design gradually, retreating often to assess.
Pro Tip
With metallics, less truly is more, so stop one step before the design feels finished.
21. Kids Doodle Zone
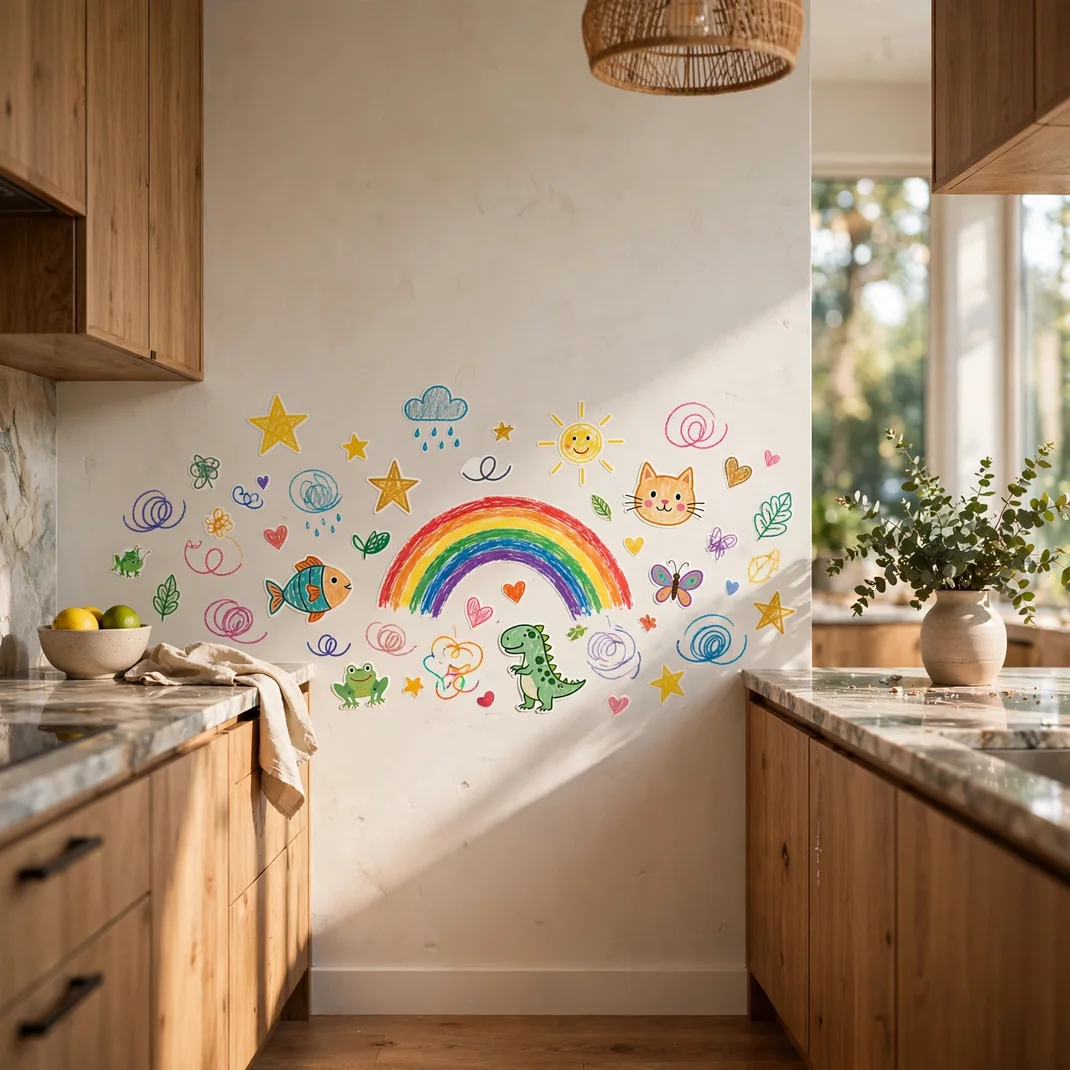
Dedicate one wall to pure imagination with doodle style transfers youngsters can arrange themselves. Stars, squiggles, animals, and rainbows arrive as individual cutouts begging for creative arranging. Let little hands compose the artwork during a weekend art session, then seal their masterpiece in place. The zone grows with them and lifts away when tastes mature. Childhood, preserved in vinyl.
What You Need
- One doodle transfer assortment
- A clean dry rag
- A small step stool
How to Set It Up
Swab the area with the dry rag. Hand the shapes to the kids and let them compose at their own level and tempo. Assist with the broader forms to keep air pockets at bay. Seal the finished gallery with a celebratory high five.
Pro Tip
Photograph the final arrangement so you can recreate the magic if a piece ever needs replacing.
22. Oversized Peony Bloom
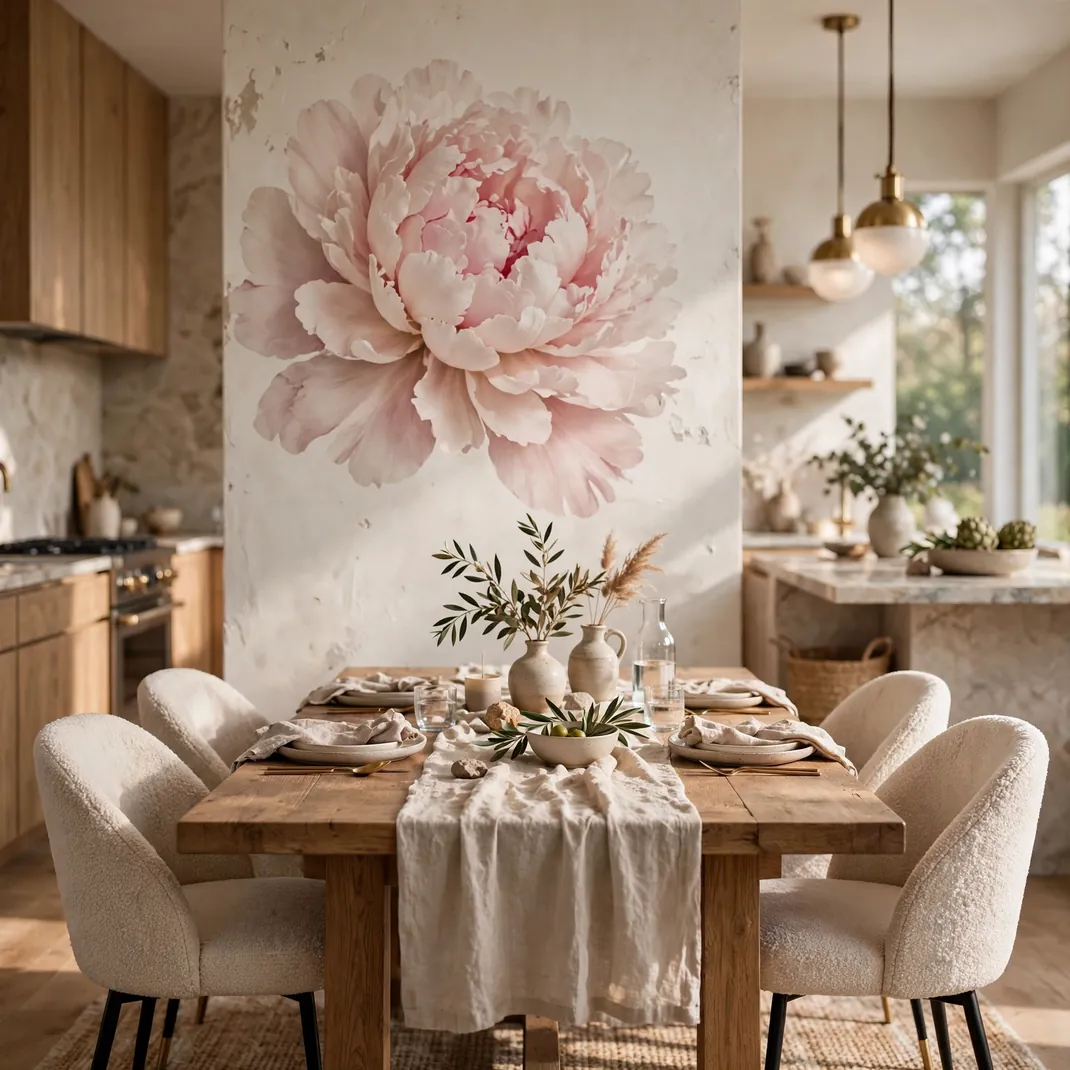
One giant peony transforms a wall quicker than fresh paint. These oversized floral blooms unfurl layer upon layer of blush petals with photographic realism. Float one bloom above the supper table or let two overlap in a corner for dramatic effect. The scale turns the flower into abstract art that happens to be botanical. Soft, romantic, and utterly striking.
What You Need
- One oversized peony piece
- A fabric sizing tape
- A broad vinyl blade
- A sturdy step ladder
How to Set It Up
Mark the heart of the display wall with a faint cross. Unfurl the bloom with a friend supporting the far edge. Tack the middle first, then progress petal by petal. Move deliberately since grand scale vinyl creases easily.
Pro Tip
An extra pair of hands makes large format application dramatically easier, so recruit help.
23. Minimalist Line Portraits
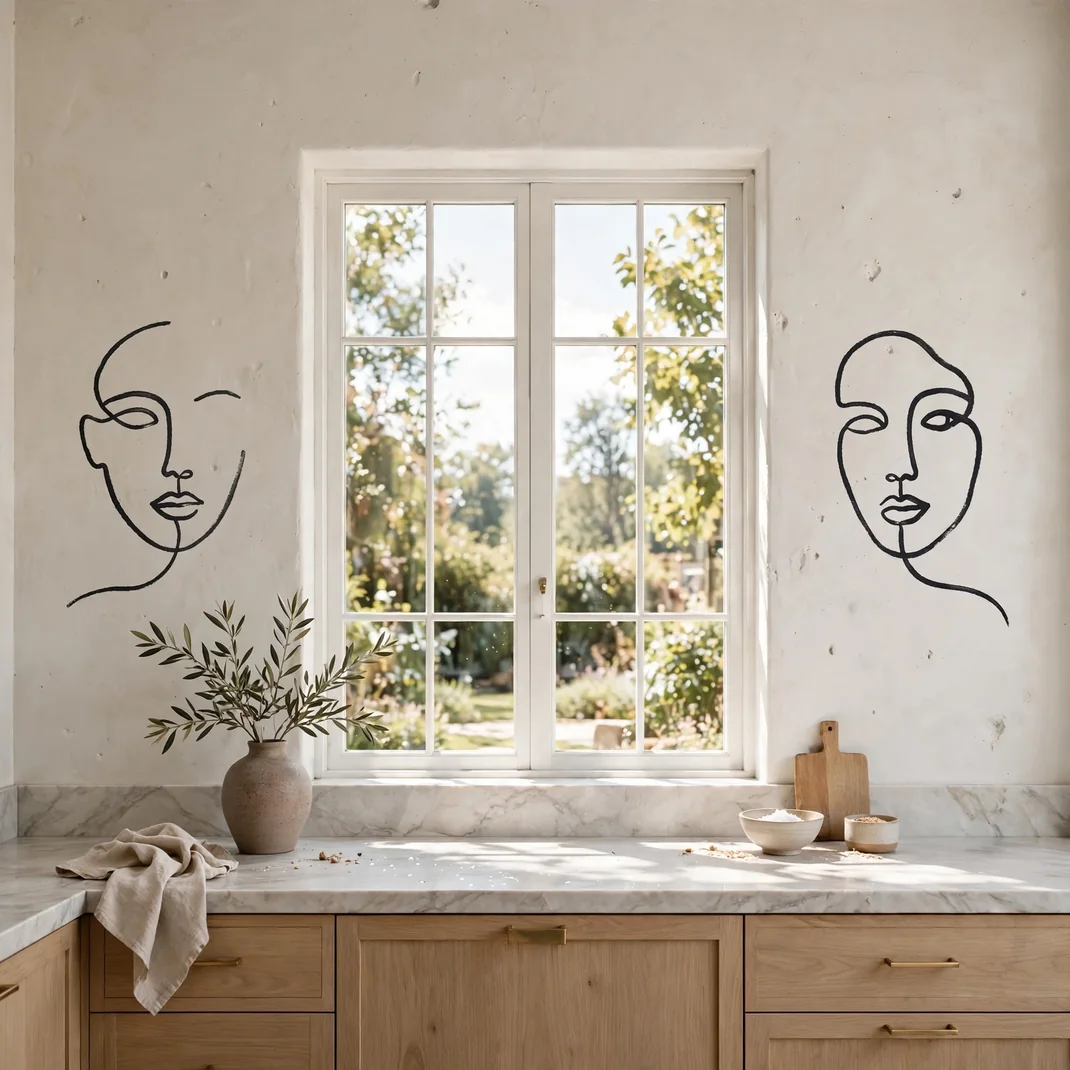
Unbroken line drawings bring gallery minimalism to culinary walls. Abstract faces and figures flow in one continuous stroke, elegant and intriguing on plain backdrops. These illustrations suit modern style spaces where restraint speaks loudest. Float one above a console or pair two flanking a window for quiet sophistication. Understated art with undeniable presence.
What You Need
- An array of line portrait illustrations
- A compact level
- Removable mounting squares
- A narrow smoothing wand
How to Set It Up
Tack the illustration with mounting squares to check the height. Mark the top edge faintly when the placement sings. Strip the liner and lay the linework from the top down. Sweep the narrow wand along the strokes with a light touch.
Pro Tip
Choose dark lines for pale walls and pale lines for dark walls to maximize the contrast.
24. Seasonal Swap Collection
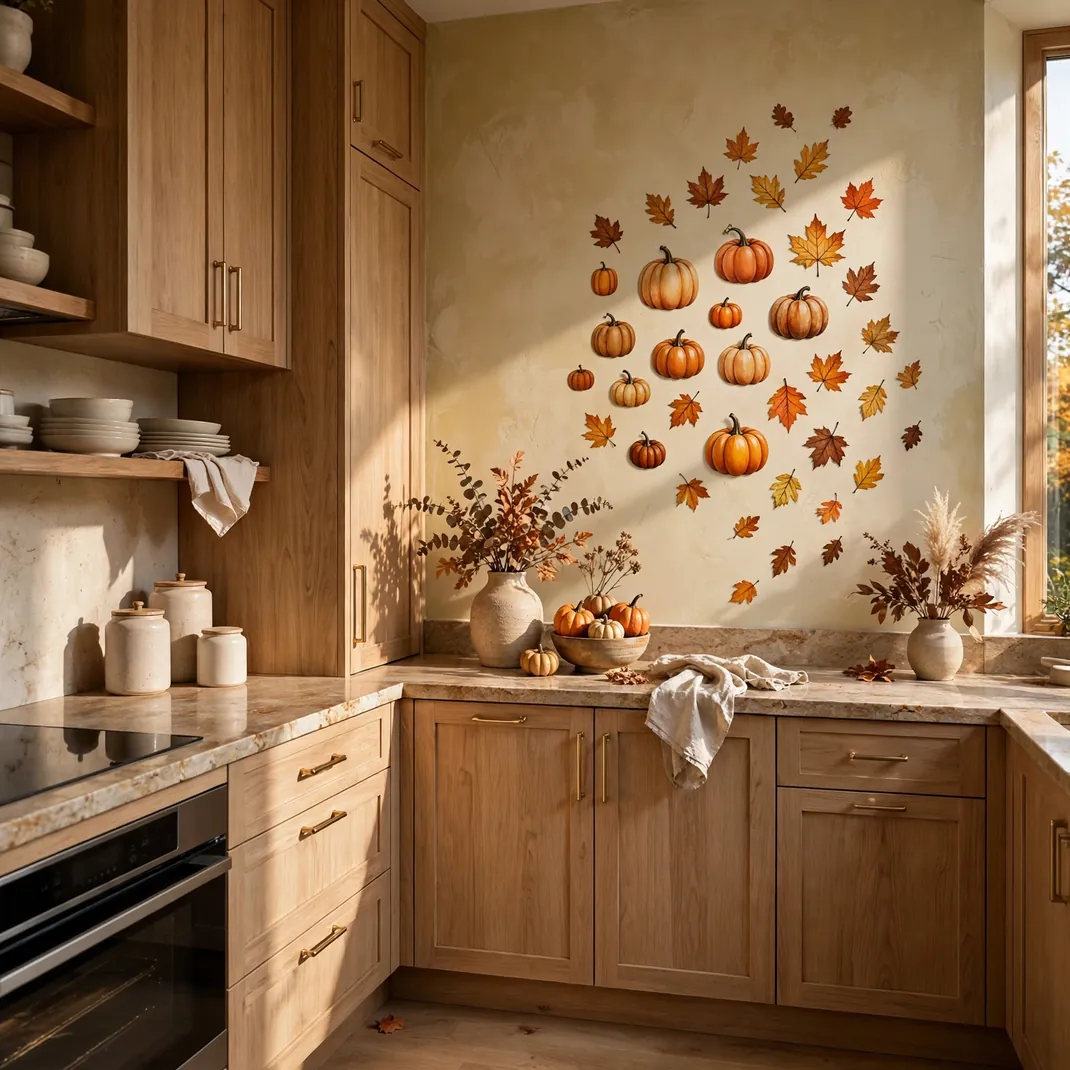
A curated set of seasonal images lets your cooking space celebrate every holiday in style. Pumpkins for autumn, snowflakes for winter, blossoms for spring, and suns for summer rotate through the year. Rest off season sets on their liner sheets within a flat portfolio. Exchanging the display takes minutes and keeps the room fresh. Your walls join the festivities.
What You Need
- One seasonal image collection
- A flat archival portfolio
- A soft cleaning cloth
- A medium buffing card
How to Set It Up
Nominate one display zone such as the cellar door or a side wall. Mount the current season set with breathing room between designs. When the calendar turns, ease clings off slowly and reattach them to their liner sheets. Refresh the wall with the cloth before dressing it in the new season.
Pro Tip
Tuck a snapshot of each season’s display within the portfolio for effortless rehanging next year.
25. Subway Tile Strip Decal
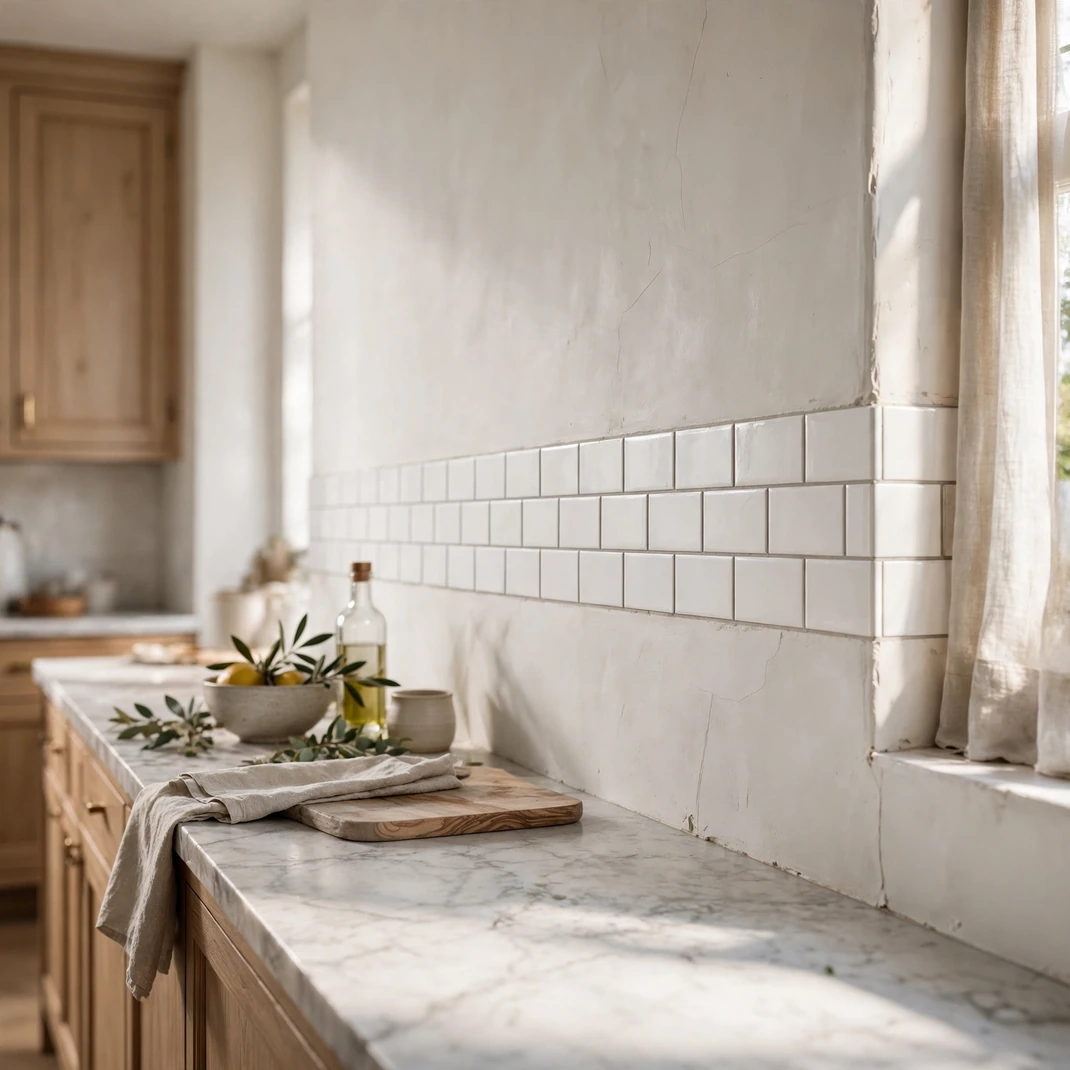
A crisp subway tile strip brings classic deli style above your counter. The glossy white rectangles with soft gray grout lines look convincingly real from any normal viewing distance. Run the band the full length of a blank wall or use it to frame a window. The pattern adds structure and brightness, letting colorful accessories shine. Timeless appeal, sticker simplicity.
What You Need
- One faux subway tile band
- A long level bar
- A firm pressing paddle
- Fine detail snips
- A retractable tape rule
How to Set It Up
Chalk a level guideline where the band should ride. Feed the strip from one end, working the paddle firmly along its length. Notch for outlets and edges with the detail snips. Burnish the entire run firmly to seat every grout line.
Pro Tip
Align the band with your countertop edge to fake a built in architectural look.
Conclusion
Your kitchen walls have been waiting patiently for their moment, and now you hold twenty five ways to give it to them. From juicy citrus to gleaming gold, each sticker idea offers personality without permanence, style without stress. Start with the one that made you smile first, since instinct rarely steers a decorator wrong. Peel, stick, step back, and enjoy the happiest room in your home finally looking the part.