15 Small Kandi Ideas That Are Actually Easy to Make
Kandi — those colorful pony-bead bracelets traded at raves and festivals — looks complicated until you make your first one. Then the secret’s out: it’s just beads on stretchy string, and the “hard” patterns are simple repeats anyone can learn in an evening. The ideas below are all small projects on purpose. No giant cuffs, no 3D sculptures that take six hours — just bracelets, charms, and minis you can genuinely finish in under an hour, most in twenty minutes. Grab a bag of pony beads, some elastic cord, and let’s make your trade stash.
1. The Classic Single
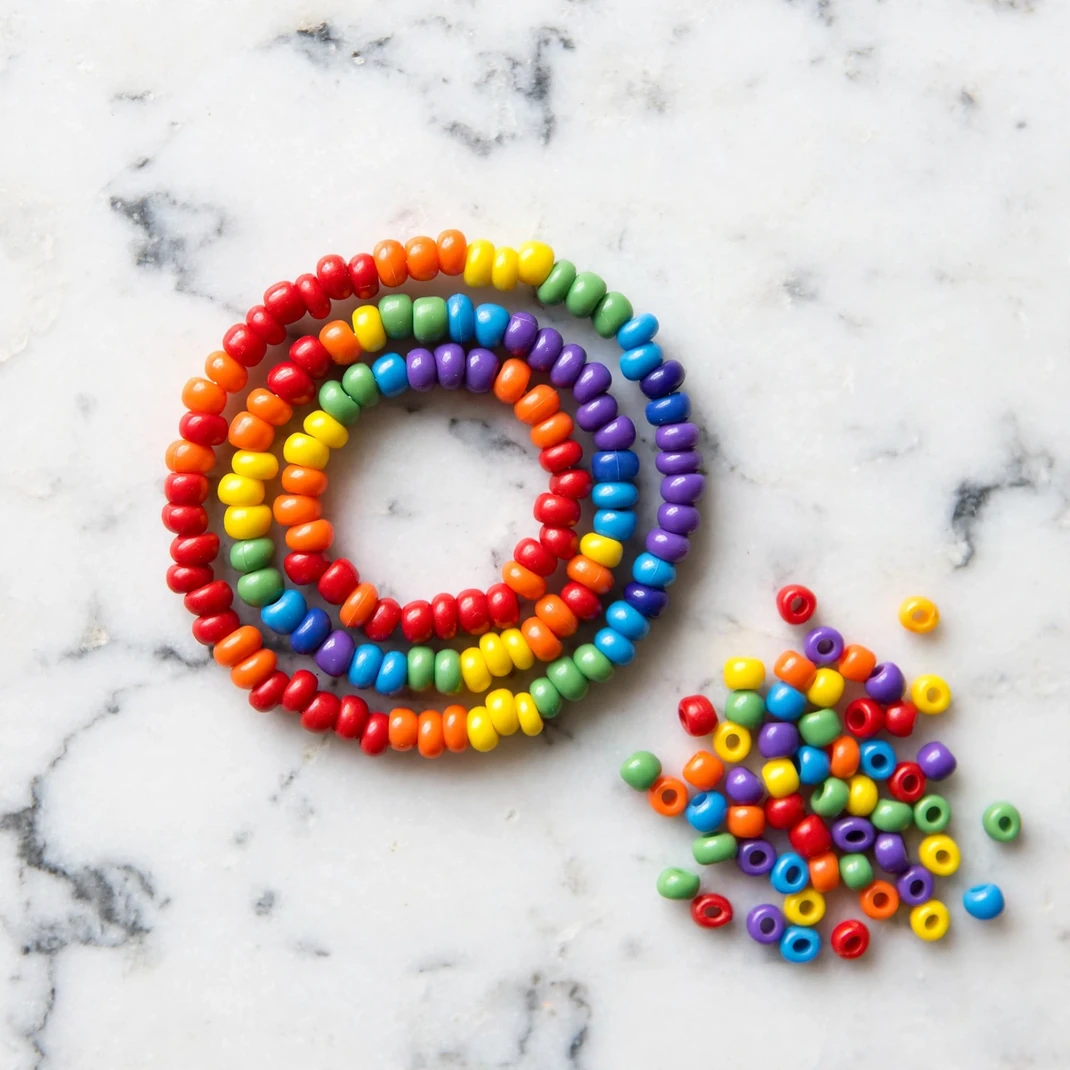
Every kandi journey starts here: one row of pony beads on stretchy cord. It’s the bracelet you’ll trade most, and once the muscle memory kicks in, you can make one in about ten minutes.
You’ll need: Pony beads in your chosen colors, 1mm clear elastic stretch cord, and scissors.
How to make it: Cut about 12 inches of elastic. String on roughly 28–32 beads in your pattern (measure around your wrist first — the beads should slide on snugly). Tie off with a tight surgeon’s knot, dab a dot of clear glue on the knot, and trim the tails.
Tip: Pre-stretch the elastic by pulling it firmly a few times before stringing — it stops the bracelet from going slack later.
2. Daisy Flower Chain
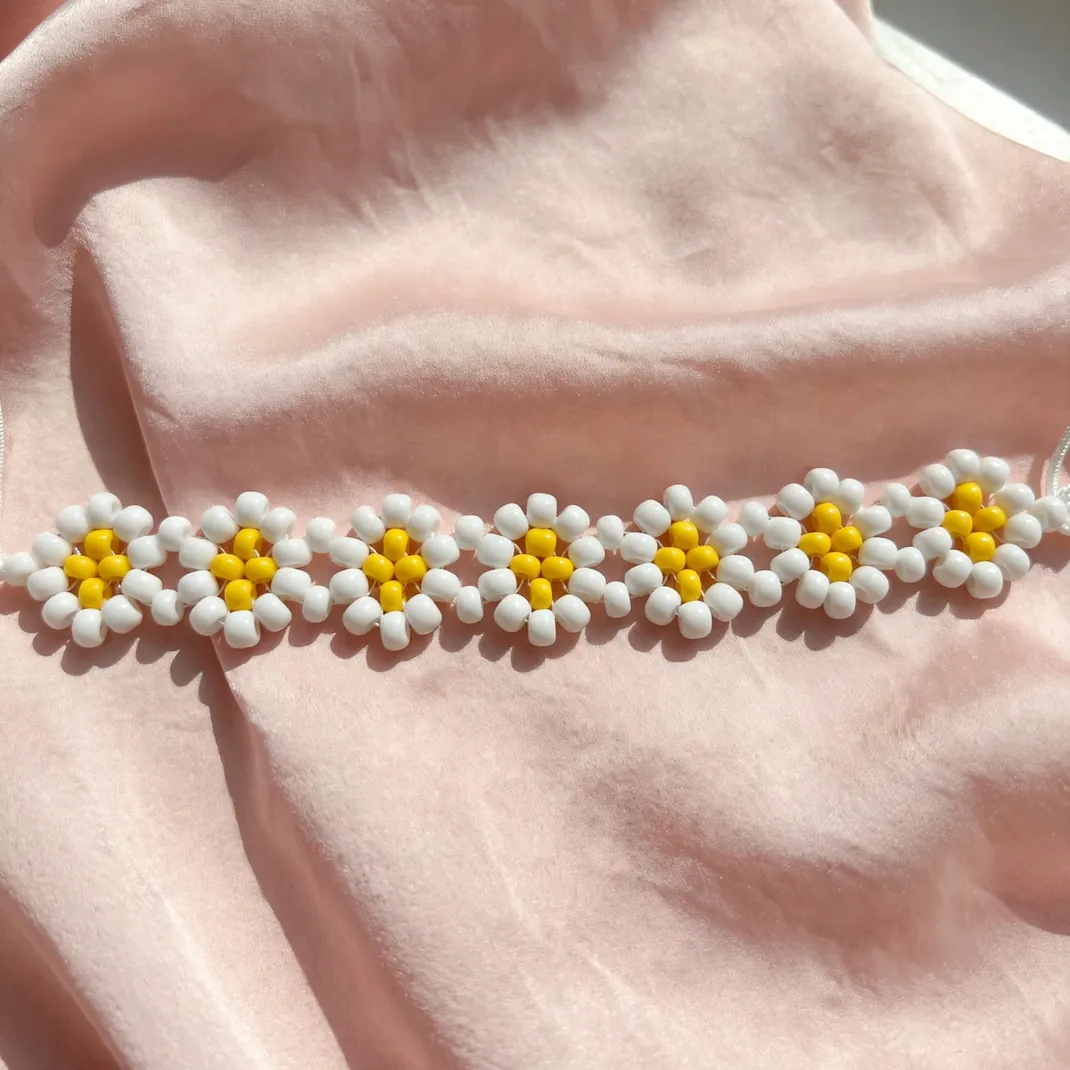
Six beads around one center bead make a daisy, and daisies linked in a row make the sweetest bracelet in kandi. It looks intricate; it’s just one repeated flower.
You’ll need: Pony beads in two colors (petals + centers), elastic cord, and scissors.
How to make it: String 6 petal beads and 1 center bead. Pass the cord back through the first petal bead to form a loop, then pull the center bead into the middle. That’s one flower — repeat, linking each new flower to the last, until it fits your wrist.
Tip: White petals with yellow centers is the classic, but black petals with neon centers looks incredible under rave lights.
3. Kandi Star Bracelet
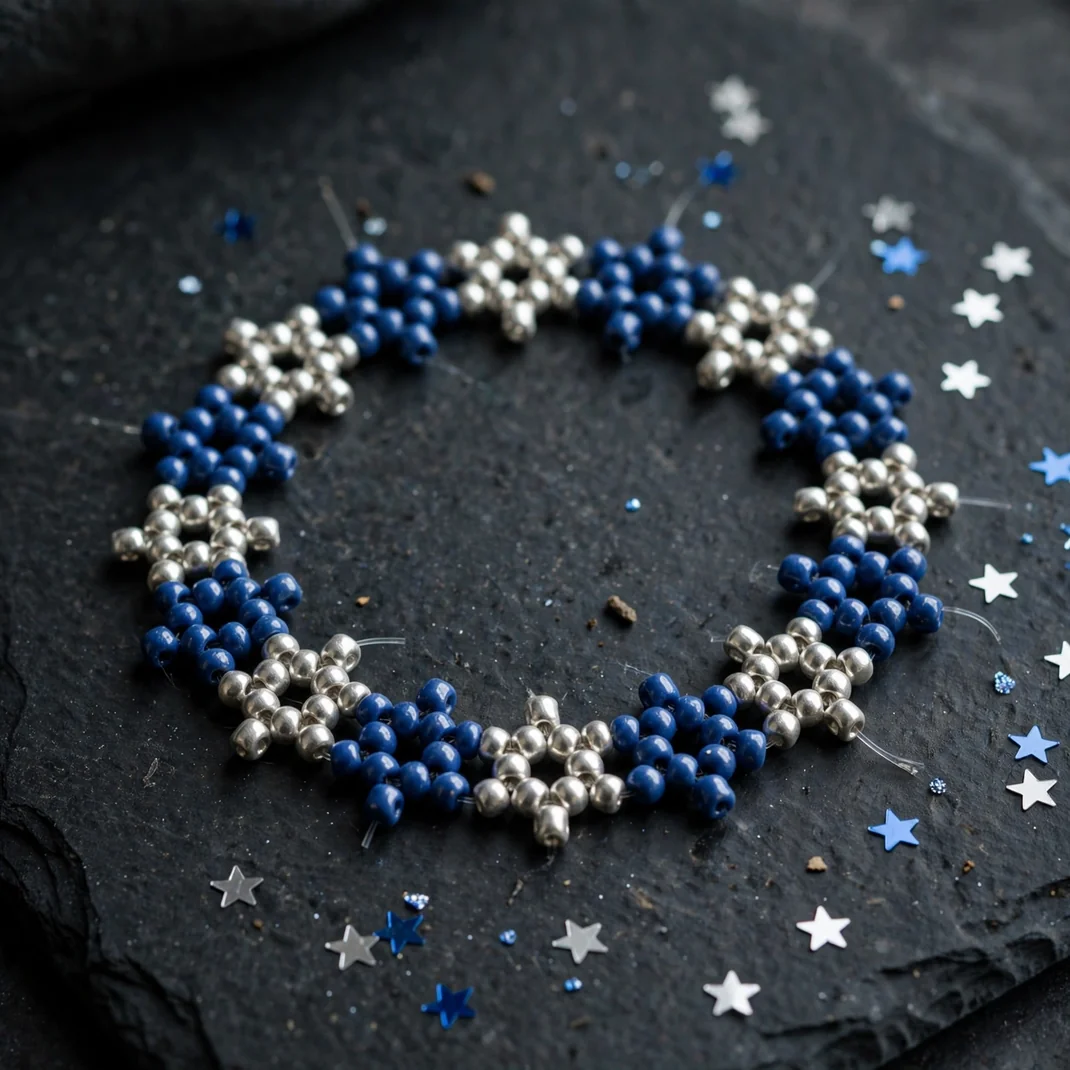
A five-point star built from beads reads as genuinely impressive, but it’s just beads arranged in points around a center. Great for space and Y2K-themed outfits.
You’ll need: Pony beads in two contrasting colors, elastic cord, and scissors.
How to make it: String a 5-bead ring for the star’s center. Then build each point: string 3 beads outward from each center bead and loop back to the next center bead, pulling snug so the points sharpen. Connect stars edge-to-edge into a bracelet.
Tip: Keep tension even — loose stars go floppy. Two colors (say, silver points on a blue center) make the shape pop.
4. The Mini Cuff
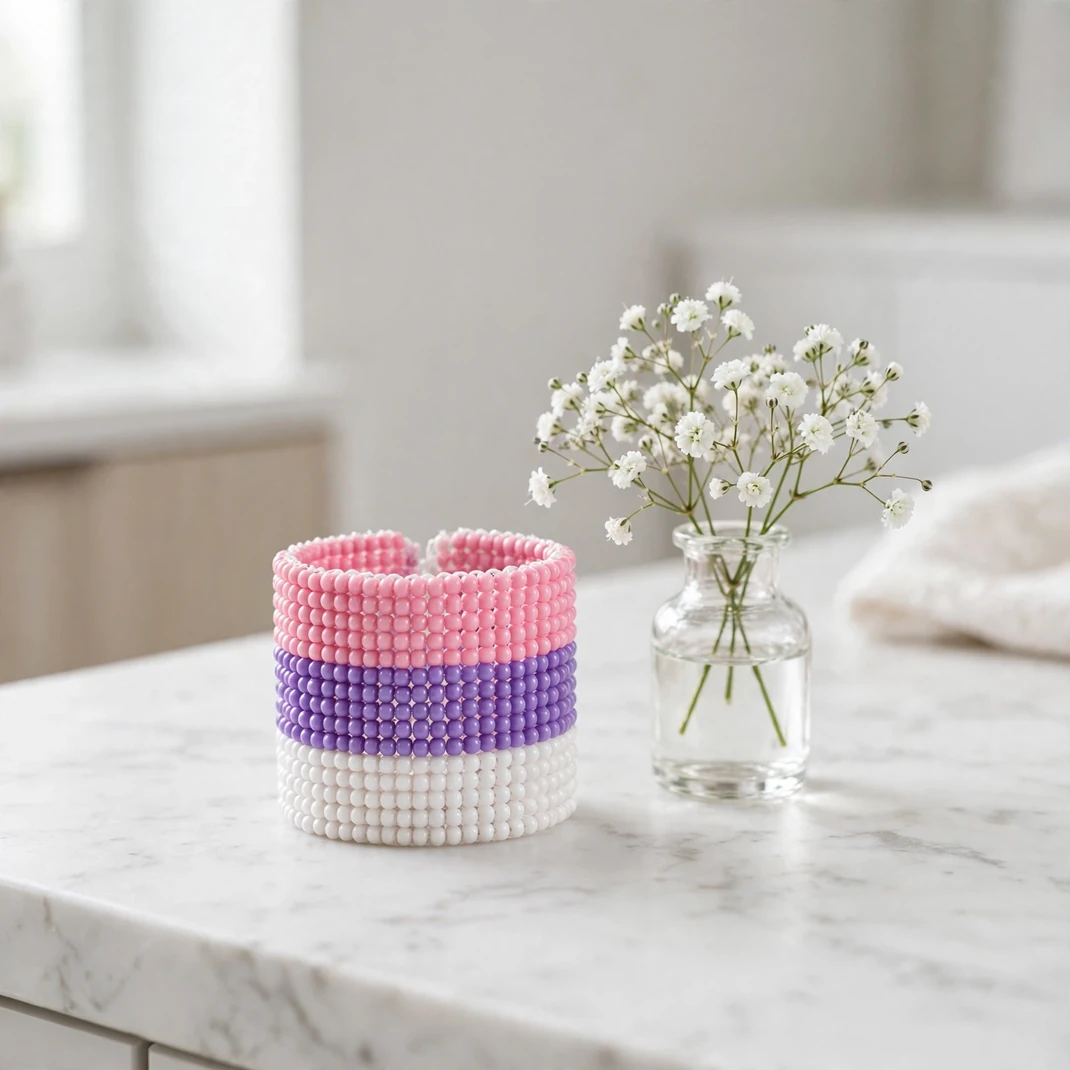
A cuff sounds advanced, but a 3-row mini cuff is just three singles joined together. It gives big-kandi energy in a small, very wearable size.
You’ll need: Pony beads in 2–3 colors, elastic cord, and scissors.
How to make it: Make three single bracelets in your pattern. Lay them side by side, then weave a connecting row: thread elastic through one bead of the first row, one of the second, one of the third, repeating down the length. Tie off both ends.
Tip: Alternate the bead colors between rows (like a simple stripe or checker) so the cuff reads as one designed piece instead of three bracelets stuck together.
5. Word Bracelet with Letter Beads
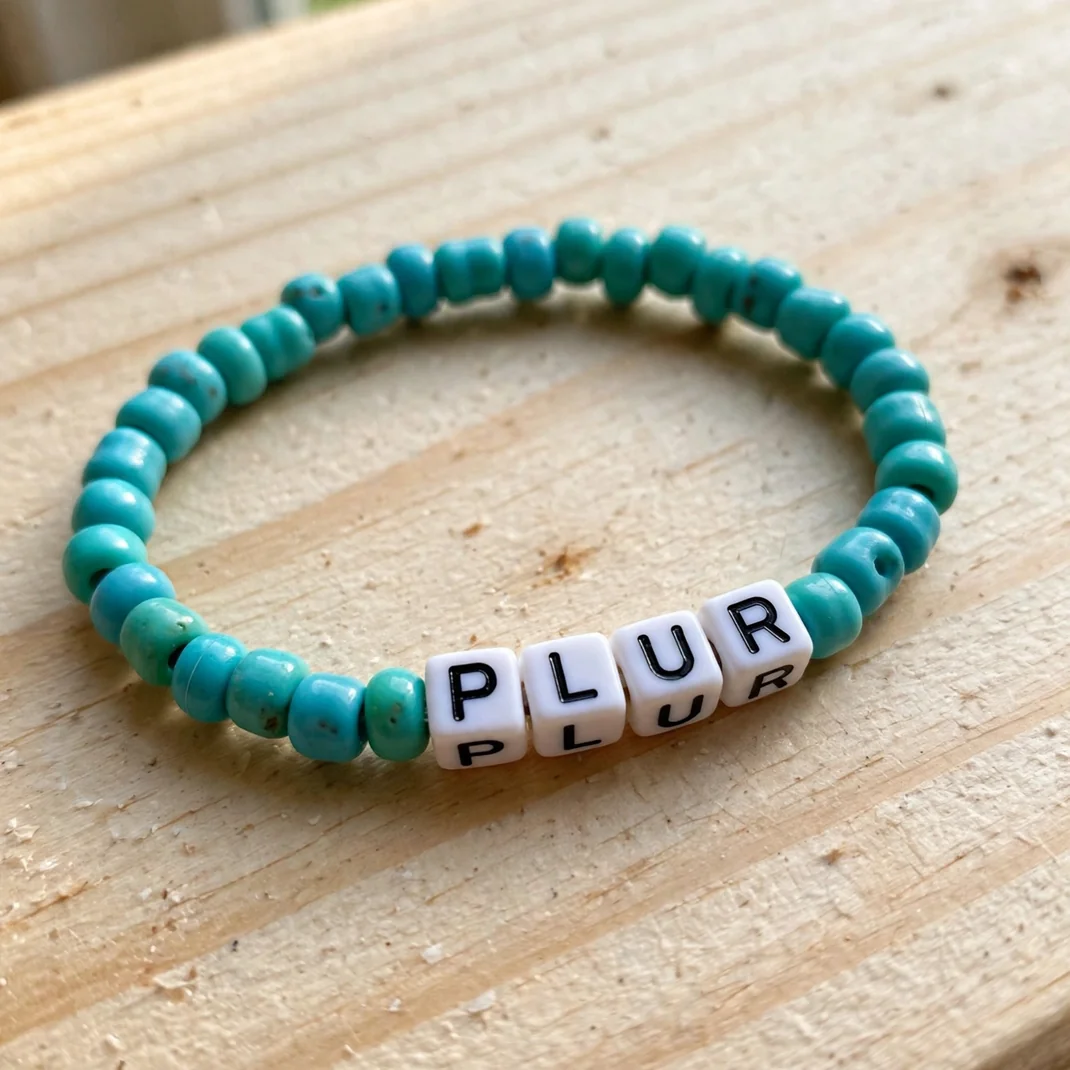
Spelling words in letter beads — your name, “PLUR,” a lyric — turns kandi into a personal message. These are the trades people keep forever.
You’ll need: Alphabet letter beads, pony beads for the background, elastic cord, and scissors.
How to make it: Plan your word and count the letters. String background beads, then your letters in order, then more background beads to fill the wrist length. Center the word by counting equal background beads on each side.
Tip: Put a contrasting bead (a star or heart bead) on each side of the word as punctuation — it frames the letters beautifully.
6. Heart Pattern Bracelet
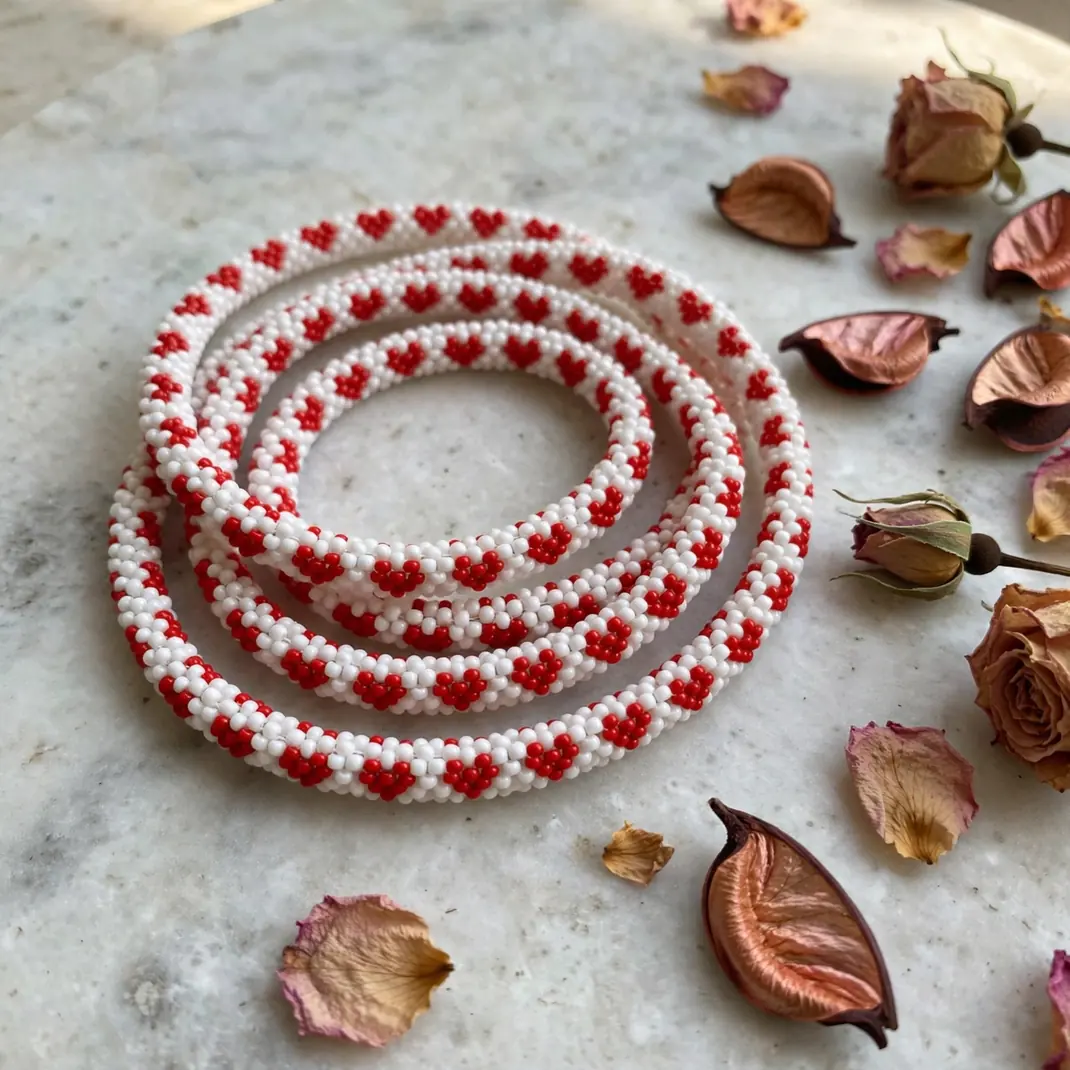
A row of tiny beaded hearts is pure kandi romance. The heart shape emerges from the bead placement, so there’s no tricky technique — just follow the count.
You’ll need: Pony beads in red/pink and a background color, elastic cord, and scissors.
How to make it: Each heart is two humps (2 beads each) meeting at a point (1 bead below center). String the pattern — hump, hump, point — repeating across the bracelet, with background beads spacing the hearts evenly.
Tip: Sketch the heart on paper first as a bead map (7 beads per heart). Following a map is ten times easier than improvising.
7. Butterfly Charm Bracelet
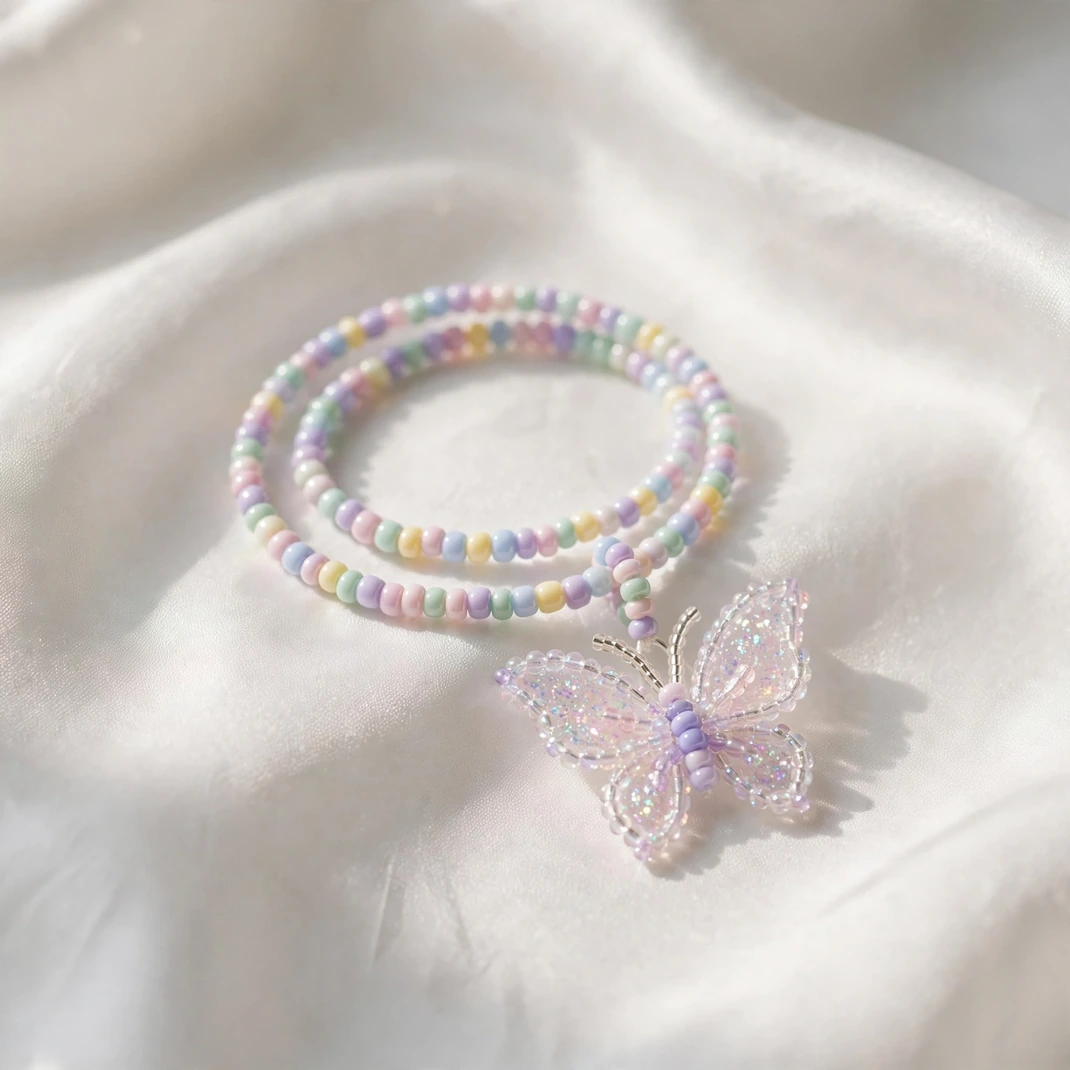
A butterfly built from beads — two wing loops and a body — dangles from a single bracelet as a 3D-ish charm. It flutters when you move, which is the whole point.
You’ll need: Pony beads (wings + body colors), elastic cord, scissors, and a jump ring (optional).
How to make it: Make the wings: two loops of 6 beads each, pinched at the center. Thread the body: 3 beads vertically through the pinched center. Tie the butterfly’s top to your bracelet with a short elastic loop so it dangles freely.
Tip: Use translucent or glitter pony beads for the wings — they catch light like real butterfly wings.
8. Glow-in-the-Dark Single
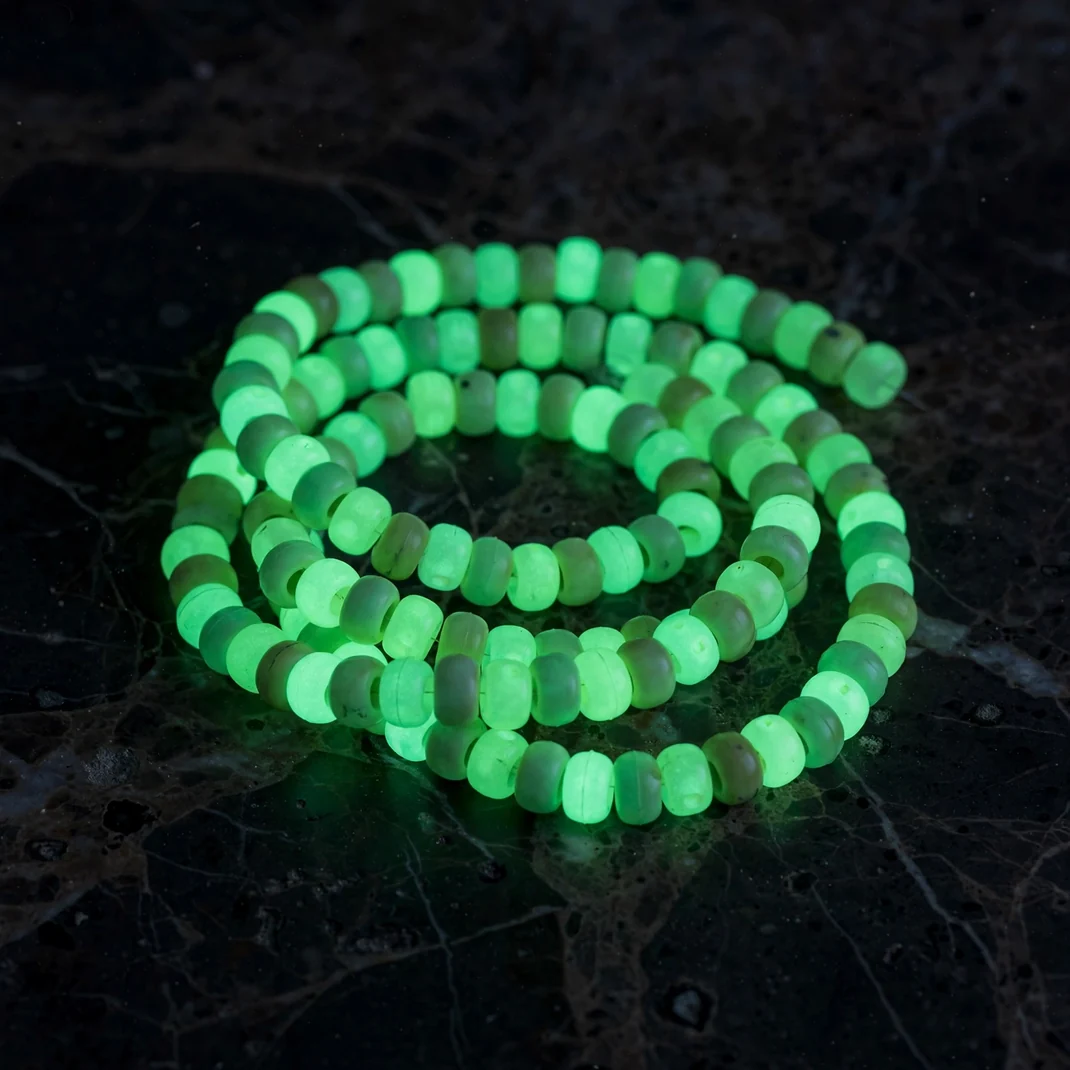
A bracelet made entirely of glow beads charges in daylight and lights up your wrist all night. It’s the easiest “wow” in kandi because the beads do all the work.
You’ll need: Glow-in-the-dark pony beads, elastic cord, and scissors.
How to make it: String a full single bracelet in glow beads — solid color or alternating glow colors. Tie off with a surgeon’s knot as usual.
Tip: “Charge” the bracelet under a bright light for a few minutes before heading out. Mixing one glow color with black beads makes the glowing beads look like they’re floating.
9. Kandi Ring
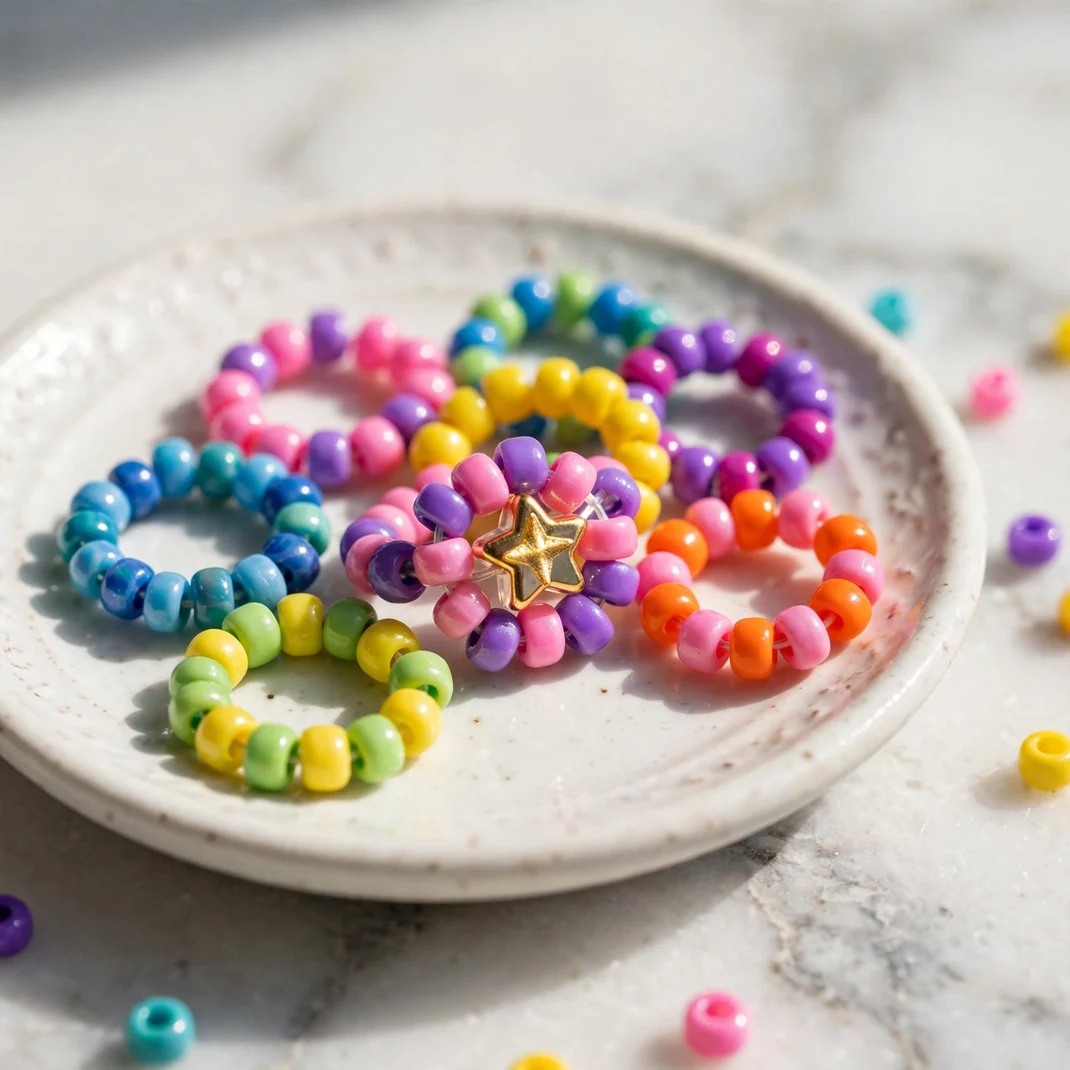
A ring of 8–10 beads on elastic takes five minutes and is the perfect tiny trade or party favor. Make a bowl of them and watch them disappear.
You’ll need: Pony beads, thin elastic cord, and scissors.
How to make it: String 8–10 beads (a flower pattern of 6 around 1 center also works at ring size). Tie with a surgeon’s knot, glue the knot, and trim close.
Tip: These are ideal for using up leftover beads. A ring with a single star or heart bead as the “gem” looks surprisingly like real jewelry.
10. Kandi Keychain Charm
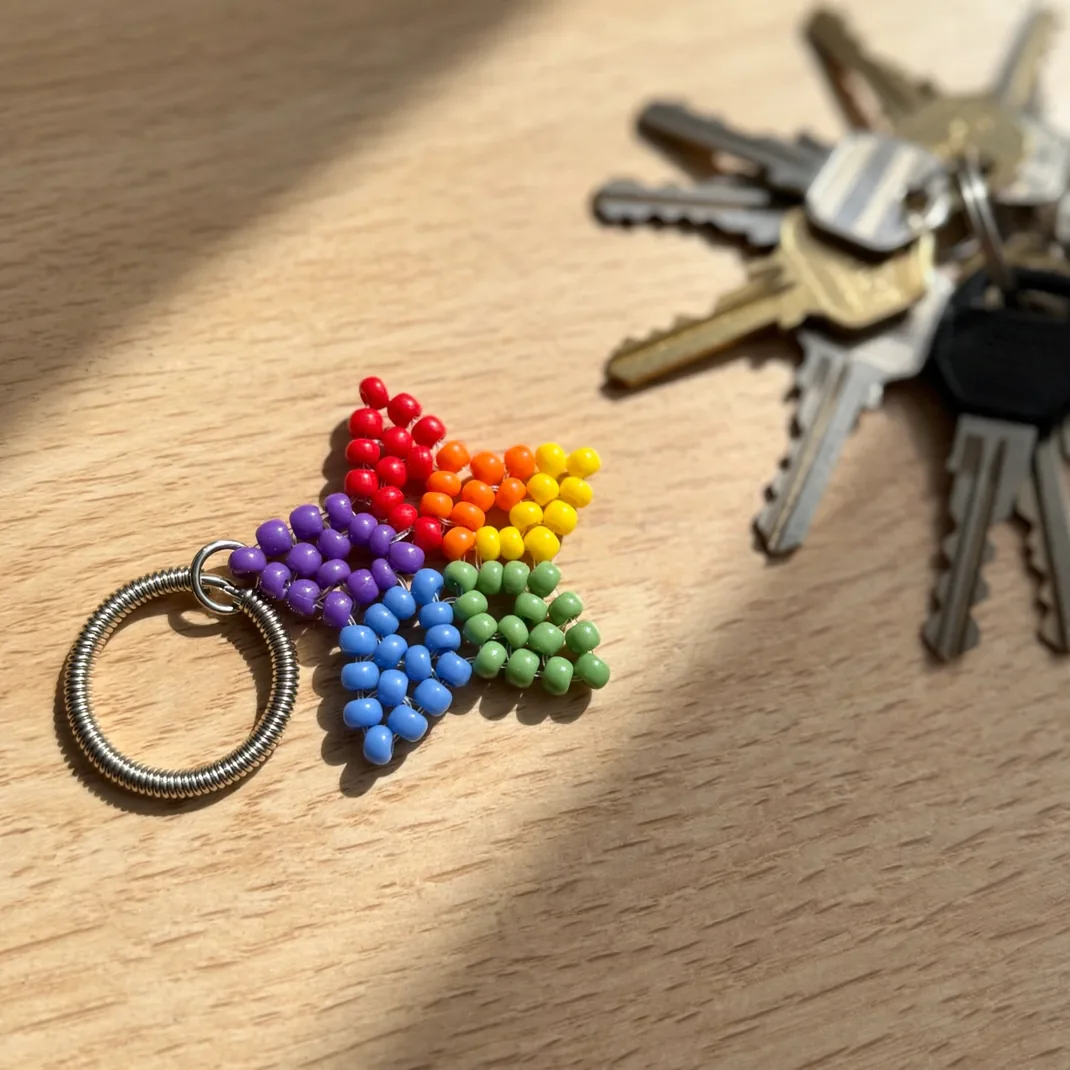
A short kandi dangle — a mini star, a few beads spelling an initial, or a tiny flower — clipped to a keyring turns your keys into a kandi statement.
You’ll need: Pony beads, elastic cord, a lanyard hook or split ring, and scissors.
How to make it: Build a small motif (a 5-bead star or 7-bead flower) on a 3-inch elastic loop. Thread the loop through the split ring, tie off, and trim.
Tip: Keep it short — long dangles tangle in pockets. Flat motifs survive keychain life far better than 3D ones.
11. Pastel Kandi Stack
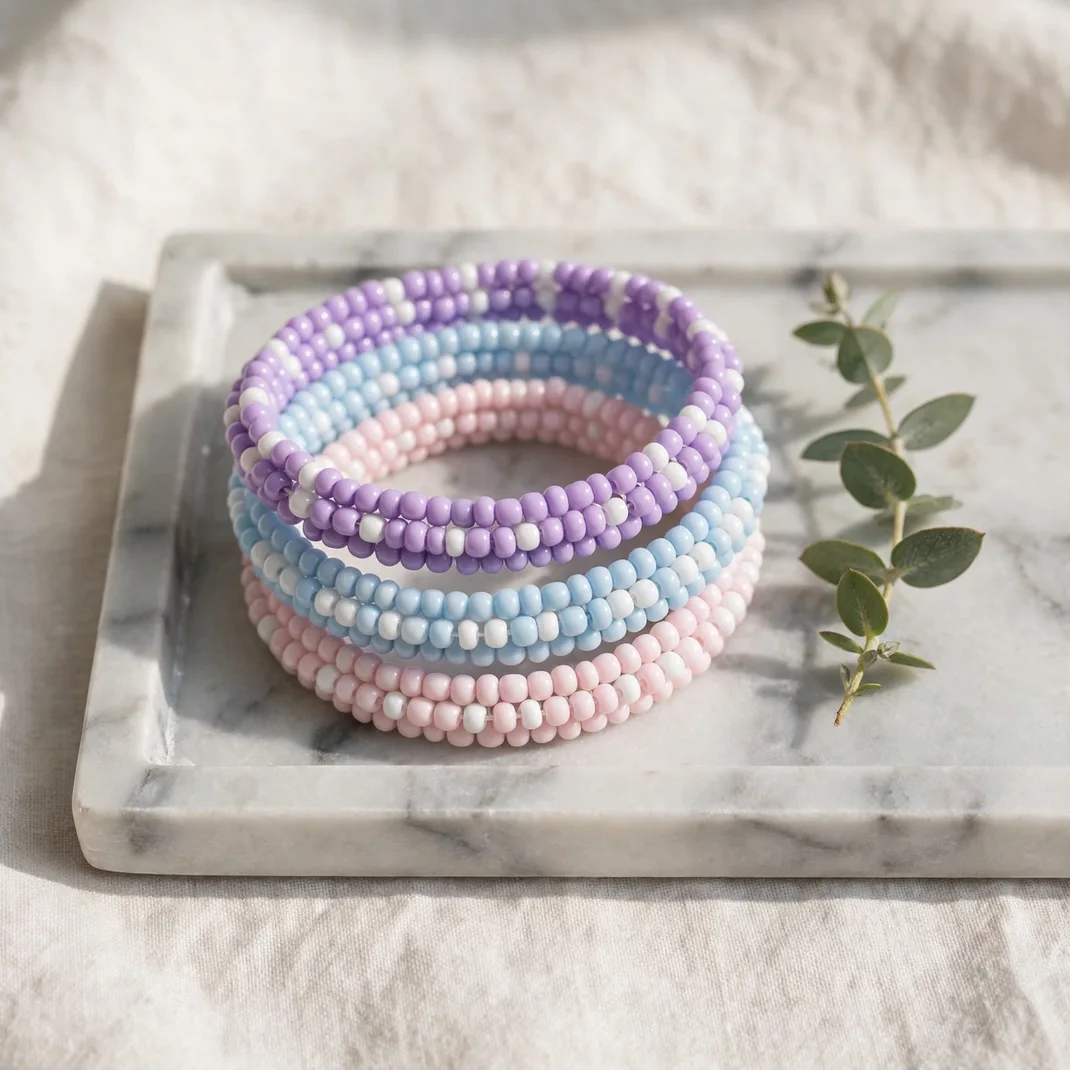
Three thin singles in coordinated pastels, worn stacked, look like a curated boutique set. The trick is all in the color palette, not the technique.
You’ll need: Pony beads in 3 pastel shades (plus white), elastic cord, and scissors.
How to make it: Make three classic singles: one solid pastel, one alternating pastel-and-white, and one with a tiny flower every 8 beads. Wear all three together.
Tip: Lavender, baby blue, and pale pink with white is the foolproof starter palette. Stacks photograph beautifully for trade posts.
12. Kandi Fish
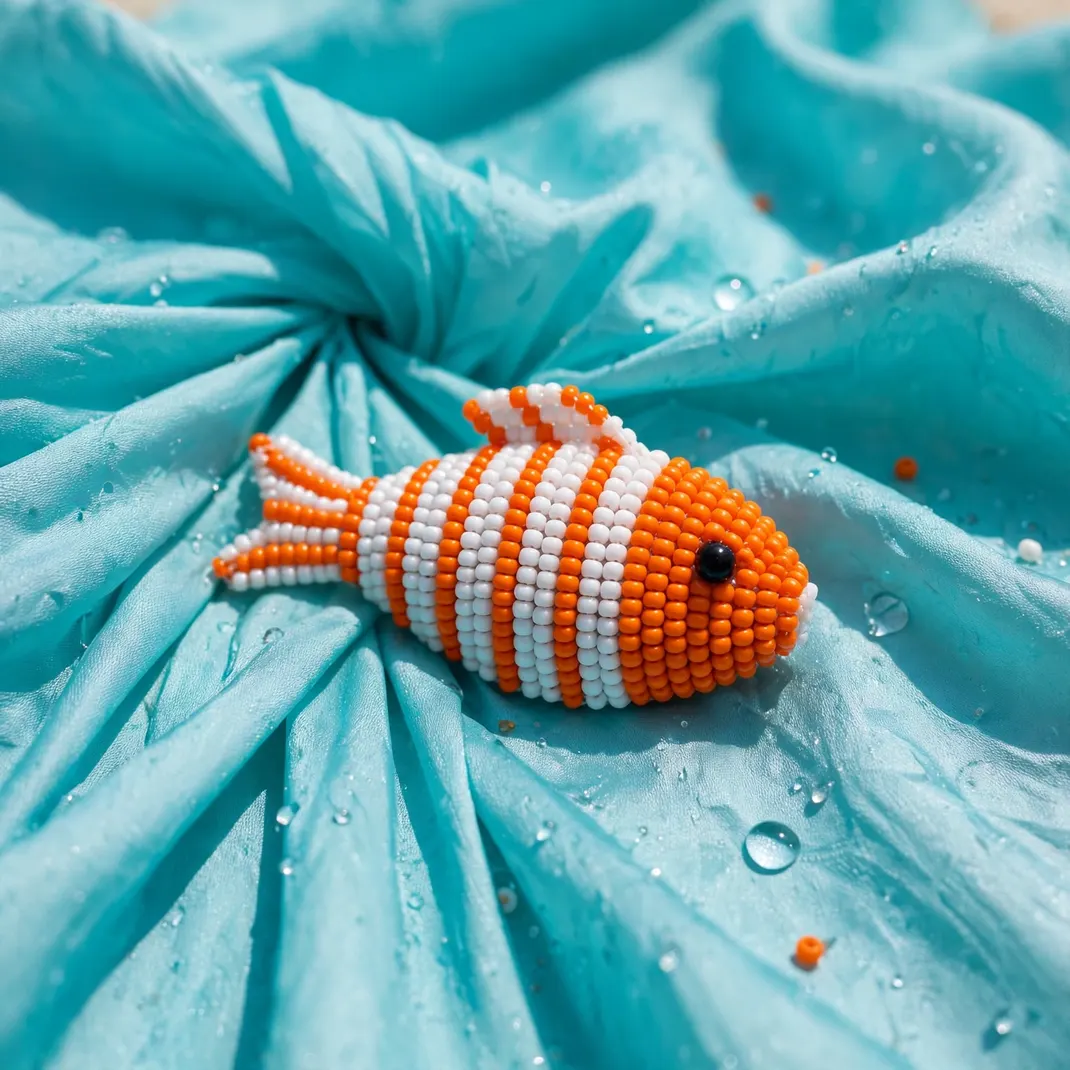
A flat beaded fish — oval body, triangle tail — is the cutest kandi critter and genuinely easy. It works as a bracelet motif or a standalone charm.
You’ll need: Pony beads in two colors, elastic cord, and scissors.
How to make it: String an oval of 8 beads for the body. At one end, add a tail: string 3 beads in a triangle and loop back into the body. Add a single contrasting bead near the front as the eye.
Tip: Alternate body colors in stripes for a tropical-fish look. The fish makes an excellent zipper pull, too.
13. Mushroom Kandi Charm
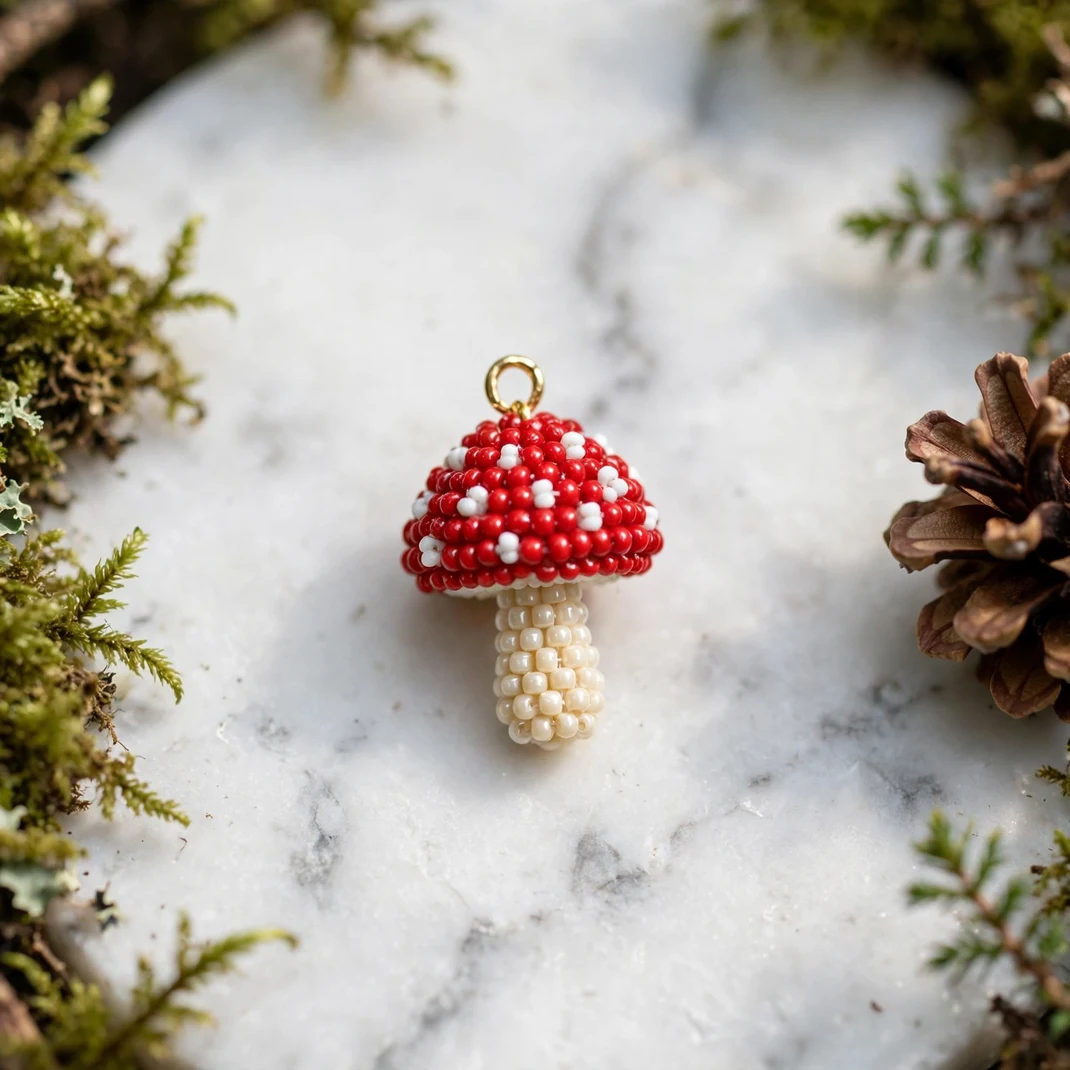
A red cap with white dots over a cream stem — the mushroom is kandi’s beloved mascot, and the mini version is a perfect bag charm.
You’ll need: Pony beads in red, white, and cream, elastic cord, and scissors.
How to make it: Build the cap: a half-circle of red beads with white beads dotted in. Below it, stack 3 cream beads for the stem. Loop the top for hanging.
Tip: Keep the cap to 7 beads wide max — any bigger and it stops looking like a charm and starts looking like a project.
14. Checkered Kandi Bracelet
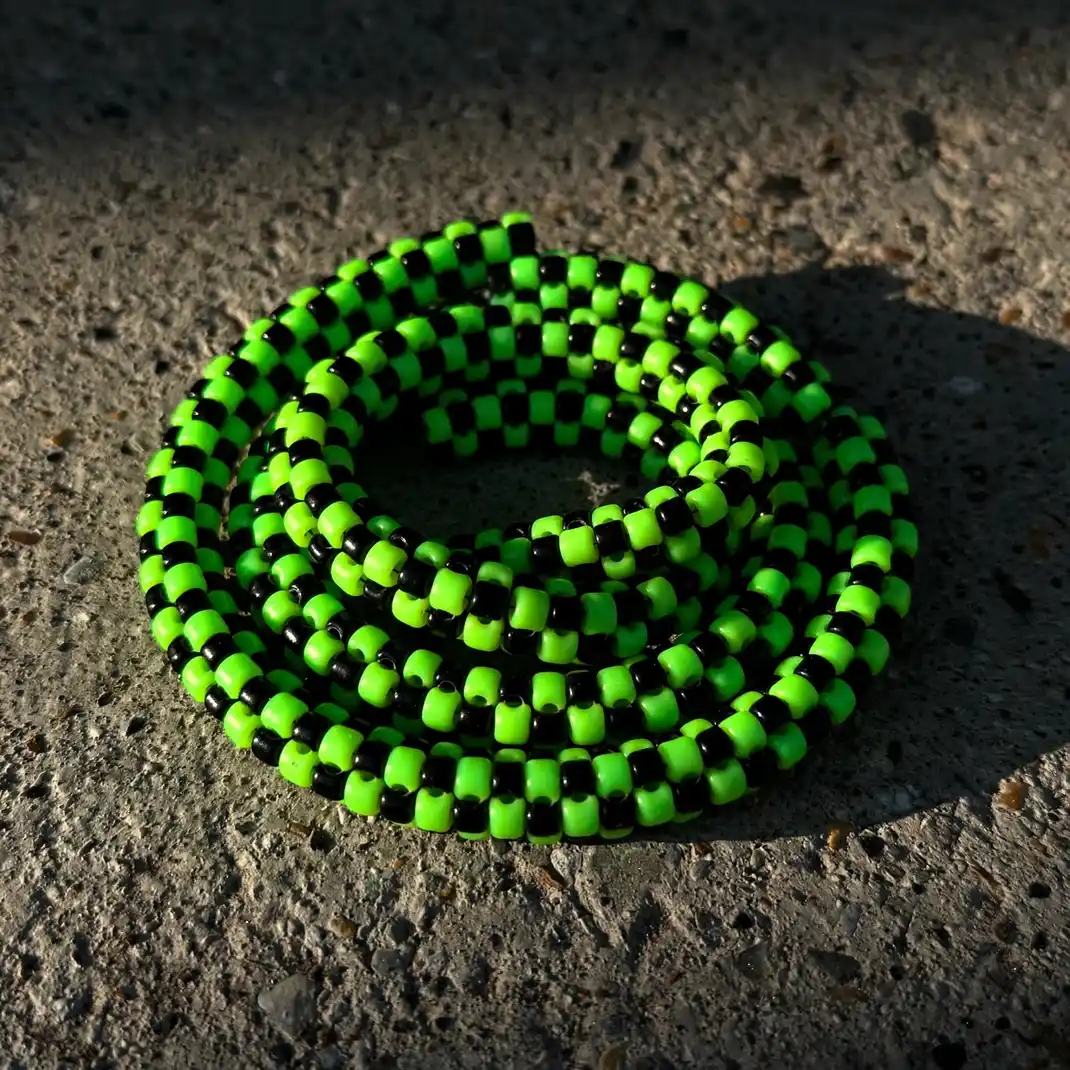
Alternating two colors in a checkerboard is the boldest-looking easy pattern in kandi. It has streetwear energy and takes zero skill beyond counting to two.
You’ll need: Pony beads in two high-contrast colors, elastic cord, and scissors.
How to make it: String beads alternating color A, color B, color A, color B around the whole bracelet. That’s it — the checkerboard emerges automatically.
Tip: Black and white is timeless; black and neon green is pure rave. Keep the two bead brands the same so the sizes match exactly.
15. Mini Trade Singles
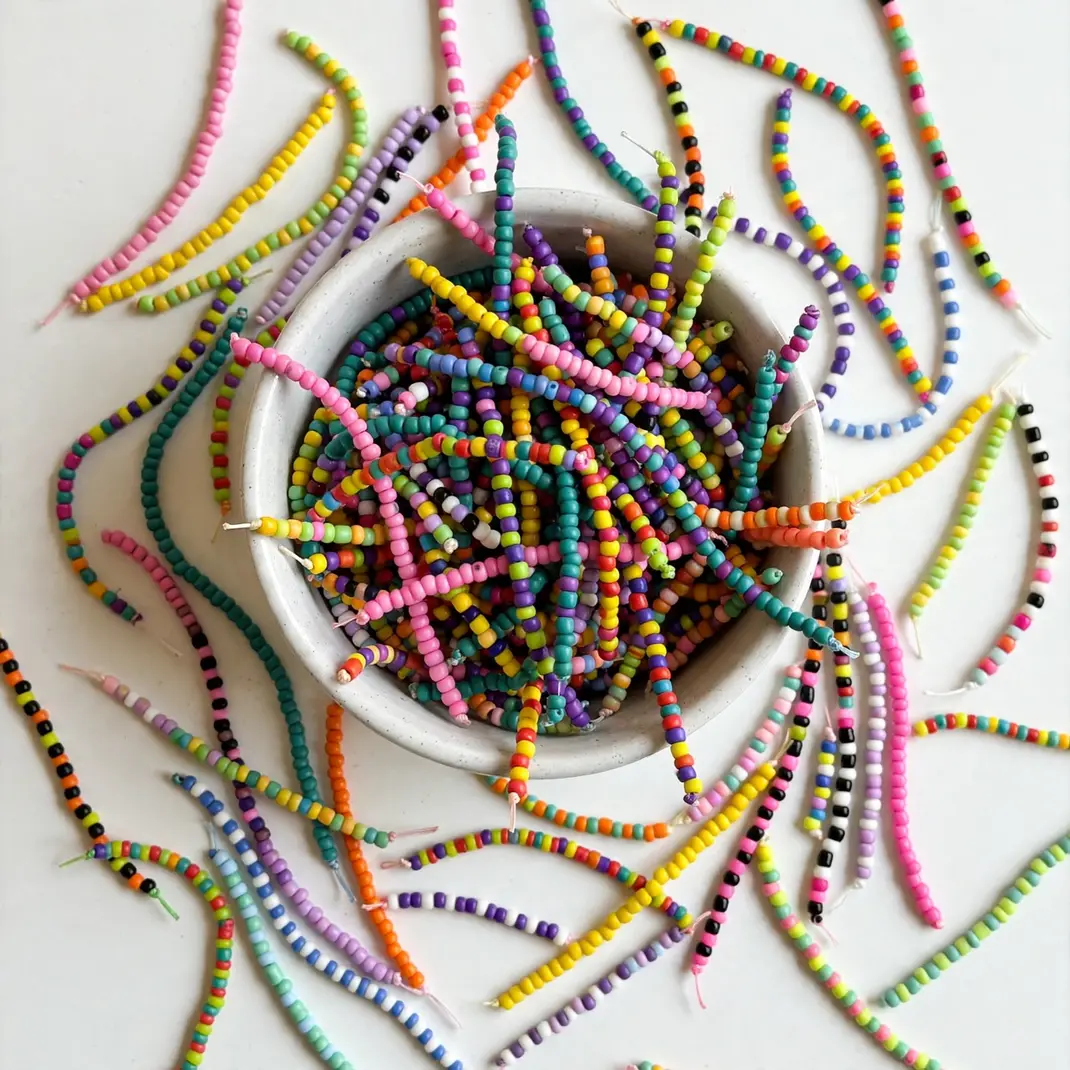
The smartest kandi makers keep a stash of tiny 20-bead singles — quick to make, easy to give away, and the currency of every kandi trade. Make them in batches while watching TV.
You’ll need: Mixed pony beads, elastic cord, and scissors.
How to make it: String 20 beads in whatever pattern or random mix you like — smaller wrist size, since many go to kids or as extras. Knot, glue, trim. Repeat until you have a bowl full.
Tip: These are your “hello” trades — the ones you hand to someone whose work you admire before the real trading starts. Never leave for an event without at least five.