26 Graduation Cap Decoration Ideas That’ll Steal the Show
Your graduation cap is the one fashion statement the whole stadium will see. It’s eight inches of blank canvas sitting right on top of your head during the biggest walk of your life so far — and the decorated caps are always the ones people photograph, cheer for, and remember. Whether you want heartfelt, hilarious, or drop-dead gorgeous, these 26 graduation cap decoration ideas will make yours the one everyone talks about long after the tassels turn.
1. Faux Floral Crown Cap
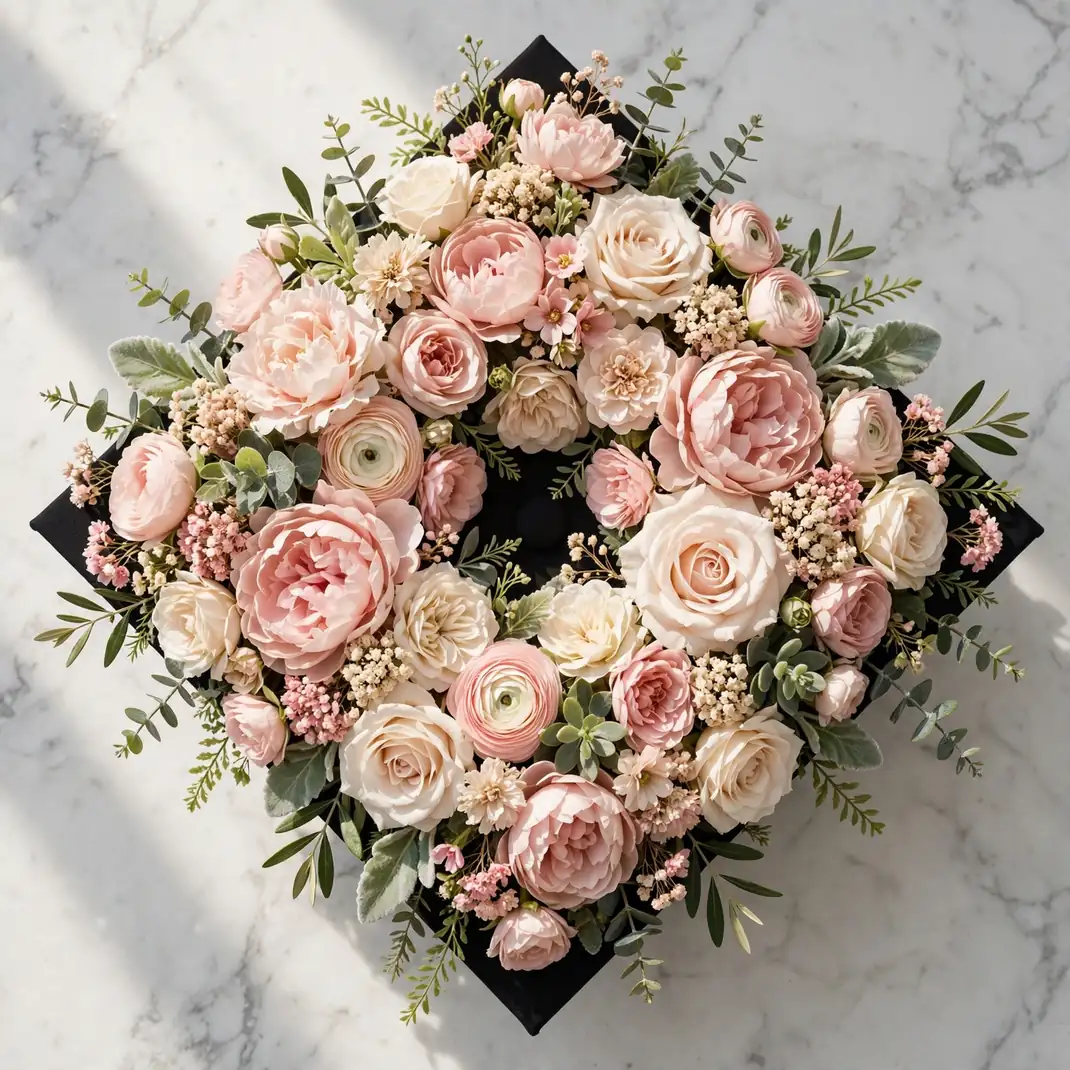
Cover the entire top of your cap in faux flowers and it becomes a garden you wear. It’s romantic, photographs beautifully from every angle, and works with any dress color underneath.
You’ll need: A variety of small faux flowers and greenery, a hot glue gun, and wire cutters.
How to make it: Remove bulky stems, then glue the largest blooms first in a pleasing cluster, filling gaps with smaller flowers and greenery until no black fabric shows.
Tip: Stick to one color family (all blush, all white, all jewel tones) — a tight palette looks expensive, a rainbow looks crafty.
2. Rhinestone Monogram Cap
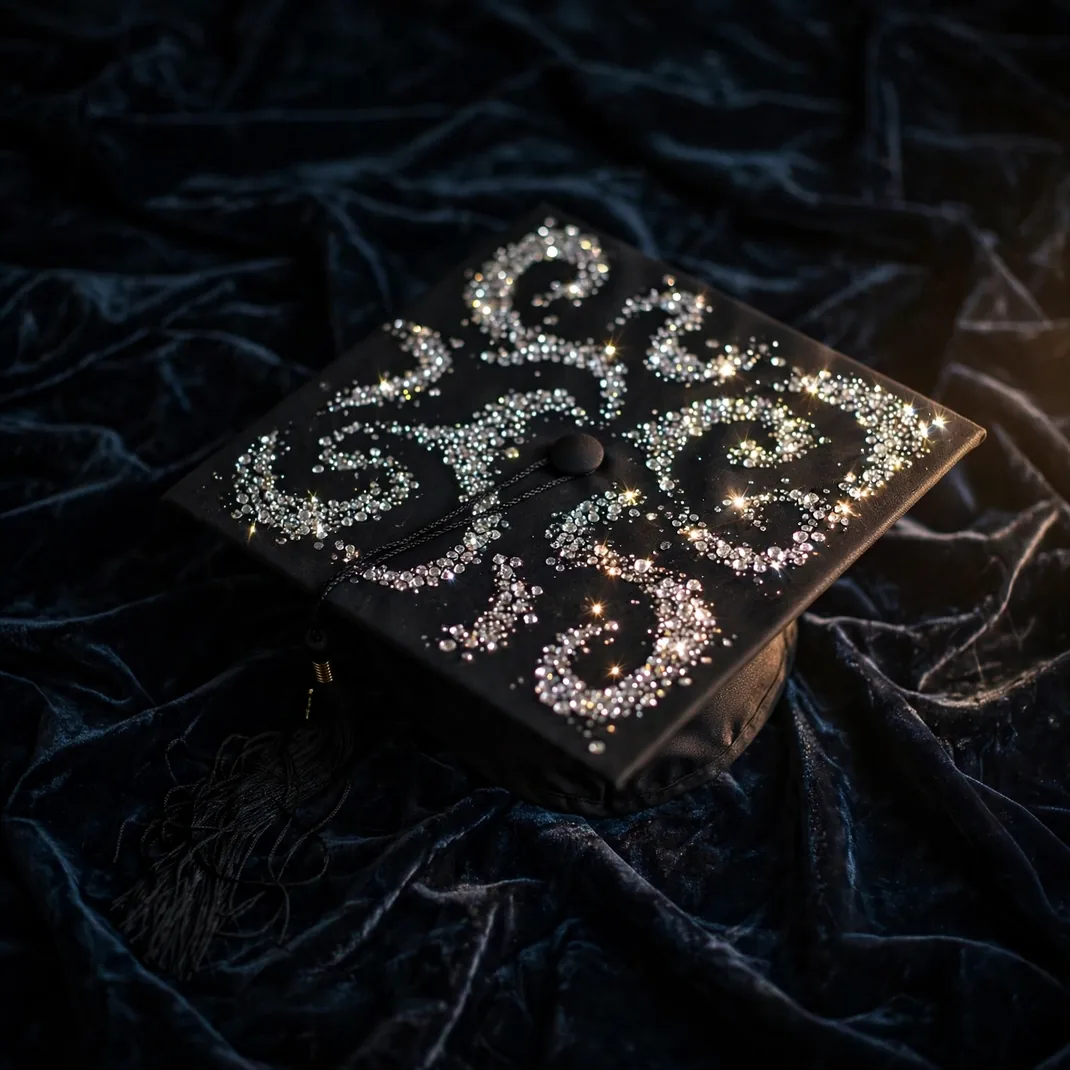
Your initials in sparkling rhinestones on a velvet-black cap is timeless luxury. It catches the light as you walk and looks incredible in close-up photos.
You’ll need: Flat-back rhinestones in mixed sizes, gem glue or E6000, tweezers, and a printed monogram template.
How to make it: Trace your monogram lightly in chalk on the cap. Glue the largest stones along the outline first, then fill in with smaller stones, working in small sections.
Tip: Outline the letters in larger stones and fill with smaller ones — the size contrast gives it a professional, jeweler-made finish.
3. “The Tassel Was Worth the Hassle” Quote Cap

The classic for a reason. This beloved quote in pretty lettering never fails to get a laugh and a cheer from the crowd.
You’ll need: Cardstock or adhesive vinyl in your school colors, letter stencils or a cutting machine, and strong craft glue.
How to make it: Cut the cap top to size, arrange your lettering with even spacing, and adhere. Add small rhinestones or a mini tassel charm as an accent.
Tip: Print the quote first and lay it on the cap to check sizing — letters that are too small disappear in stadium photos.
4. Glitter Ombré Cap

A glitter gradient fading from your school color to gold or silver is pure showstopper. It shimmers with every head turn and looks amazing in sunlight.
You’ll need: Fine glitter in two to three shades, Mod Podge or spray adhesive, a foam brush, and painter’s tape.
How to make it: Tape off the cap’s edges, brush adhesive in sections, and sprinkle glitter darkest at the back fading to lightest at the front. Seal with two coats of Mod Podge.
Tip: Work over a tray and do it outdoors — glitter gets everywhere, and sealing is non-negotiable unless you want to sparkle the entire graduating class.
5. 3D Paper Butterfly Cap

Butterflies with folded wings that actually lift off the cap look magical in motion. They flutter as you walk — the crowd will love it.
You’ll need: Decorative paper or cardstock, butterfly templates, a hot glue gun, and small adhesive dots.
How to make it: Cut butterflies in graduated sizes, fold each in half to create dimension, and glue only the body fold to the cap so wings stay lifted. Cluster densely at one corner, trailing smaller ones across.
Tip: Glue just the center crease — wings glued flat lose all the magic.
6. Pearl Border Elegant Cap
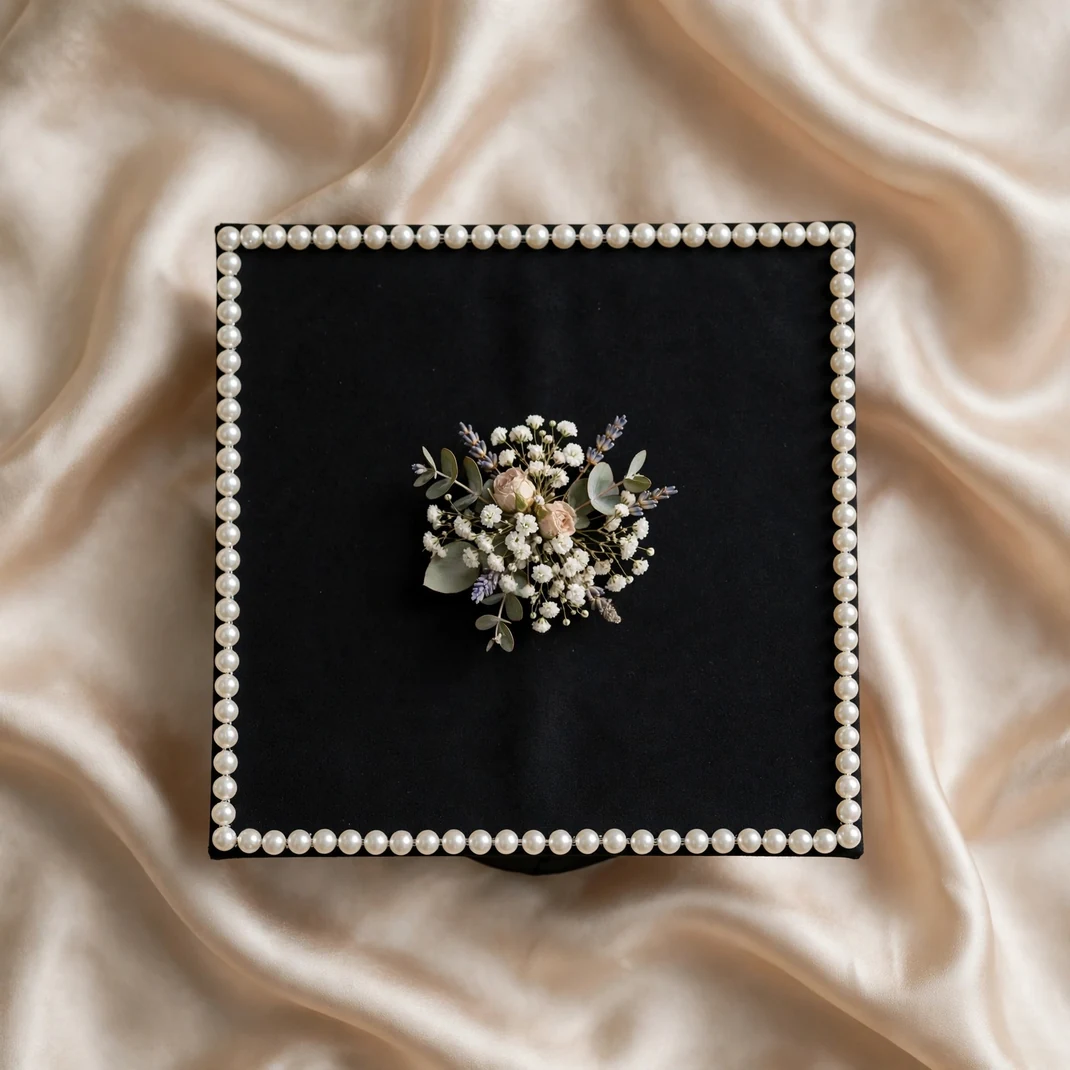
A frame of pearls around the cap’s edge with a simple quote or monogram in the center is understated elegance that never goes out of style.
You’ll need: Flat-back pearl cabochons in two sizes, strong craft glue, and letter stickers or vinyl for the center design.
How to make it: Glue a row of pearls around all four edges of the cap top, then add your center lettering or a small floral accent inside the frame.
Tip: Mix pearl sizes along the border — alternating large and small reads as intentional design, not a craft-store kit.
7. Photo Memory Collage Cap
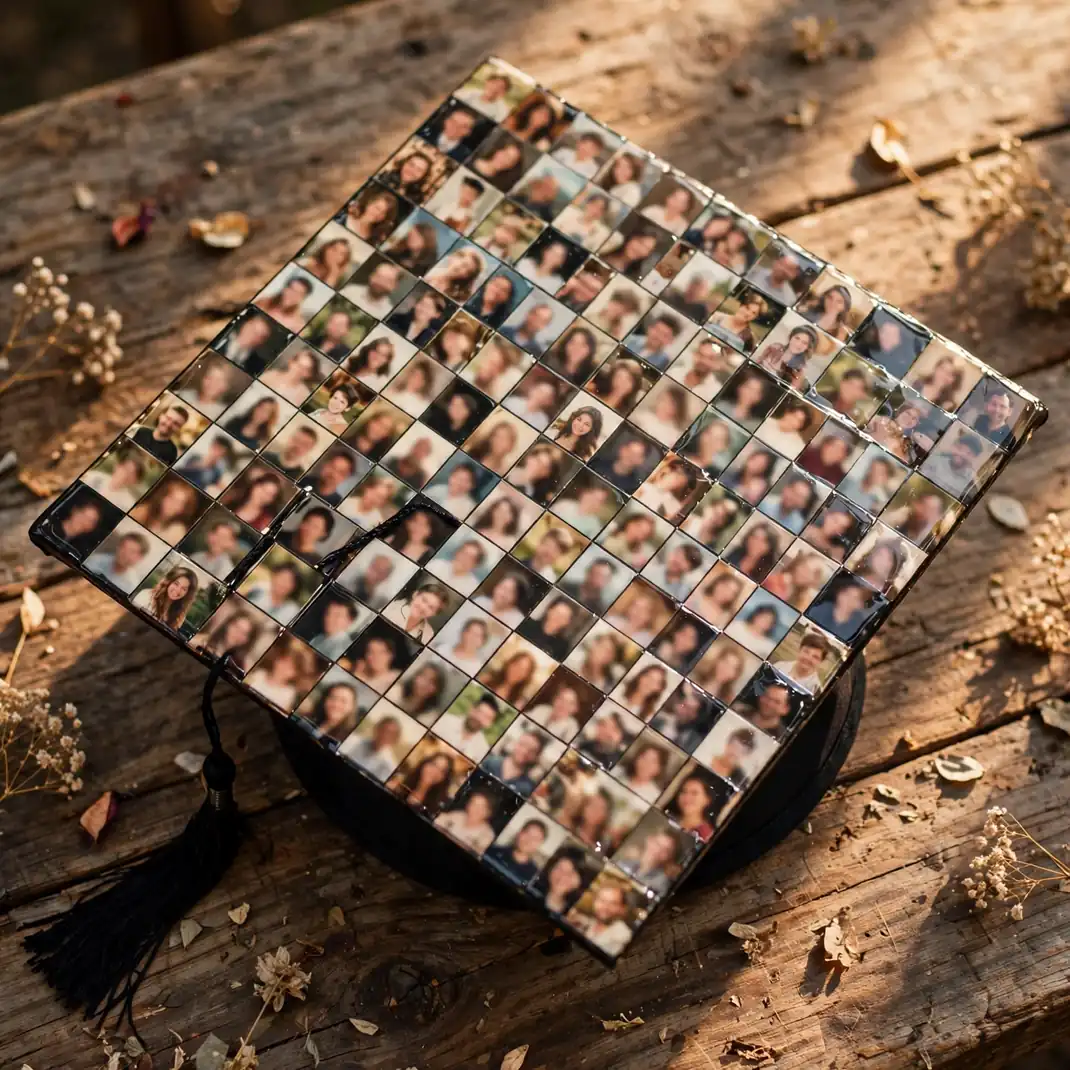
Tiny printed photos of your four years — friends, dorm rooms, game days — sealed under a clear finish. It’s the most personal cap in the stadium.
You’ll need: Small printed photos (matte works best), Mod Podge, a foam brush, and scissors.
How to make it: Trim photos into uniform squares or fun shapes, arrange them edge to edge on the cap, and seal with several thin Mod Podge coats until smooth.
Tip: Print photos at 1.5 inches — big enough to recognize faces in person, small enough to fit plenty of memories.
8. Sports Team Spirit Cap
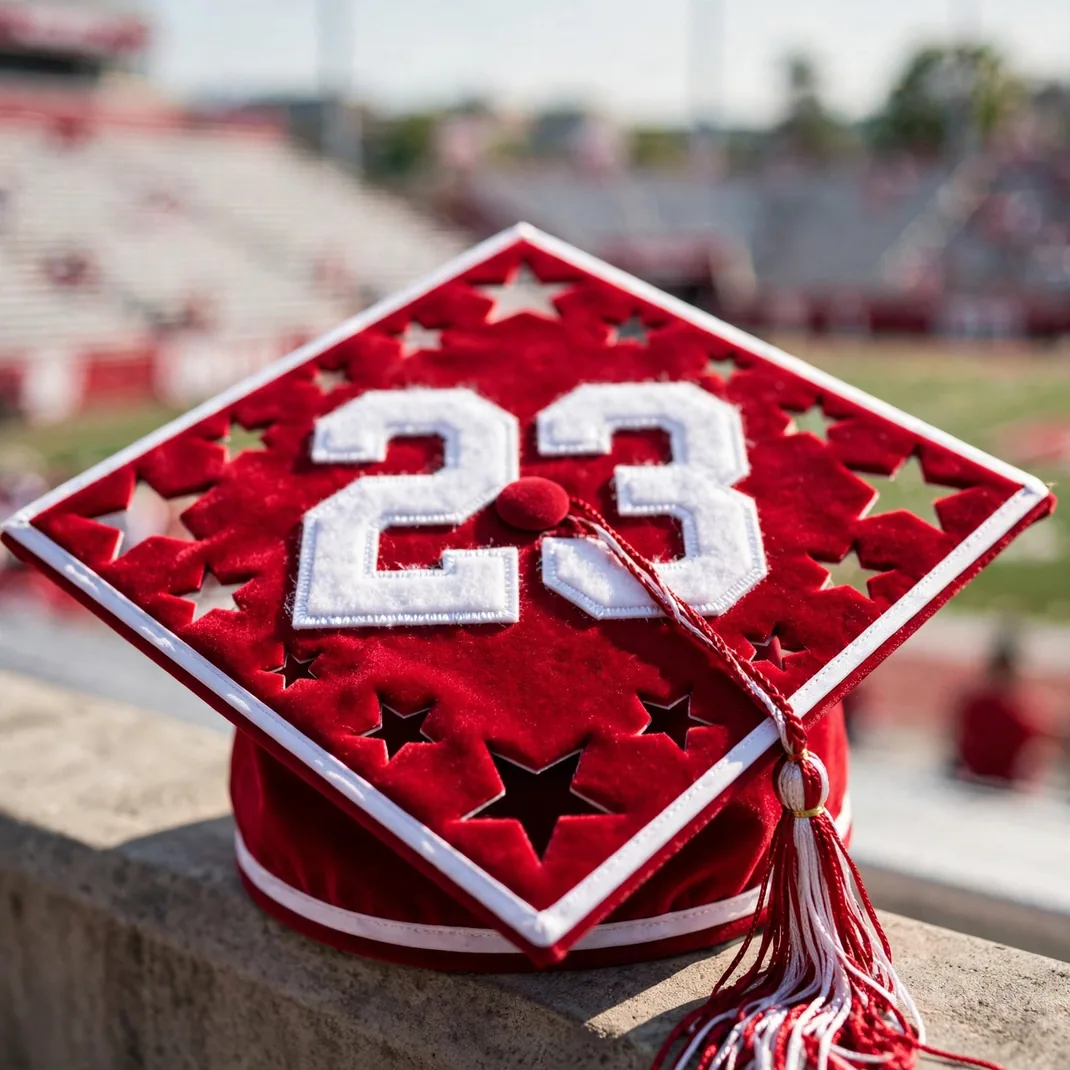
Your team’s colors, logo-style lettering, and maybe your jersey number — the student section will go wild when they spot it.
You’ll need: Felt or cardstock in team colors, fabric paint or iron-on letters, and strong glue.
How to make it: Cover the cap in your primary team color, add the team name or your number in contrasting letters, and finish with small star or trophy cutouts.
Tip: Check your school’s trademark rules for personal use — stylized colors and numbers are safe; exact logos can be iffy.
9. Nursing “Future RN” Cap
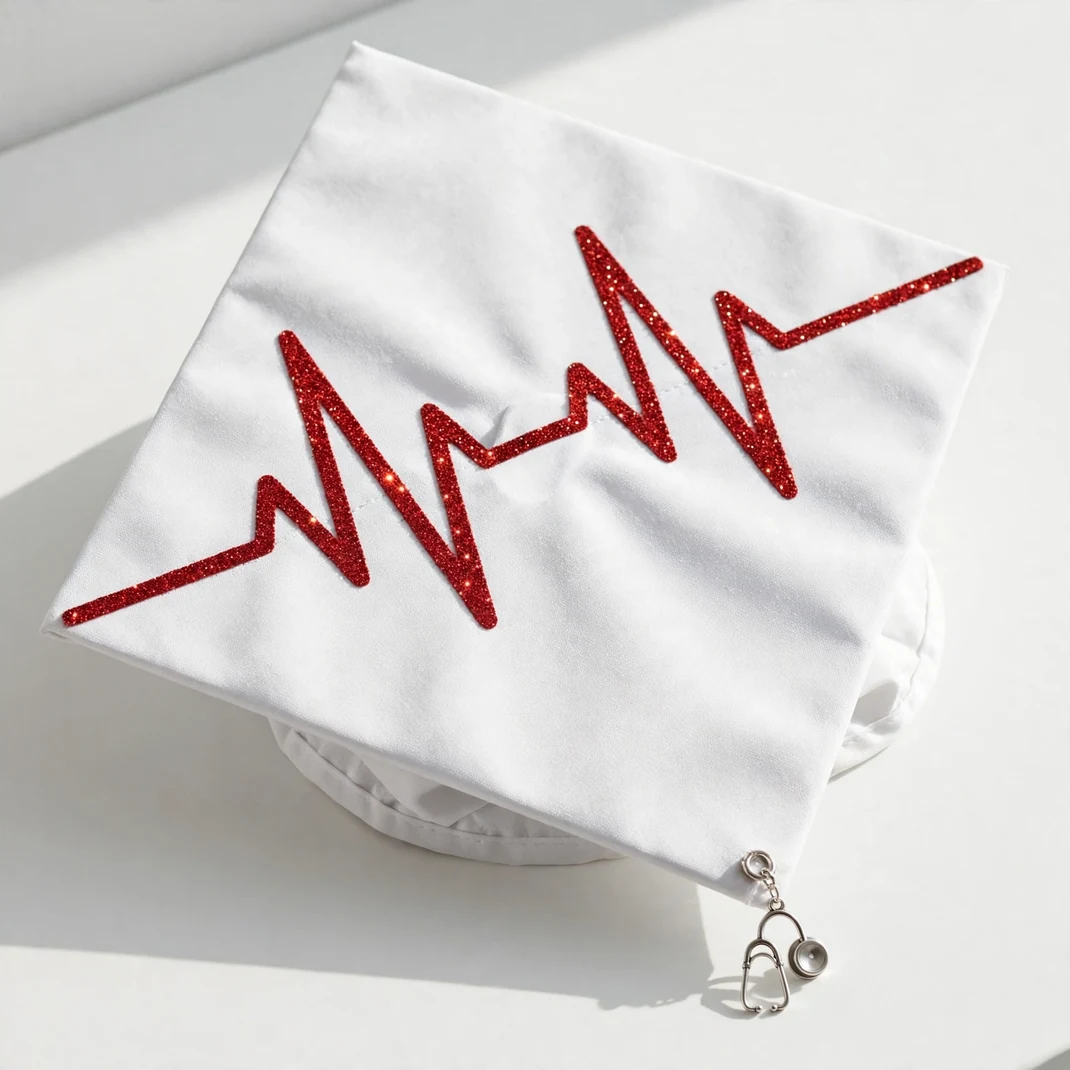
A stethoscope charm, a heartbeat line in glitter, and “Future RN” — nursing grads have the best caps, and this one earns its applause.
You’ll need: Red or white cardstock base, a mini stethoscope charm or decal, glitter for the heartbeat line, and letter stickers.
How to make it: Cover the cap, draw or glue a heartbeat line across the middle in glitter, add “Future RN” lettering and the stethoscope accent at the corner.
Tip: A real mini badge reel or charm from a scrub shop looks far better than a printed one.
10. Teacher “Mrs.” Apple Cap

New teachers love this one: a chalkboard-look background, your new title in script, and a shiny red apple. Adorable and instantly readable from the stands.
You’ll need: Black cardstock or chalkboard vinyl, white and red paint pens, a small faux apple, and glue.
How to make it: Cover the cap in the chalkboard background, write “Mrs. [Name]” in your best script with paint pens, and glue the apple at one corner.
Tip: Practice the script on paper first — paint pens are unforgiving, and this design lives or dies on the lettering.
11. Travel Map “Adventure Awaits” Cap

Decoupage an actual map onto your cap and letter “Adventure Awaits” across it. Perfect for the grad with a one-way ticket and big plans.
You’ll need: A real paper map or map-printed paper, Mod Podge, letter stickers, and a tiny compass charm.
How to make it: Decoupage map sections onto the cap, seal well, then add your lettering diagonally across the top and glue the compass charm at the corner.
Tip: Use a map of somewhere meaningful — your college town, your study-abroad city, or your next destination.
12. Literary Book-Page Cap
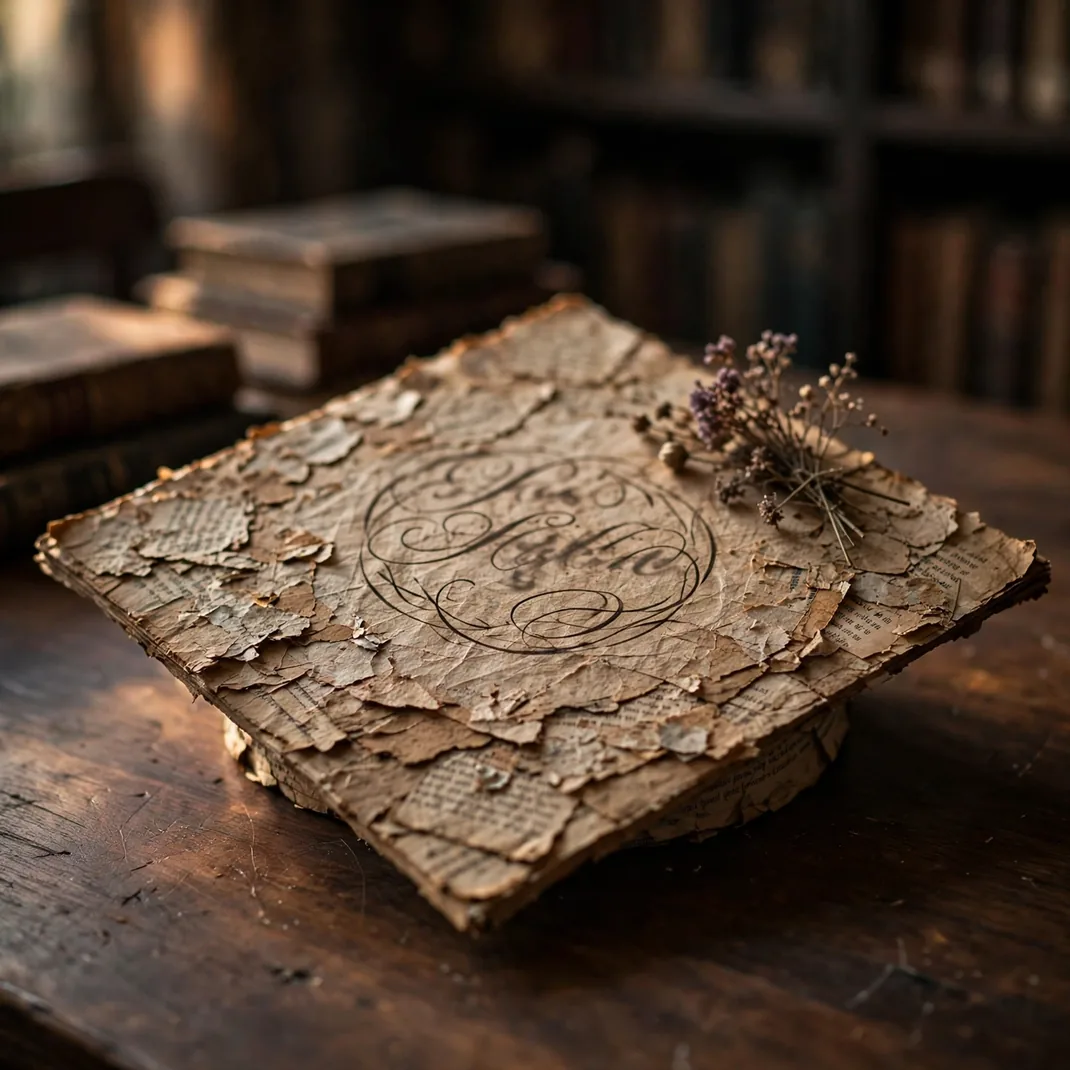
Cover the cap in pages from your favorite book with a beloved quote in calligraphy. English majors, this is your moment.
You’ll need: Pages from a thrifted book, Mod Podge, a calligraphy pen or printed quote, and a small flower accent.
How to make it: Decoupage book pages edge to edge, seal, then add your quote in the center — hand-lettered or printed on vellum and glued down.
Tip: Choose pages with clean, readable text blocks — dense paragraphs look better than dialogue-heavy pages at cap scale.
13. Sunflower Bloom Cap

A burst of sunflowers radiating from the center is pure joy. It’s bold, cheerful, and impossible to miss in a sea of black caps.
You’ll need: Large and small faux sunflowers, greenery sprigs, a hot glue gun, and wire cutters.
How to make it: Glue the biggest sunflower dead center, ring it with medium blooms, then fill every gap with small flowers and leaves until the cap is a full sunburst.
Tip: Angle the outer flowers slightly outward — the 3D halo effect is what makes it look spectacular instead of flat.
14. Galaxy Night-Sky Cap

Deep purples, blues, and silver stars with “To the moon and beyond” — a galaxy cap looks like art and photographs like a dream.
You’ll need: Dark blue and purple acrylic paint, star stickers or a stencil, silver glitter, and letter stickers.
How to make it: Sponge-paint the cap in blended galaxy colors, flick white paint for stars, add constellation stickers, and letter your quote across the lower half.
Tip: Blend paints while wet with a dry sponge — that’s the secret to nebula clouds instead of stripes.
15. Disney Castle Dream Cap

A glittering castle silhouette with “Dreams Come True” — for the grad who grew up on Disney and isn’t done believing in magic.
You’ll need: Gold and blue cardstock, a castle silhouette template, glitter, and letter stickers.
How to make it: Build the castle silhouette in layered cardstock on a midnight-blue glitter background, add your lettering on a scroll-shaped banner beneath it.
Tip: Layer two castle silhouettes slightly offset in different blues — the depth makes it look far more impressive.
16. Harry Potter House Pride Cap

Your house colors, crest-style shield, and “Mischief Managed” or “After all this time? Always.” The Great Hall would applaud.
You’ll need: Cardstock in house colors, a printed crest, gold letter stickers, and a wand charm or mini scarf.
How to make it: Cover the cap in your house’s primary color, center the crest, add your quote in gold lettering, and tuck the charm at the edge.
Tip: A diagonally split background in both house colors looks more designed than a single flat color.
17. Greek Life Letter Cap
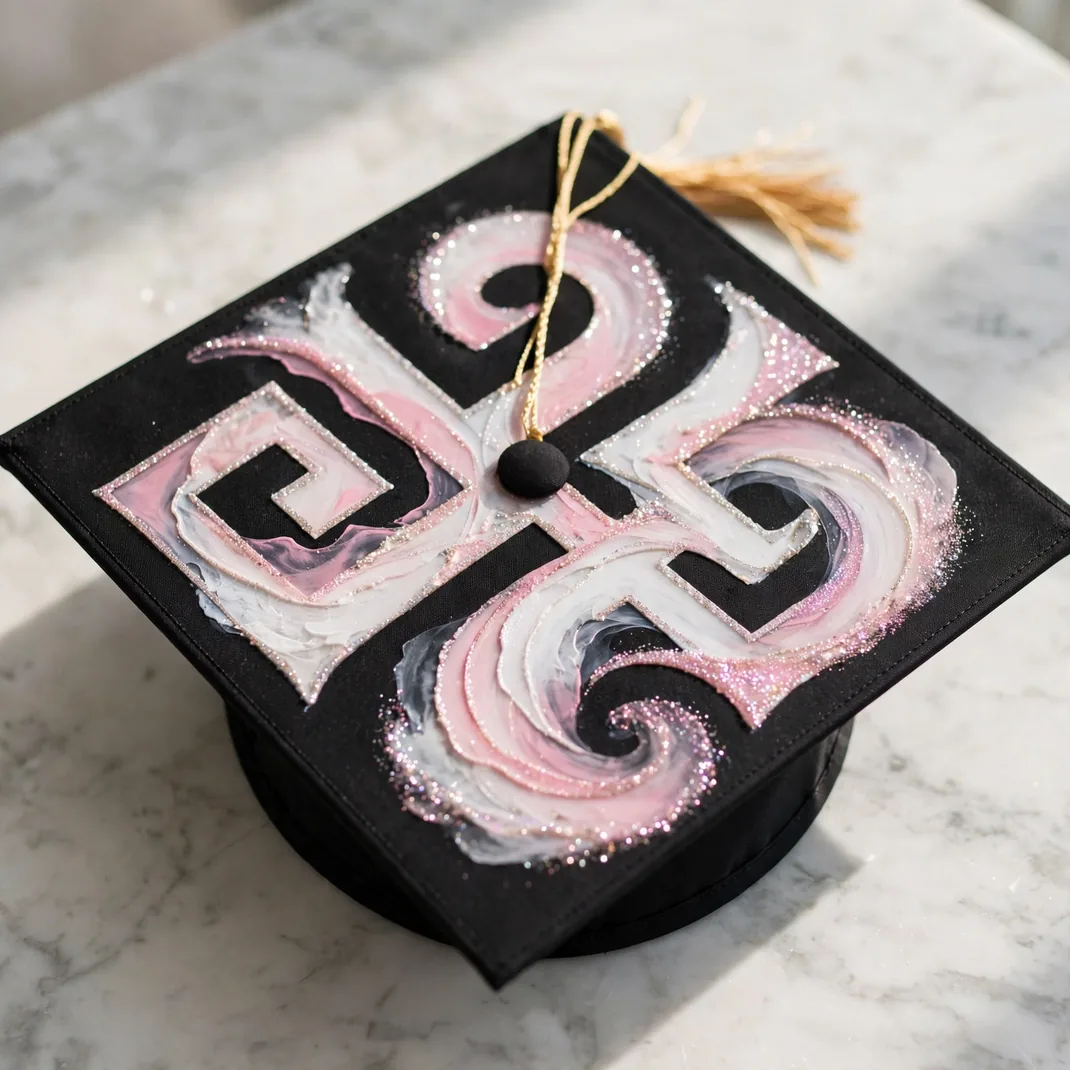
Your sorority or fraternity letters big and bold in your organization’s colors, maybe with your line name and year. Your sisters or brothers will spot it instantly.
You’ll need: Felt or cardstock in org colors, large Greek letter templates, glitter or rhinestones, and strong glue.
How to make it: Cut oversized letters and layer them — base color with a contrasting outline — then embellish with glitter, pearls, or rhinestones around the edges.
Tip: Outline letters in a thin contrasting border before decorating — it makes even simple letters look sharp and professional.
18. “Para Mis Padres” First-Gen Tribute Cap

Honor the parents who sacrificed everything: their names, your country’s flag colors, and “Para mis padres” in beautiful script. There won’t be a dry eye in your row.
You’ll need: Cardstock in meaningful colors, elegant letter stickers or vinyl, small flag or flower accents, and strong glue.
How to make it: Design a clean layout with the tribute phrase as the hero, add your parents’ names or graduation year beneath, and finish with one meaningful accent — not ten.
Tip: Restraint is everything here. One powerful phrase beats a crowded collage for emotional impact.
19. Music Note Melody Cap

Floating music notes, a vinyl record, or your instrument in silhouette with “Let the music play on.” Music grads, take your bow.
You’ll need: Black and gold cardstock, music note cutouts or stickers, a small vinyl record decal, and letter stickers.
How to make it: Create a staff-line background or a bold black base, scatter gold music notes as if floating upward, and add your quote along the bottom.
Tip: Slightly curl the paper notes before gluing just their centers — they’ll cast tiny shadows and look like they’re dancing.
20. Light-Up LED Cap

Fairy lights woven across your cap make you literally the brightest grad in the stadium — especially for evening ceremonies.
You’ll need: A string of battery micro fairy lights, clear-drying glue dots, and a lightweight base design (paint or fabric).
How to make it: Decorate the cap base first, then weave the light string in swirls or your initials, securing with glue dots. Hide the battery pack under a flower or bow at the back edge.
Tip: Turn the lights on for photos and the walk, off during speeches — save the battery for your moment.
21. Succulent Garden Cap
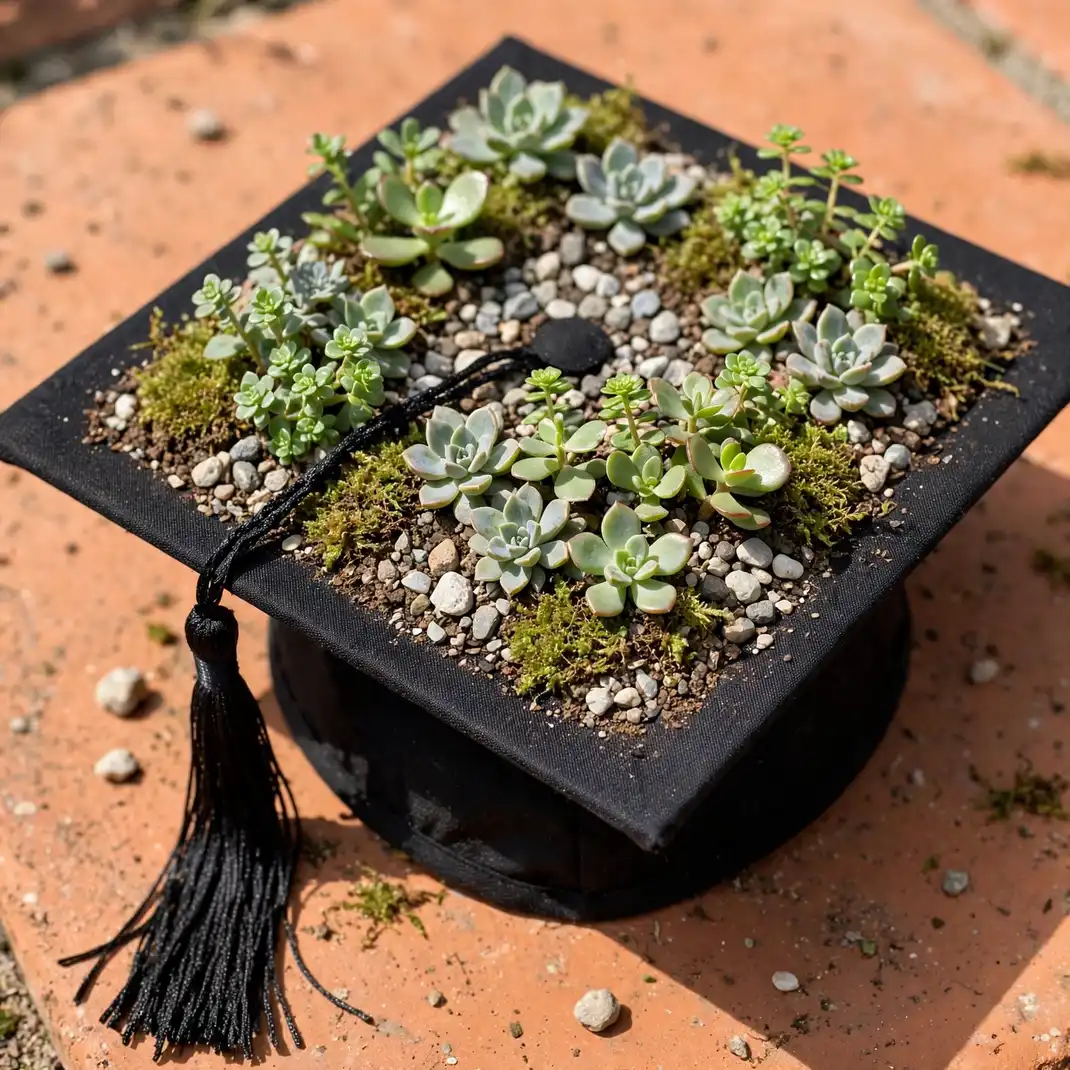
Tiny faux succulents and moss on the cap — quirky, adorable, and perfect for the plant parent who kept a windowsill jungle alive through four years of dorms.
You’ll need: Mini faux succulents, preserved moss, a hot glue gun, and small pebbles.
How to make it: Glue a moss base over the cap, cluster succulents of varying heights and greens on top, and tuck tiny pebbles into gaps for a real garden feel.
Tip: Vary succulent shapes — rosettes, trailing, spiky — a garden of one shape looks like a craft kit.
22. Denim Patchwork Cap
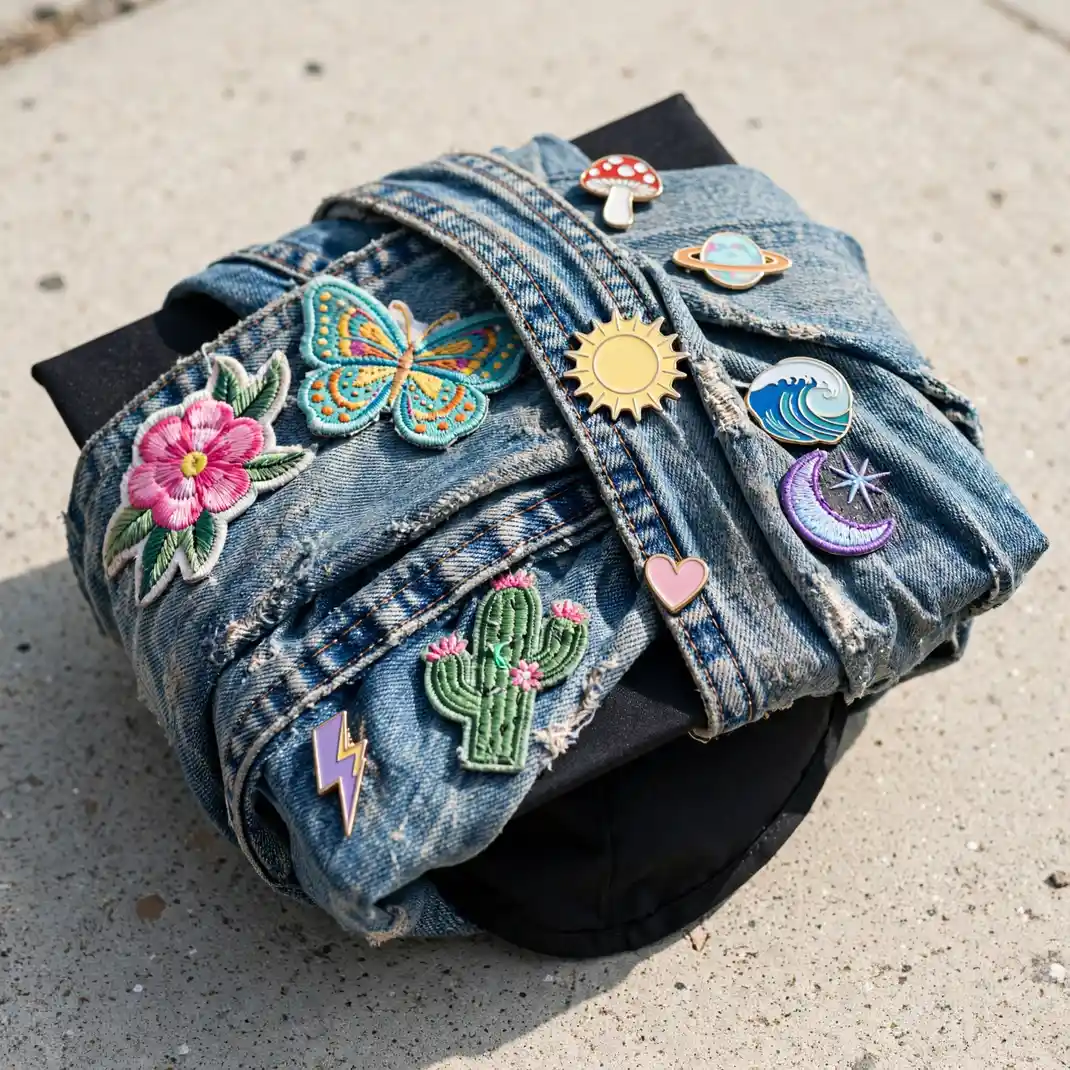
Cover the cap in denim with embroidered patches, pins, and your grad year. Effortlessly cool and completely one-of-a-kind.
You’ll need: Denim fabric or an old pair of jeans, iron-on patches and enamel pins, fabric glue, and scissors.
How to make it: Wrap and glue denim smoothly over the cap, then arrange patches and pins in a collage — leave breathing room between pieces so each one shines.
Tip: Sand the denim lightly after gluing for a perfectly worn-in vintage look.
23. Mountain Landscape Painted Cap

A hand-painted mountain sunrise with “The best is yet to come” — for the adventurer, the dreamer, the one already planning the next climb.
You’ll need: Acrylic paints, fine detail brushes, a landscape reference photo, and clear sealant.
How to make it: Sketch the horizon lightly in pencil, paint sky first then mountains front to back, add tiny birds or a sun, letter your quote, and seal with two clear coats.
Tip: Keep the design simple and bold — fine detail disappears at stadium distance; strong shapes and colors carry.
24. “She Believed She Could” Calligraphy Cap
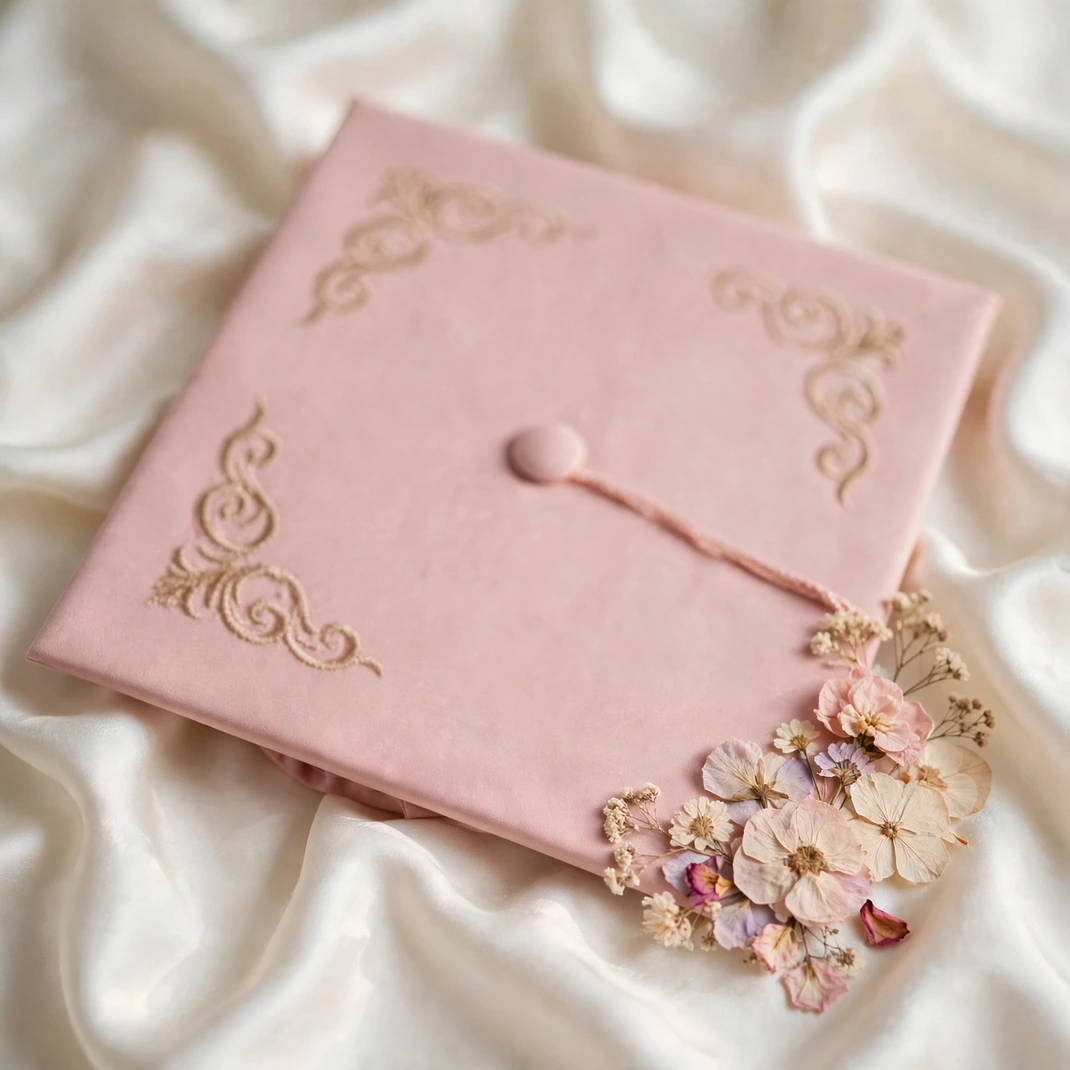
The empowering classic in gorgeous hand lettering with a delicate floral corner. Timeless, elegant, and guaranteed to make your mom cry happy tears.
You’ll need: A blush or white cardstock base, brush pens or printed calligraphy, small pressed-flower decals, and strong glue.
How to make it: Mount the cardstock base, letter the quote in the center with careful spacing, and add a small asymmetrical floral cluster at one corner.
Tip: Print your lettering and trace it if freehand calligraphy isn’t your strength — nobody will know, and it’ll look flawless.
25. Cherry Blossom Branch Cap
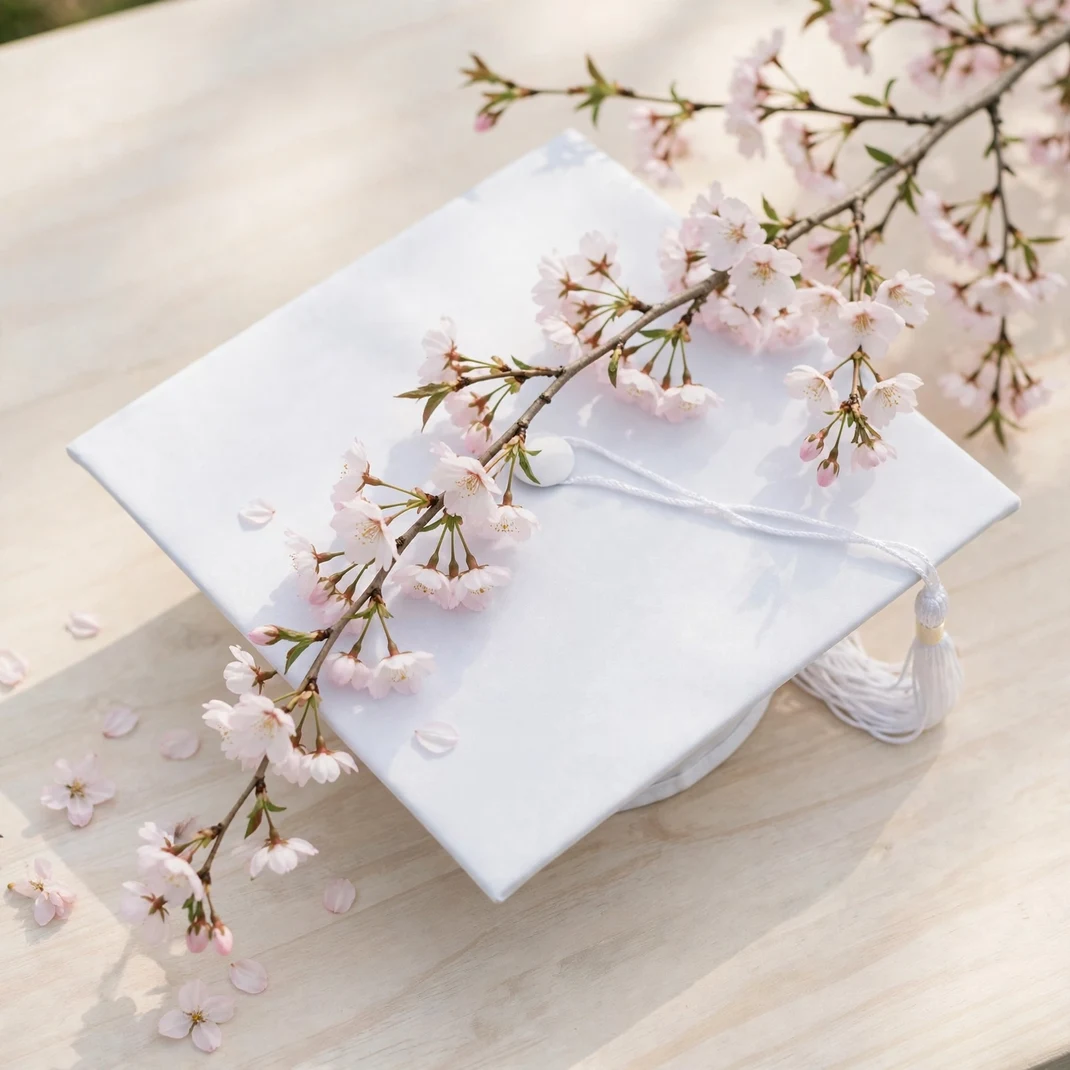
A delicate branch of cherry blossoms sweeping across a soft pink or white cap. It’s graceful, feminine, and stunning in spring ceremony light.
You’ll need: A faux cherry blossom branch, small blossom picks, a hot glue gun, and wire cutters.
How to make it: Lay the branch diagonally across the cap and glue it down securely, then fill in with individual blossoms so the branch looks full and natural from every angle.
Tip: Let blossoms trail slightly over the cap’s edge — the overhang looks dreamy in photos.
26. “Thank You Mom & Dad” Dedication Cap
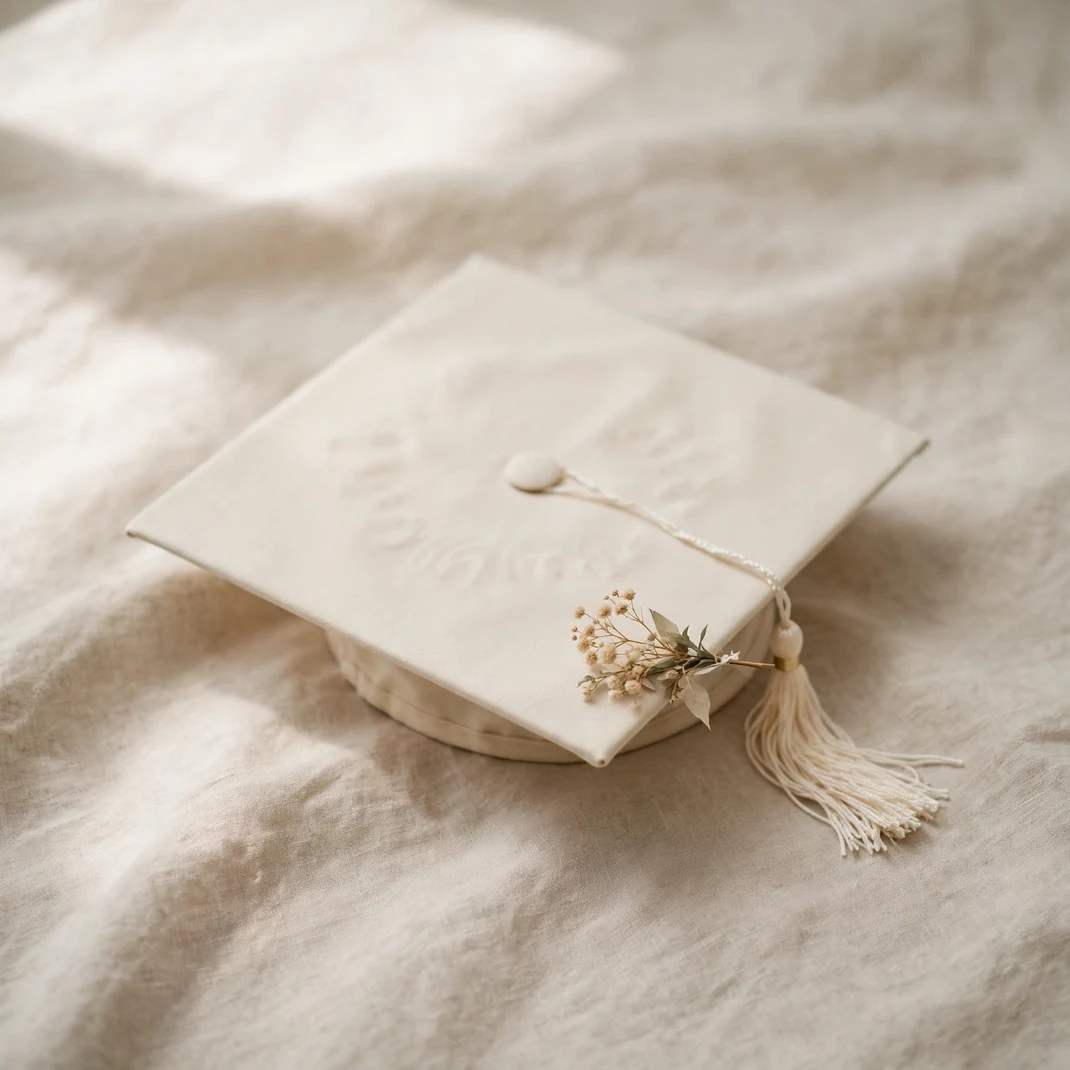
The simplest and most powerful: a heartfelt thank-you to your parents in elegant lettering, maybe with your family photo or their wedding date. Bring tissues.
You’ll need: Cardstock in a meaningful color, elegant letter stickers or vinyl, one small photo or date accent, and strong glue.
How to make it: Keep the layout clean — the dedication as the hero text, one small accent beneath it, and generous empty space around both.
Tip: Tell your parents what the cap says before the ceremony — watching them read it for the first time in the stands is a memory you’ll keep forever.