20 Winter DIY Ideas That Are Actually So Good
Winter is the season your home gets to show off. The days are short, the air is cold, and every warm light and soft texture inside feels ten times cozier than it would in July. That’s why winter DIY hits different — a garland you string in an afternoon transforms the whole living room, and a simmer pot on the stove makes the entire house smell like a cabin in the woods. The twenty ideas below are the ones genuinely worth your time: beautiful enough to photograph, simple enough to finish in a weekend afternoon, and cozy enough that you’ll wonder why you didn’t make them years ago.
1. Dried Orange & Pine Garland

Nothing says winter like a garland of dried orange slices tucked into fresh pine. It smells amazing, looks like something from a holiday magazine, and costs almost nothing if you forage the greenery.
You’ll need: Fresh pine or cedar branches, dried orange slices (store-bought or oven-dried), jute twine, and floral wire.
How to make it: Lay pine branches in overlapping layers along a length of twine, wiring each bunch in place. Tuck dried orange slices between the branches, wiring or hot-gluing them so they sit at angles. Hang over a mantel, doorway, or window.
Tip: Dry your own orange slices at 200°F for 3–4 hours, flipping halfway — they keep their color better than rushed high-heat drying.
2. Mason Jar Snow Globes
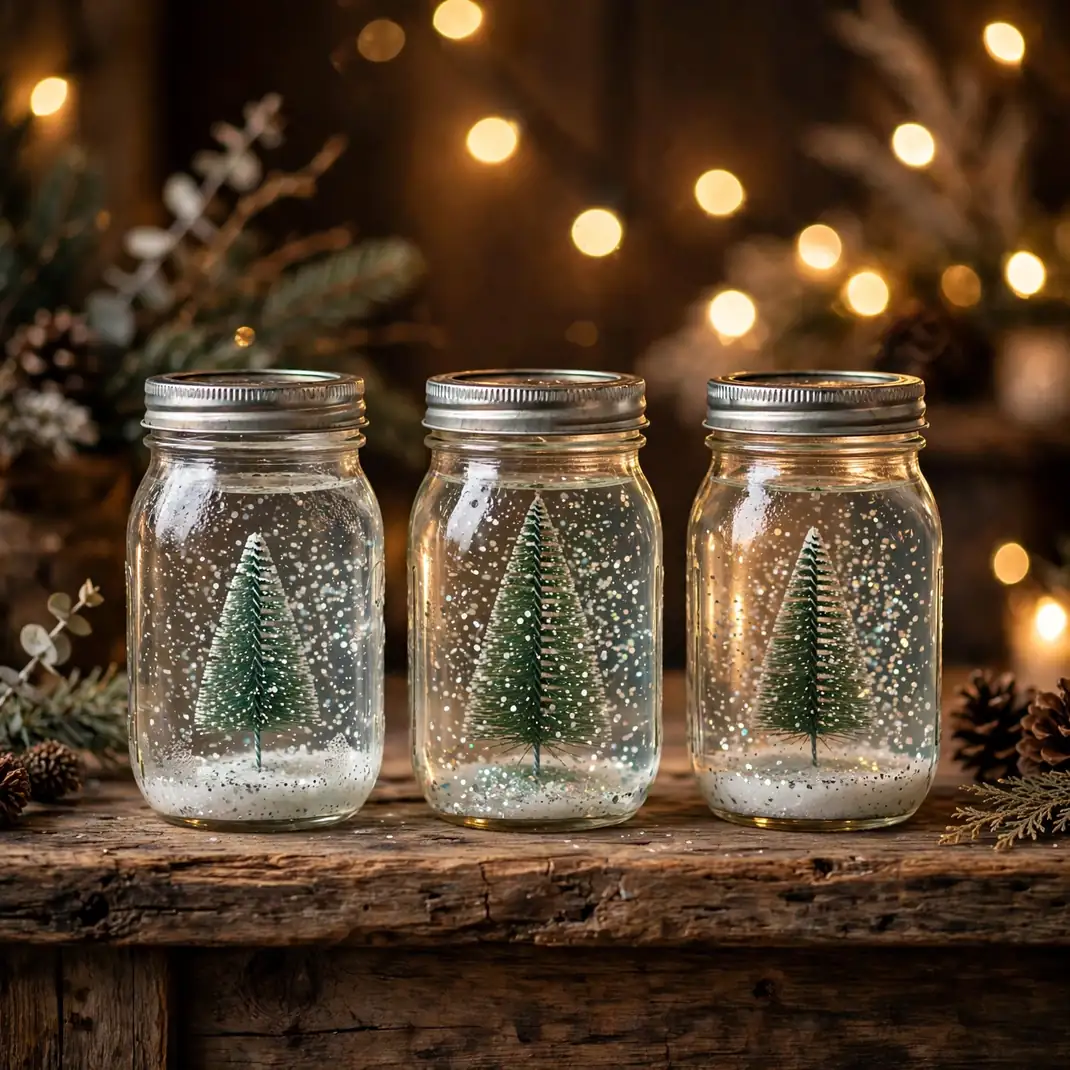
A homemade snow globe in a mason jar is pure winter magic, and it’s one of those crafts that delights kids and adults equally. Make a whole village of them for a mantel display.
You’ll need: Mason jars with lids, small winter figurines or bottle-brush trees, distilled water, clear-drying waterproof glue, and glitter or faux snow.
How to make it: Glue your figurine to the inside of the lid and let it cure fully. Fill the jar with distilled water, a drop of glycerin, and glitter. Screw the lid on tight (seal the rim with glue), flip, and shake.
Tip: Distilled water stays crystal clear; tap water goes cloudy within weeks.
3. Cinnamon Stick Candle Wraps
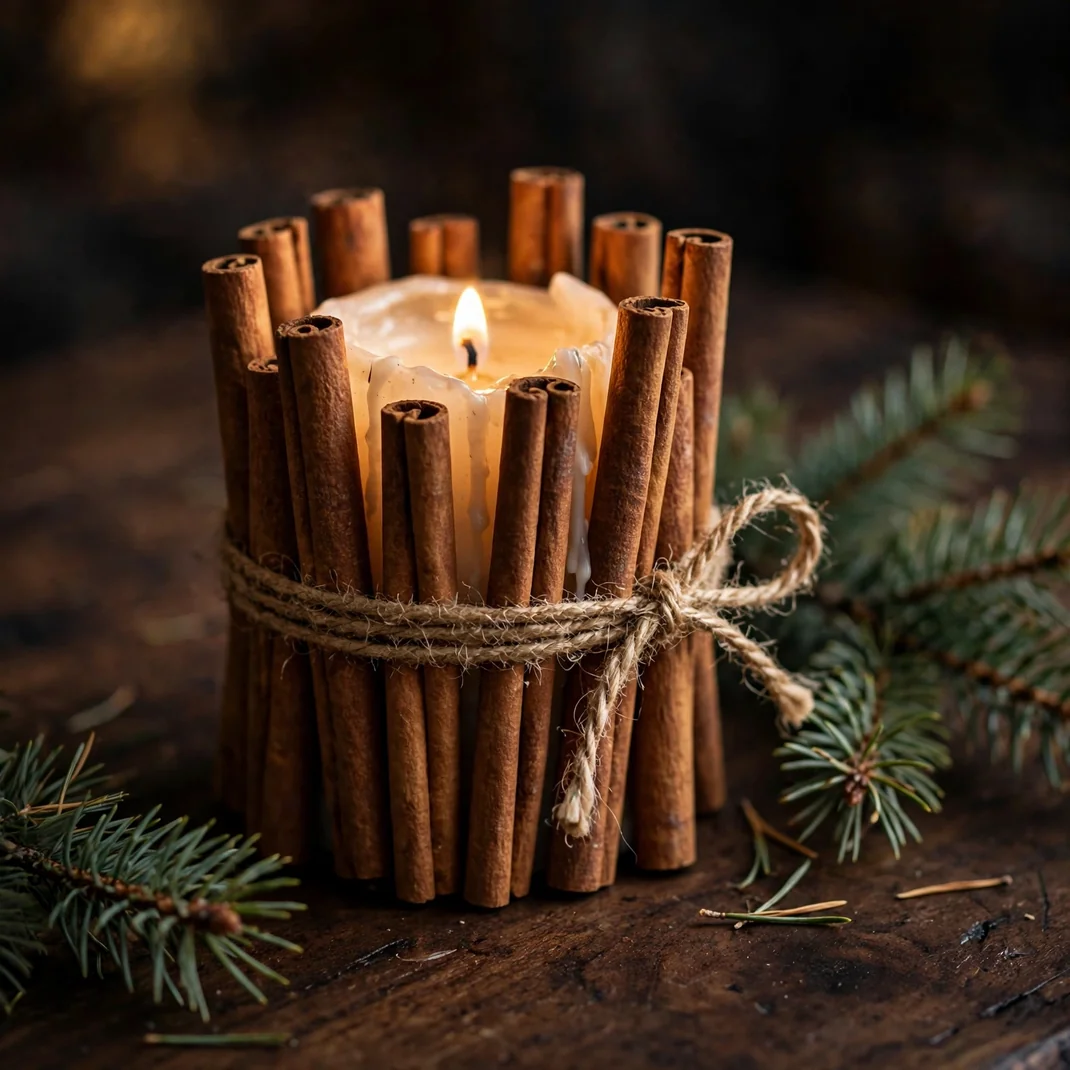
Wrap a plain pillar candle in cinnamon sticks and suddenly it’s a rustic winter centerpiece that smells like the holidays every time it burns.
You’ll need: A pillar candle, whole cinnamon sticks, jute twine or ribbon, and a hot glue gun.
How to make it: Stand cinnamon sticks upright around the candle, trimming them to just above the candle’s height. Secure with a band of twine tied in a bow, adding a dab of hot glue behind a few sticks for stability.
Tip: Never leave it burning unattended — and keep the flame well below the top of the sticks. LED pillar candles give the same look with zero worry.
4. No-Sew Flannel Pillow Covers

Flannel in winter plaids turns any sofa into a cabin retreat, and the no-sew envelope method means you can make covers in twenty minutes flat.
You’ll need: Flannel fabric (1 yard per pillow), scissors, fabric glue or iron-on hem tape, and pillow inserts.
How to make it: Cut fabric to wrap around the pillow with a 6-inch overlap at the back. Fold the raw edges under, secure with hem tape, and overlap the back panels envelope-style. Slide the insert in.
Tip: Wash and dry flannel first — it shrinks, and you want that to happen before the cover is sized.
5. Pinecone Fire Starters
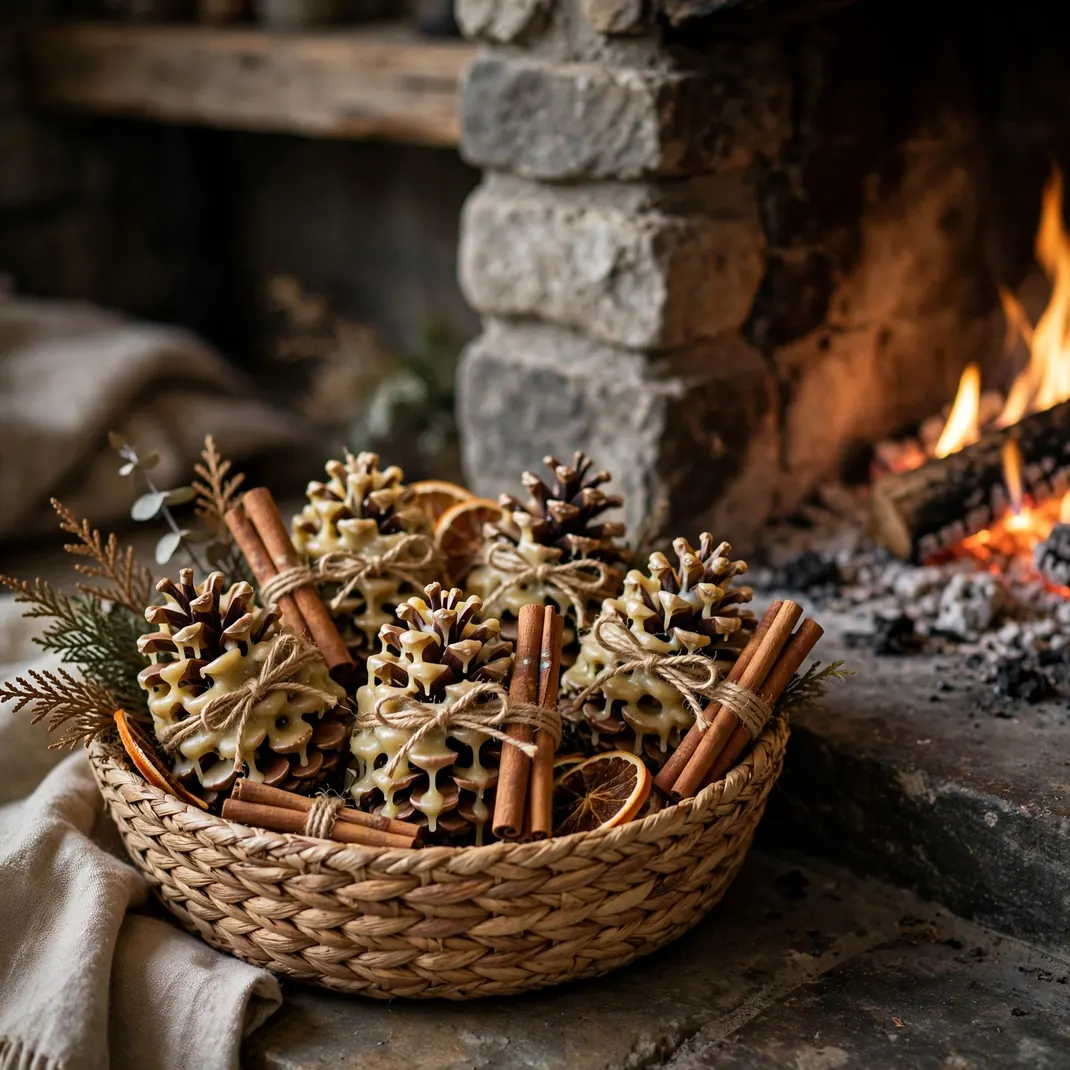
Dipped in wax and scented with cinnamon, pinecones become gorgeous fire starters that make lighting the fireplace feel like a ritual. Bundle them in a basket as a gift, too.
You’ll need: Dry pinecones, soy wax flakes, a double boiler, cinnamon essential oil, dried orange peel (optional), and twine.
How to make it: Melt the wax, stir in a few drops of essential oil, and dip each pinecone, letting excess drip off. While tacky, press on orange peel bits. Tie with twine once cool.
Tip: Collect pinecones a week early and bake at 200°F for an hour — it kills bugs and opens the scales beautifully.
6. Winter Simmer Pot Gift Jars

Layer dried oranges, cinnamon, cloves, and pine sprigs in a jar, and you’ve made a gift that turns anyone’s home into a winter cabin the moment it hits simmering water.
You’ll need: Small mason jars, dried orange slices, cinnamon sticks, whole cloves, star anise, and dried rosemary or pine sprigs.
How to make it: Layer the ingredients in the jar for a pretty striped look. Screw on the lid, tie with twine, and attach a tag reading “Simmer in 4 cups of water on low.”
Tip: These keep for months unopened. Make a dozen at once — they’re the easiest impressive gift in this whole list.
7. Felt Ball Garland

Strung felt balls in winter whites, grays, and soft blues make the chicest minimalist garland. It works on a tree, a mantel, or draped across a bookshelf all season.
You’ll need: Wool felt balls in winter tones, a long embroidery needle, and baker’s twine or clear thread.
How to make it: Thread the needle and string felt balls in your color pattern, spacing them evenly or clustering in threes. Knot the ends with loops for hanging.
Tip: Alternate sizes (2cm and 3cm balls) — the variation looks designer-made rather than craft-store.
8. Ice Lanterns

On freezing nights, fill a bucket with water, let it ice over, and you’ve got a glowing lantern made of actual ice. It’s the most magical winter DIY there is, and it’s nearly free.
You’ll need: A bucket or large container, water, a smaller container or can for the center, and a pillar LED candle.
How to make it: Fill the bucket with water and set the smaller weighted container inside to form a cavity. Leave outside overnight below freezing. Remove the containers, set the ice shell on a tray, and place the LED candle inside.
Tip: Add cranberries, pine sprigs, or orange slices to the water before freezing — they suspend in the ice like a botanical sculpture.
9. Sock Snowmen

A lone sock, some rice, and a few buttons become the cutest snowman on your shelf. Kids can make these independently, which makes them perfect for a snowy afternoon.
You’ll need: A white crew sock, uncooked rice, rubber bands, buttons, felt or ribbon for a scarf, and a marker.
How to make it: Fill the sock with rice, band it into two spheres (body and head), and fold the sock cuff down as a hat. Glue on button eyes, tie a scarf, and draw a smile.
Tip: Use the toe of a colorful striped sock as the hat — pull it over the head section for an instant patterned cap.
10. Chunky Knit Mug Cozies

A mug cozy in chunky yarn keeps drinks warm and hands comfortable, and the knit texture screams winter cabin. Even beginners can finish one while watching a movie.
You’ll need: Super bulky yarn, large knitting needles or just your hands (arm knitting works), a button, and scissors.
How to make it: Cast on enough stitches to wrap your mug, knit in garter stitch until it circles the mug snugly, and bind off. Sew on a button with a yarn loop closure.
Tip: Measure around your widest mug plus half an inch — cozies that are slightly snug look far better than loose ones.
11. Eucalyptus & Pine Winter Wreath

A wreath of pine, eucalyptus, and dried accents on your front door is winter’s welcome sign. Fresh greenery lasts weeks in the cold, so this one earns its keep.
You’ll need: A grapevine or wire wreath form, fresh pine and eucalyptus branches, dried baby’s breath or wheat, floral wire, and ribbon.
How to make it: Wire small bundles of greenery around the form, all facing the same direction and overlapping. Tuck in dried accents, then finish with a wired ribbon bow at the top or bottom.
Tip: Mist the wreath with water every few days — even in cold air, fresh cuts drink, and it doubles the wreath’s life.
12. Hot Cocoa Bar Station

Dedicate a corner of your kitchen to hot cocoa all winter: jars of mix, marshmallows, candy canes, and mugs on a tray. It turns an ordinary evening into an event.
You’ll need: A large tray or small cart, glass jars, cocoa mix, marshmallows, candy canes, chocolate chips, and a stack of mugs.
How to make it: Fill jars with each topping and arrange on the tray with mugs. Add a small chalkboard or tag listing “today’s specials.” Keep it stocked all season.
Tip: Homemade cocoa mix (cocoa, sugar, powdered milk, pinch of salt) in a pretty jar beats store packets and costs less.
13. Frosted Pinecone Centerpiece
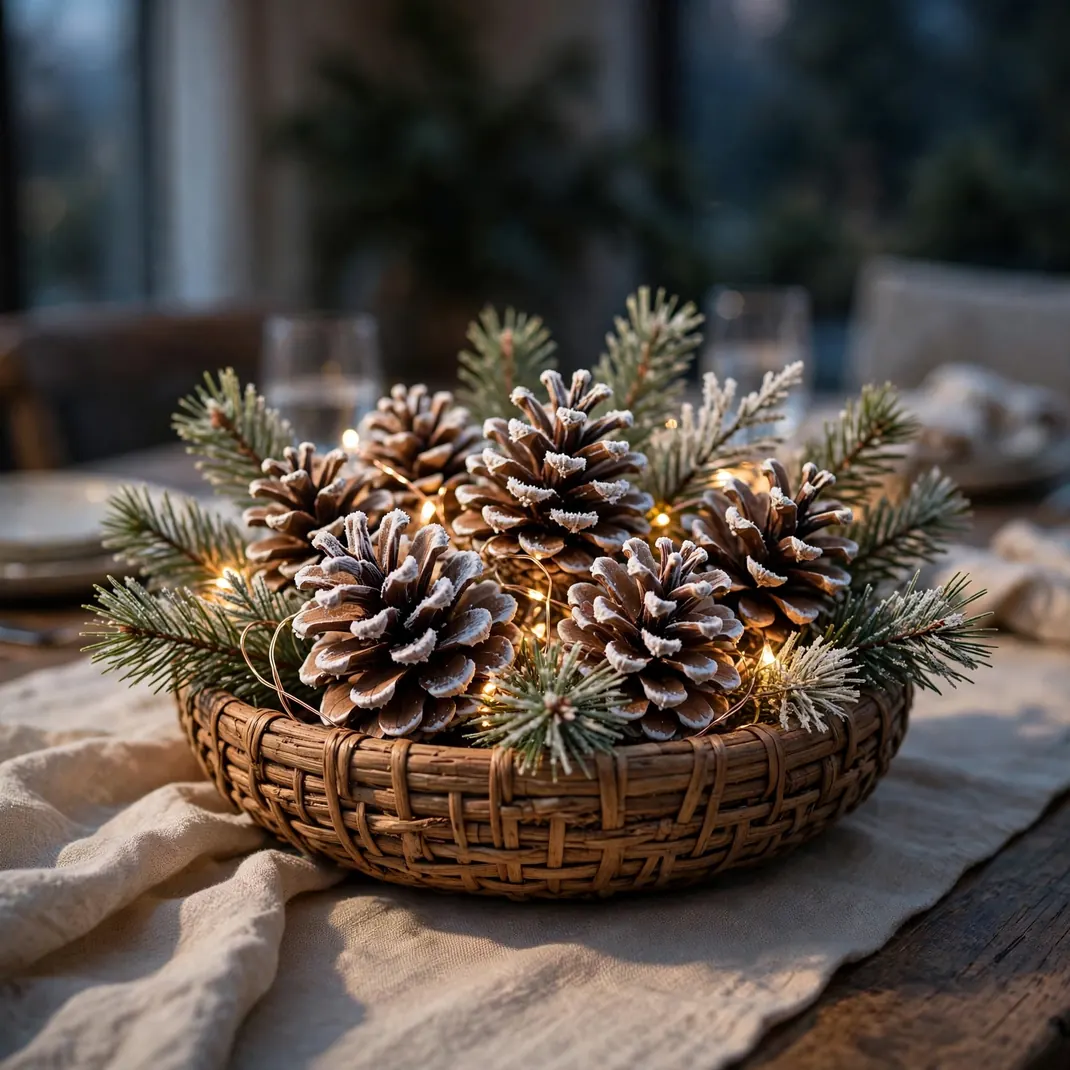
Spray pinecones white, nestle them in a wooden bowl with fairy lights and greenery, and you have a centerpiece that looks like it was foraged from a snowy forest.
You’ll need: Large pinecones, white spray paint or faux snow spray, a low wooden bowl or tray, battery fairy lights, and pine sprigs.
How to make it: Lightly spray the pinecone tips white — two light coats beat one heavy one. Arrange in the bowl with sprigs tucked between, weaving fairy lights through the whole arrangement.
Tip: Spray outdoors and let them cure a full day; the paint smell needs to dissipate before they come to the table.
14. DIY Rice Hand Warmers
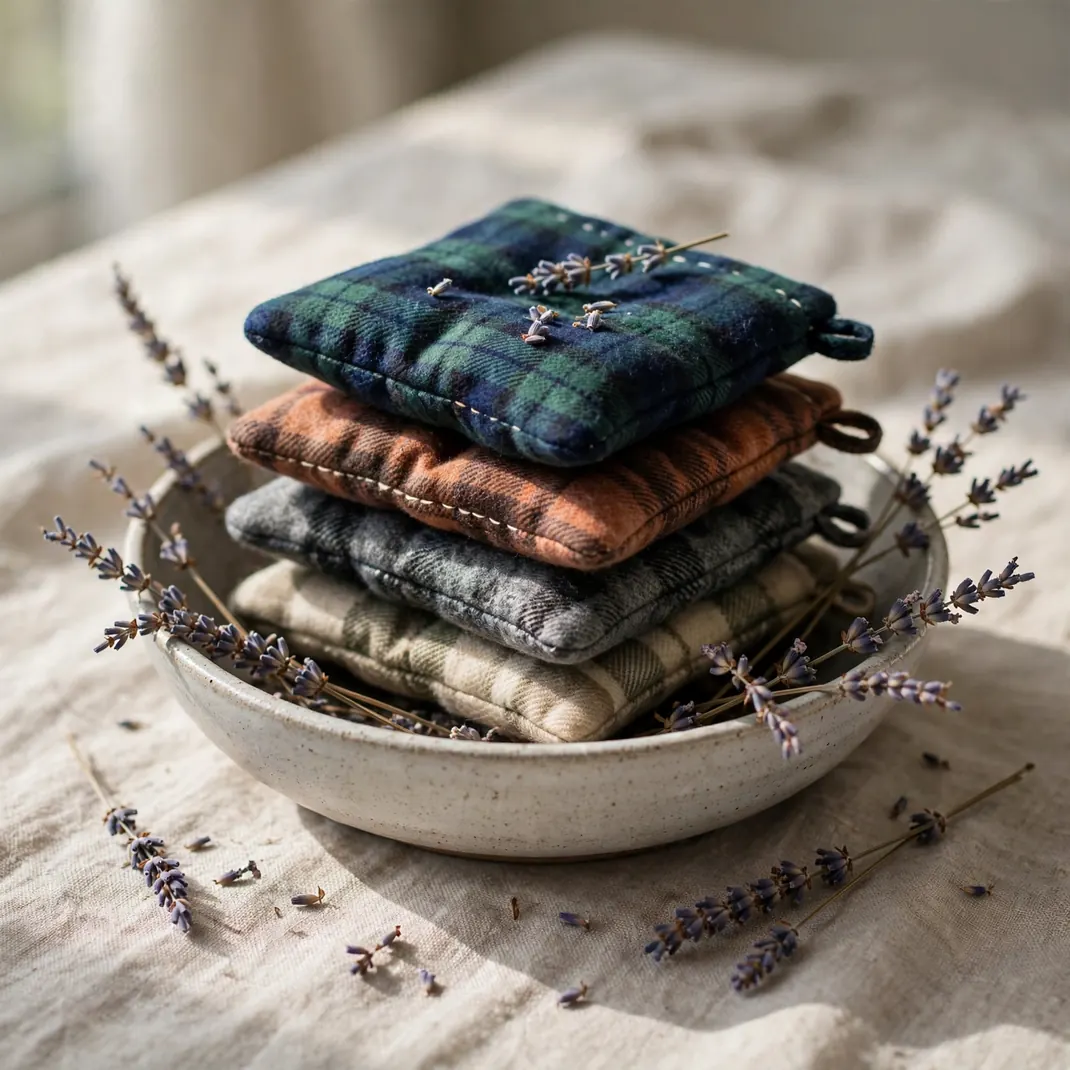
Sew small fabric pouches, fill with rice, and thirty seconds in the microwave gives you toasty hand warmers for walks, games, and cold commutes. They make wonderful little gifts, too.
You’ll need: Cotton fabric (flannel is perfect), uncooked rice, dried lavender (optional), a needle and thread or sewing machine, and scissors.
How to make it: Cut two 4×5-inch rectangles, sew three sides, fill two-thirds with rice, and sew shut. Microwave 30 seconds and test before gifting.
Tip: Add a tablespoon of dried lavender per pouch — warmth plus scent is unbeatable.
15. Oversized Paper Snowflakes

Forget tiny doily snowflakes — giant 3D paper snowflakes made from paper bags hung in a window or from the ceiling are a full winter installation. They photograph incredibly.
You’ll need: Brown or white paper lunch bags, scissors, and a hot glue gun.
How to make it: Stack 8–10 bags, gluing each to the next in a T pattern (a line down the middle, one across the bottom). Cut scallops and notches into the sides, then fan open into a circle and glue the ends together.
Tip: Hang at varying heights with fishing line — the floating effect is what makes them look magical rather than crafty.
16. Winter Terrarium with Fairy Lights
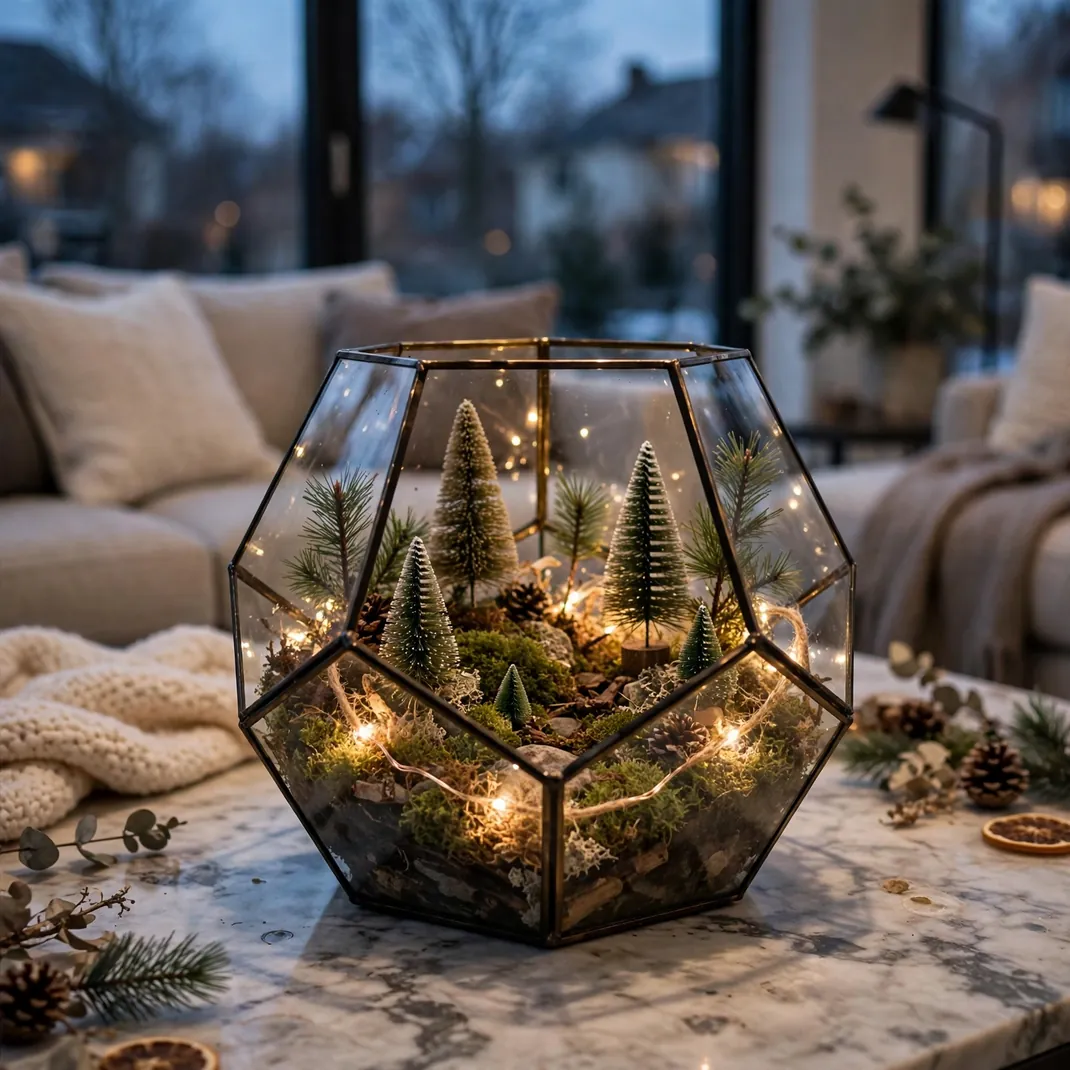
A glass terrarium filled with moss, mini pine trees, and warm fairy lights is a living winter scene for your coffee table. It stays beautiful for months with almost no care.
You’ll need: A glass bowl or geometric terrarium, preserved moss, mini bottle-brush trees or small succulents, pebbles, and battery fairy lights.
How to make it: Layer pebbles, then moss. Arrange the trees, nestling their bases into the moss. Weave fairy lights through, hiding the battery pack behind a tree.
Tip: Preserved (not live) moss needs zero water and never browns — it’s the secret to a terrarium that looks fresh in March.
17. Stenciled Winter Doormat
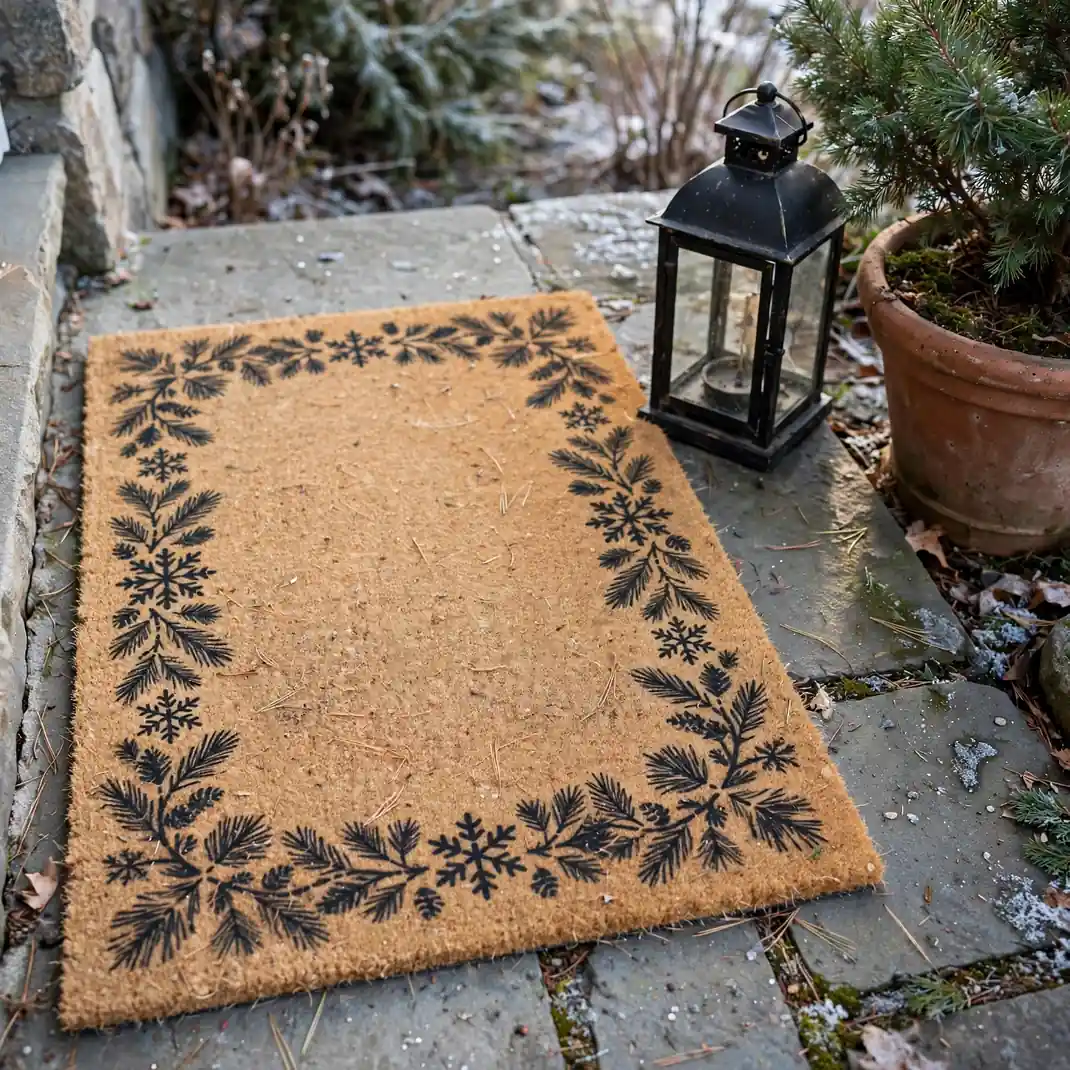
A plain coir doormat plus a stencil and outdoor paint becomes a custom winter welcome. It’s the first thing guests see, so make it a good one.
You’ll need: A plain coir doormat, a large stencil (snowflakes, “hello winter,” a pine sprig), outdoor acrylic paint, and a stiff stencil brush.
How to make it: Center the stencil on the mat and tape it down. Dab paint straight down with a nearly-dry brush — two thin coats. Peel the stencil while the second coat is tacky.
Tip: The nearly-dry brush is everything. Too much paint bleeds under the stencil on coir’s rough texture.
18. Pine Bough & Berry Staircase Swag

Drape pine boughs studded with red berries along your staircase railing and the whole house feels like a lodge. It’s the garland’s grander, more dramatic cousin.
You’ll need: Fresh pine boughs, faux or fresh red berry picks, wide ribbon, floral wire, and zip ties.
How to make it: Zip-tie boughs end to end along the railing, overlapping generously. Wire in berry picks every foot or so, then tie big ribbon bows at intervals down the length.
Tip: Work from the top of the stairs down — gravity helps the boughs cascade naturally instead of fighting you.
19. Stenciled Wooden Winter Sign
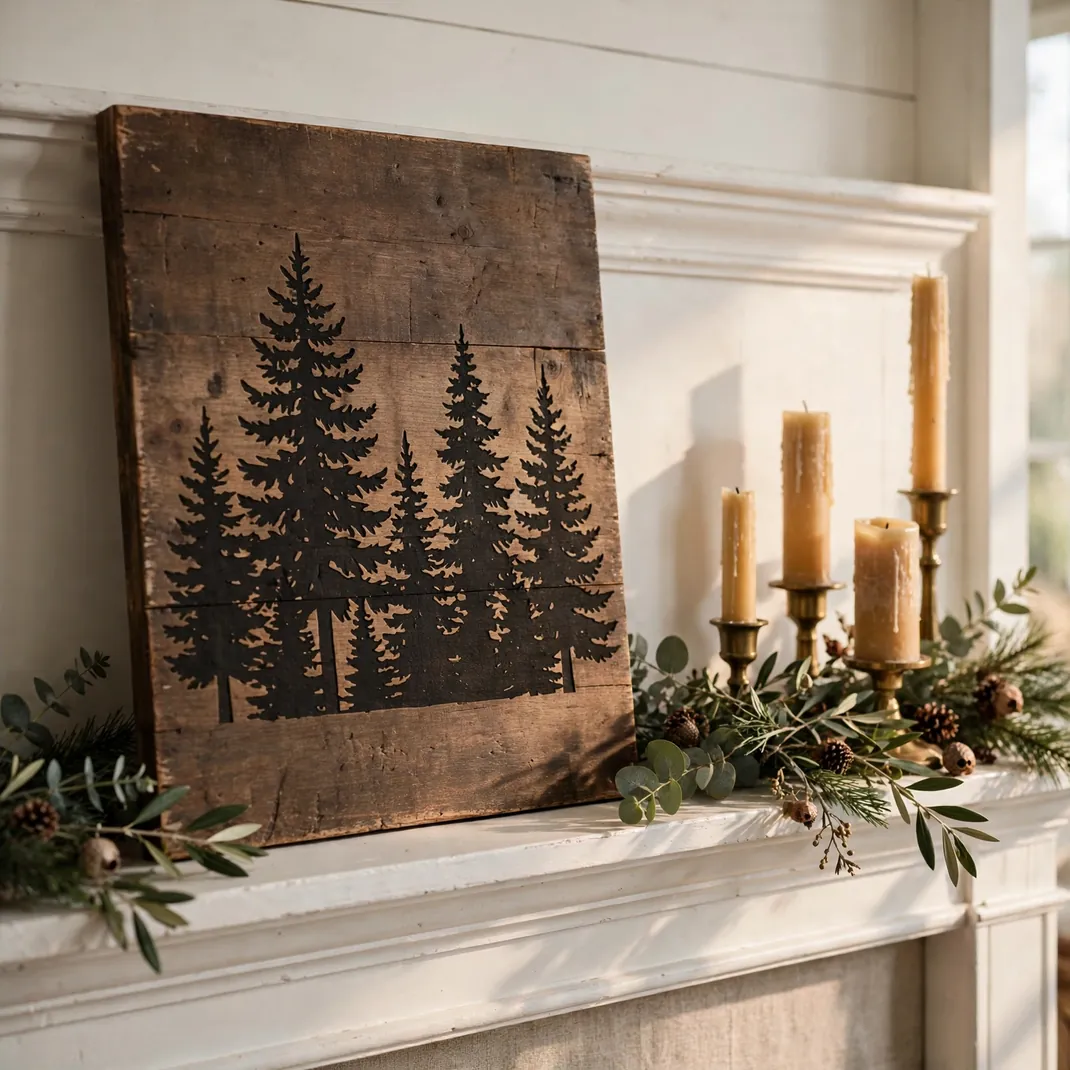
A stained wood board stenciled with “let it snow” or a pine forest silhouette leans on a mantel or entryway table all season. Rustic, personal, and endlessly re-makable.
You’ll need: A wood board or plaque, wood stain or paint, a winter stencil, acrylic paint, and a foam brush.
How to make it: Stain or paint the board and let it dry fully. Position the stencil, dab on paint in thin coats, and peel while tacky. Lightly sand edges for a vintage feel.
Tip: Lightly sanding the dried lettering with fine sandpaper gives that perfectly imperfect farmhouse look.
20. Winter Porch Planter
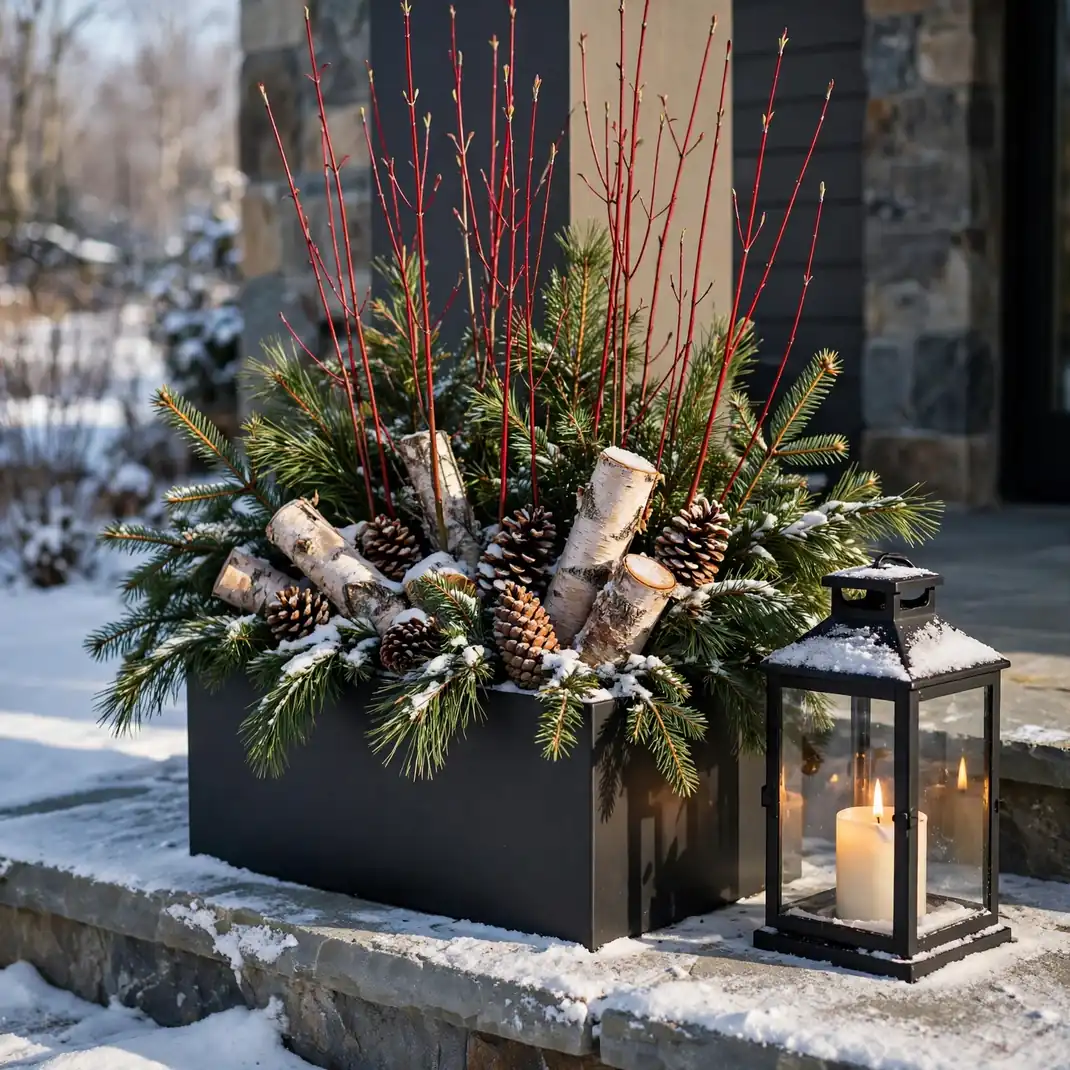
Fill your outdoor planters with evergreen boughs, red twig dogwood, pinecones, and birch logs instead of letting them sit empty all winter. Your porch goes from bleak to beautiful in an hour.
You’ll need: An outdoor planter, floral foam or soil, evergreen boughs, red twig dogwood branches, pinecones, and birch logs or sticks.
How to make it: Anchor foam in the planter. Push in tall dogwood branches at the center back, surround with evergreen boughs at angles, and tuck pinecones and birch pieces into gaps.
Tip: Cold is your friend here — fresh greens in a frozen planter can look perfect from December through February with zero maintenance.