22 Home Theater Halloween Nights Under Cinematic Shadows
A home theater is already a room built for illusion, which makes it the easiest room in the house to haunt. The lights go down, the screen glows, and every guest is already primed to believe what they see. These twenty-two ideas treat movie night like a full production: the lobby, the marquee, the concessions, the show itself, and a finale worth staying through the credits for.
1. Loop a Haunted Scene on the Screen Before Showtime
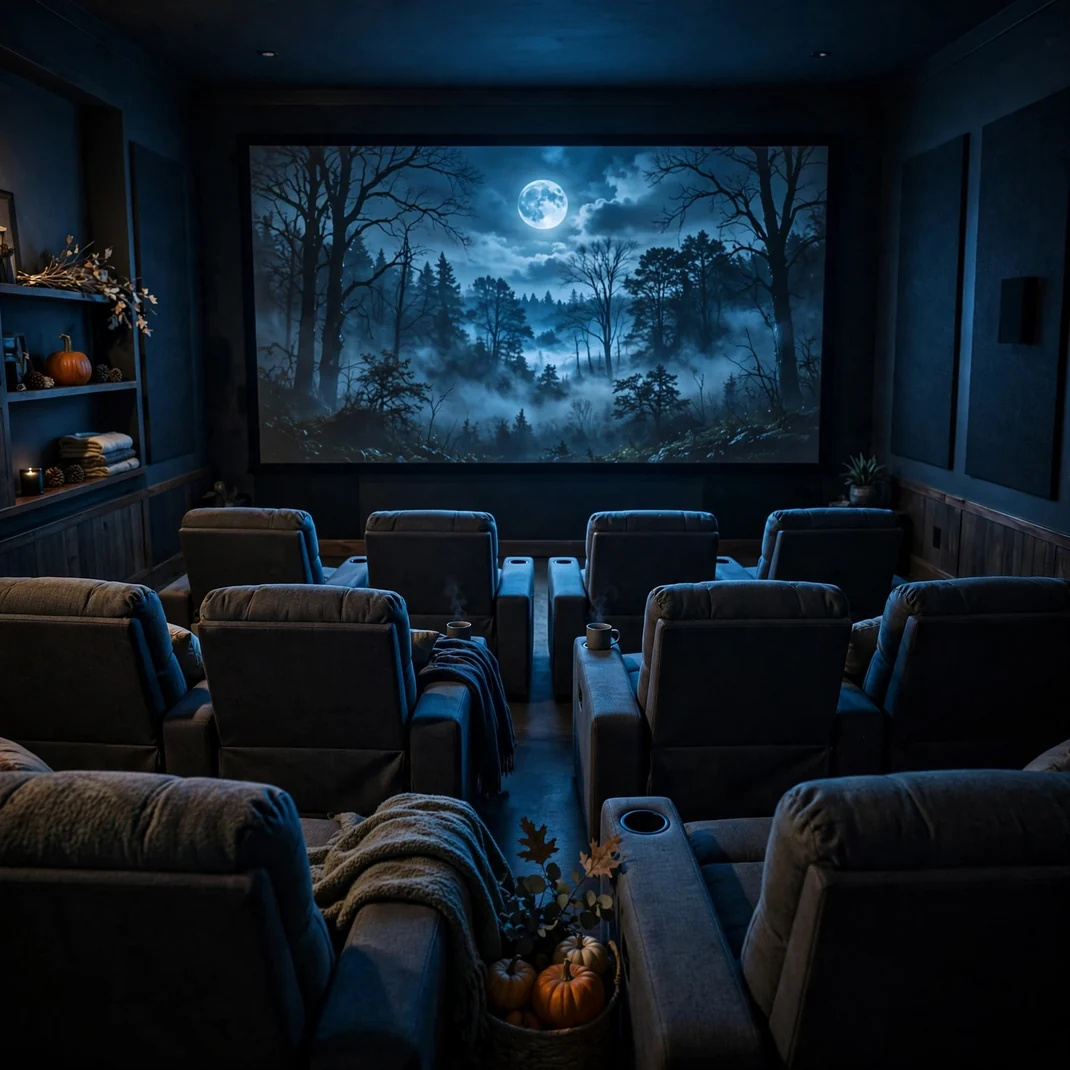
Before anyone presses play, let the screen itself set the mood. A ten-hour fireplace video gets swapped for a slow haunted loop: drifting fog over a moonlit forest, a flickering candle in a dark room, rain streaking a window. It plays silently while guests arrive and find their seats, and the room feels cinematic before the movie even starts.
How to Style It: Search your streaming stick or video platform for ambient Halloween loops and queue one to autoplay. Dim the room lights to their lowest setting so the screen is the only light source while people settle in.
Why It Photographs Beautifully: The screen’s glow paints everyone’s faces in blue moonlight tones, and a wide shot of the room with the haunted loop playing looks like a still from a film set.
Pro Tip: Mute the loop’s audio track entirely. Even faint ambient sound competes with conversation, and silence feels more ominous anyway.
Budget-Smart Swap: A free fireplace-loop video with the color shifted cool on your TV settings gives a ghostly blue hearth for zero cost.
2. Build a Ticket Booth at the Doorway
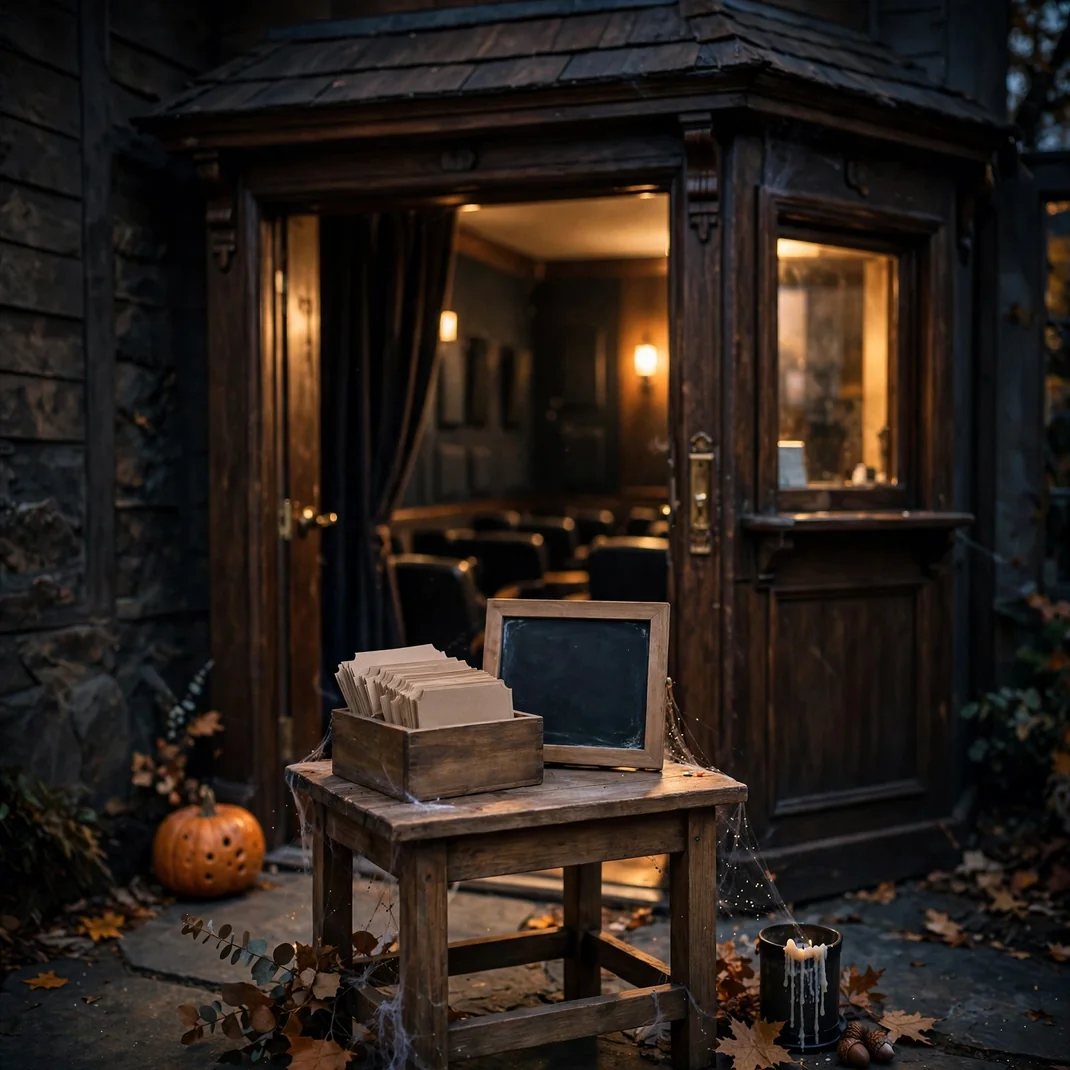
Nothing says “tonight is an event” like handing someone a ticket. Set a small side table just outside the theater door with a stack of printed tickets — design them free online with the night’s double feature listed — plus a little dish of “admit one” stubs. Guests tear their ticket on the way in, and the ritual instantly makes the evening feel special.
How to Style It: Print tickets on kraft cardstock for a vintage feel, and stand them in a small wooden box or mason jar. Add a little chalkboard sign with showtimes written in chalk marker.
Why It Photographs Beautifully: The ticket table shot from the hallway, with warm light spilling from the theater door behind it, looks like the entrance to a private cinema.
Pro Tip: Number the tickets and draw one at halftime for a small prize, like first pick of the candy bowl. It keeps the energy up between films.
Budget-Smart Swap: Hand-tear tickets from a roll of raffle tickets and stamp them with a $2 craft-store skull stamp.
3. Style a Vintage Concession Stand
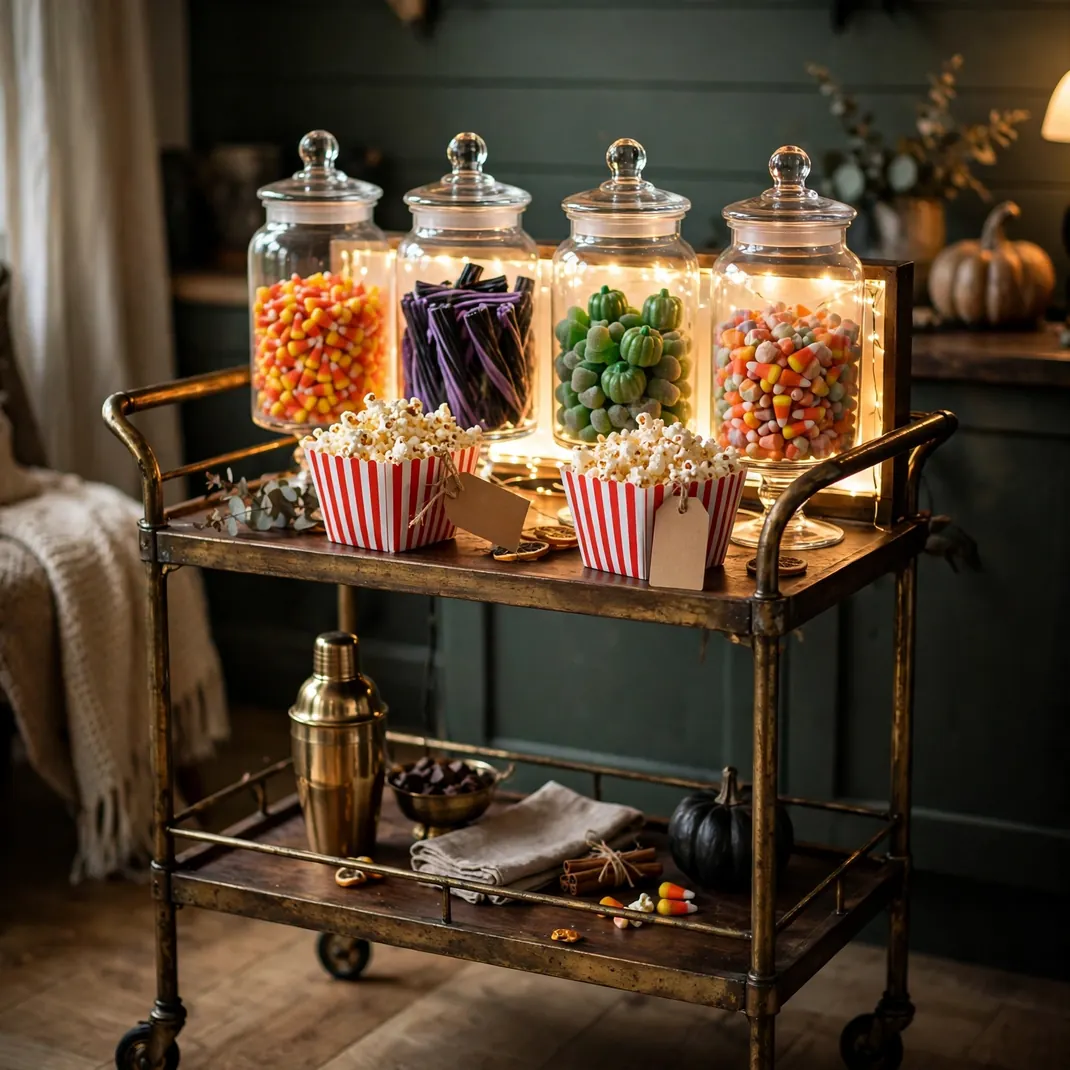
Dedicate one surface — a bar cart, a console table, even the top of a storage ottoman — to concessions. Glass apothecary jars filled with candy corn, gummy eyeballs, and black licorice, a popcorn maker or big striped bowls, and little paper bags stamped with a bat. It keeps snack traffic out of the seating area and looks incredible doing it.
How to Style It: Vary the jar heights for a collected-over-time look, and tuck a small LED puck light behind the jars so the candy glows. Label each jar with a kraft tag: “Witch Fingers,” “Ghost Puffs,” “Vampire Bites.”
Why It Photographs Beautifully: Backlit candy jars glow like jewels, and the mix of glass, paper, and popcorn texture gives the camera plenty to love.
Pro Tip: Put the popcorn at the end nearest the door so the smell hits guests on entry. Scent is half of atmosphere.
Budget-Smart Swap: Decant bulk candy into jars you already own and skip the labels — the candy colors do the talking.
4. Frame the Screen with Velvet Drapes
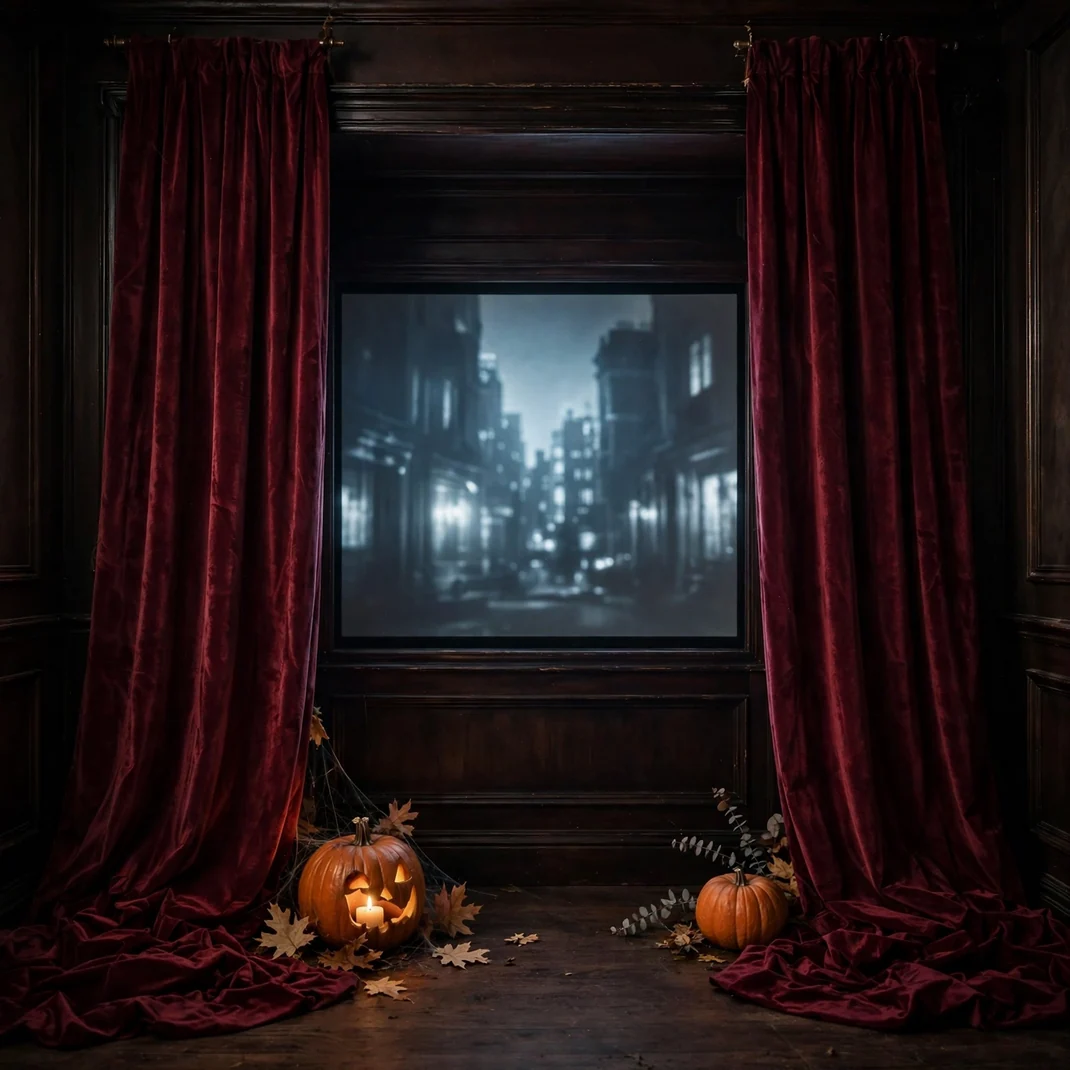
Heavy curtains on either side of the screen turn a flat TV wall into a stage. Deep burgundy, forest green, or classic black velvet panels hung from a simple rod — even tension-mounted — give the screen a proscenium frame. When the movie starts, the drapes seem to hold the picture like a theater curtain holds a play.
How to Style It: Hang the rod six to twelve inches wider than the screen on each side so the drapes frame rather than cover it. Let the panels puddle slightly on the floor for old-Hollywood drama.
Why It Photographs Beautifully: Velvet drinks the light and throws soft folds into shadow, so the screen appears to float in a dark, rich frame.
Pro Tip: Thrift stores are full of heavy drapes for a few dollars. Wash them once and they are indistinguishable from the expensive ones in dim light.
Budget-Smart Swap: Black flat bedsheets hung with curtain clips give the same framing effect for almost nothing.
5. Line the Riser Edges with Ember-Orange LED Tape
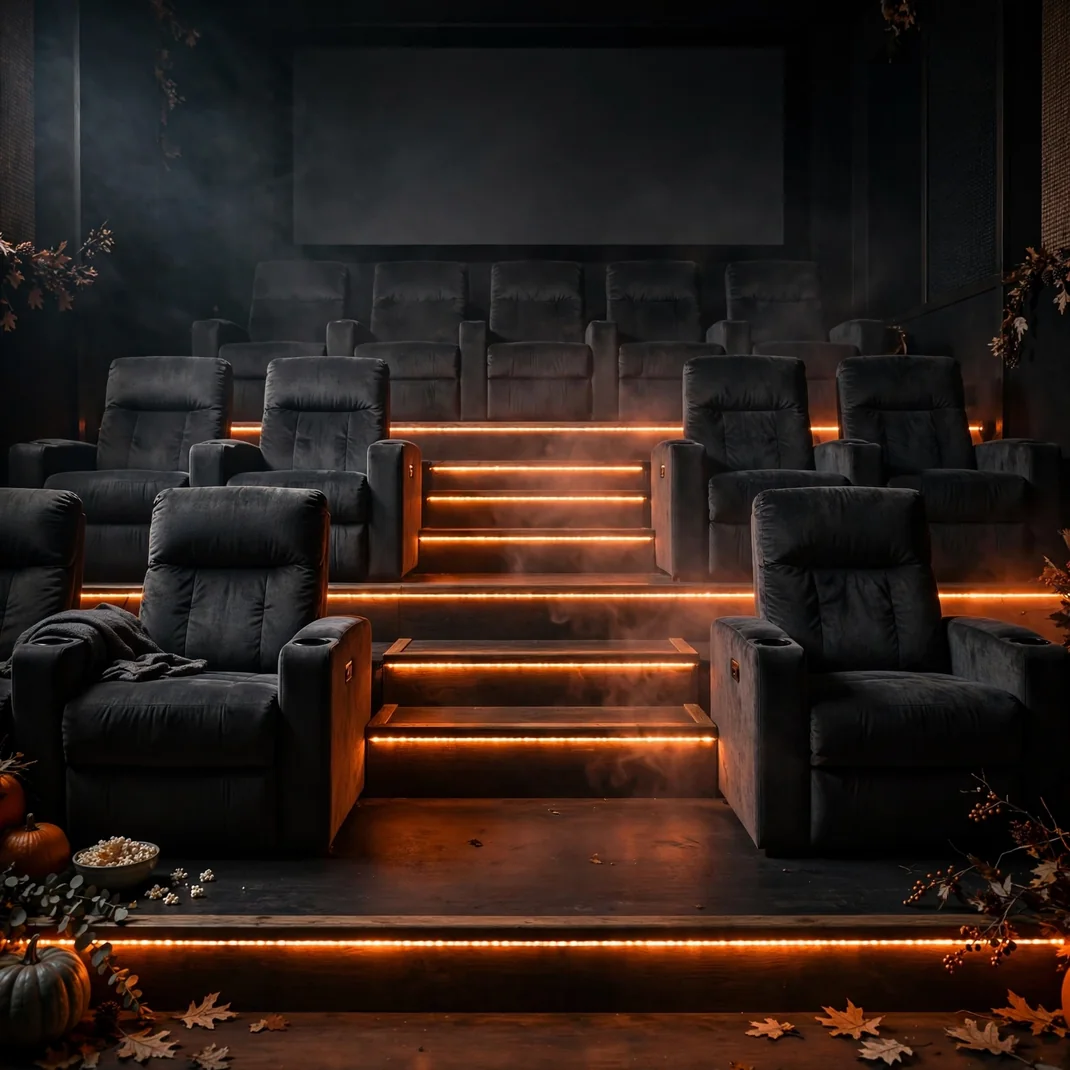
Real theaters mark their steps with tiny lights, and yours can too. Run a strip of adhesive LED tape along the front edge of each riser or step, set to a deep ember orange. It keeps everyone safe in the dark and makes the seating tiers look like they are smoldering.
How to Style It: Stick the tape to the vertical face of each step so the glow washes downward, not into eyes. Battery-powered strips with a remote keep the install to ten minutes.
Why It Photographs Beautifully: Long-exposure shots of the tiered seating with glowing step edges look straight out of a premiere venue.
Pro Tip: Choose a strip with a dimmer. Full brightness feels like an airport runway; thirty percent feels like a cinema.
Budget-Smart Swap: A string of orange fairy lights tucked under each step lip gives a similar glow for a few dollars.
6. Roll In Low Fog for the Opening Credits
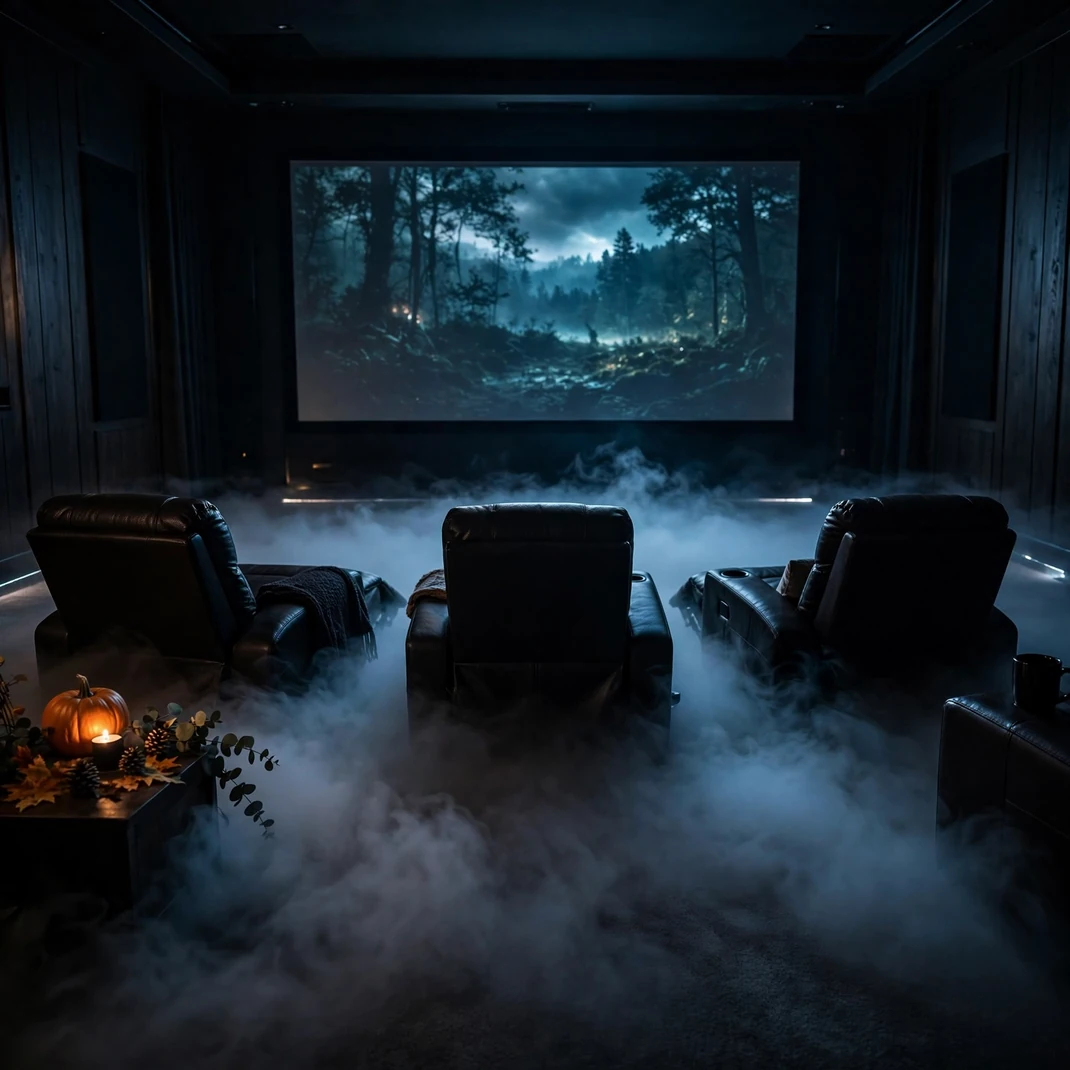
A small low-fog machine at the back of the room, fired for ninety seconds as the opening credits roll, turns the theater into a place the movie might actually be happening in. The fog hugs the floor, catches the screen light, and dissipates long before anyone needs to see their popcorn.
How to Style It: Place the machine behind the back row, aimed low across the floor. Run it in short bursts rather than continuously — a little fog goes a very long way indoors.
Why It Photographs Beautifully: Fog backlit by the screen creates visible light beams and depth that no filter can fake.
Pro Tip: Crack a door for ventilation and warn guests with asthma beforehand. Water-based fog fluid is the gentlest option.
Budget-Smart Swap: Dry ice in a wide shallow bowl of hot water behind the seating gives five minutes of gorgeous low fog for pennies.
7. Seat Skeleton Moviegoers in the Back Row
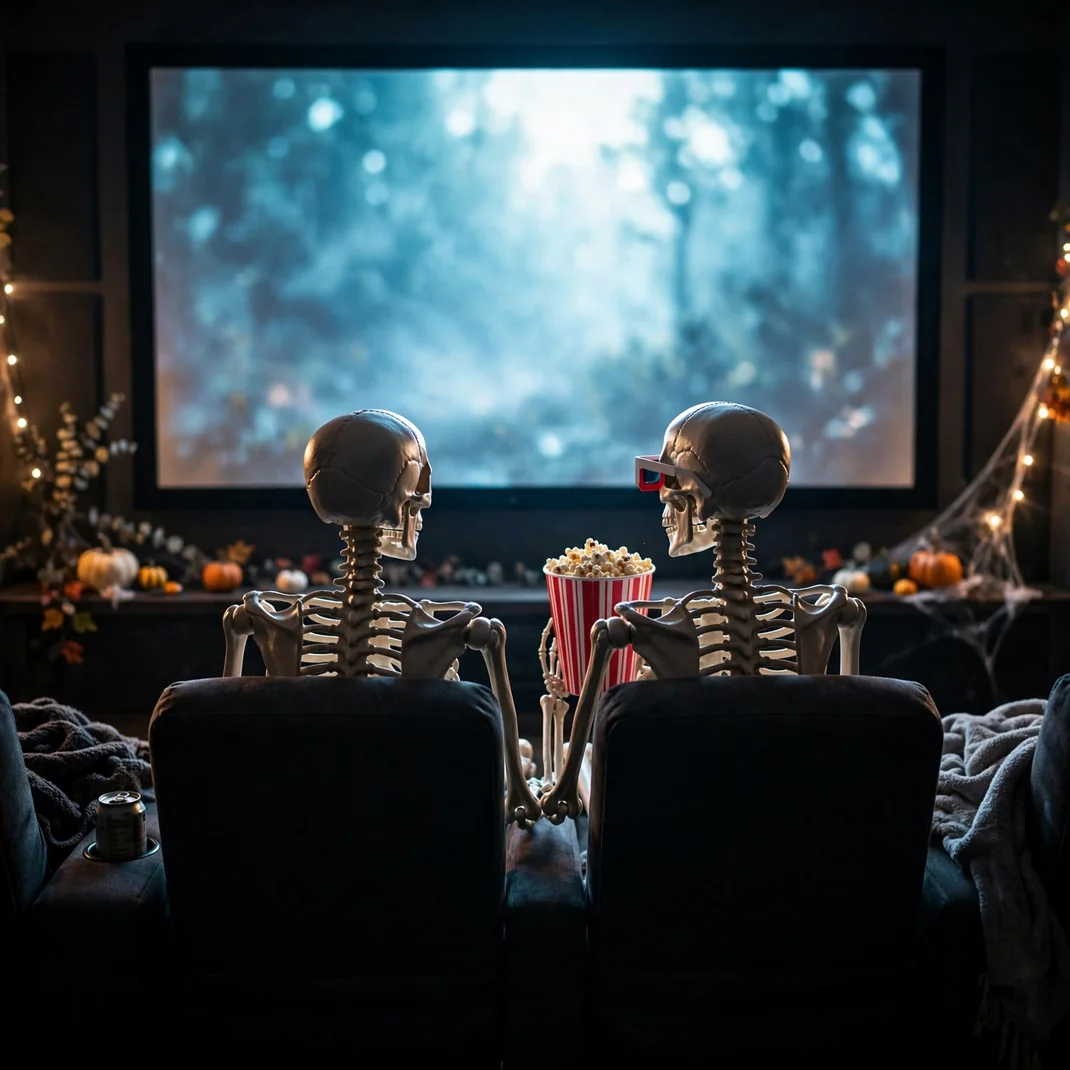
Two skeletons in the back row, one holding a popcorn bucket and the other mid-lean like it is whispering during the film, will get a bigger reaction than any jump scare. Dress them in old hoodies or scarves so they read as “audience” rather than “prop,” and let guests discover them when the lights come up.
How to Style It: Seat them slightly slouched with 3D glasses perched on their skulls. A shared blanket over their laps sells the illusion that they have been there all night.
Why It Photographs Beautifully: The reveal shot — skeletons silhouetted against the glowing screen — is the photo everyone posts.
Pro Tip: Do not tell first-time guests. The delayed double-take is the entire point of this one.
Budget-Smart Swap: One skeleton is plenty. A single bony moviegoer in the corner seat is somehow funnier than two.
8. Web the Projector Shelf
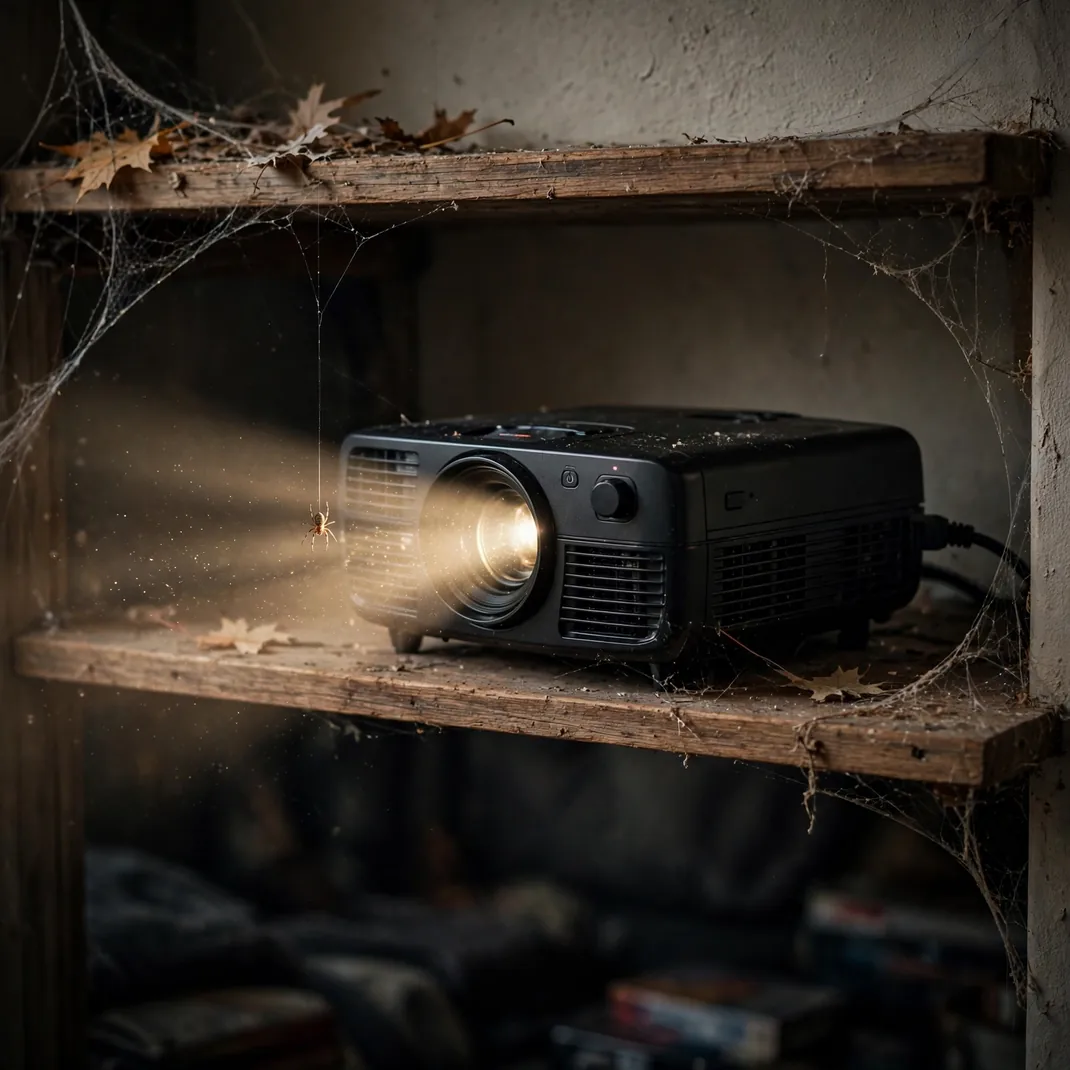
The projector shelf is the room’s unsung surface, and a little webbing turns it into a haunted projection booth. Stretch thin cobwebbing across the shelf corners, drape it over the projector’s edges — never the lens or vents — and perch one spider where the light beam passes nearby. It reads as loving neglect, the good kind.
How to Style It: Pull the webbing until it is nearly invisible, then anchor it at three or four points so it sags naturally. Keep every strand at least six inches from any vent or hot surface.
Why It Photographs Beautifully: Webbing backlit by the projector beam glows like spun sugar in close-up shots.
Pro Tip: Projectors run hot. If yours vents from the side, web only the shelf below it, never the machine itself.
Budget-Smart Swap: A few strands of stretched cotton balls give the same wispy effect on a tiny shelf.
9. Hang a “Now Showing” Marquee
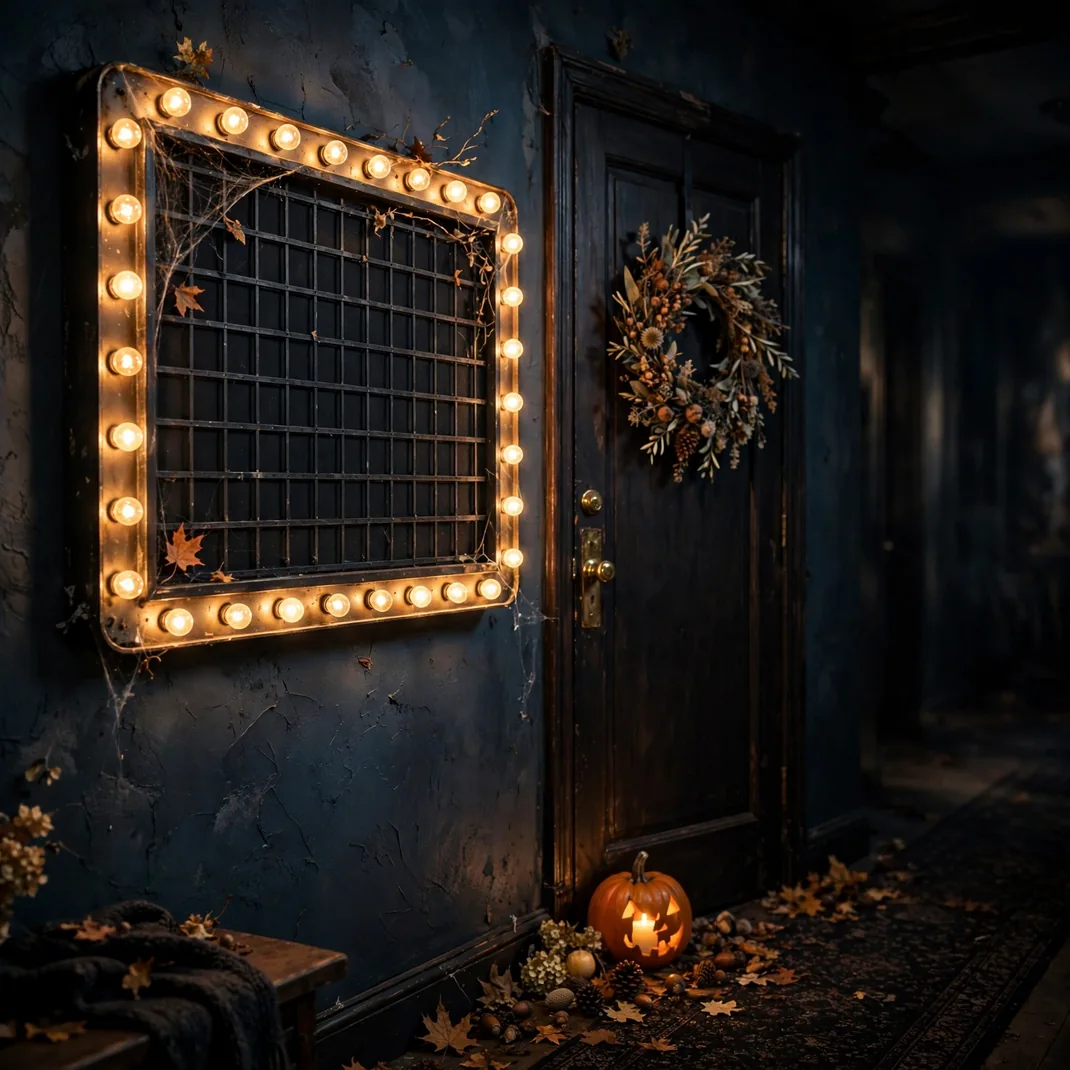
A light-up marquee board above the theater door announcing tonight’s double feature is pure old-cinema romance. Spell out the titles in changeable letters — “NOW SHOWING: GHOSTS & GHOULS” — and let the little bulbs do the rest. It becomes the room’s identity for the whole month.
How to Style It: Mount it at eye level beside or above the door, and change the billing weekly. Battery-powered marquee boards hang with a single nail and no wiring.
Why It Photographs Beautifully: The warm bulbs against a dark hallway make every arrival photo look like a premiere.
Pro Tip: Use the marquee for jokes between movies: “INTERMISSION — REFILL SUGAR LEVELS.”
Budget-Smart Swap: A chalkboard with “NOW SHOWING” lettered at the top and a string of fairy lights stapled around the frame.
10. Serve Popcorn from Jack-o’-Lantern Buckets

Trade the regular popcorn bowls for classic plastic jack-o’-lantern trick-or-treat buckets lined with parchment. Each guest gets their own glowing-faced bucket, portion control is built in, and the table looks like a pumpkin patch exploded in the best way.
How to Style It: Line each bucket with orange parchment or a paper napkin so the popcorn stays crisp and the plastic stays clean. Cluster the buckets on a dark tray for serving.
Why It Photographs Beautifully: Rows of grinning pumpkin faces filled with popcorn are irresistibly photogenic, especially in warm concession light.
Pro Tip: Buy the buckets after Halloween one year at clearance and store them nested. Next October you are ready for pennies.
Budget-Smart Swap: Brown paper lunch bags with jack-o’-lantern faces drawn in marker, folded down at the top.
11. Make the Walls Glow with Blacklight Ghost Decals
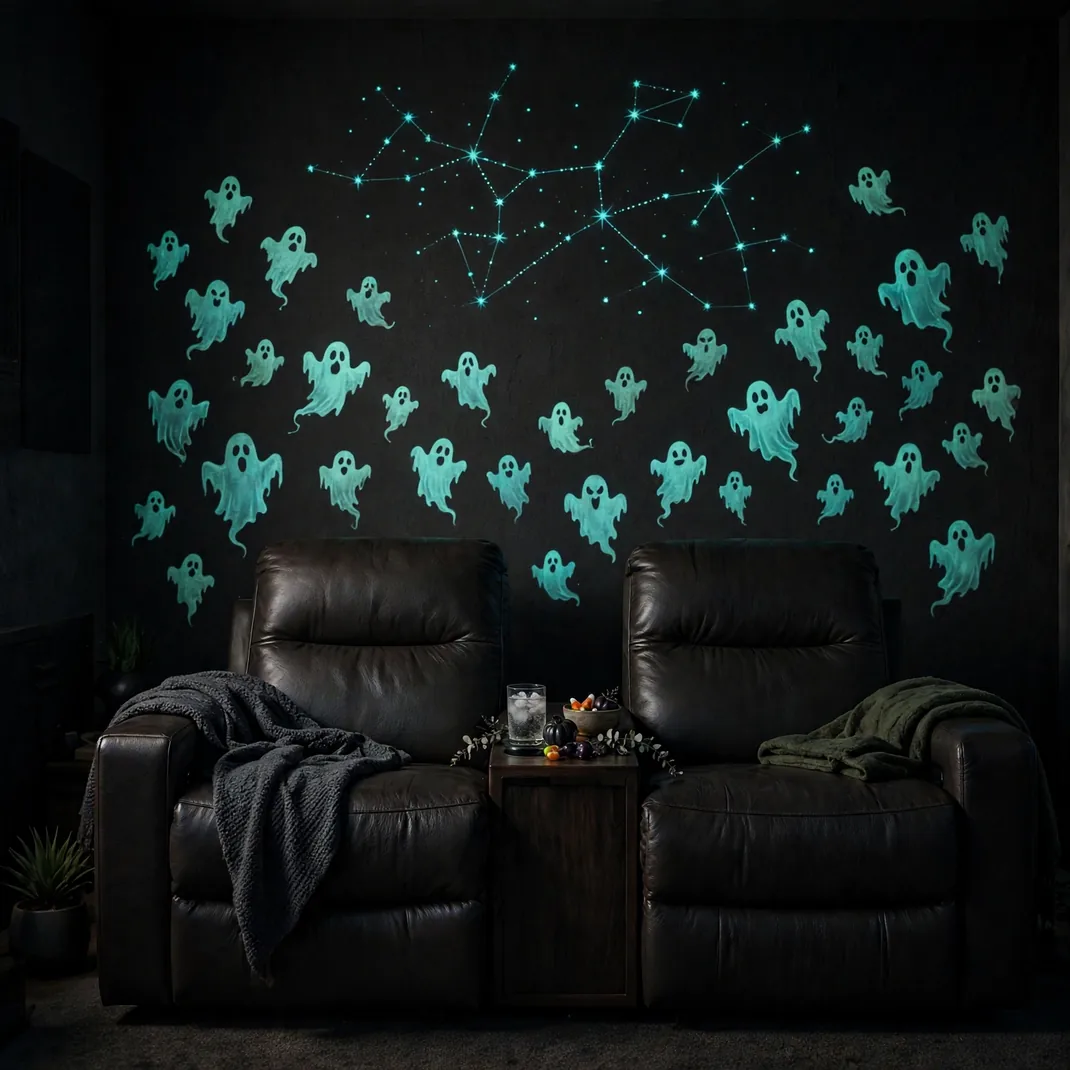
Swap one lamp for a blacklight bulb on movie night and watch the walls come alive. UV-reactive ghost and star decals, invisible in daylight, bloom into glowing shapes the moment the blacklight clicks on. Guests think the room is plain until the lights go down — then it is haunted.
How to Style It: Scatter the decals asymmetrically — a cluster drifting up one wall, a few lone ones near the ceiling. One blacklight bulb in a floor lamp aimed at the largest wall is enough.
Why It Photographs Beautifully: The before-and-after is the content: plain wall in daylight, glowing ghost constellation in the dark.
Pro Tip: White shoelaces, white cables, and even tonic water glow under blacklight too — audit the room first so nothing unintended steals the show.
Budget-Smart Swap: A single blacklight bulb in an existing lamp, plus a sheet of UV-reactive star stickers, costs less than a pizza.
12. Gallery-Wall Your Favorite Horror Posters
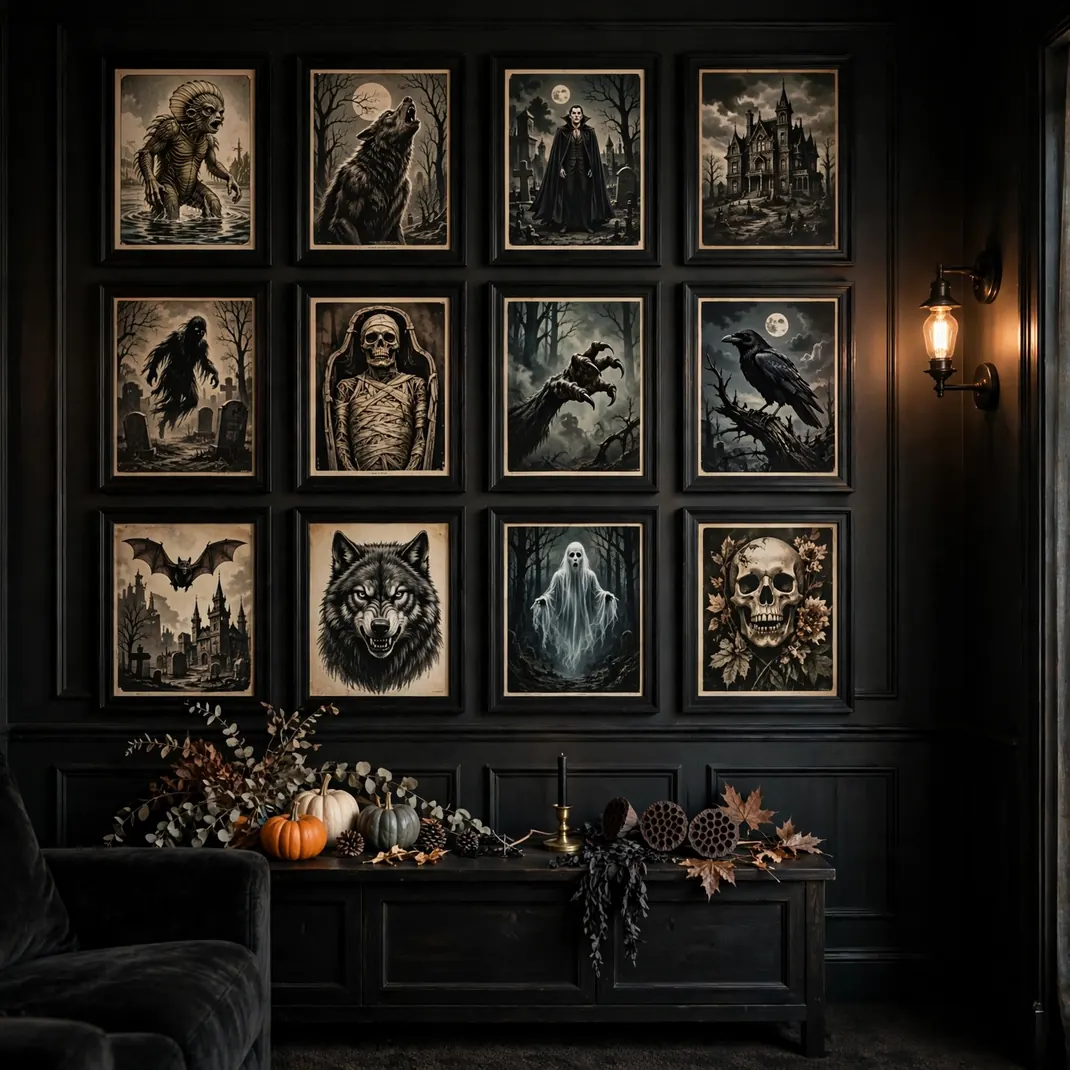
Print your all-time favorite horror one-sheets — vintage or modern — and hang them salon-style on the theater’s side wall. Uniform black frames make even home-printer posters look like a curated collection, and the wall becomes a conversation piece during every intermission.
How to Style It: Mix poster sizes but keep the frames identical and the spacing tight — two inches between frames. Start the arrangement at eye level in the center and build outward.
Why It Photographs Beautifully: A dense, evenly framed gallery wall is one of the most satisfying things a camera can find.
Pro Tip: Print in black and white for the vintage posters — it unifies clashing color palettes instantly.
Budget-Smart Swap: Dollar-store frames spray-painted matte black, with posters printed at the library.
13. Hang Floating Candles in the Entryway
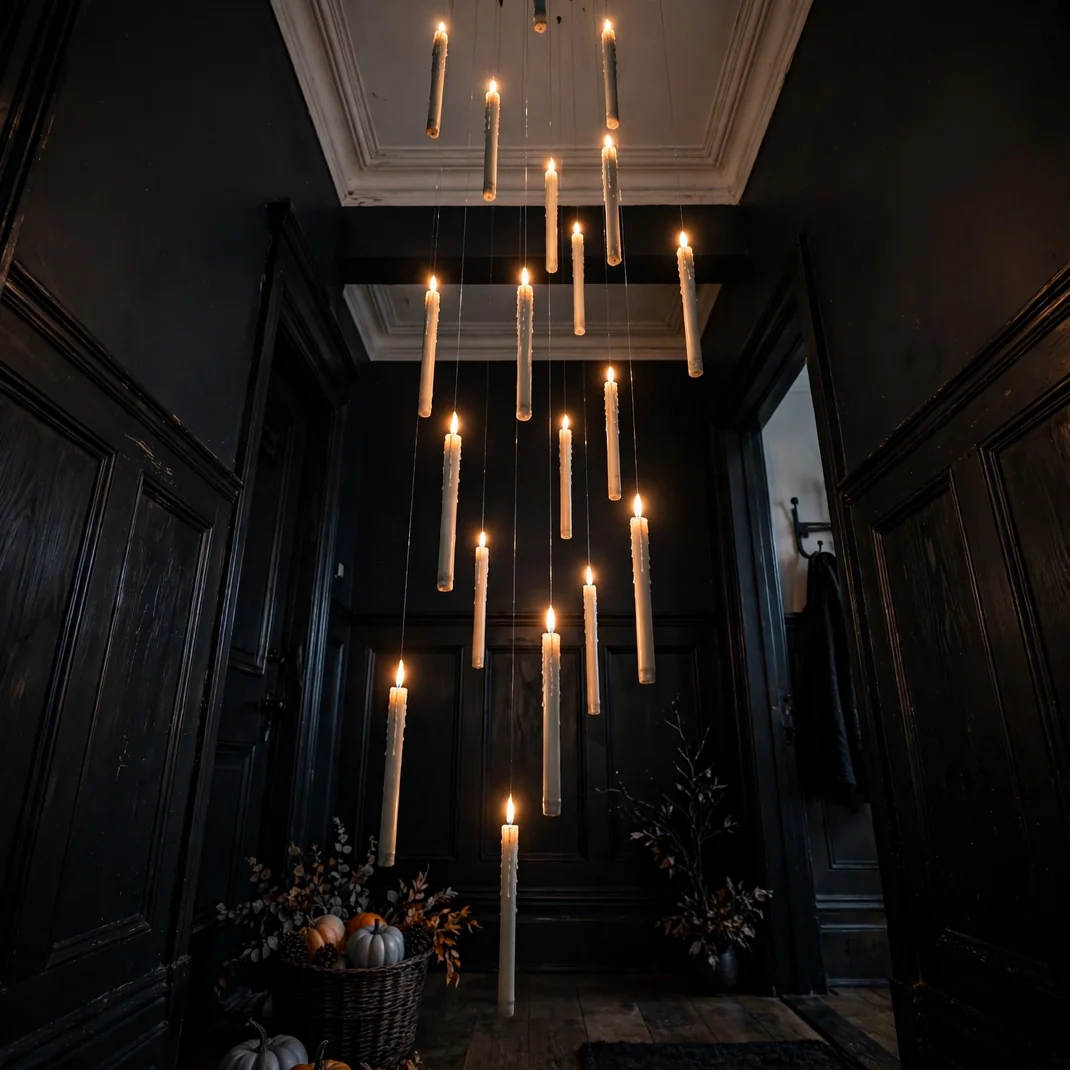
Guests should feel the magic before they reach their seats. Hang LED taper candles at staggered heights from the entryway ceiling on clear fishing line, so they appear to float in the dark corridor. A dozen of them, flickering, turns a plain hallway into the great hall’s moody cousin.
How to Style It: Tie the line around each candle’s base and pin the other end to the ceiling with clear removable hooks. Vary the drops by at least six inches so they read as floating, not hung.
Why It Photographs Beautifully: Shot from below, the candles glow against the dark ceiling like a constellation — pure atmosphere.
Pro Tip: Use candles with a built-in timer so they light themselves every evening. One less thing to remember.
Budget-Smart Swap: White paper towel tubes with a tea light glued inside, hung the same way, fool the eye from three feet away.
14. Build a Potion Bar Drink Station
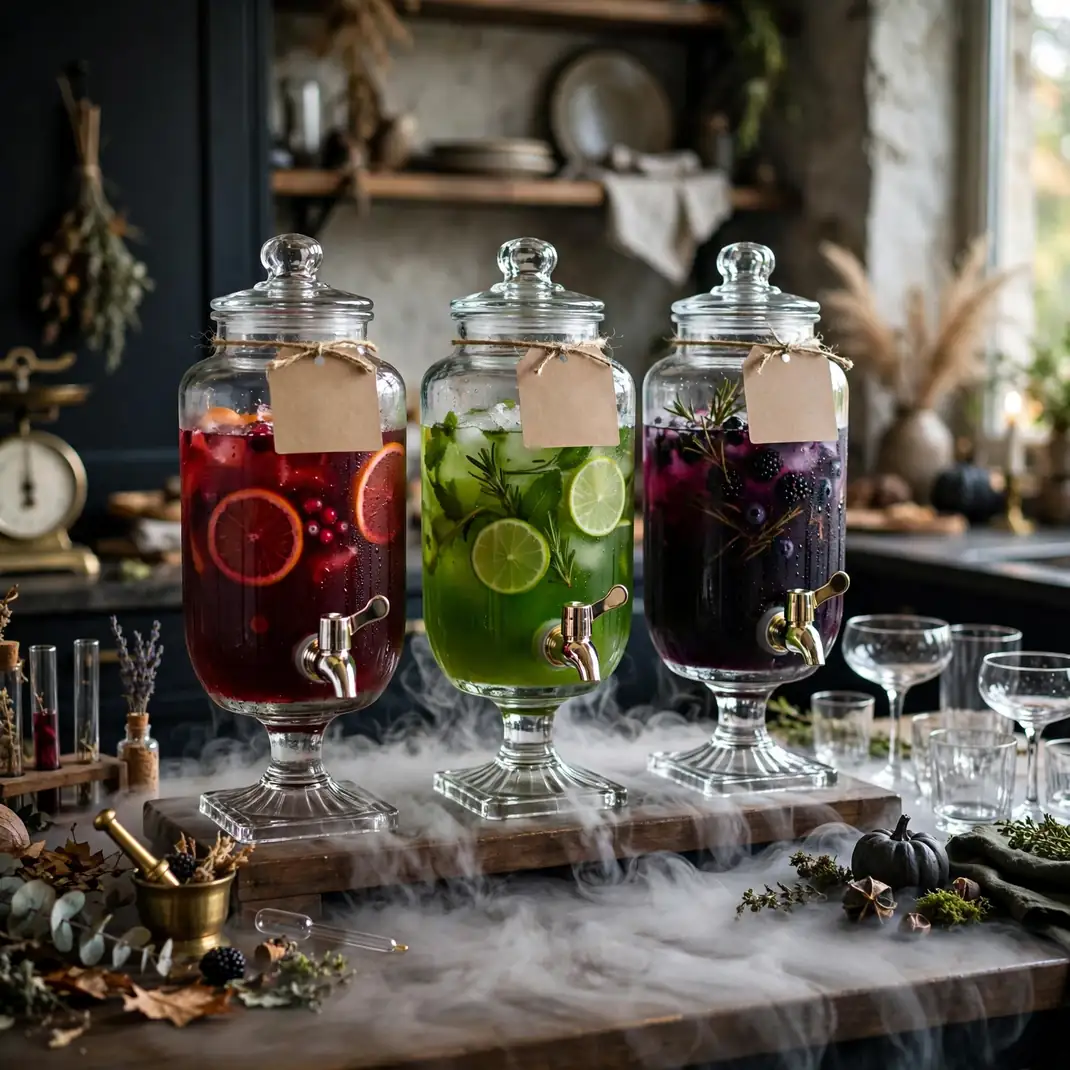
Give intermission a signature serve. Set out a drink station with two or three batched mocktails in glass dispensers — one blood-red, one toxic green, one midnight purple — each labeled like a potion with a suggested “effect.” Dry ice in the base (never in the drink) makes each dispenser smoke when poured.
How to Style It: Keep the palette to fruit juices, sodas, and food coloring — cranberry, lime sherbet punch, and grape juice cover the three colors. Label with kraft tags tied in twine.
Why It Photographs Beautifully: Jewel-toned dispensers backlit by a puck light look like a mad scientist’s lab, and the pouring shots are gorgeous.
Pro Tip: Handle dry ice with tongs and gloves, and keep it in a vented container below the dispensers, never inside anything anyone drinks.
Budget-Smart Swap: One signature punch in a single dispenser, with plastic cups stacked beside it, still feels like an event.
15. Fill a Skull Bowl with 3D Glasses
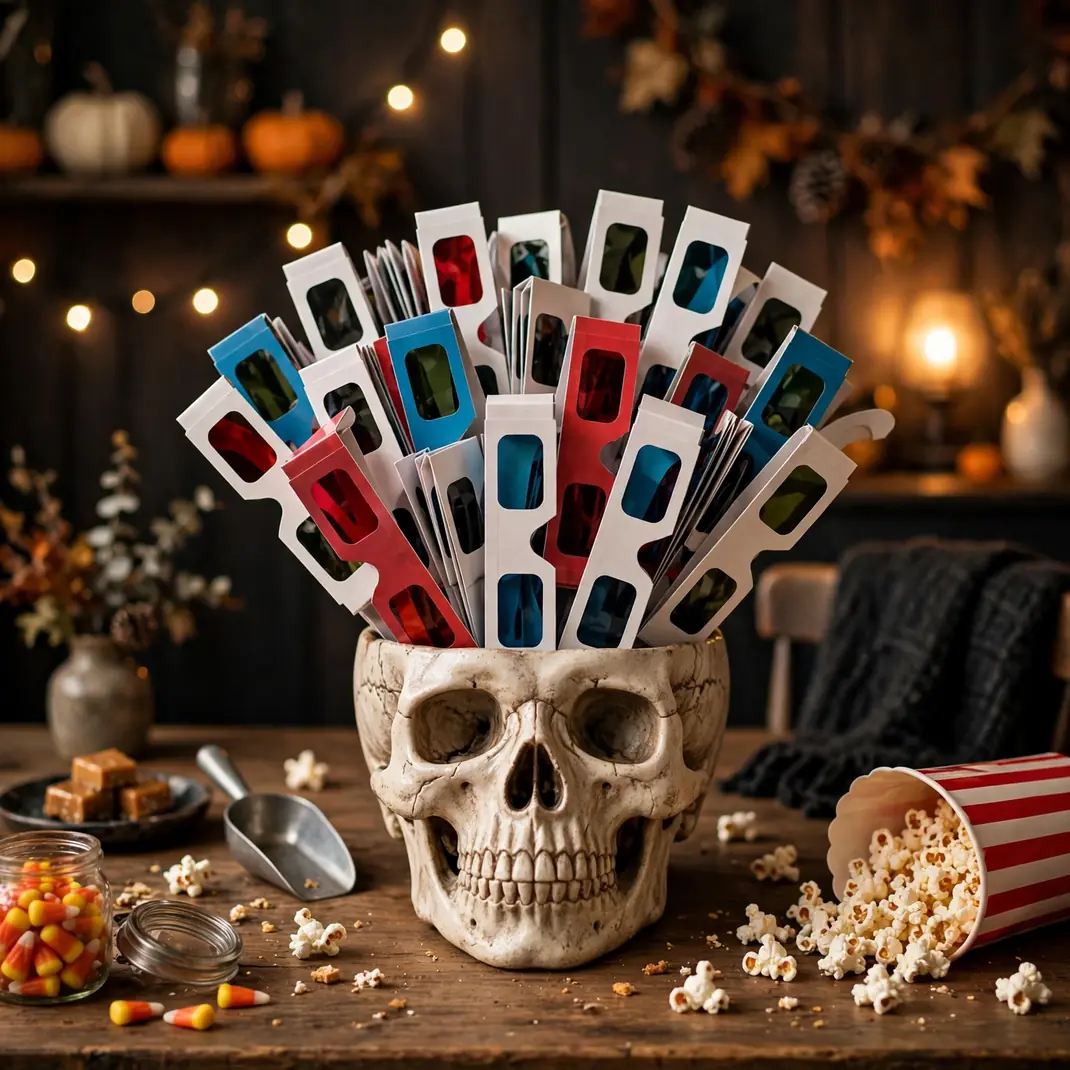
If your theater does 3D, the glasses need a home — make it a skull. A large decorative skull with the cranium open, or a skull-shaped bowl, piled with 3D glasses on the concession table is functional decor at its finest. Guests grab a pair on the way in and the joke lands every time.
How to Style It: Fold the glasses flat and fan them upright in the bowl so the arms stick up like a strange bouquet. Place it at the front of the concession table where it is the first thing touched.
Why It Photographs Beautifully: The contrast of sleek modern glasses spilling from an ancient-looking skull is a still-life with a sense of humor.
Pro Tip: Wipe the glasses with a microfiber cloth before the night. Smudged 3D glasses ruin the effect and the movie.
Budget-Smart Swap: A black plastic cauldron from the dollar store holds glasses just as well and costs next to nothing.
16. Roll Out a Red Carpet with Stanchions
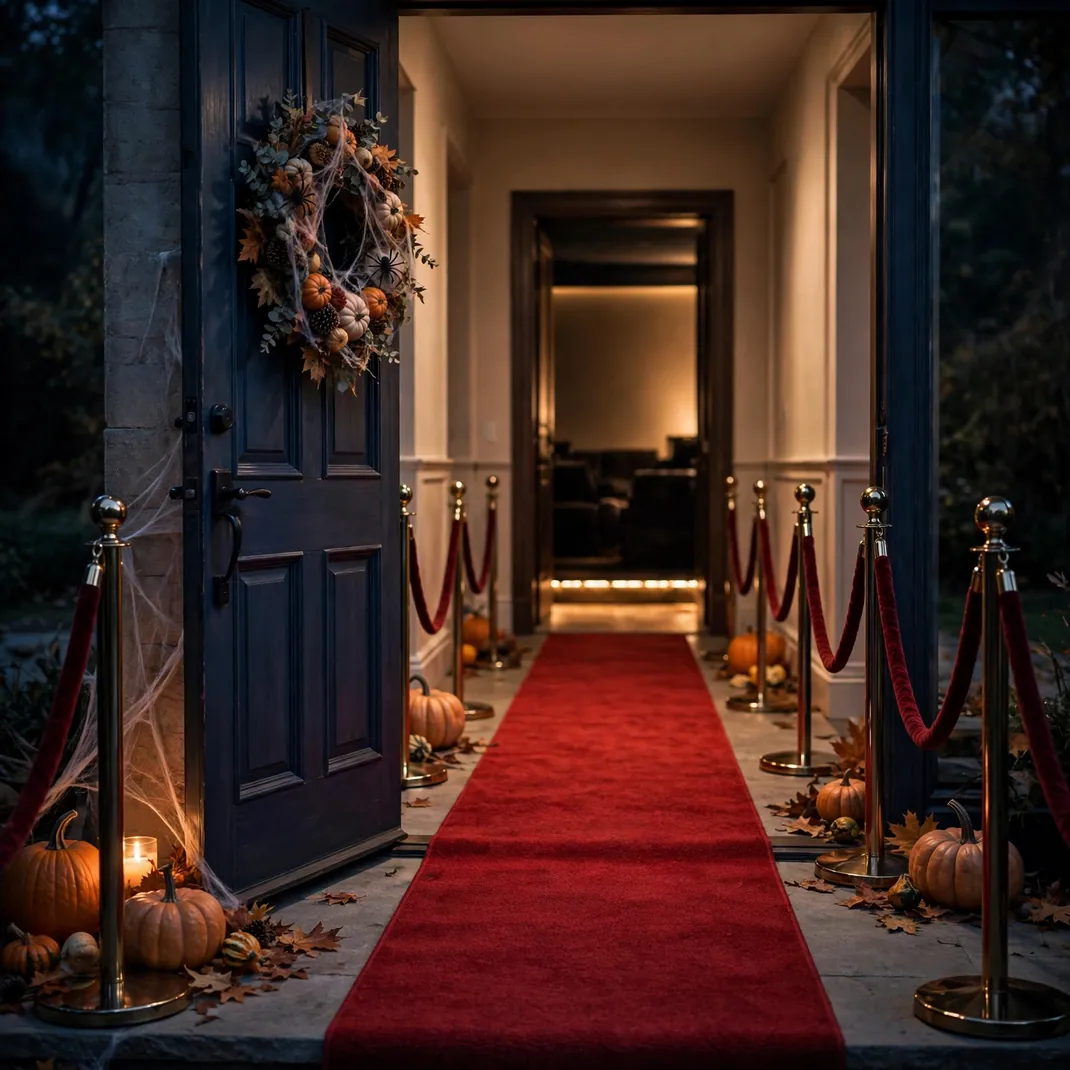
A three-foot-wide red runner from the front door to the theater, flanked by two stanchions with velvet rope, turns arrival into a premiere. Guests will instinctively pose. It is the cheapest red-carpet moment available to mankind, and it works on every single person.
How to Style It: Lay the runner flat a day early so the curl relaxes. Position the stanchions just inside the front door so the photo moment happens immediately.
Why It Photographs Beautifully: A leading line of red carpet pulling the eye toward a glowing theater door is composition that takes itself.
Pro Tip: Keep a lint roller by the door. Red carpet shows everything, especially pet hair.
Budget-Smart Swap: Red plastic tablecloth runners taped end to end, with rope strung between two coat racks.
17. Rest Snacks in a Coffin-Shaped Tray
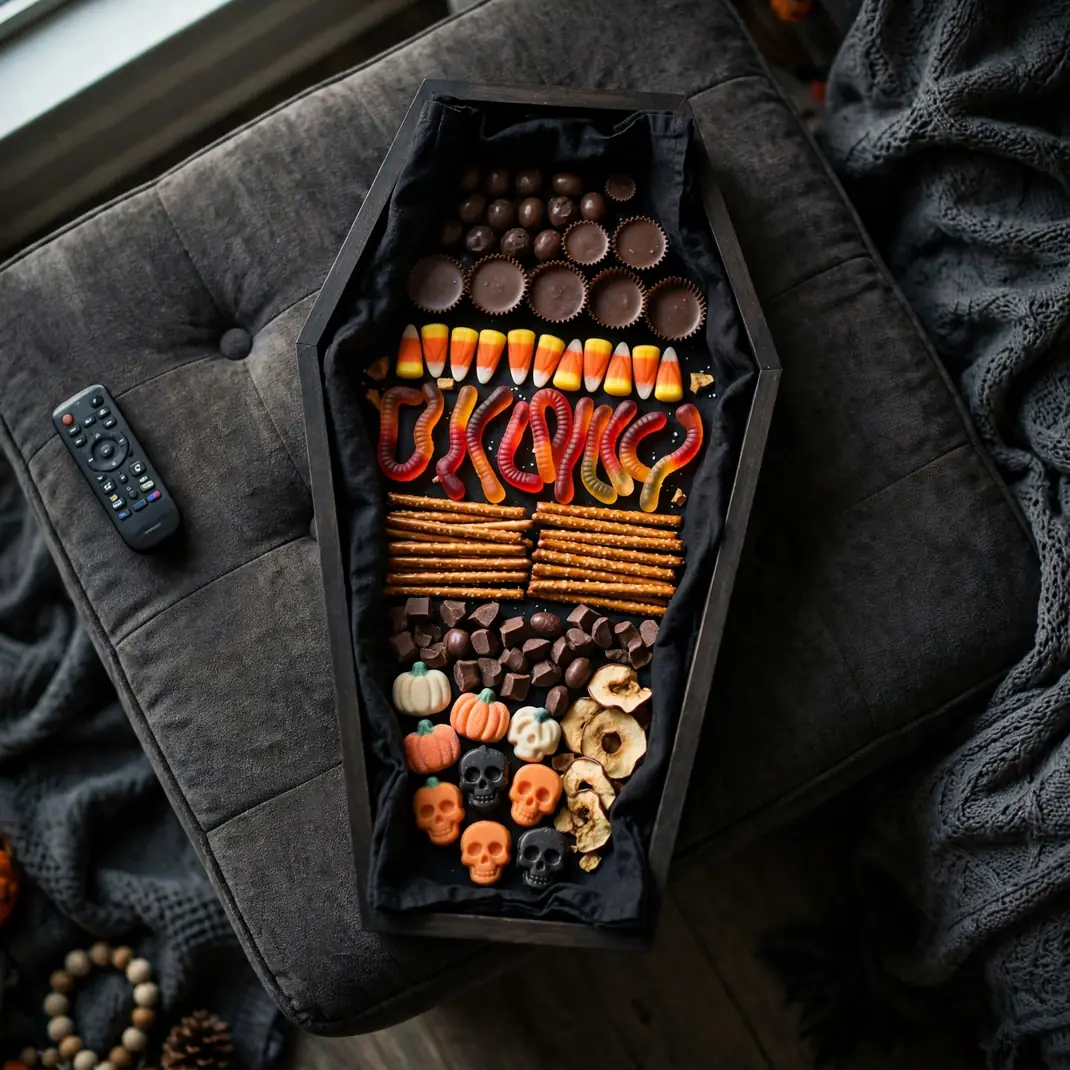
A coffin-shaped serving tray on the coffee table, filled with candy or charcuterie, is the kind of detail guests remember. Line it with a black napkin, arrange the snacks in rows, and let the shape do the talking. Sweet or savory both work — a coffin of cheese cubes is deeply funny.
How to Style It: Build height in the center — a small bowl of dip on a ramekin — so the arrangement does not look flat. Keep the tray on the ottoman between seats, within arm’s reach.
Why It Photographs Beautifully: The coffin silhouette is instantly readable even in a dark room, and overhead shots of the filled tray are striking.
Pro Tip: Craft stores sell unfinished wood coffin trays for a few dollars. Stain it dark walnut once and it looks like an antique.
Budget-Smart Swap: A black rectangular tray with the corners visually “cut” by draping a black cloth — the silhouette suggestion is enough.
18. Toss In Monster-Eye Throw Pillows
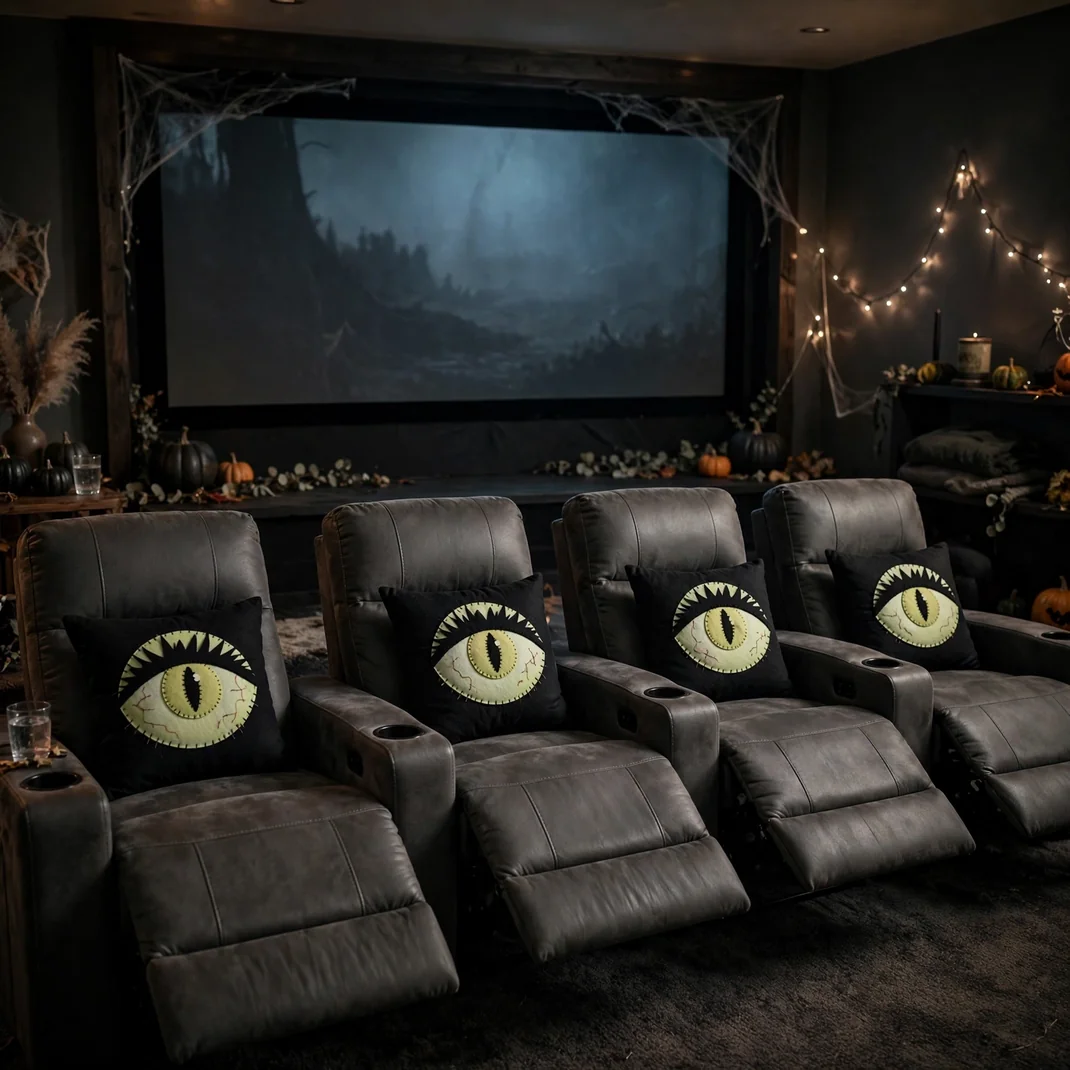
Swap two or three of the theater’s throw pillows for monster-eye versions: black pillow covers with a single huge felt eye appliqued on — white sclera, colored iris, black pupil. They stare at the screen all night, and in the dark the eyes seem to follow you. Deeply silly, weirdly effective.
How to Style It: Cut the eye from layered felt circles and attach with fabric glue or a few whip stitches. One eye per pillow, slightly off-center, looks more handmade and charming than a matched pair.
Why It Photographs Beautifully: A row of seats with giant eyes staring forward is funny in every single photo, especially wide shots of the full theater.
Pro Tip: Make the pupils slightly different sizes. Asymmetry is what makes them feel alive.
Budget-Smart Swap: White paper plates with drawn eyes, slipped over existing pillows for the night and recycled after.
19. Flash an “Intermission” Card Between Films
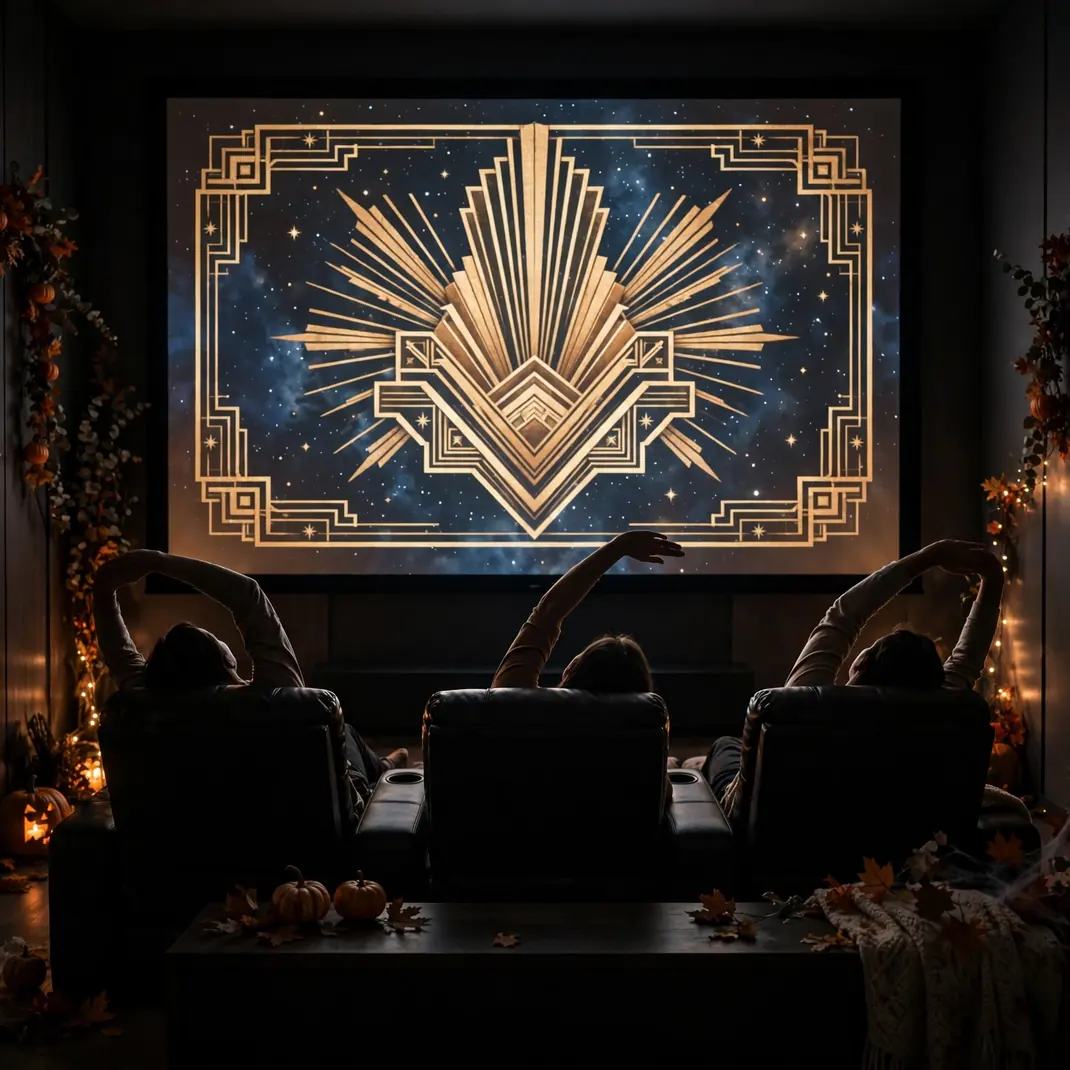
Between the double features, throw a vintage-style intermission card on the screen — “INTERMISSION” in art-deco letters over a starfield, with a five-minute countdown. It gives everyone a graceful break, builds anticipation for film two, and makes the night feel programmed rather than improvised.
How to Style It: Free intermission countdown videos exist on every video platform. Queue one in a playlist between the two films so the transition is seamless.
Why It Photographs Beautifully: The glowing art-deco card against the dark room, with guests stretching in silhouette, is a beautiful candid.
Pro Tip: Time the intermission to the concession refill. Announce “five minutes” and watch the candy jars empty.
Budget-Smart Swap: A single still image of an intermission card, displayed for five minutes, works just as well.
20. Tie Back Curtains with Skeleton Hands
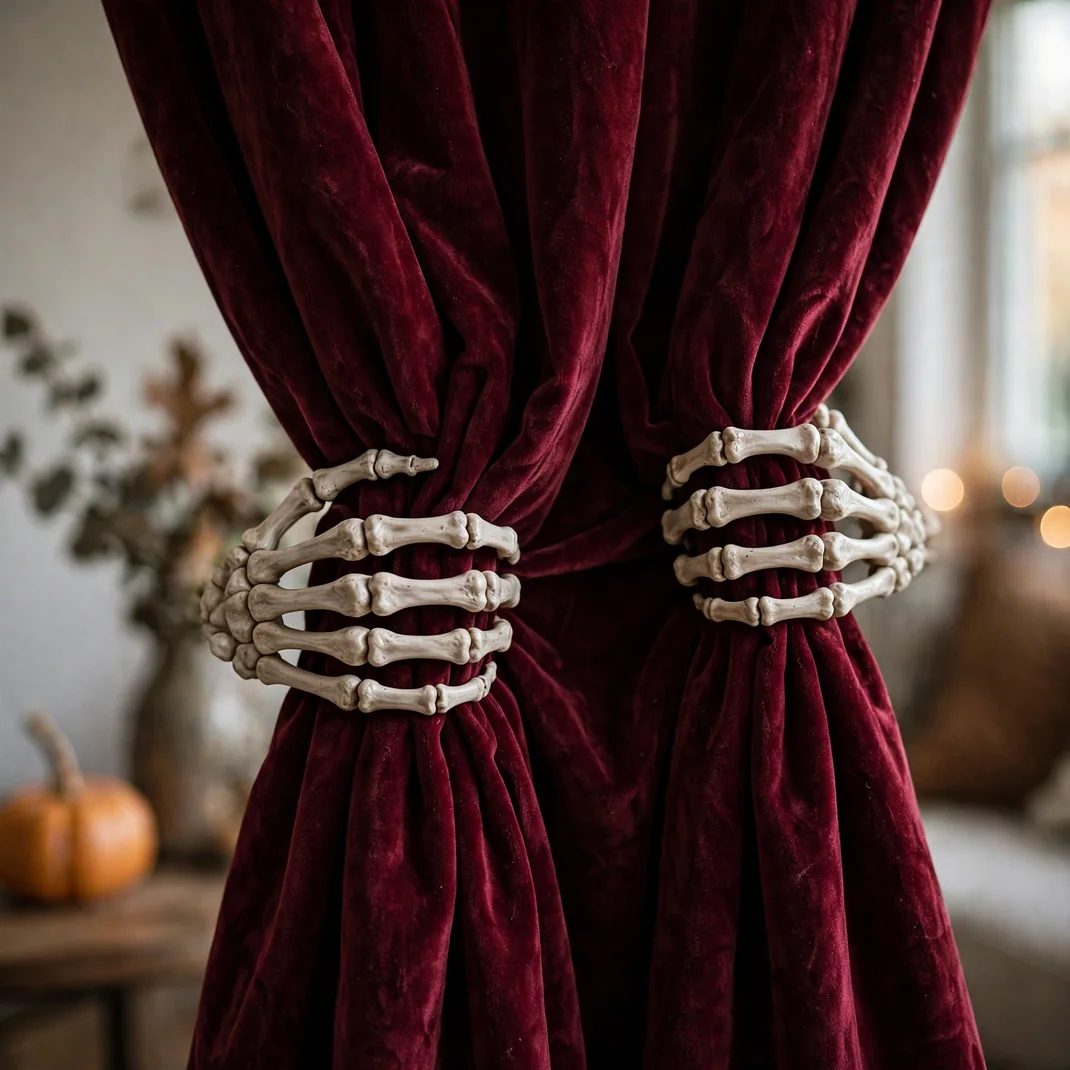
Those velvet drapes from idea four deserve a proper fastening. Use posable skeleton hands as curtain tiebacks, gripping the gathered fabric like something is holding the curtains open for the show. It is a small detail that rewards anyone who looks closely.
How to Style It: Wire the skeleton hand’s wrist to a curtain tieback hook, then curl the fingers around the gathered drape. A dab of museum putty keeps it from sliding.
Why It Photographs Beautifully: Macro shots of the bony fingers in the velvet folds are deliciously creepy and elegant at once.
Pro Tip: Pose the fingers slightly asymmetrically — a too-perfect grip looks mannequin-like, a relaxed one looks alive.
Budget-Smart Swap: Black ribbon tiebacks with a plastic spider pinned at the knot.
21. Sync Smart Bulbs to Flicker During Scary Scenes
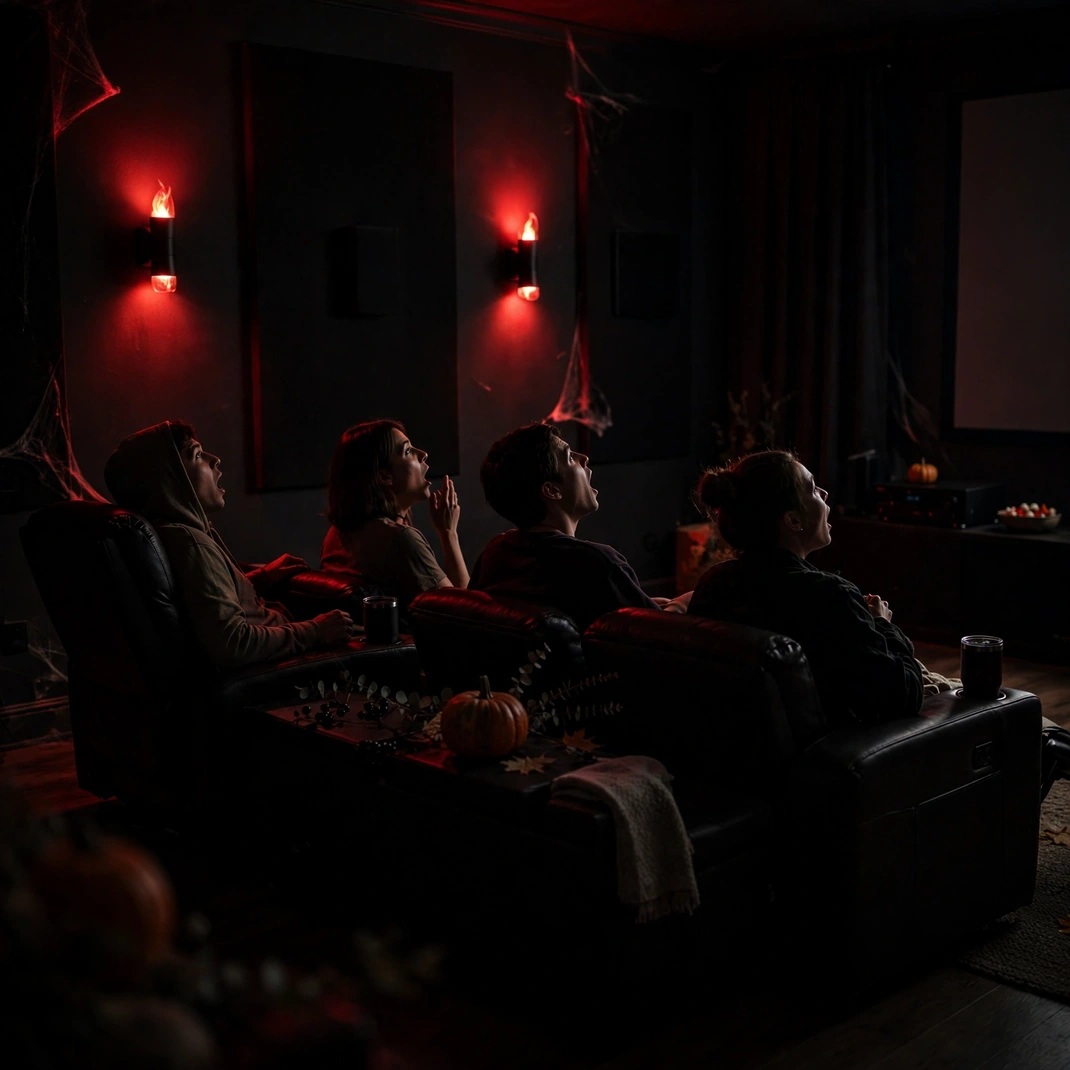
If the room has smart bulbs, this is the party trick. Set a scene that drops the sconces to a deep red flicker, and trigger it manually from your phone at the film’s tensest moment. The room itself seems to react to the movie, and guests will absolutely lose it.
How to Style It: Pre-build two scenes in your smart home app: “Cinema” (warm dim) and “Fright” (red flicker). Practice the switch once so the timing feels intentional.
Why It Photographs Beautifully: Red-lit faces mid-gasp, caught in the flicker, are dramatic portraits nobody planned.
Pro Tip: Use it once per film, at the peak scare. Twice is a gimmick; once is a legend.
Budget-Smart Swap: A friend stationed at the light switch with strict instructions and good comic timing.
22. End the Night with a Credits-Style Thank-You Card
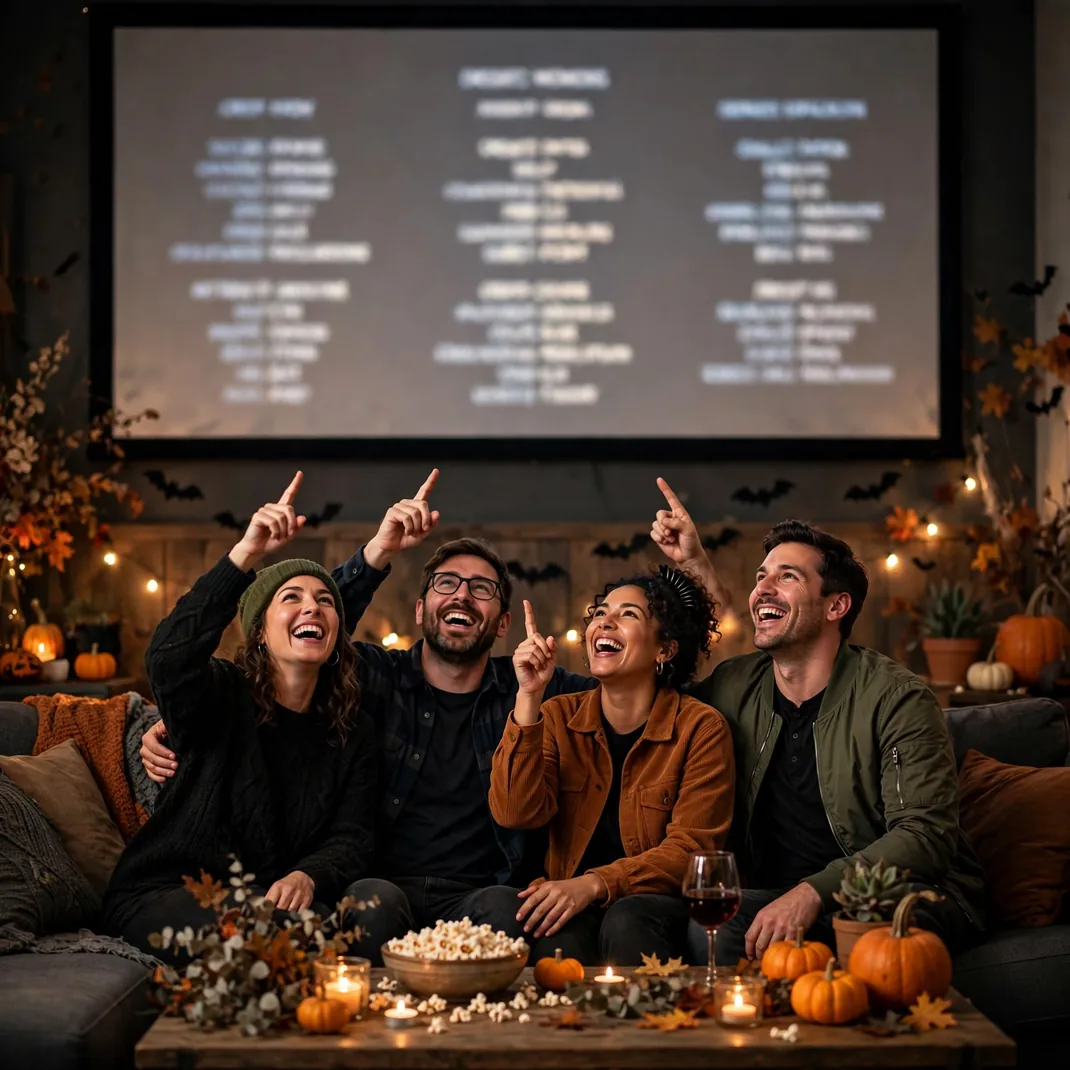
When the last film ends, roll your own credits. A simple slide on the screen — “Thanks for coming. Starring: [everyone’s names]. Directed by: You.” — scrolling slowly while the lights come up. Guests stay for it, laugh at their billing, and leave feeling like the night was made for them. Because it was.
How to Style It: Build the slide in any presentation app with white text on black, set to auto-scroll. Give everyone a joke credit: “Popcorn — Eaten By Dave.”
Why It Photographs Beautifully: Guests pointing at their own names on the big screen, backlit and laughing, is the night’s best photo.
Pro Tip: End with a teaser: “Coming Next October…” It turns one movie night into a tradition.
Budget-Smart Swap: Handwritten credits on a poster board held up in front of the screen, read aloud dramatically.