
25 Fun Kitchen Wall Sticker Ideas for Instant Personality
Lemon borders, herb rows and giant leaves bring color to a kitchen wall without paint, nails or any tools. Peel and stick vinyl suits renters as well as owners when it is chosen and applied with care.
The 25 ideas below give sizes, placement heights and surface notes, along with where each one should stay clear of heat and steam.
Herb Row Above the Counter
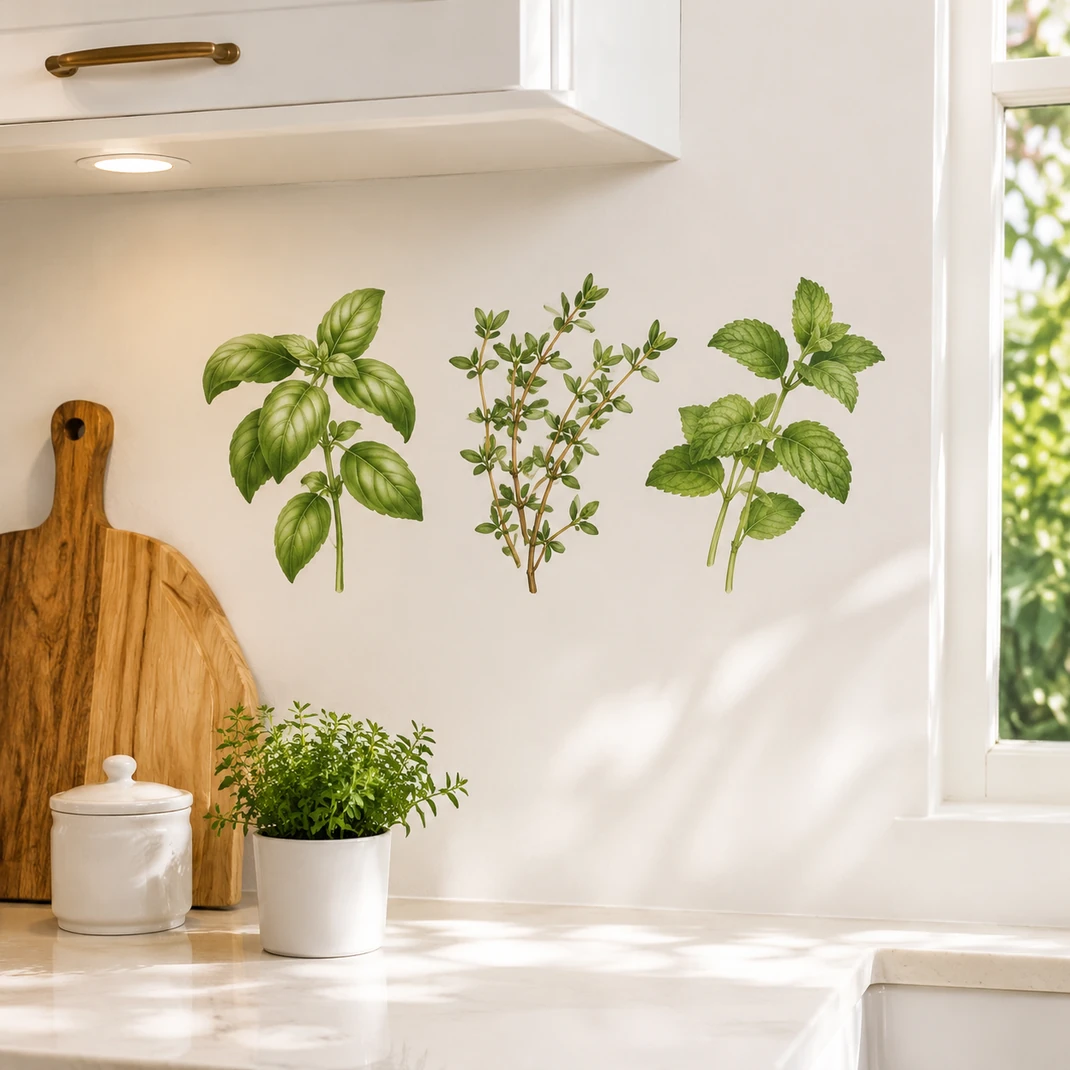
A row of herb stickers brings garden color to a wall without a single pot. Choose a set with plants about 8 to 12 inches tall and place them in a line along the wall at counter height plus 12 inches. Space them 4 inches apart and add small name labels.
Vinyl sticks best to smooth, fully cured paint and glazed tile. Wipe the wall first with a damp cloth and dry it before pressing the stickers on. Keep the row at least 12 inches from the cooktop, where heat can loosen the adhesive.
Coffee Corner Cups
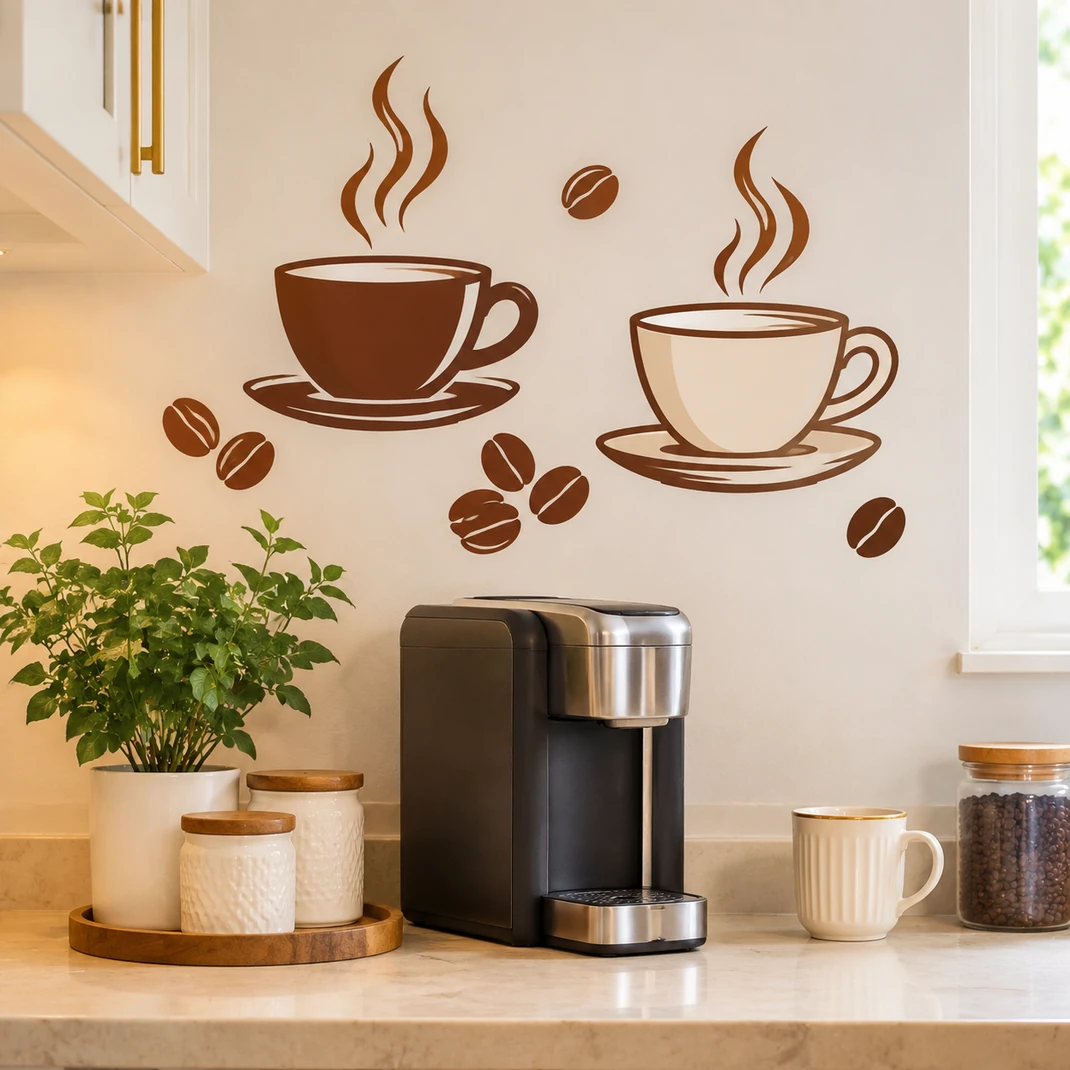
A coffee station feels complete with a few matching stickers. Choose cups of 4 to 6 inches, steam swirls and coffee beans in two colors, and arrange them in a loose cluster above the machine. Add a short line of lettering about 2 inches tall.
Smooth each piece with a flat card from the center outward to push out bubbles. Steam from a kettle can soften adhesive over time, so keep the cluster at least a foot above the spout. Choose matte vinyl, which hides small ripples and glare from windows.
Lemon Border Above Cabinets
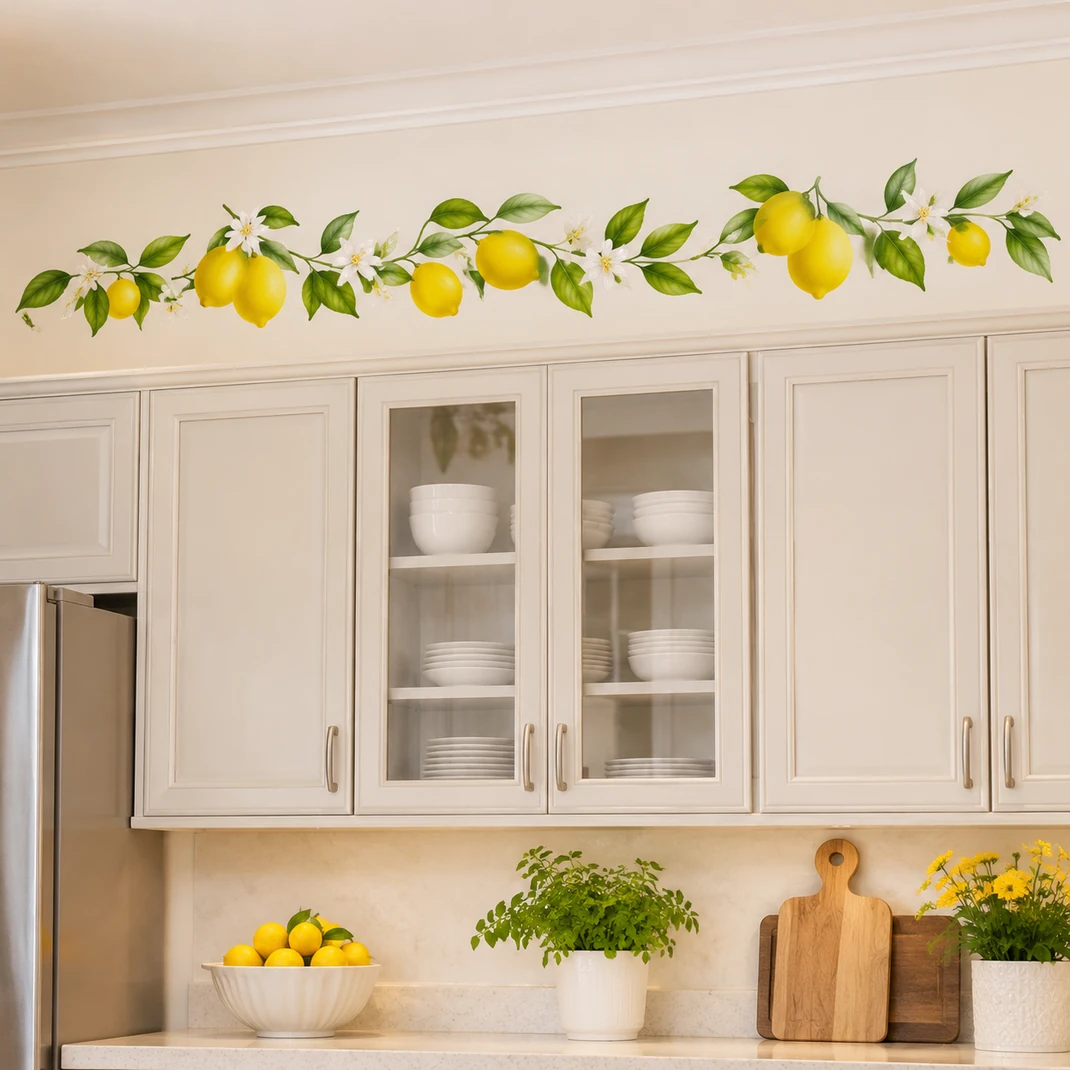
Lemons are a cheerful kitchen motif, and a border keeps them neatly in line. Cut or buy a strip of lemons about 4 inches high and apply it above the cabinets or just under the ceiling. Use a pencil line and a small level for a straight edge.
Repeat the pattern every 12 to 24 inches. A border above the cabinets is out of reach of splashes.
Dust gathers there, so wipe the vinyl with a dry microfiber cloth before pressing it down. Yellow and white sit well with cream or gray cabinets.
Chalkboard Sticker Panel
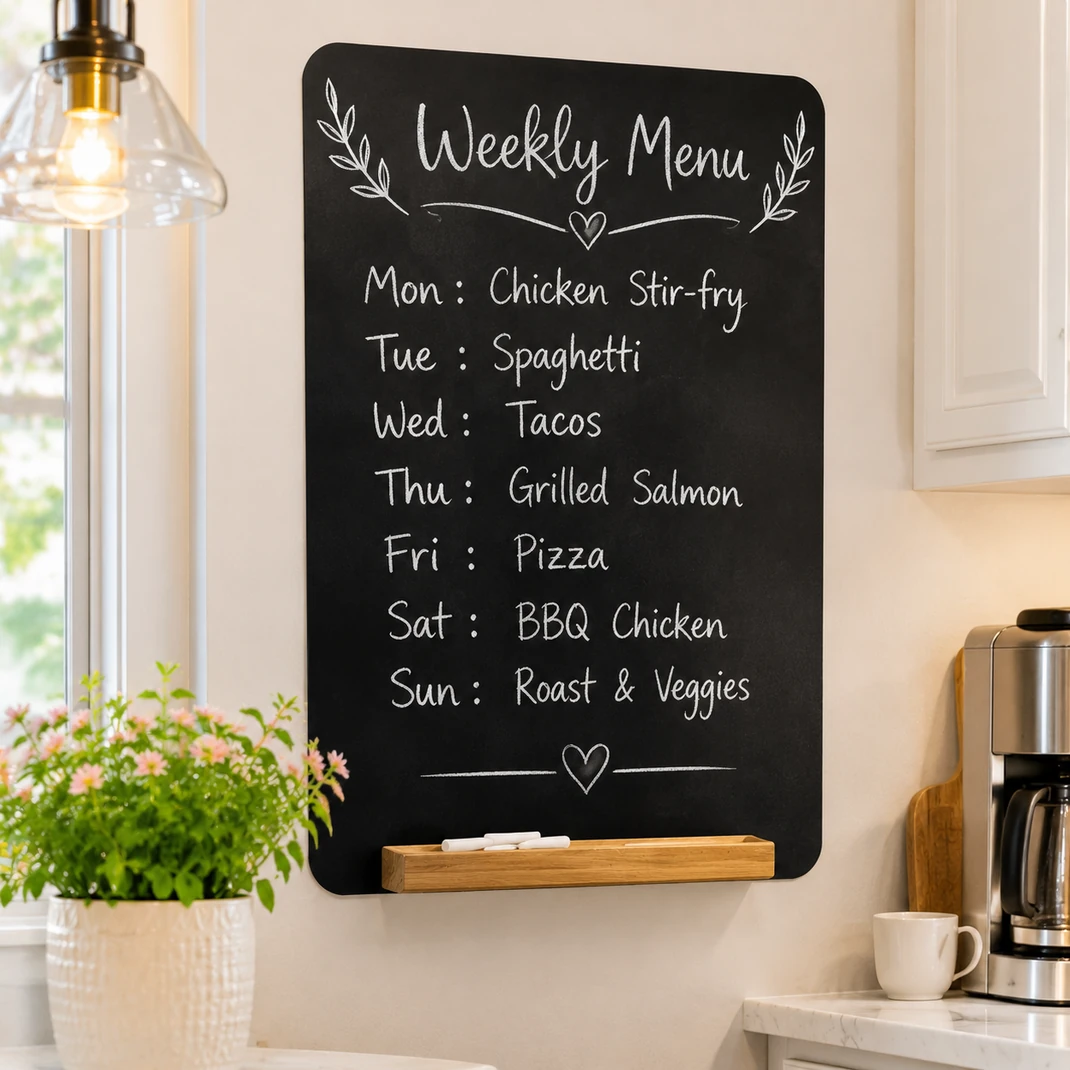
Chalkboard vinyl turns any smooth wall into a menu board. Cut a panel of 24 by 36 inches, peel the backing and smooth it down from one edge to the other. Wait 24 hours, then rub chalk over the whole surface and wipe it off to season it.
Write the dinner plan each week and a short grocery list. Liquid chalk markers give crisp lines but may ghost, so test one first.
Clean it with a damp sponge. Keep it away from the stove, where grease can streak the surface.
Giant Leaf Sticker Set
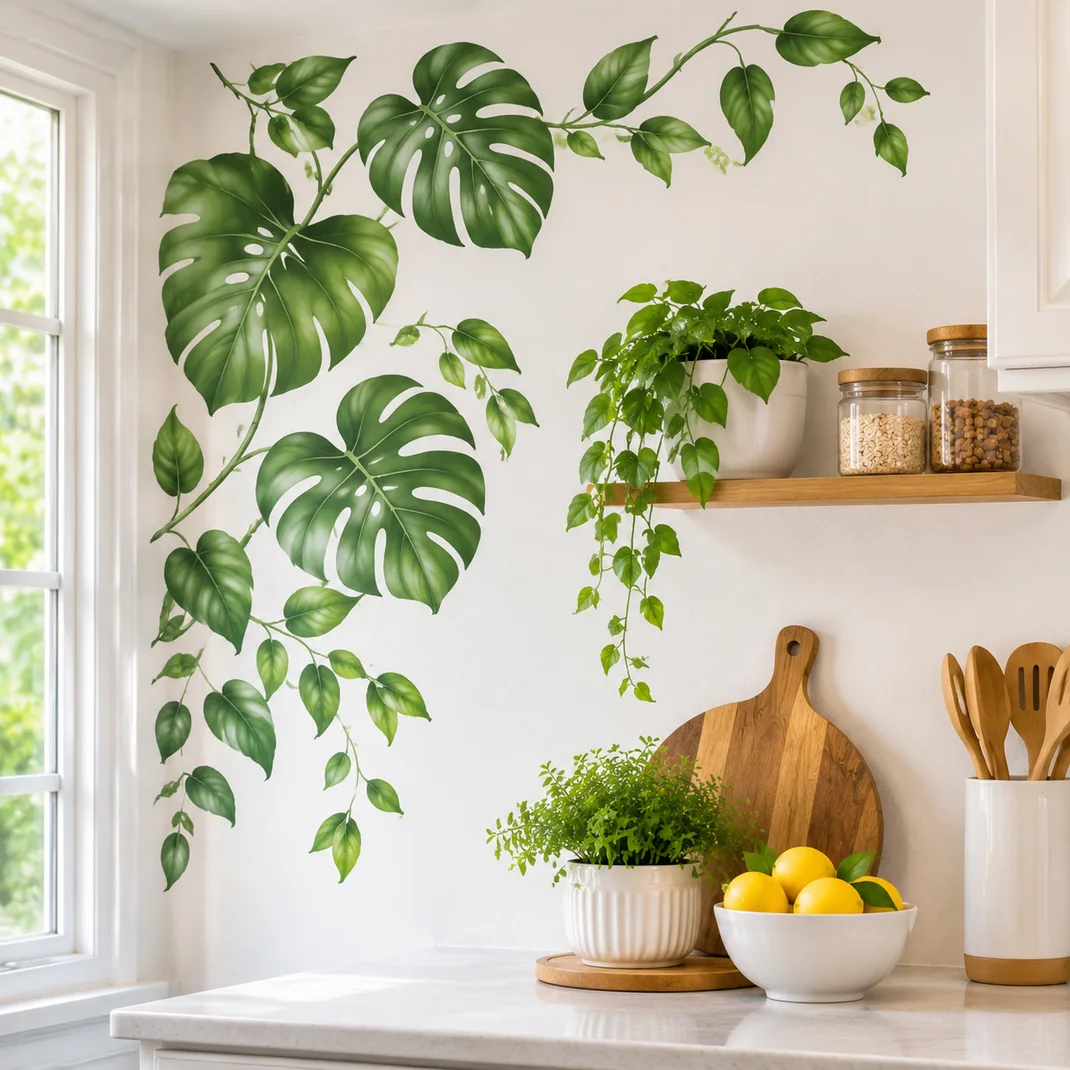
Oversized leaves of 20 to 30 inches make a bold, fresh accent. Arrange three or four leaves on a bare wall with the stems pointing downward and overlapping slightly, as if growing from a corner. Tape each in place first and view it from across the room.
Large pieces are harder to apply, so have a helper hold the backing as you press from the top. A leaf sticker kit of this size takes around 40 minutes to hang. Choose a matte finish so the leaves look painted and avoid placing them directly behind the sink.
Fork and Spoon Pair
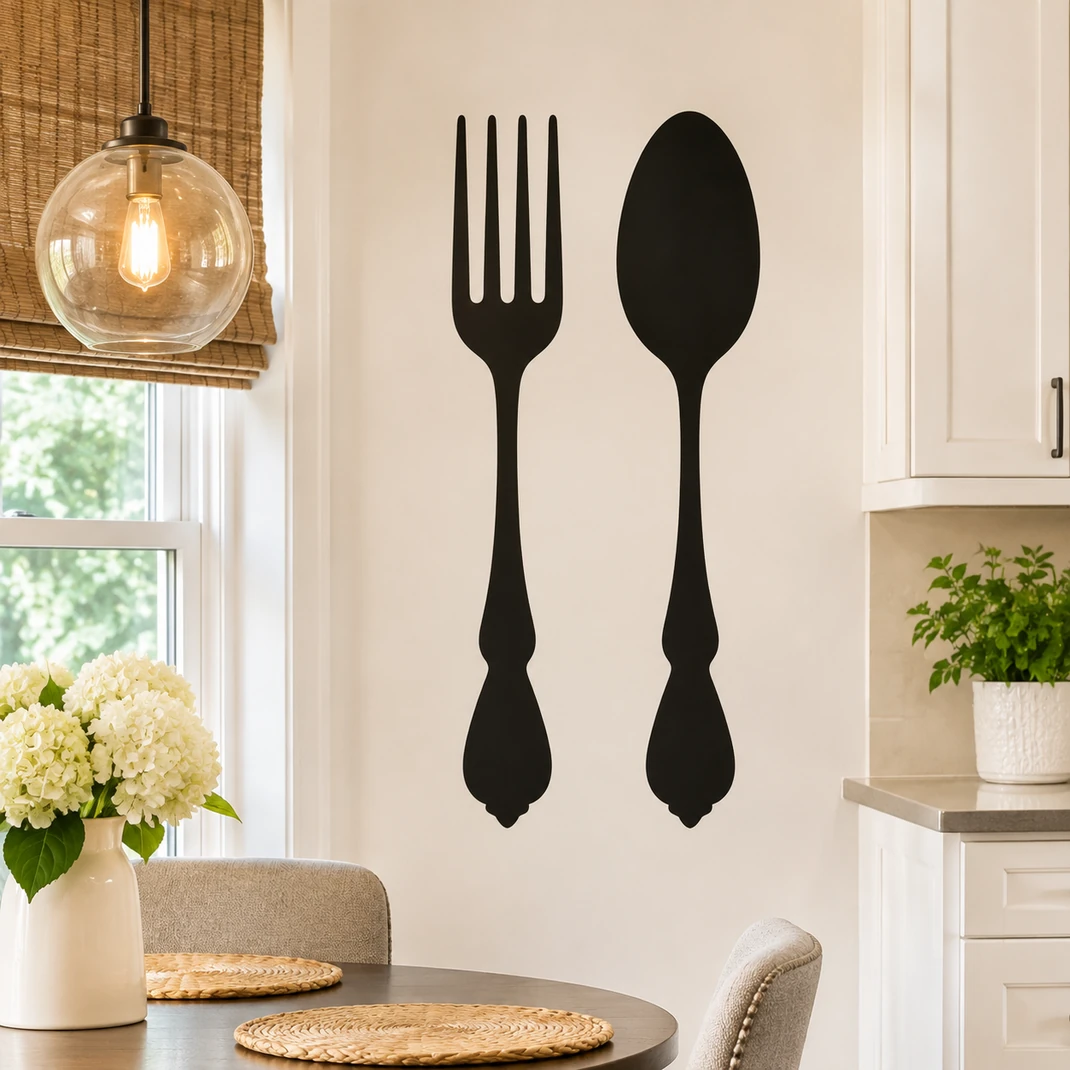
A giant fork and spoon on opposite sides of a dining nook say kitchen at a glance. Choose silhouettes of 36 inches tall in black, charcoal or gold and place them 6 feet apart with a window or art piece between them. Mark both with a level so they match in height.
The cutlery shapes are simple, so the pair works with modern and traditional rooms alike. Peel backing slowly and press with a flat card.
Matte black vinyl hides fingerprints better than glossy. Wipe lightly with a soft sponge when needed.
Single Word Lettering

A single word in sticker lettering is the easiest way to add personality. Choose script or block letters of 3 to 5 inches high and a word such as gather or feast. Lay out the letters on a table first with transfer tape holding them in position.
Hold the strip against the wall and use a level to check the line. Press from the middle to the edges and peel the transfer tape slowly at a sharp angle.
White vinyl pops on dark walls while black suits pale ones. Place the word above a table or bench.
Polka Dot Cluster

Round stickers in different sizes are playful and almost impossible to place wrongly. Use dots from 1 to 6 inches in two or three colors and scatter them in a loose group that thickens toward one corner. Leave some space between dots so the wall breathes.
Kids can help stick them on. A set of 100 dots covers about 4 square feet of wall.
Use removable vinyl if the paint is fresh. Wait about four weeks after painting before applying anything, because uncured paint can peel away with the sticker.
Vintage Utensil Collage
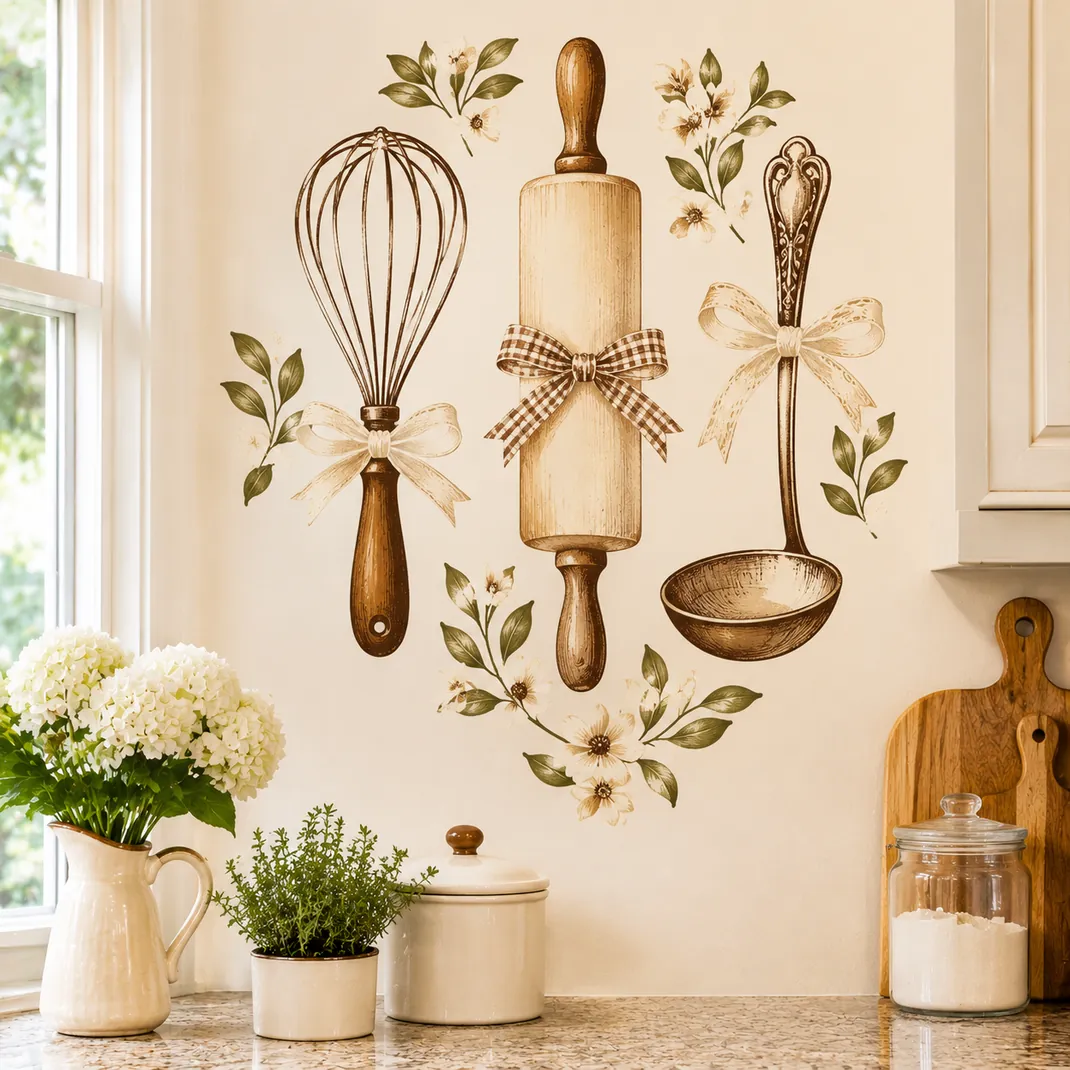
Old fashioned kitchen tools in vinyl make a nostalgic collage. Choose a set that includes a whisk, rolling pin, ladle and mixing bowl, each 8 to 14 inches long, and place them in a tilted arrangement on a wall near the cooking area. Use muted colors such as brown, cream and faded red.
Group the pieces within a rectangle of 30 by 20 inches so they read as one picture. Keep the group at least a foot from the cooktop and splash zone. A quick wipe now and then keeps grease from building.
Spice Jar Silhouettes
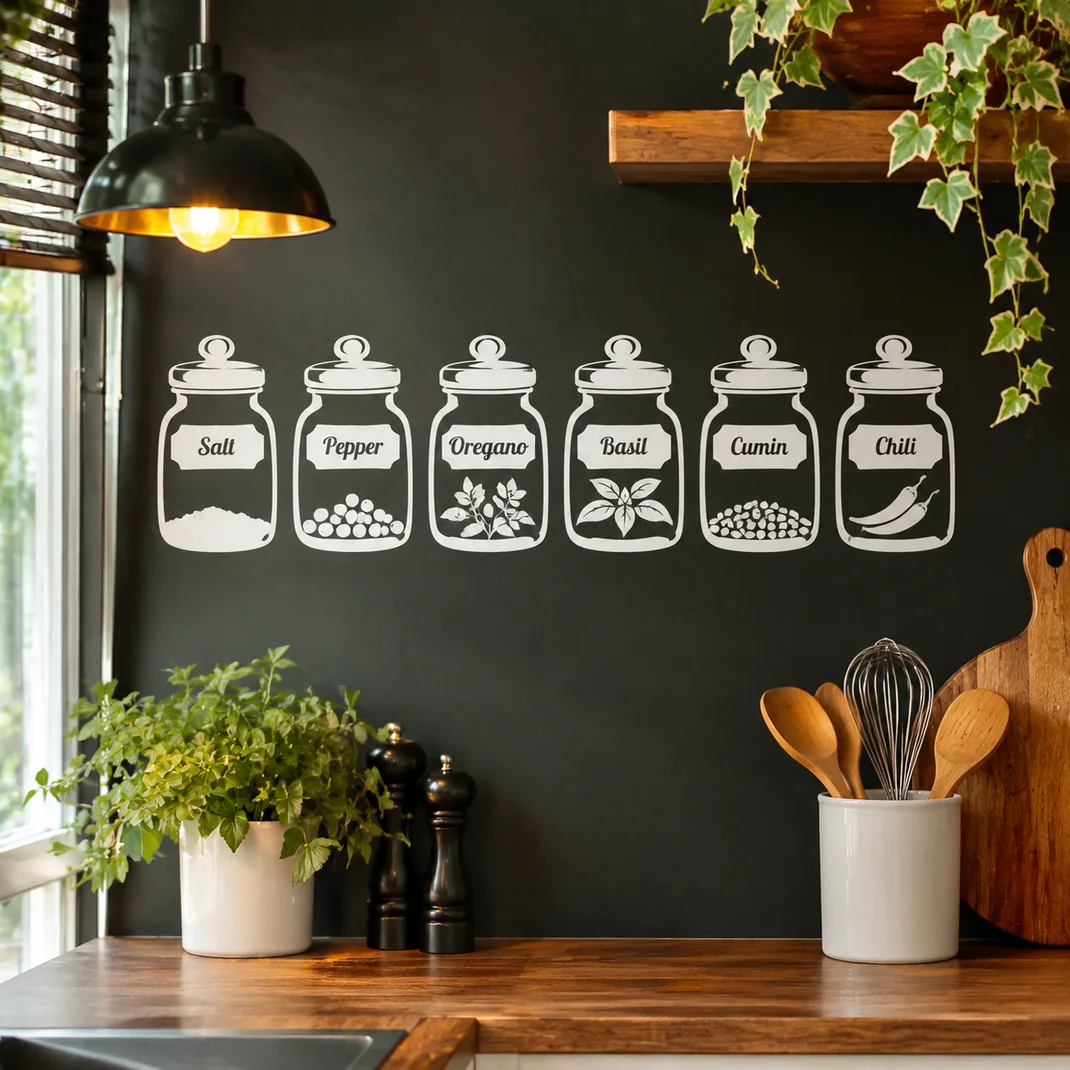
A shelf of spice jar silhouettes adds charm without taking up a single inch of counter. Choose jars of 3 to 5 inches high and arrange them in a row on a real shelf line, or float them on the wall like a pretend shelf. Space them 2 inches apart and add tiny labels such as basil, pepper or paprika.
White vinyl stands out on dark walls and black on pale ones. Use a pencil and ruler to mark the baseline so the row sits level. Rub gently with a card to seal the edges.
Tile Look Backsplash Panels
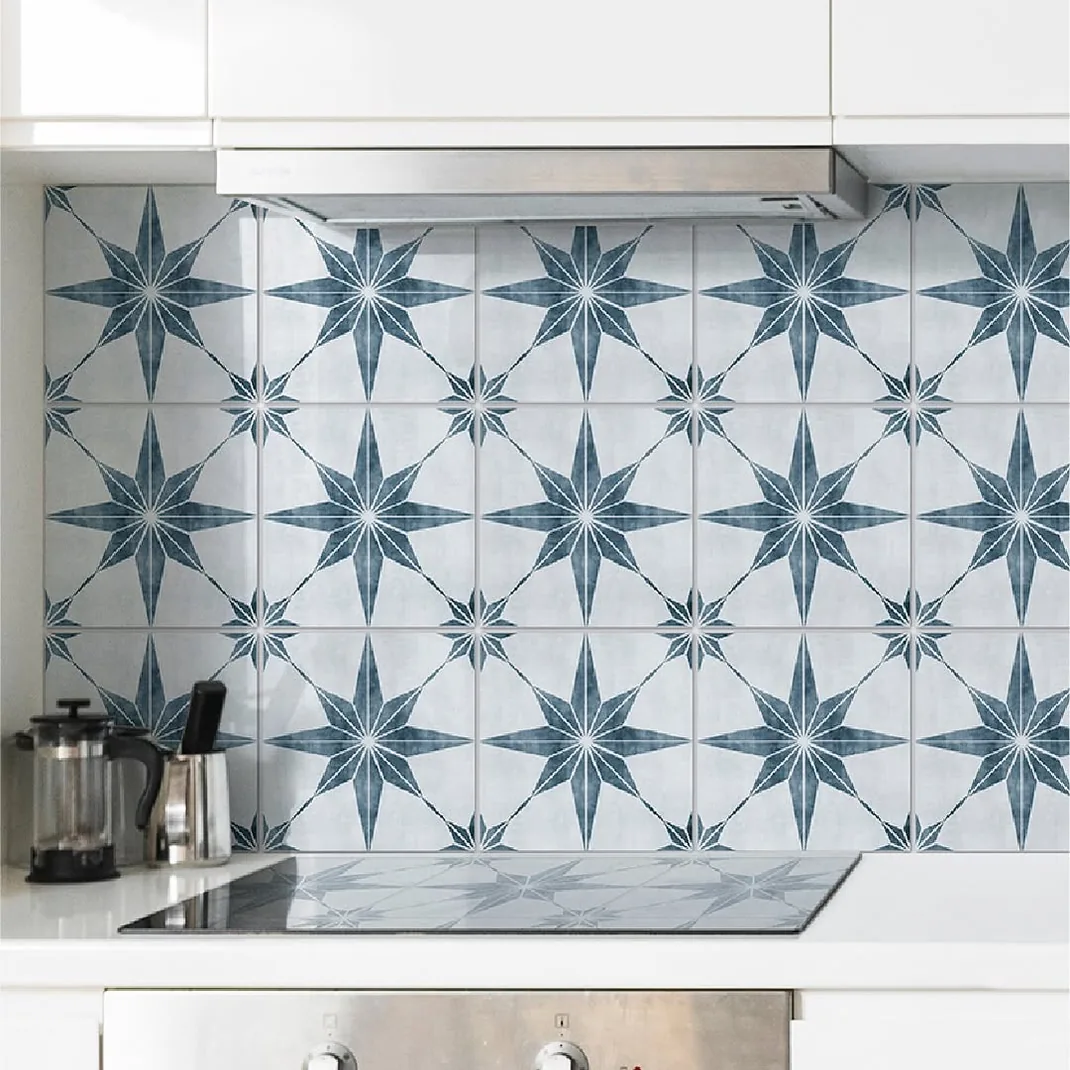
Tile stickers of 6 inches can transform a plain wall behind a sink. Clean the wall, measure the width and mark a center line to keep the pattern even. Press each sticker from the middle outward and trim the edges with a sharp craft knife.
A backsplash area of 12 square feet needs about 48 stickers. Check the label for heat and water ratings, and keep them at least 12 inches from the cooktop.
Seal the edges next to the sink with clear caulk. Peel slowly with a hair dryer on low when you want to change the look.
Frosted Window Floral
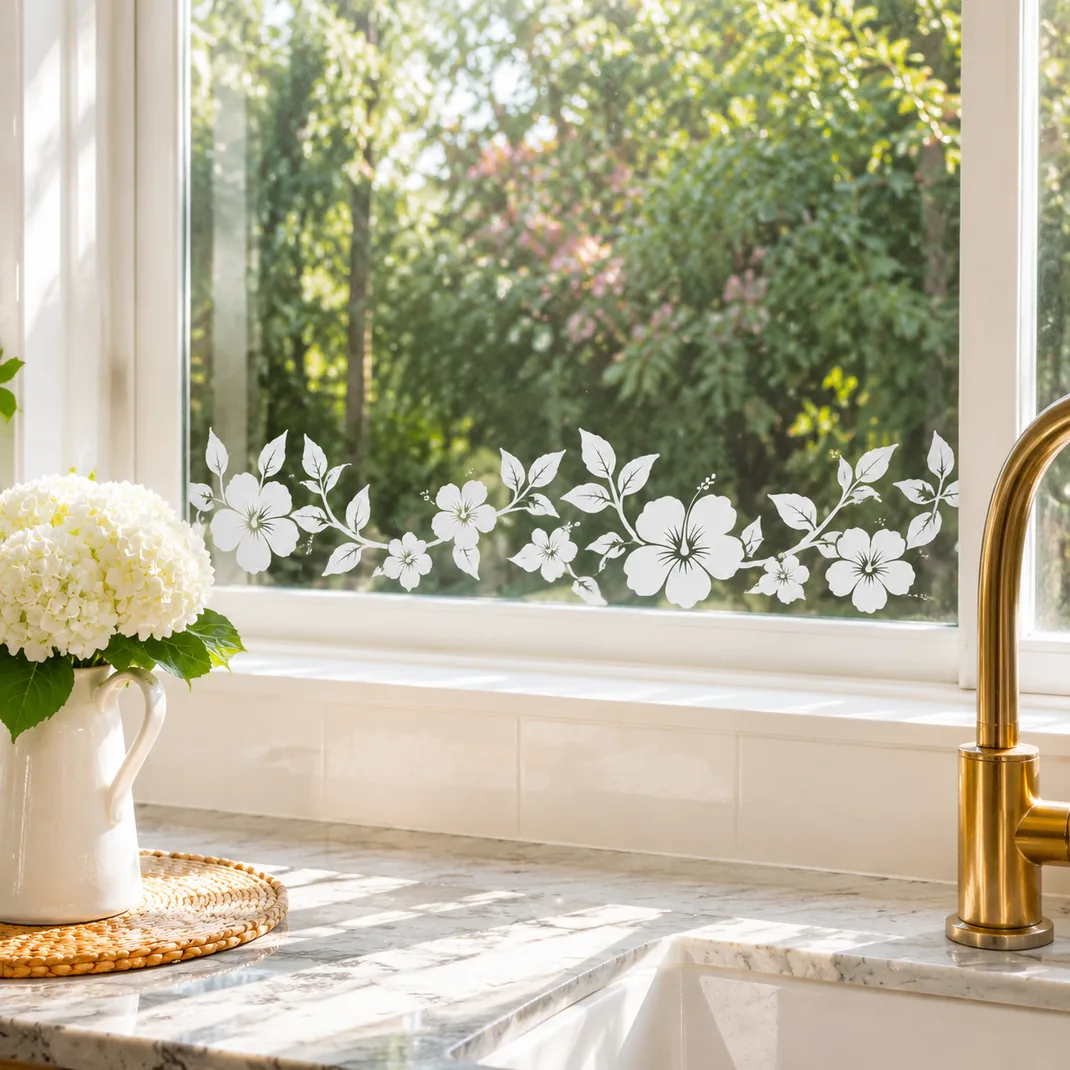
A frosted floral border brings privacy to a window facing a neighbor. Apply a strip about 10 inches high along the bottom of the glass, using a spray of water and a few drops of soap to slide the vinyl into position. Squeegee from the center outward and trim the edges.
Frosted film lets light through while hiding the view. Choose a flower pattern in white or pale gray.
Apply on the inside of the glass. Give it a day to settle before wiping, and clean with a soft cloth.
Fruit Stickers on the Fridge
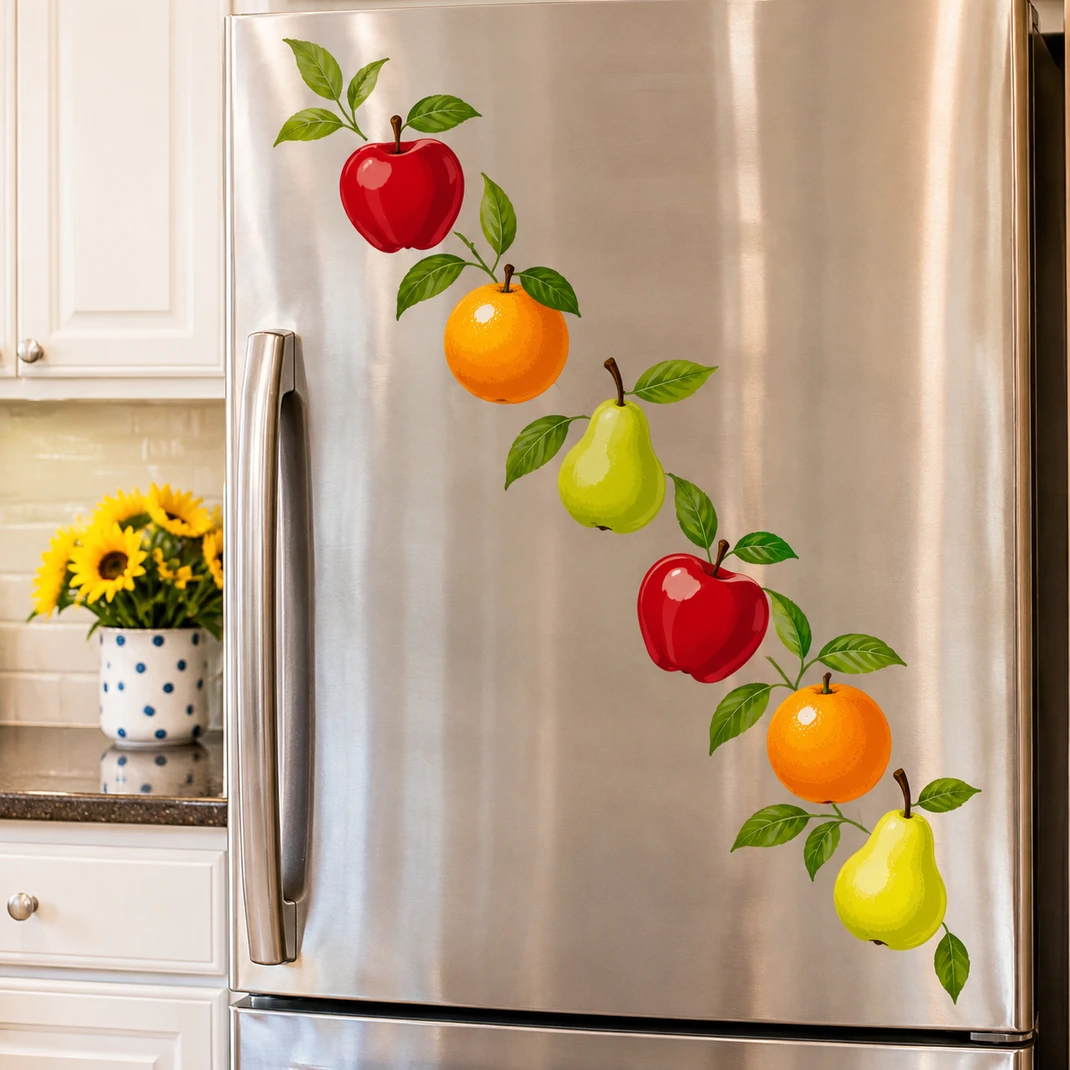
A refrigerator door is a large smooth canvas for stickers. Choose vinyl fruit designs of 4 to 8 inches and scatter them in a diagonal line from top to bottom. Make sure the surface is clean and free of fingerprints.
Stainless steel and painted metal hold vinyl well, while textured doors may not. Test one piece before committing to the full set.
Peel gently when you want to remove them, using a hair dryer on low heat to soften the adhesive. Avoid the water dispenser area, where constant splashes loosen vinyl.
Teapot Tea Time Set
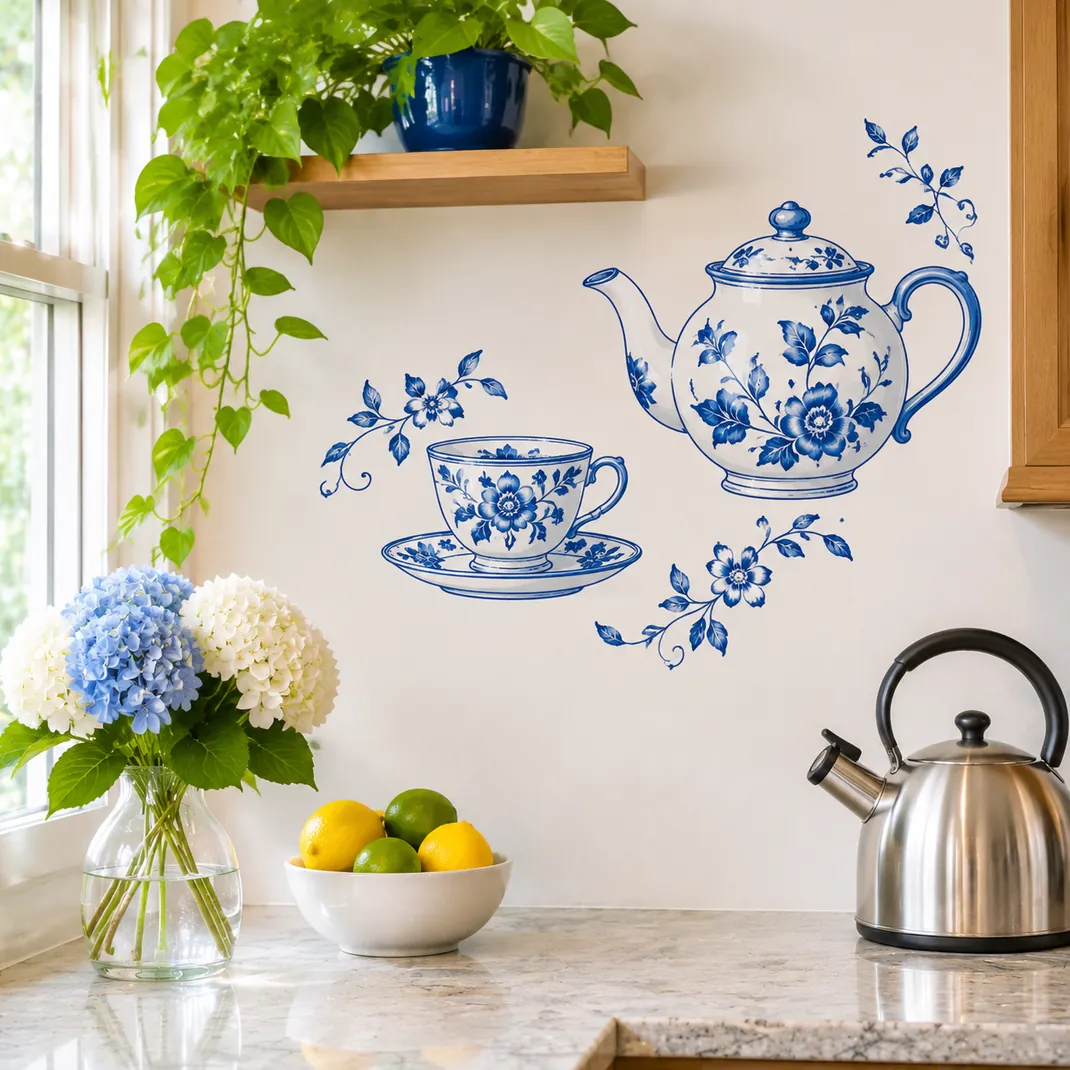
Teapots and cups in blue and white look charming near a kettle or tea shelf. Choose a set with a teapot of 12 inches and two cups of 5 inches and arrange them in a tilted cluster. Add small flower accents around them.
The group takes up a space of about 24 by 18 inches. Press each piece firmly and smooth the edges with a card.
Stay clear of the kettle spout, where steam softens adhesive. Wipe with a dry cloth to keep the colors bright.
Rainbow Arch Stickers
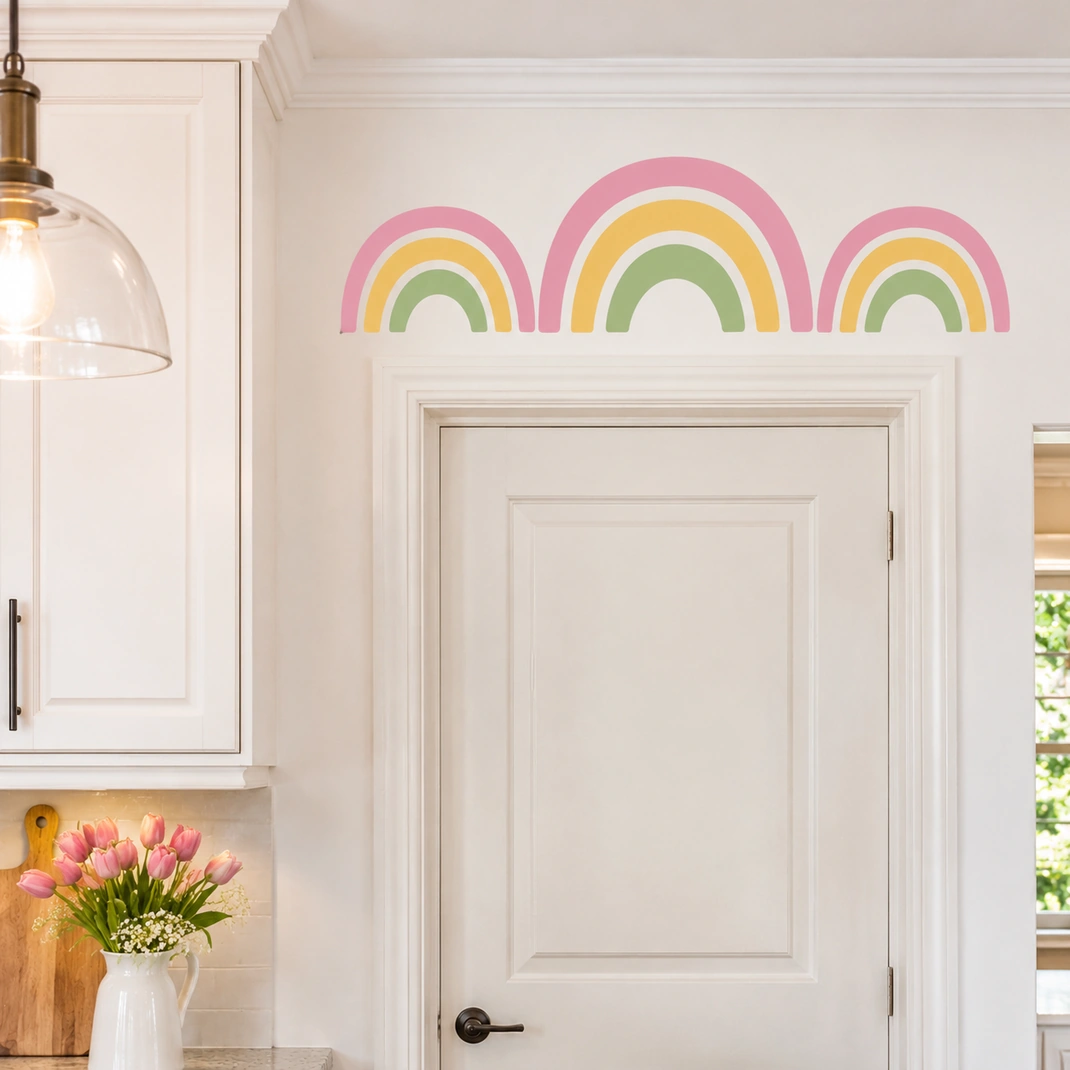
A rainbow arch of 3 to 4 feet wide fits over a doorway or shelf. Choose pastel stripes in pink, yellow and green, or use bolder primaries for a playroom kitchen. Apply the arch from the outer curve inward and keep the spacing even by taping each strip first.
The shapes are simple, but curves need patience, so smooth slowly from the middle. Fix any air bubbles by pricking with a pin and pressing flat. A rainbow looks best on white or very light walls where the colors have room.
Height Chart Ruler
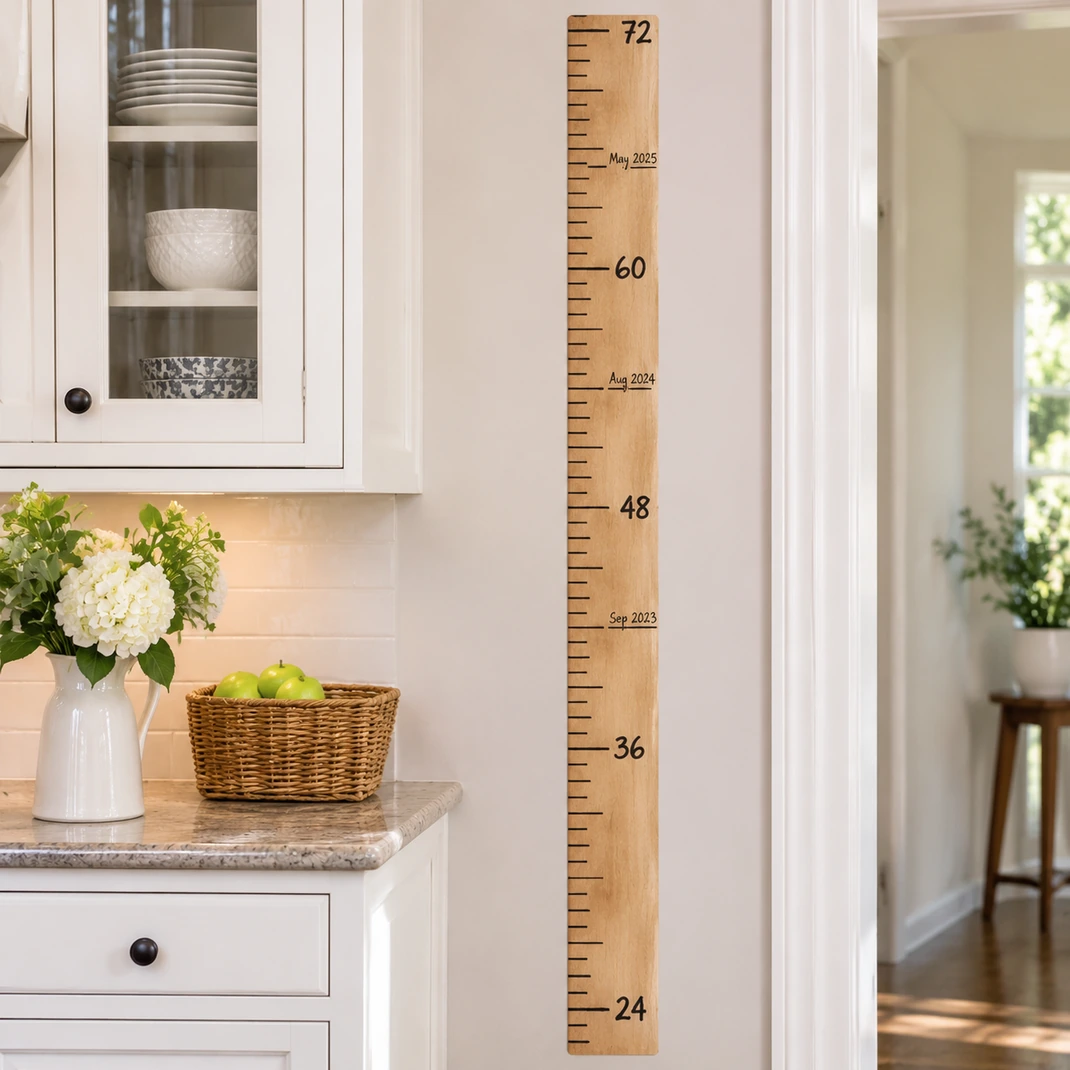
A ruler sticker turns a kitchen doorway into a family growth chart. Choose a strip 72 inches long and 6 inches wide that starts at the floor. Use a level so it runs straight.
Mark each child’s height with a washable pen and the date. A ruler sticker takes about 15 minutes to apply.
Remove it slowly when you move house, so the paint stays intact, and take a photo of the marks first. Start the ruler at the true floor line, not the baseboard top, so the measurements are accurate.
Pizza Slice Icon Row
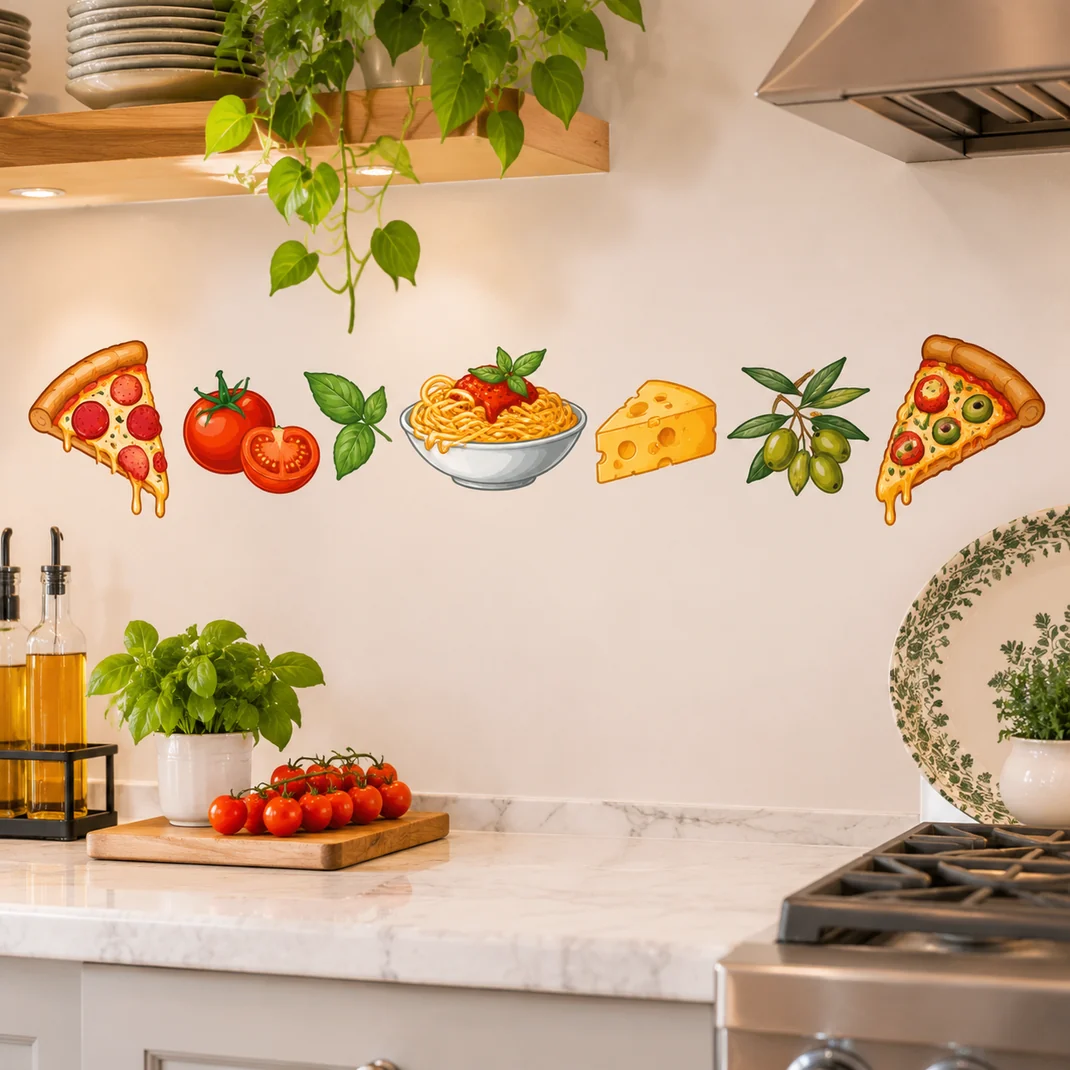
A row of food icons is fun for families who love to cook. Choose pizza slices, burgers and tacos from a sticker set, each about 5 inches wide, and place them in a line along the wall at 54 inches from the floor. Space them 3 inches apart.
They look best on a plain wall with a solid color behind them. Kids enjoy peeling and placing the pieces, which makes this a good activity.
Use removable vinyl for a rental, and test the wall first. Keep the row away from the cooktop area.
Measurement Conversion Chart

A conversion chart sticker saves time when a recipe uses different units. Choose a chart of 12 by 18 inches listing 3 teaspoons to a tablespoon, 16 tablespoons to a cup and 4 quarts to a gallon. Stick it at eye level inside a cabinet door or beside the pantry.
It stays readable through splashes with a quick wipe. Ask a household cook which conversions matter most, and add a small sticker for oven temperatures in both °F and °C. Check any chart against a trusted reference.
Sunburst on the Pantry Door
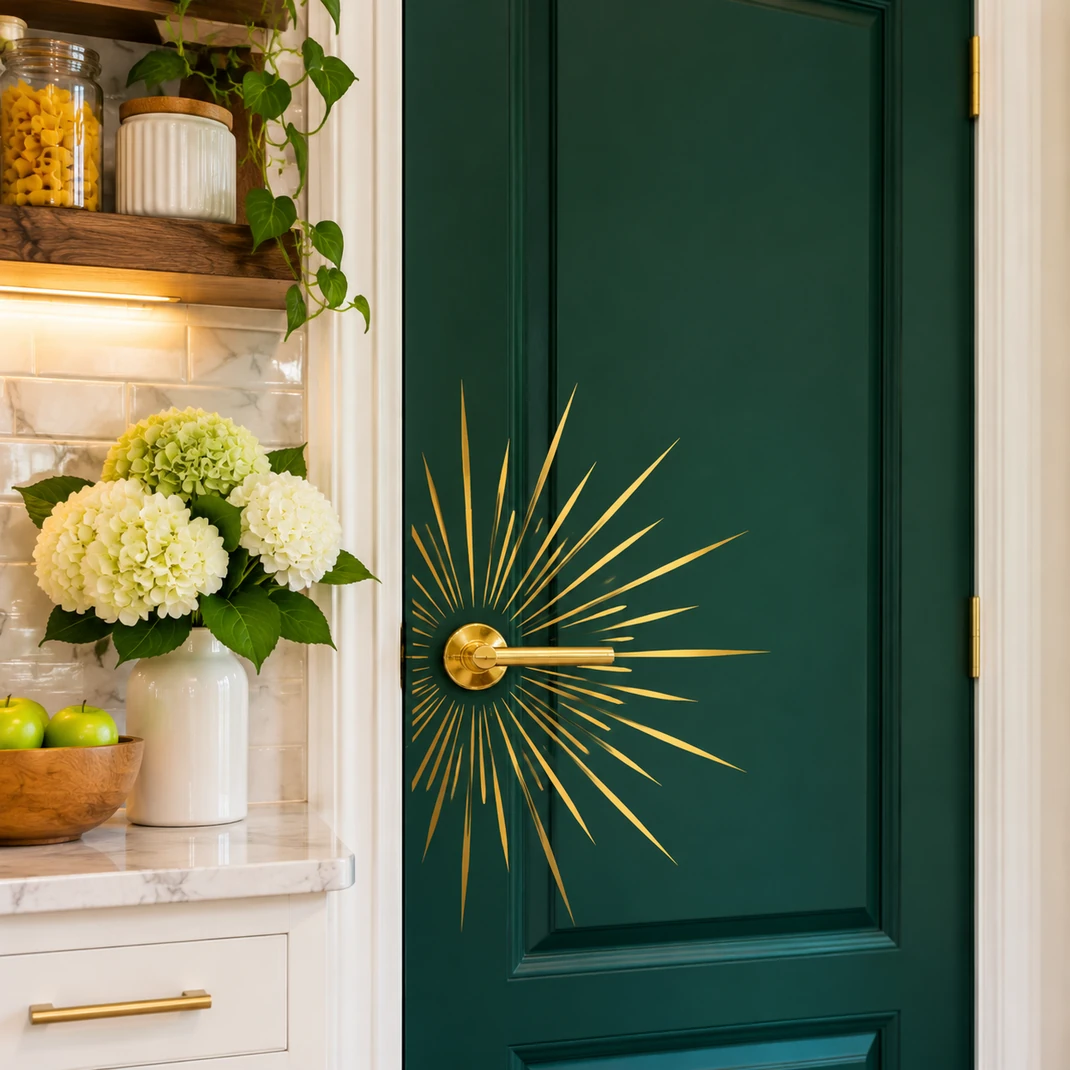
A sunburst of 24 inches around a round knob brings sparkle to a plain door. Center the design on the knob and fit the rays around it, cutting small slits if needed. Gold or brass vinyl looks rich on deep green or navy.
Door surfaces that are smooth and painted hold stickers best. The sunburst takes around 30 minutes to apply.
Press the edges down firmly and smooth the center so the vinyl stays flat against the knob base. Wipe gently with a dry cloth to avoid peeling.
Mushroom Cottage Cluster
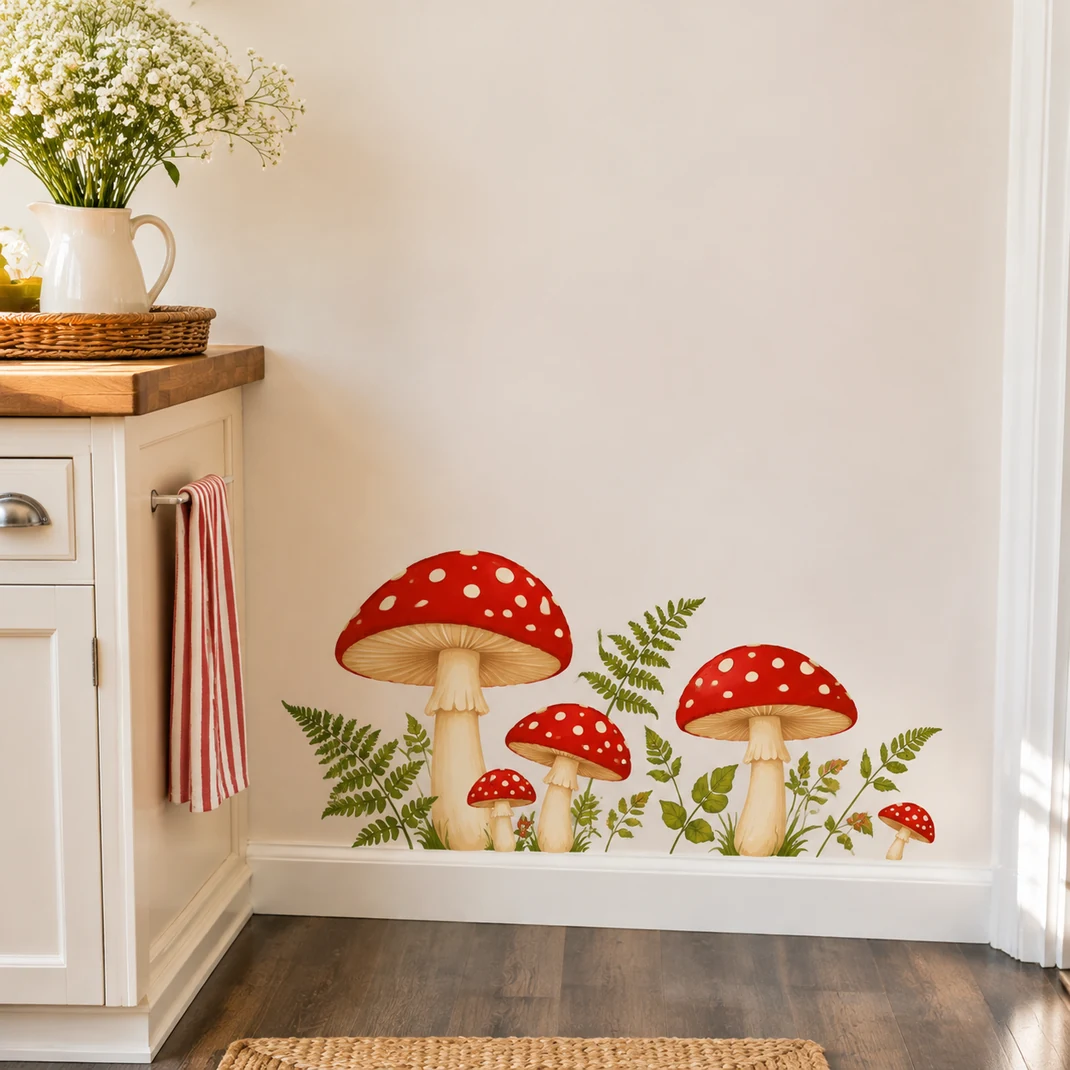
Mushroom stickers are cute and suit a cottage style kitchen. Choose a set with three or four mushrooms from 4 to 12 inches high, plus ferns and tiny spots, and group them near the base of a wall. Overlap two or three for a natural look.
Red caps with white spots read at a glance. Keep the group away from the corner where the mop passes.
Gently wipe with a dry cloth. These are decorations only, so a sticker design is no guide for picking or eating wild mushrooms.
Pantry Label Stickers
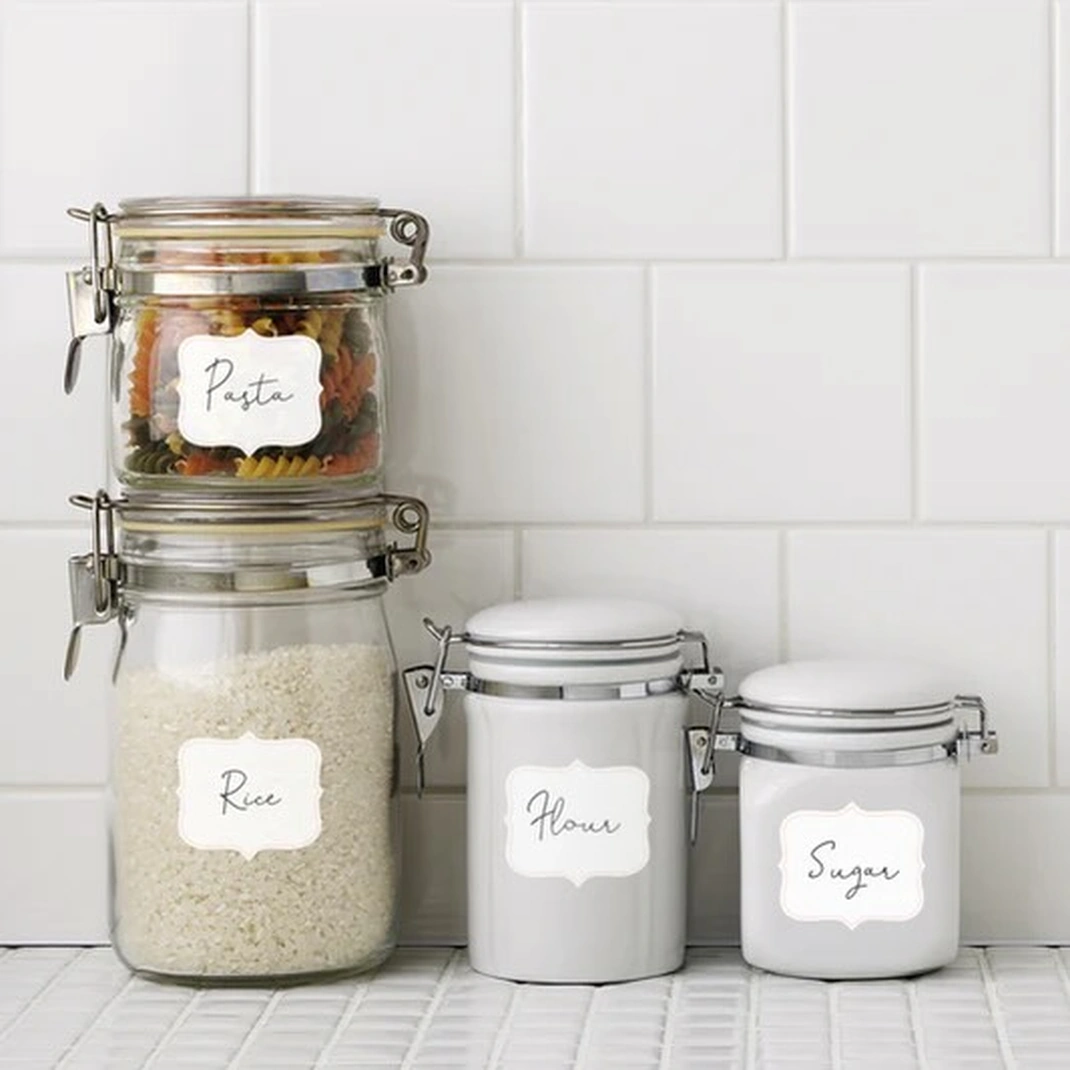
Labels make a pantry feel organized and look neat. Choose letter stickers of 1 to 2 inches high and apply them on glass or ceramic jars of 32 ounces. Wash the jars first and let them dry fully.
Press each letter flat with a card. Use waterproof vinyl so labels survive washing. Add a date in marker for items like flour with a short shelf life.
Peel old labels slowly with warm water if you change contents. A set of ten labels takes about 20 minutes to apply.
Olive Branch Across the Wall
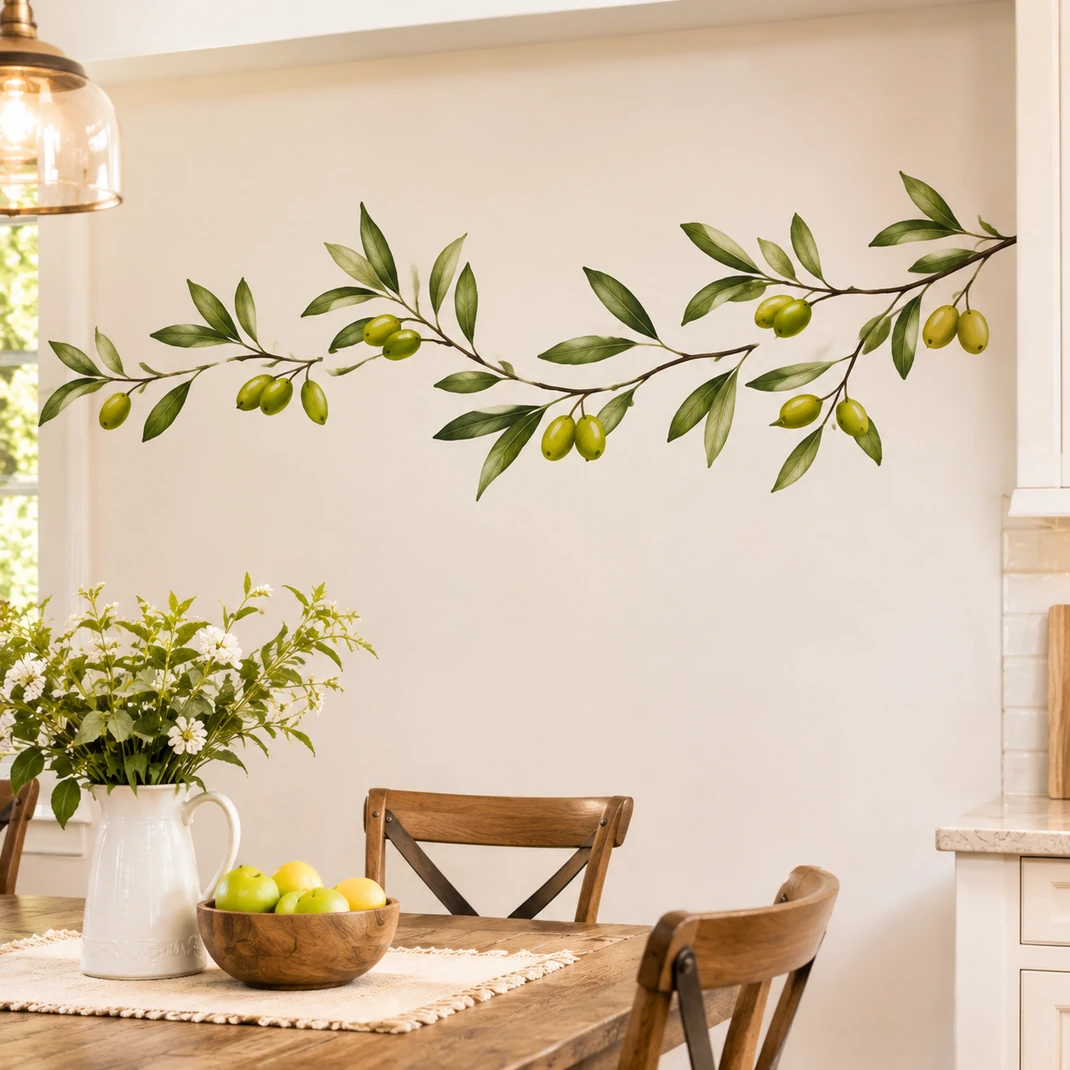
A single long branch of 6 feet reaches across a wall like painted art. Choose leaves in soft gray green and place the branch at a slight upward angle from one corner. Break the set into sections for easier handling, placing the thickest part first.
View the placement from the doorway before pressing down. The simple shape suits both rustic and modern kitchens.
Press each section with a card and trim any overhang. The branch takes about an hour and works above a table or sideboard rather than beside the stove.
Retro Checker Strip
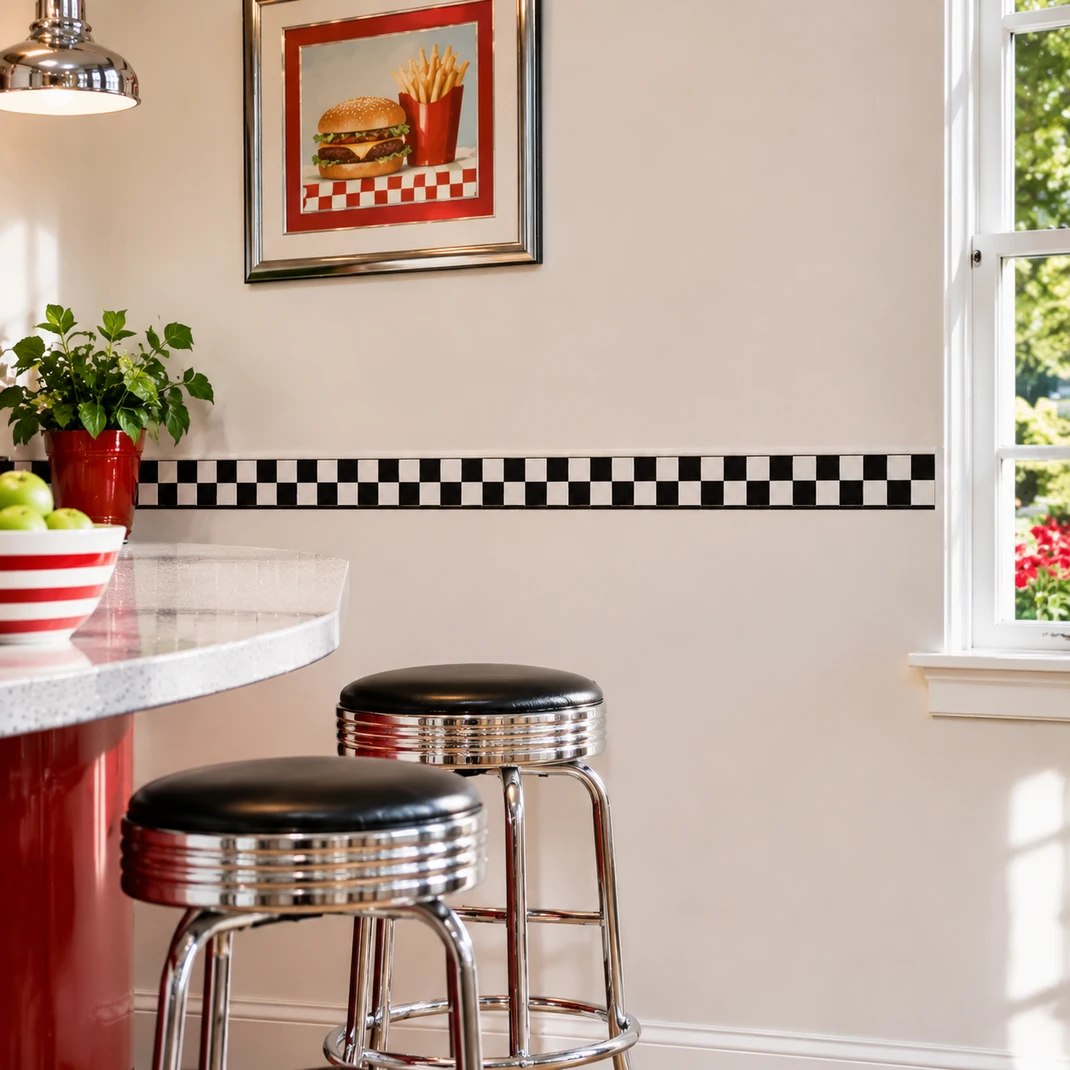
A checker strip at waist height has diner charm. Choose a band of 4 inches high in black and white squares, and apply it along the wall at about 36 inches from the floor, using a level and tape for a straight edge. It runs well along a long wall or around a corner with a slight overlap.
Press from the center outward. This band catches splashes and scuffs, so wipe it often.
Pair it with red or teal accents. Choose washable vinyl rated for kitchens.
Cookie Cutter Shape Grid
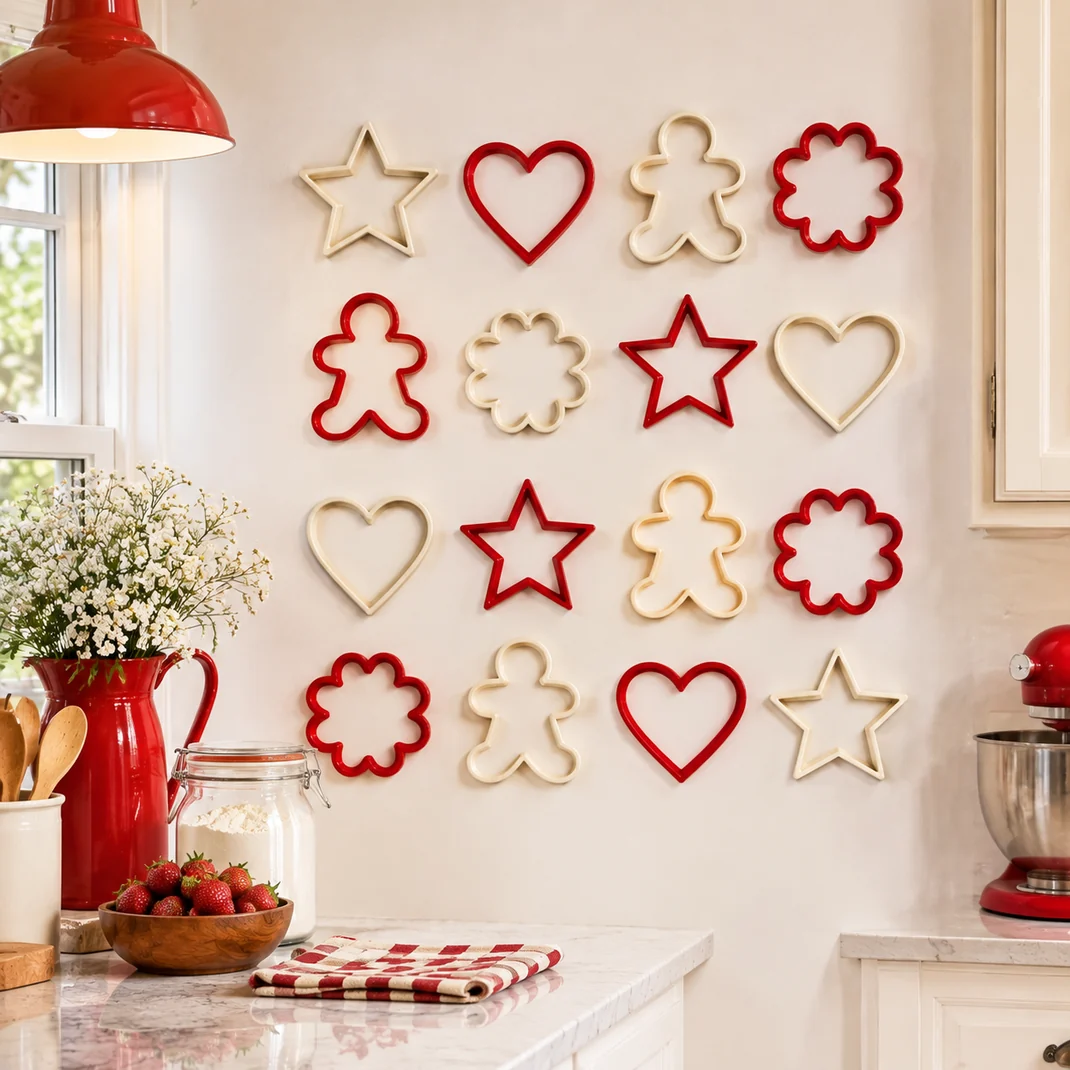
Cookie cutter outlines make a sweet grid for a baking corner. Choose stickers of 4 to 6 inches in shapes such as stars, hearts, trees and gingerbread men, and arrange them in rows of four with 3 inches between each. Mark the grid lightly with a pencil and a level first.
Red and cream suit a classic kitchen, while pastels soften a modern one. A grid of sixteen covers roughly 2 by 2 feet. Press firmly and keep the grid away from the oven wall, where heat can lift vinyl.
Clock Face Number Ring
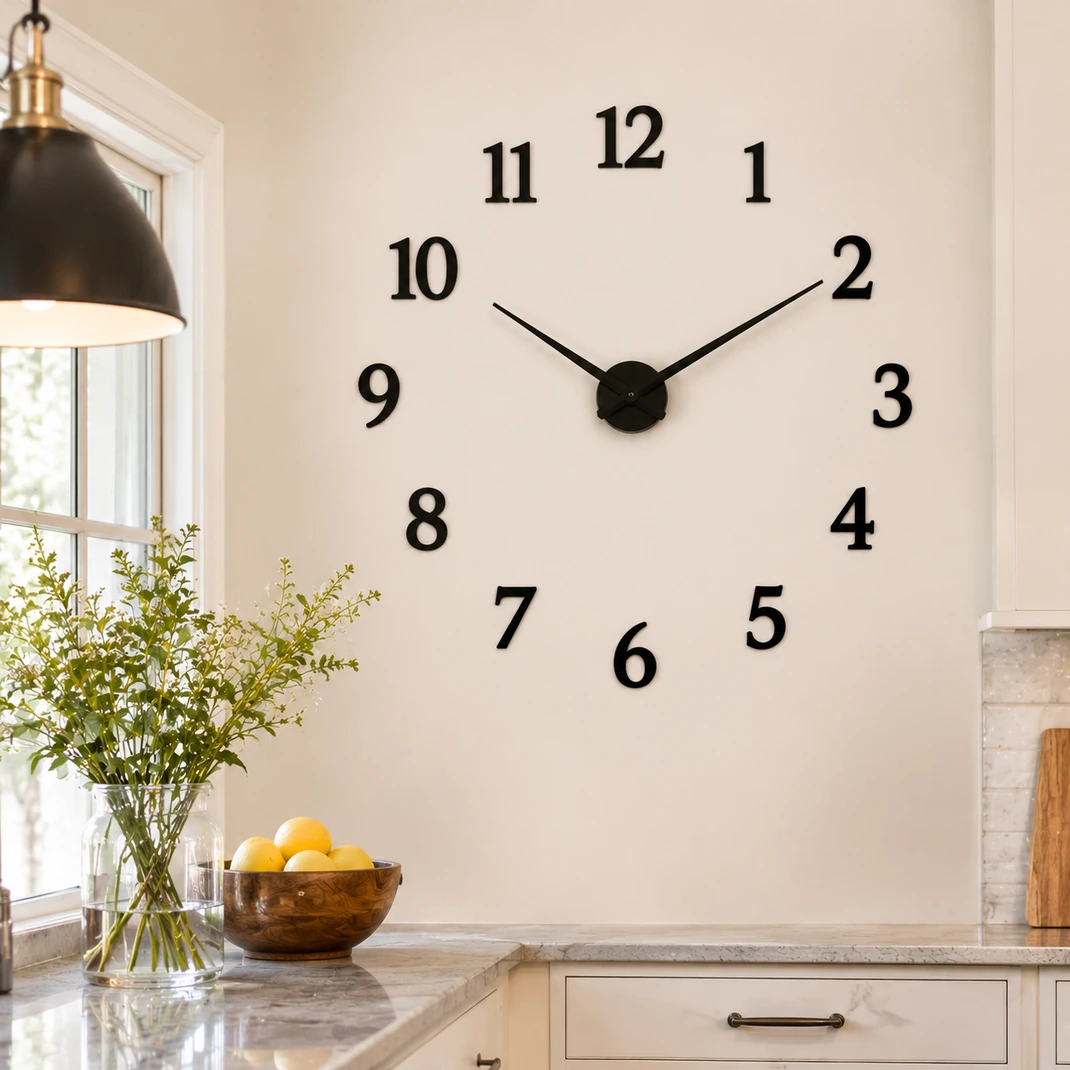
Number stickers and a clock kit make a custom wall clock of any size. Buy a battery clock mechanism with hands long enough for the span. Mount it to the wall with a small screw.
Place numbers 1 to 12 in a circle around it, 18 to 30 inches across. Mark 12, 3, 6 and 9 first with a level, then fill in the rest. Numbers of 3 inches high read from across the room.
Press each firmly and check the time with a household clock. Keep the clock a foot from the cooktop, where heat and steam can loosen the numbers.
Sticker Care Notes
Most wall stickers last longest on smooth, fully cured paint, glazed tile and glass. Wipe the surface clean and let it dry before applying, and test a small corner first if you plan to remove the sticker later. Keep vinyl well away from the cooktop, oven and kettle spout. When stickers are not the right fit, framed pieces from kitchen wall decor ideas add similar color.
When it is time to remove a sticker, warm it with a hair dryer on low and peel slowly at a low angle. Clean any residue with a damp cloth and mild soap. Store spare pieces flat on their backing sheet.


One Comment