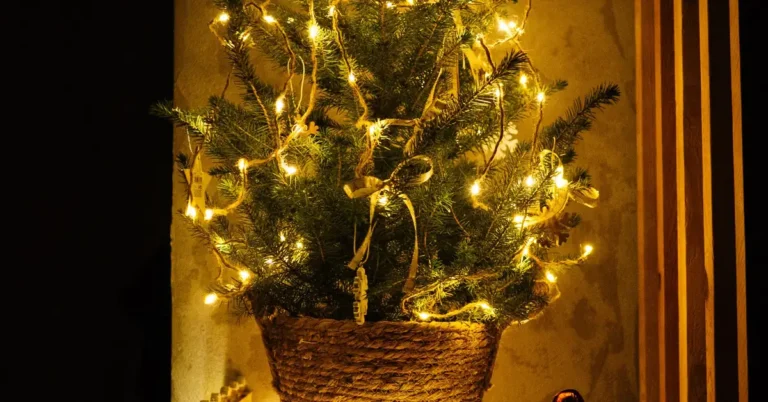
27 Rustic Wood Christmas Warmth With Natural Texture
Real wood smells like winter remembered. Long before plastic trees and glitter sprays, Christmas was pine sap, split logs and a workshop warm with sawdust. This collection brings that feeling back with twenty seven projects built from real timber. Barn boards, birch logs, driftwood and slices straight from the firewood pile all become decor with nothing more than simple tools and an afternoon. Every idea keeps the grain visible and the texture honest. No fake finishes, no plastic pretending. Just wood, warmth and Christmas the way it used to feel.
1. Reclaimed Barn Wood Tree

A full tree shape made from weathered boards reads instantly rustic. Cut planks into graduated lengths, stack them on a central spine and lean the whole tree against the wall. The grayed wood needs no paint and no tinsel. Wrap one strand of warm lights around it and call it done.
What You Gather: Weathered barn boards or fence planks, a saw, wood screws and a drill.
How You Build It: Cut the boards from longest at the base to shortest at the top, then screw each one to a vertical back plank.
Rustic Finish: Leave the nail holes and saw marks visible since they are the whole charm.
2. Log Slice Garland

Cross sections of a branch become the prettiest garland you will own. Slice a fallen branch into thin rounds, drill a small hole in each and string them on jute. The growth rings show like tiny targets. Drape it on the mantel with a little cedar tucked behind.
What You Gather: A dry branch about wrist thick, a saw, a drill and natural jute twine.
How You Build It: Cut even slices, sand the faces smooth and thread them with a knot between each round.
Rustic Finish: Rub the faces with walnut oil so the rings darken and glow.
3. Wooden Crate Gift Boxes
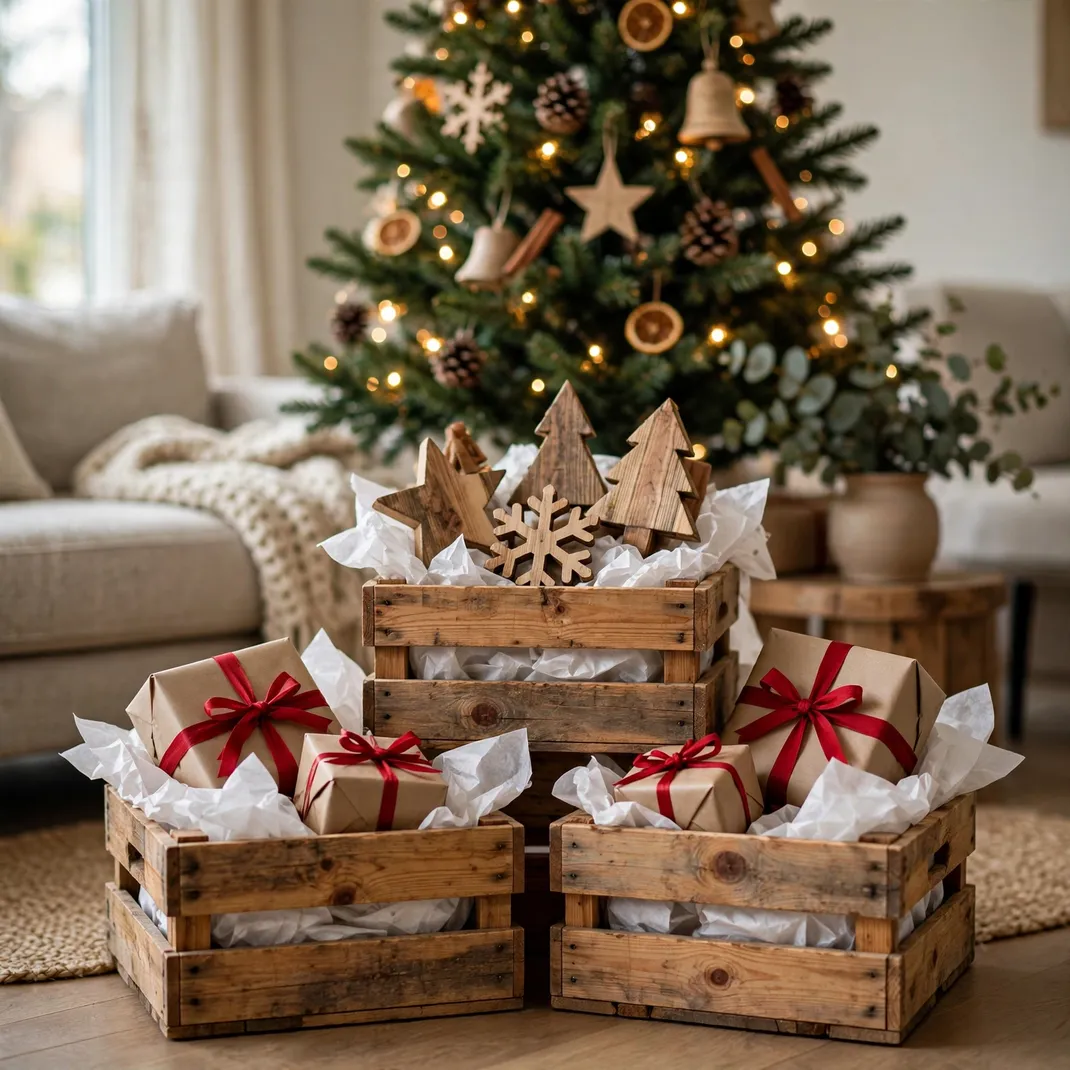
Small wooden crates beat wrapping paper every single year. Fill them with tissue, stack two or three under the tree and tie the whole tower with ribbon. The crates become storage in January. Nothing goes in the trash.
What You Gather: Small unfinished wood crates, tissue paper, wide ribbon and a hot glue gun.
How You Build It: Line each crate with tissue, nestle the gift inside and wrap ribbon around the slats like a parcel.
Rustic Finish: Stencil the recipient’s initial on the crate front with white paint.
4. Driftwood Mini Tree

Beachcombed branches stack into the most delicate tree shape. Sort driftwood pieces by length, drill them onto a dowel from longest to shortest and mount the dowel in a heavy base. The silvered wood looks like frost. Set it on the bookshelf where the light hits it.
What You Gather: Dry driftwood pieces, a wooden dowel, a drill and a heavy wood slice base.
How You Build It: Drill center holes through each branch, slide them down the dowel in size order and secure the top with a cap.
Rustic Finish: Hang three tiny brass bells from the longest branches.
5. Birch Log Candle Holders
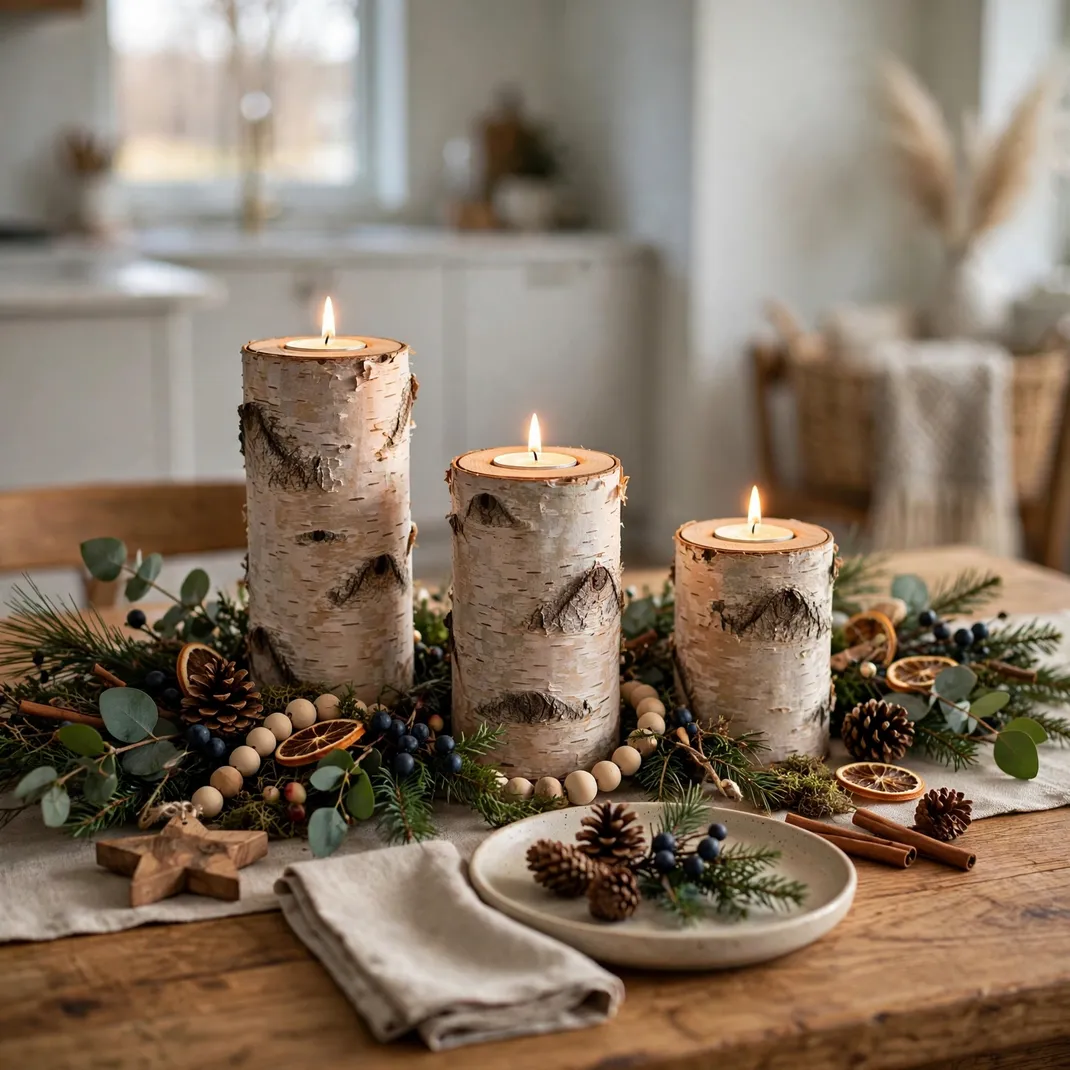
Birch bark glows like paper when candlelight hits it. Cut birch logs to staggered heights, hollow a shallow well in each top and drop in a tea light. Cluster them in threes on the dining table. The white bark with black marks needs no decoration at all.
What You Gather: Birch logs in varied diameters, a saw, a spade drill bit and flameless tea lights.
How You Build It: Saw the logs level, bore a shallow well in each top and sand the rims smooth.
Rustic Finish: Tie a sprig of cedar around each log with twine.
6. Wood Bead Garland
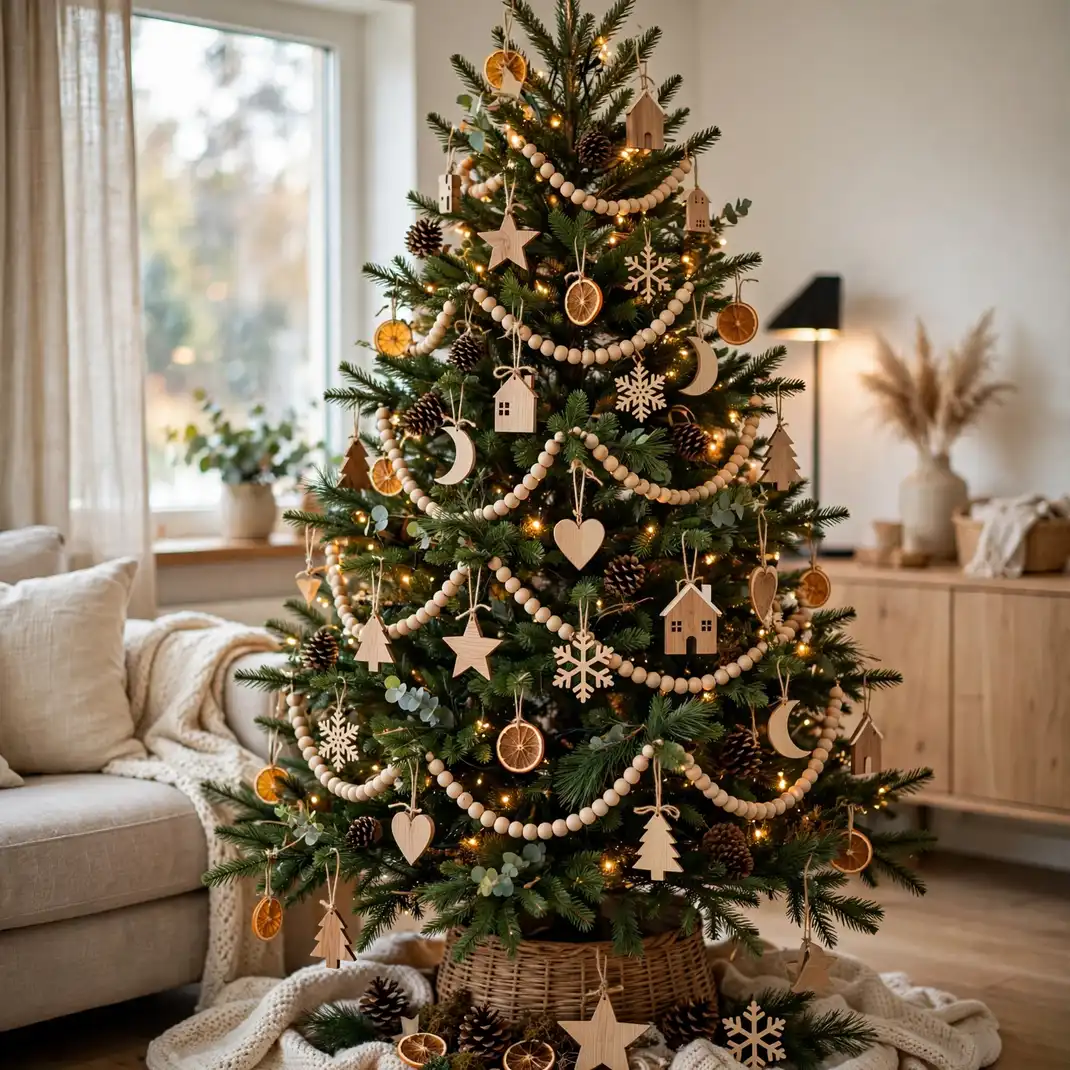
Wooden beads give a tree a handmade Scandinavian feel. String large unfinished beads on sturdy cord, mixing in a few stained ones for rhythm. The garland weighs almost nothing and drapes in perfect swags. It works on mantels and stair rails too.
What You Gather: Large wood beads, some stained dark, thick cotton cord and a large needle.
How You Build It: Thread the beads in a repeating pattern and knot the cord ends into hanging loops.
Rustic Finish: Add a tassel of frayed jute at each end of the strand.
7. Pallet Wood Wall Sign

A hand painted sign on rough pallet boards feels like a general store Christmas. Join three boards side by side, sand lightly and paint a simple greeting in cream. The letters can wobble a little since perfect would ruin it. Hang it by the front door.
What You Gather: Pallet boards, wood glue, cream craft paint and a flat brush.
How You Build It: Glue the boards into a panel, brace the back with two battens and paint the greeting freehand.
Rustic Finish: Sand the paint edges lightly so the wood peeks through.
8. Wooden Spool Ornaments
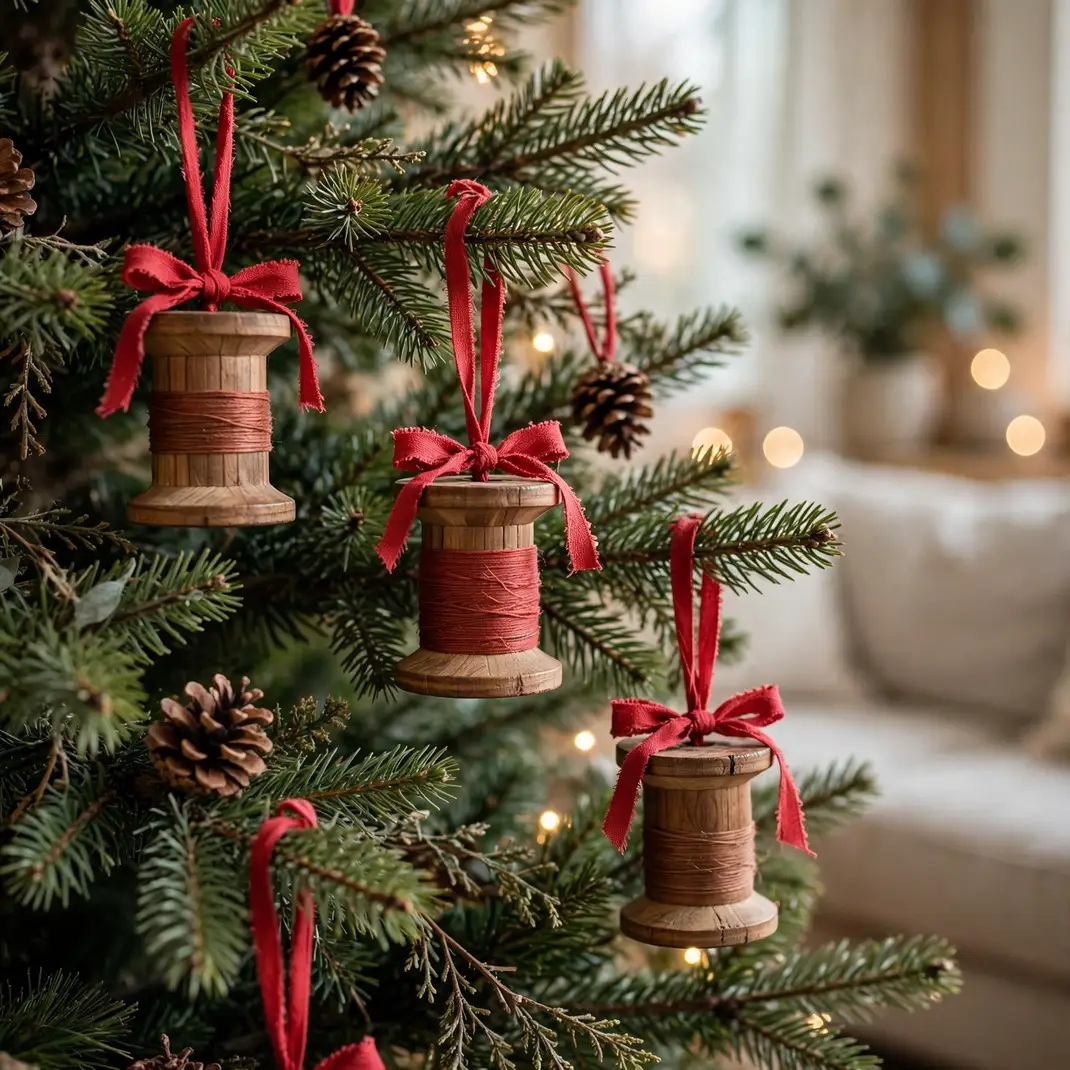
Old thread spools make ornaments with real history. Wrap each spool with red ribbon, thread a loop of twine through the center hole and tie a tiny pinecone to the bottom. They look like they came from grandmother’s sewing basket. Hang them on the lower branches where kids can see.
What You Gather: Wooden thread spools, red ribbon, twine and small pinecones.
How You Build It: Wrap the ribbon around the spool middle, knot the twine hanger and glue the pinecone beneath.
Rustic Finish: Wind a bit of dried baby’s breath around the ribbon knot.
9. Twig Reindeer Figures
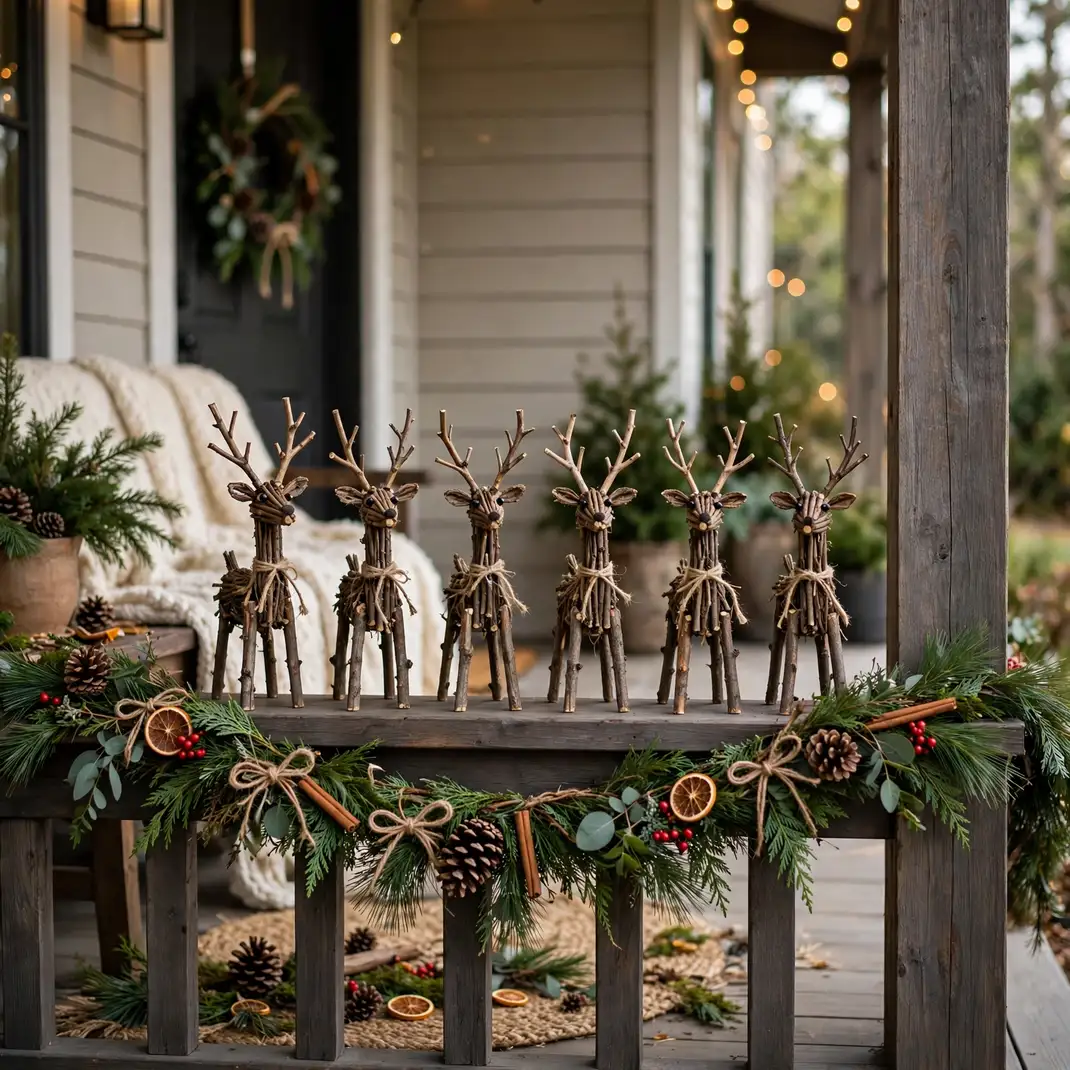
A bundle of garden twigs becomes a whole reindeer herd. Lash four leg twigs to a body branch, add a neck and head, then fan out smaller twigs for antlers. Each one comes out a little crooked and that is exactly right. Line them up along the porch rail.
What You Gather: Straight garden twigs, pruning shears, jute twine and a hot glue gun.
How You Build It: Bind the legs and body with twine, glue the neck at an angle and press the antler twigs into place.
Rustic Finish: Tie a red ribbon collar around one reindeer’s neck and call him the leader.
10. Tree Stump Side Table

A stump from the woodpile makes the sturdiest side table in the house. Level the top with a saw, sand it smooth and rub in a coat of clear oil. Set it beside the armchair with a lantern on top. Guests always ask where it came from.
What You Gather: A solid tree stump about knee high, a saw, sandpaper and clear wood oil.
How You Build It: Cut both ends flat, sand through the grits and wipe on two coats of oil.
Rustic Finish: Leave the bark on since the texture tells the story.
11. Wood Slice Place Cards
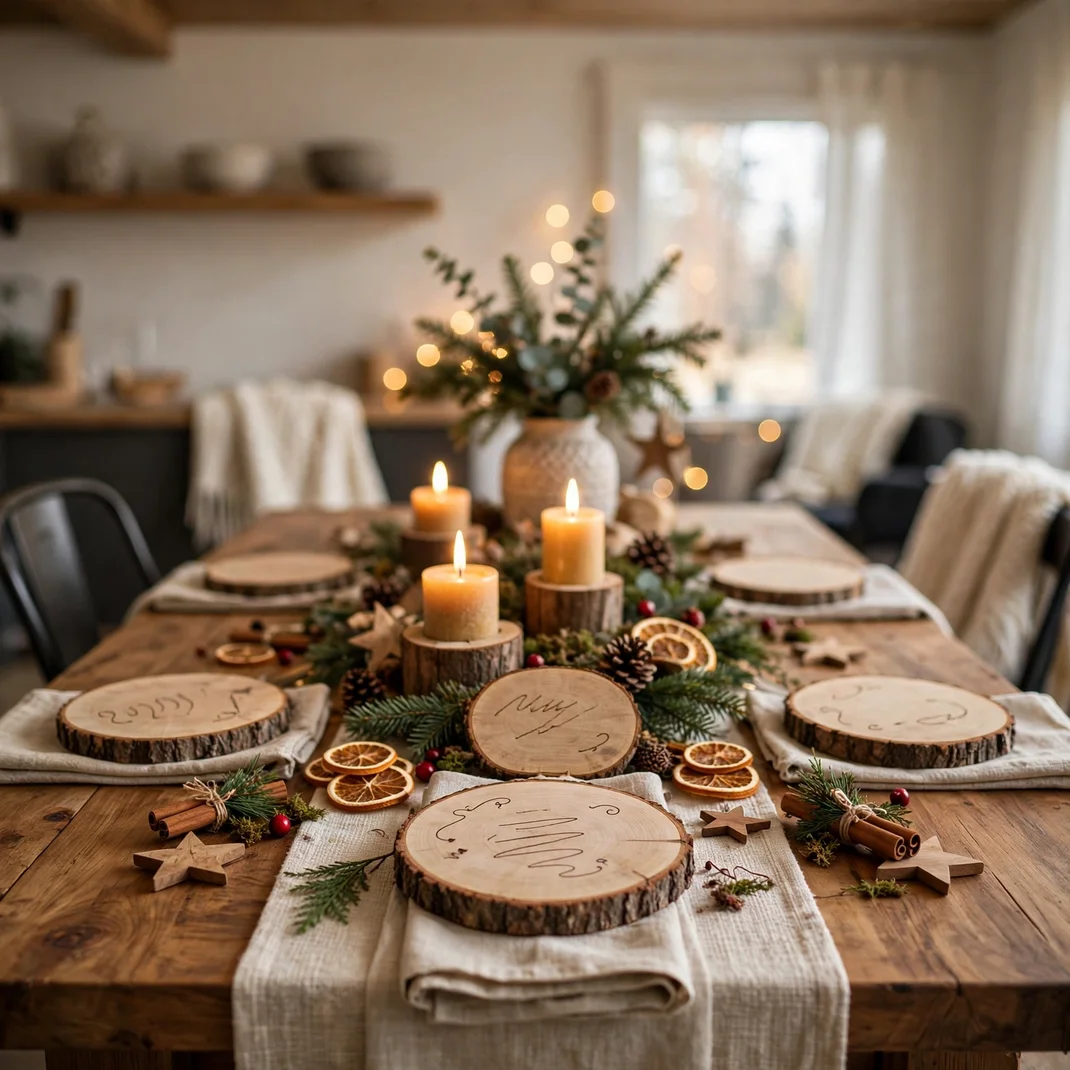
Dinner guests feel special when their name sits on real wood. Saw a small branch into rounds, sand the faces and write each name with a paint pen. Stand them in a slit cut across the base. The table instantly looks like a lodge feast.
What You Gather: A straight branch, a fine saw, a white paint pen and sandpaper.
How You Build It: Cut rounds about finger thick, saw a shallow slit in each base and write the names once dry.
Rustic Finish: Add a tiny sprig of rosemary behind each card for scent.
12. Hand Carved Wooden Nativity

Simple carved figures carry more meaning than any store bought set. Whittle basic shapes from soft basswood blocks, keeping faces to a single gentle line. The unfinished wood glows in candlelight. Arrange them in a shallow wooden tray with straw.
What You Gather: Basswood blocks, a carving knife, sandpaper and a shallow wooden tray.
How You Build It: Carve simple rounded figures, sand them silky and nestle them in straw inside the tray.
Rustic Finish: Rub the figures with beeswax for a soft honeyed sheen.
13. Blanket Ladder Display

A ladder made of rough lumber turns blankets into decor. Lean two long rails with five rungs against the living room wall, then drape plaid throws over each rung. Hang a small wreath from the top. It fills an empty corner with pure coziness.
What You Gather: Two long boards, five short rungs, wood screws and a drill.
How You Build It: Screw the rungs between the rails, sand the edges and lean it at a gentle angle.
Rustic Finish: Stain it with strong coffee for an aged barn wood tone.
14. Wood Bead Wreath
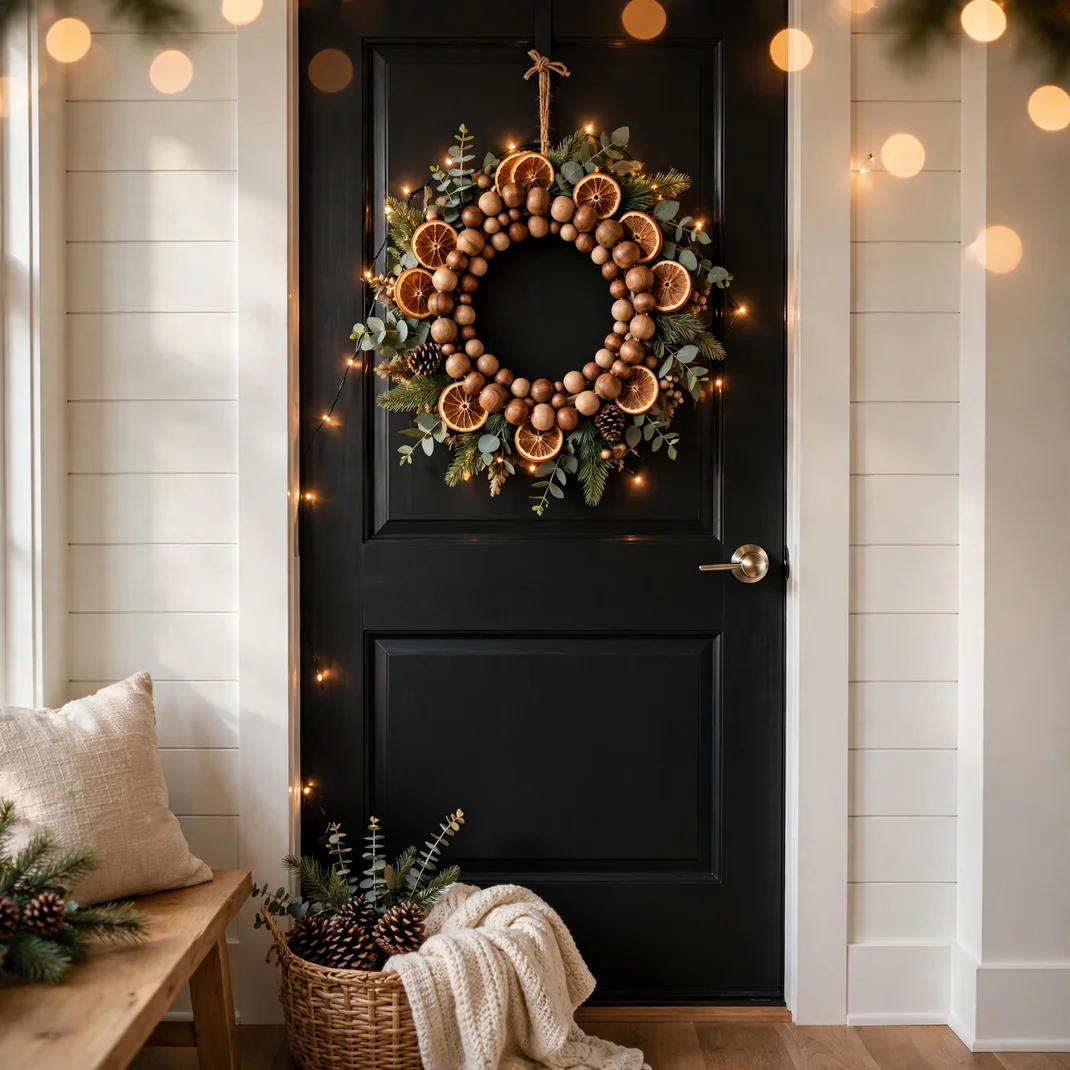
Beads strung on a wire frame make a wreath that lasts forever. Thread large and small wood beads onto a circular wire form until it is full and lush. The natural tones suit every room in the house. Add greenery only if you want it.
What You Gather: A wire wreath form, mixed wood beads and floral wire.
How You Build It: Wire clusters of beads around the form, packing them tight so no wire shows.
Rustic Finish: Tuck in three dried orange slices for a classic touch.
15. Chunky Wood Star Ornaments
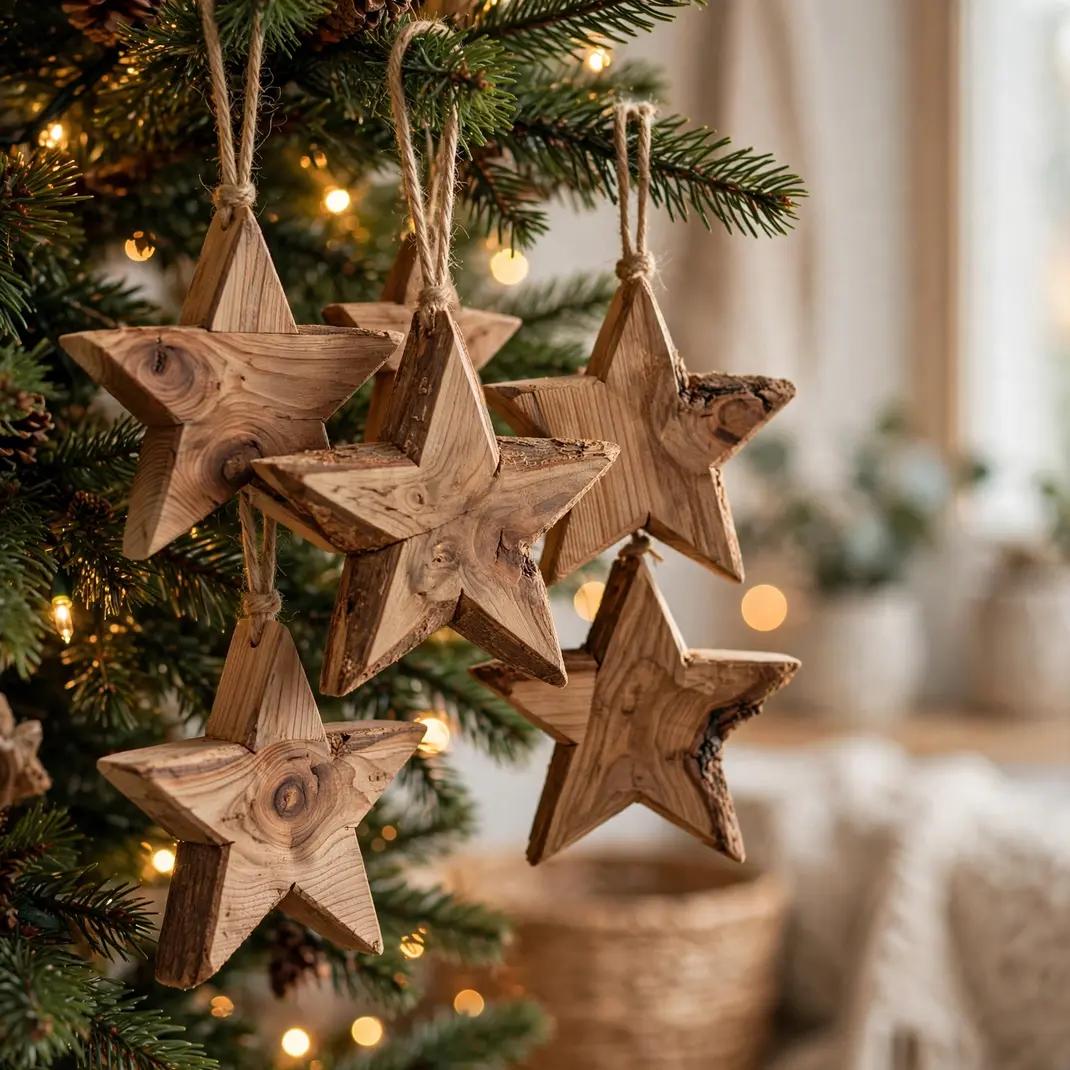
Stars cut from thick lumber feel substantial in the hand. Trace a star template on a pine board, cut it with a jigsaw and sand every edge soft. The chunky shape hangs beautifully on the tree. Make them in two sizes for a collected look.
What You Gather: A pine board, a star template, a jigsaw and sandpaper.
How You Build It: Trace, cut and sand each star, then drill a small hole at one point for the hanger.
Rustic Finish: Whitewash the faces so the grain shows through the paint.
16. Reclaimed Wood Mantel Shelf

A thick beam above the fireplace changes the whole room. Mount a reclaimed timber on heavy brackets, letting the rough edges show. Suddenly the garland and stockings have a worthy stage. The beam alone makes the fireplace feel a hundred years old.
What You Gather: A reclaimed beam, two heavy brackets, a level and masonry screws.
How You Build It: Find the studs, level the brackets and set the beam so it sits rock solid.
Rustic Finish: Brush the beam with a dry cloth of dark wax to deepen the grain.
17. Wooden Train Under the Tree

A simple wooden train circling the tree base delights every age. Cut blocky cars from pine, join them with short dowels and paint each one a deep holiday color. The wheels can be plain wood discs. Kids will push it around long after Christmas.
What You Gather: Pine blocks, wood discs for wheels, dowels and nontoxic paint.
How You Build It: Sand the blocks, drill axle holes, attach the wheels and link the cars with dowels.
Rustic Finish: Leave the wheels bare wood for a handcrafted contrast.
18. Twig Star Tree Topper

The top of the tree deserves something handmade too. Bind five straight twigs into a star with twine, letting the ends poke out past the joints. The rough silhouette looks perfect against the lights. It weighs nothing and sits steady.
What You Gather: Five straight twigs, jute twine and wire for mounting.
How You Build It: Overlap the twigs into a star, lash each joint tightly and wire the back to the tree top.
Rustic Finish: Wrap one strand of fairy lights around the star shape.
19. Birch Bark Wrapped Vases
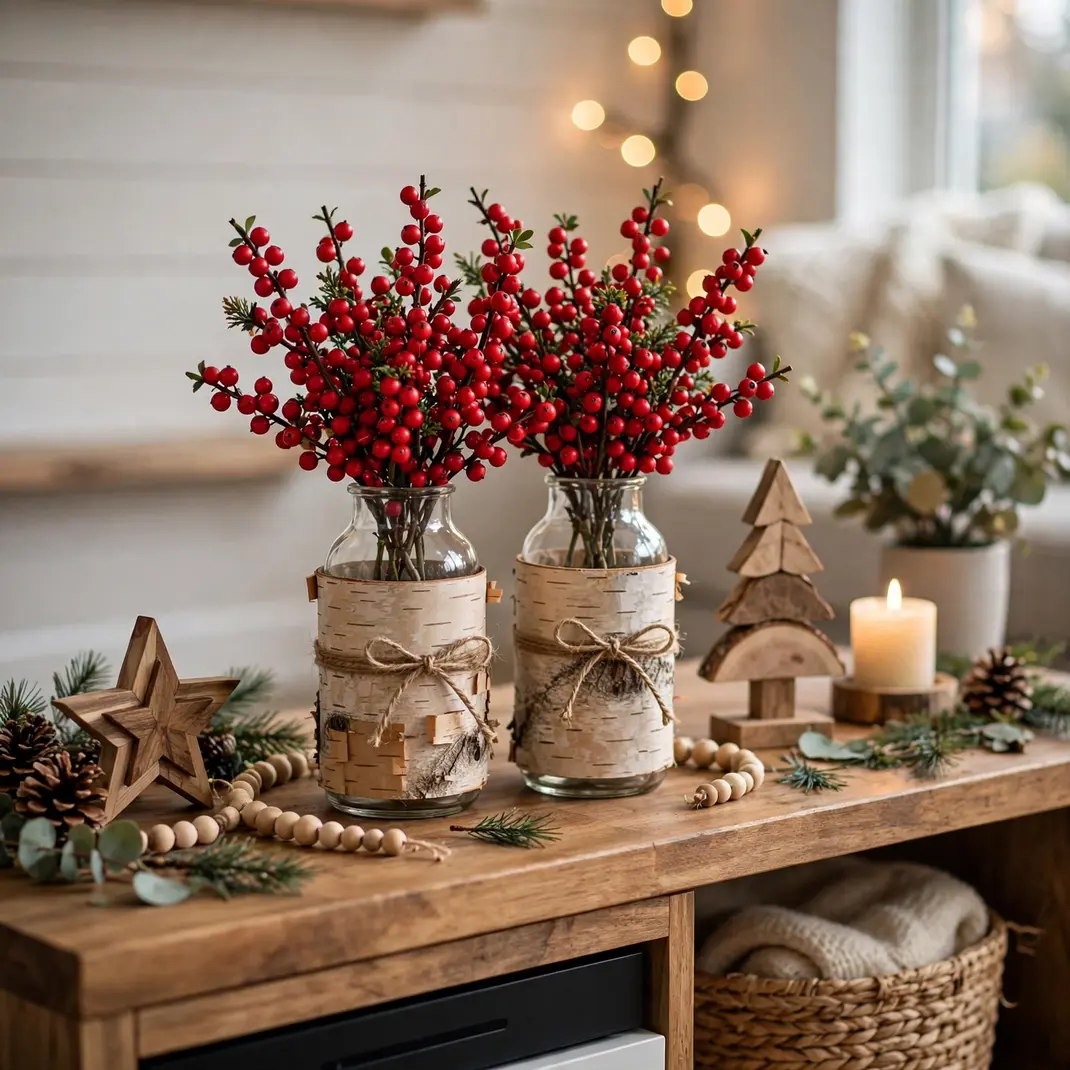
Plain glass vases disappear under a wrap of birch bark. Cut bark sheets to size, curl them around the vase and tie top and bottom with twine. Fill with winter branches or red berries. The contrast of smooth glass and rough bark is quietly stunning.
What You Gather: Sheets of birch bark, plain glass vases, twine and scissors.
How You Build It: Wrap the bark snugly, tie it at both ends and trim any ragged edges.
Rustic Finish: Tuck a sprig of pine under the top twine tie.
20. Vintage Wooden Sled Decor
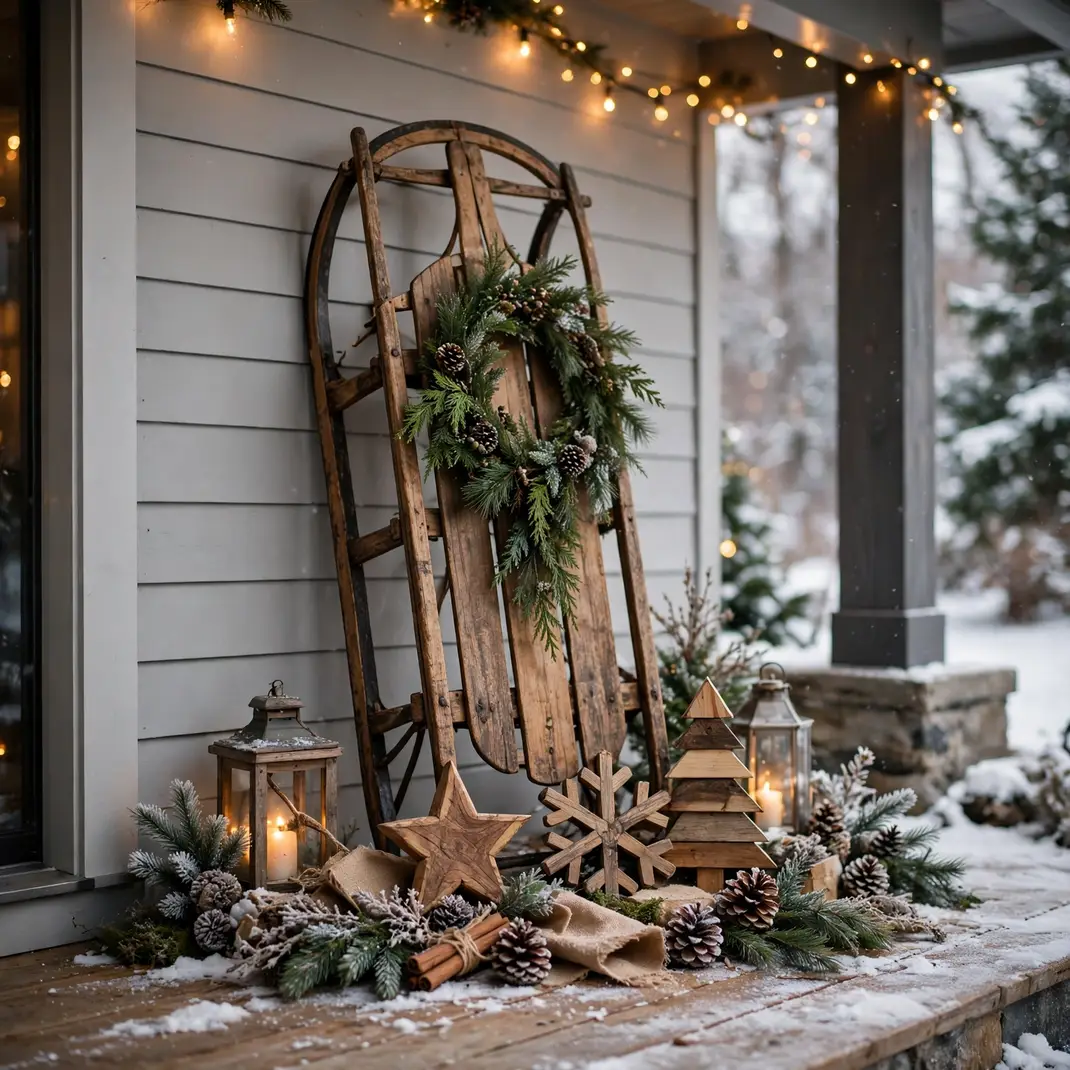
An old sled leaning by the door says Christmas before you even knock. Hunt one down at a flea market, clean it gently and lean it against the porch wall. Drape a small wreath over the seat. The worn paint and scuffed runners are pure nostalgia.
What You Gather: A vintage wooden sled, a soft brush, a small wreath and ribbon.
How You Build It: Brush off the dust, check the joints are sound and lean it at a stable angle.
Rustic Finish: Never repaint it since the chipped paint is the treasure.
21. Stacked Firewood Feature Wall

Firewood stacked with care becomes a wall of texture. Build a simple frame alcove beside the fireplace and stack split logs cut end out. The round ends make a honeycomb pattern. It is practical storage and art at the same time.
What You Gather: Split firewood, boards for a frame and wood screws.
How You Build It: Assemble the frame box, then stack the logs tightly with the cut ends facing out.
Rustic Finish: Weave a string of warm lights through the top row of logs.
22. Painted Wooden Spoon Snowmen

Wooden spoons hide snowmen in plain sight. Paint the bowl of each spoon white, dot on coal eyes and a carrot nose, then wrap the handle with a fabric scarf. Stand them in a jar of dried beans. Kids love picking their favorite face.
What You Gather: Wooden spoons, white and black paint, fabric scraps and a glass jar.
How You Build It: Paint the spoon bowls, add the faces and tie a tiny scarf around each handle.
Rustic Finish: Fill the jar with dried cranberries instead of beans for color.
23. Engraved Wood Slice Napkin Rings

Napkin rings cut from a branch feel like the forest came to dinner. Slice a slim branch into thin rounds, bore out the centers and sand them smooth. Each ring shows its own growth pattern. They make even paper napkins look fancy.
What You Gather: A slim straight branch, a saw, a large drill bit and sandpaper.
How You Build It: Cut the rounds, bore the centers wide and sand inside and out until silky.
Rustic Finish: Burn each guest’s initial into the ring with a wood burning pen.
24. Wooden Box Lantern

Four wood slats and a glass jar make a lantern with real presence. Build a simple open box frame, set a jar with a flameless candle inside and add a handle of bent branch. The wood frame throws wonderful shadows. Line three of them down the hallway.
What You Gather: Thin wood slats, a glass jar, a flameless candle and wood glue.
How You Build It: Glue the slats into a box frame, drop in the jar and lash a branch handle across the top.
Rustic Finish: Nestle cranberries around the candle inside the jar.
25. Wood Shaving Wreath

Curled wood shavings make the most unusual wreath on the block. Glue handfuls of fresh planer shavings onto a foam ring, layering them like petals. The curls catch the light from every angle. It smells like a workshop for weeks.
What You Gather: Fresh wood shavings, a foam wreath form and a hot glue gun.
How You Build It: Glue the curls in overlapping rows, working around the ring until no foam shows.
Rustic Finish: Mist the finished wreath with pine scented spray.
26. Live Edge Serving Board Centerpiece

A slab of wood with its natural edge becomes the table’s centerpiece. Sand a live edge board smooth, oil it well and pile it with cheeses, nuts and winter fruit. The organic edge against the food looks effortlessly styled. It works for every holiday gathering.
What You Gather: A live edge wood slab, sandpaper and food safe mineral oil.
How You Build It: Sand the top silky, flood it with mineral oil and let it cure overnight.
Rustic Finish: Tuck rosemary sprigs between the cheeses for a festive look.
27. Carved Wooden Mushroom Ornaments
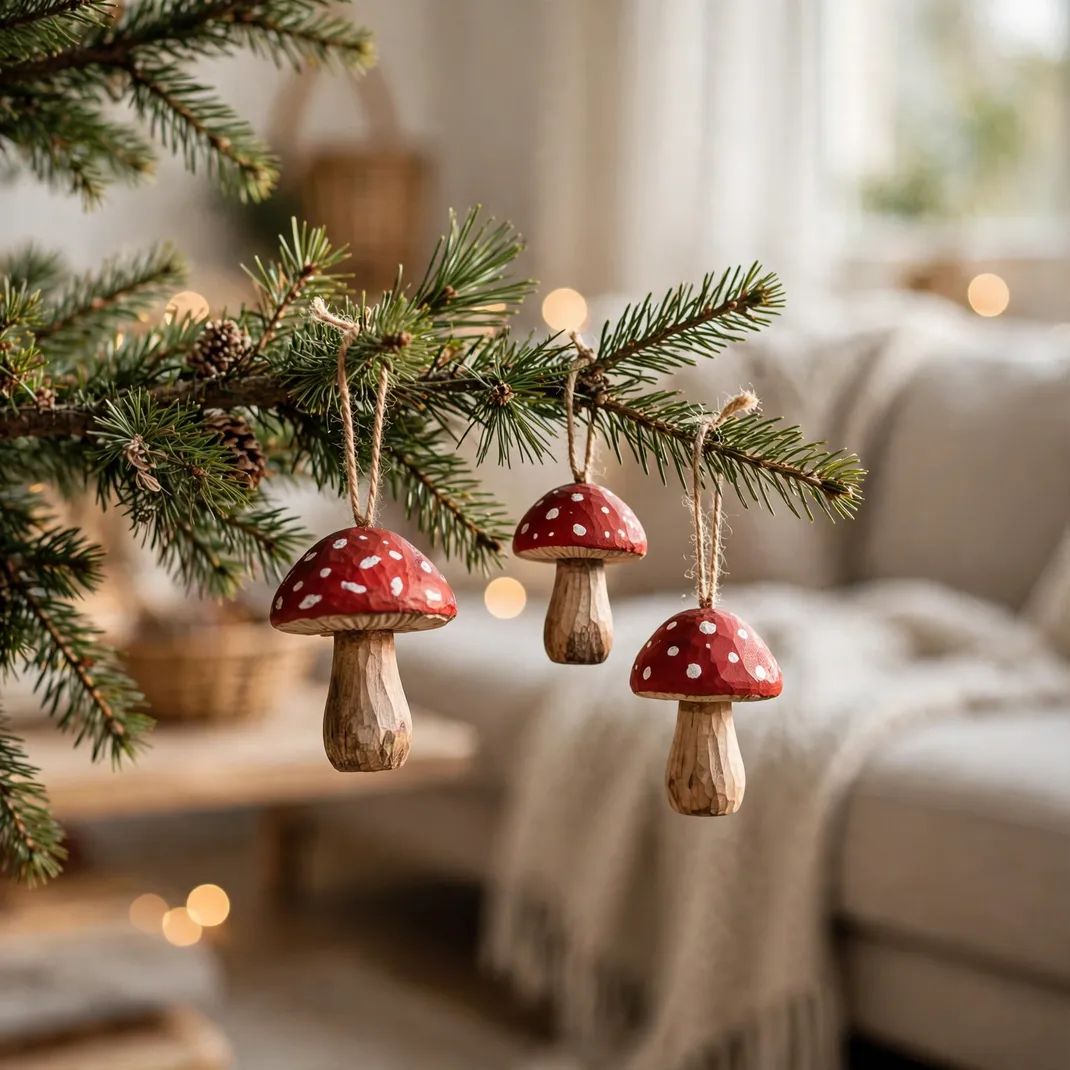
Little wooden mushrooms bring woodland magic to the tree. Carve simple cap and stem shapes from soft wood, paint the caps deep red with white dots and leave the stems bare. They look like they grew there. Cluster them on one branch for a fairy tale corner.
What You Gather: Soft wood blocks, a carving knife, red and white paint.
How You Build It: Carve the caps and stems, glue them together and paint the classic red and white pattern.
Rustic Finish: Hang them with twine loops instead of metal hooks.
Twenty seven ways to let wood do the talking. Pick the project that fits your tools and your weekend, and let the grain show. Christmas feels warmer already.