Polka dots never go out of style — they just keep getting better. Right now, dotted nails are everywhere from summer festivals to office manicures, and the looks have gotten genuinely creative.
Gone are the days of basic white dots on red. Today’s polka dot nail ideas mix sizes, colors, and placements in ways that feel fresh and intentional.
This article covers 18 polka dot nail ideas — from beginner-friendly to artsy — with exact product picks and easy how-tos for every skill level.
Here’s everything you need to pick your next look.
1. Classic Red and White Polka Dots

The original dot combo that never fails. Red base, white dots — it’s retro, cheerful, and instantly recognizable.
Perfect for fair skin tones and playful personalities. Great for summer or any time you want a mood boost.
How to do it: Two coats of OPI’s Big Apple Red, then use a dotting tool dipped in white acrylic paint to place evenly spaced dots.
Variation: Reverse it — white base with red dots for a lighter, more modern take.
2. Pastel Rainbow Dots on Nude Base

Tiny multicolored dots scattered over a sheer nude base look like confetti on your nails. Light, happy, and surprisingly easy.
Works on all skin tones. Ideal for spring events, birthdays, or everyday wear when you want color without commitment.
- Apply one coat of Essie’s Bare With Me as your base
- Use a small dotting tool with 4–5 pastel shades
- Place dots randomly — uneven spacing looks more natural
Variation: Keep dots to just two pastel shades for a more cohesive look.
3. Black Dots on Butter Yellow Nails
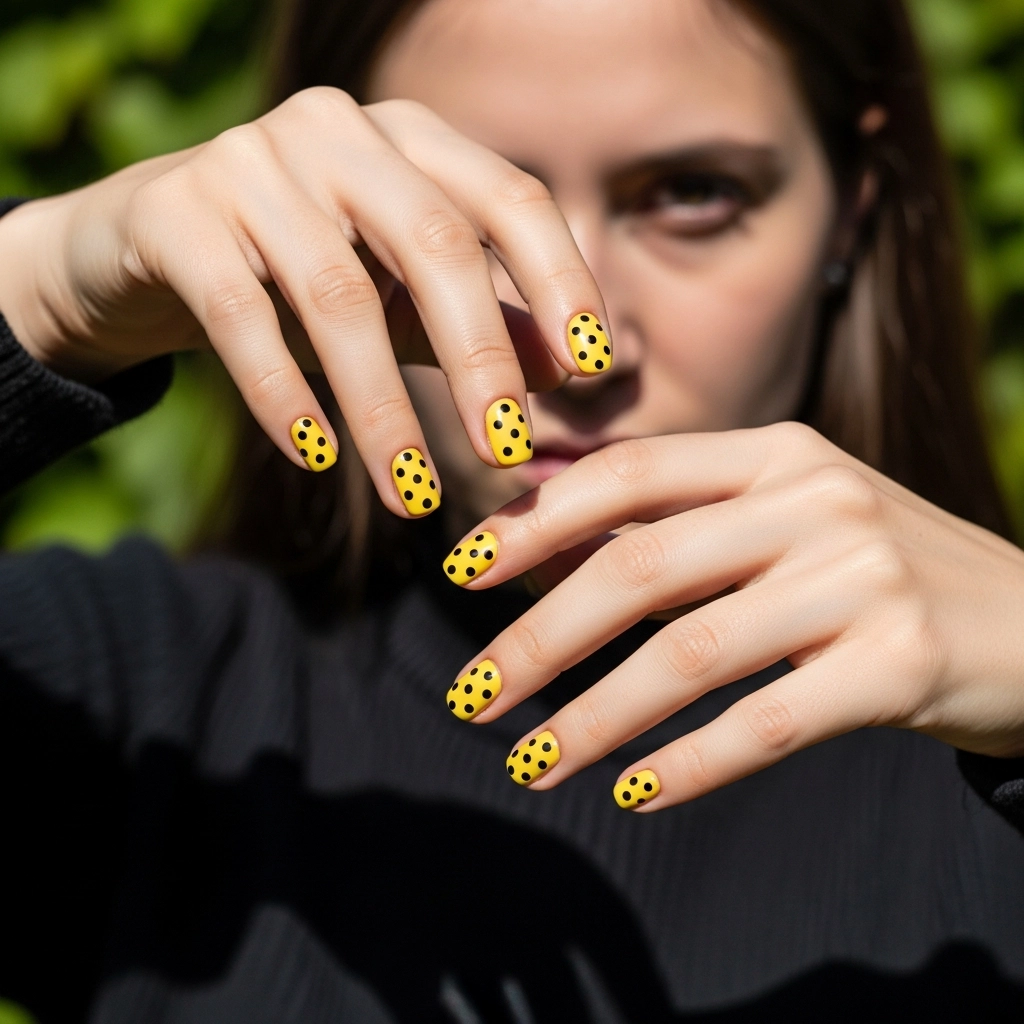
Butter yellow with black dots is graphic, cheerful, and fashion-forward. The contrast is sharp without being aggressive.
Best for medium to deep skin tones where yellow really pops. Perfect for summer or a bold everyday look.
How to do it:
- Apply two coats of Sally Hansen’s Mellow Yellow
- Let dry fully — at least 10 minutes
- Dot with black acrylic using a medium dotting tool
Variation: Try white dots instead of black for a softer, more vintage feel.
4. White Dots on Cobalt Blue
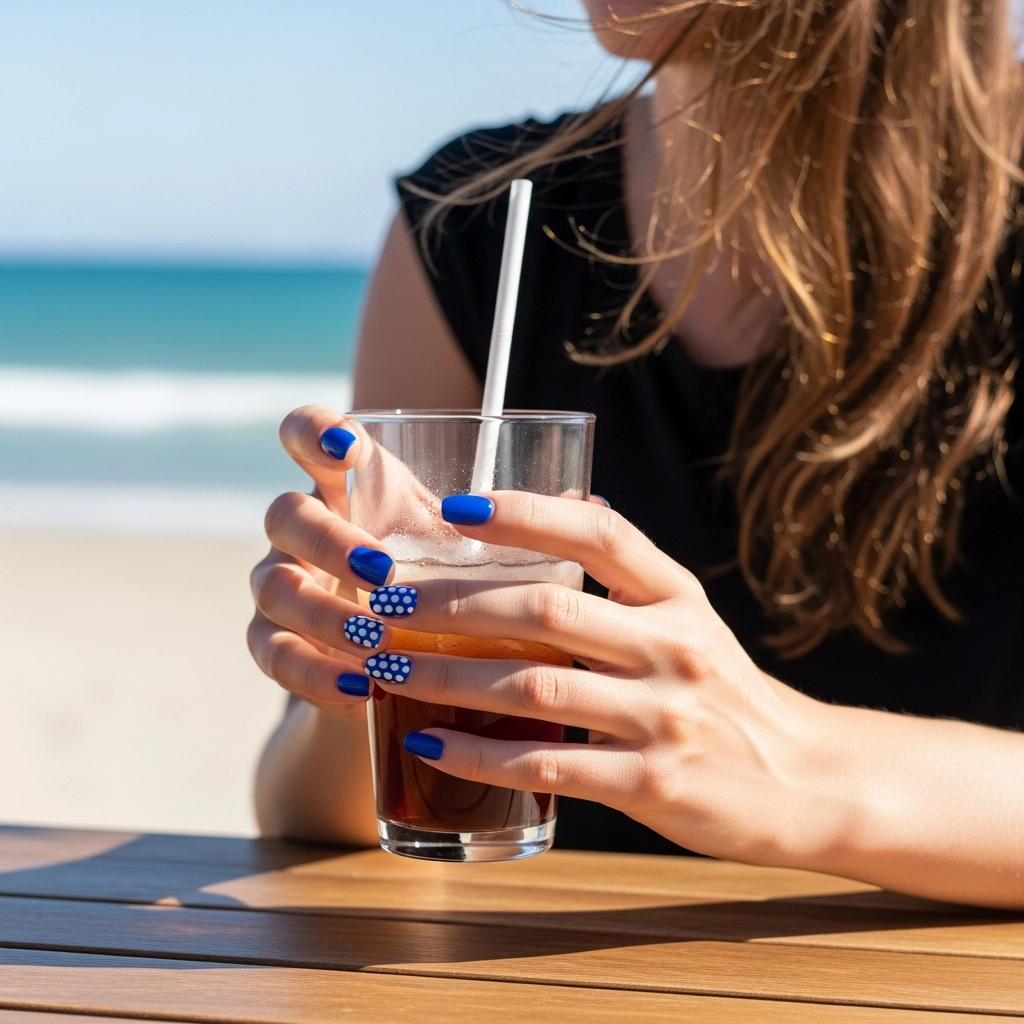
Crisp white dots on bright cobalt blue look clean, nautical, and put-together. The flat color background makes each dot pop like a graphic print.
Works beautifully on all skin tones. Great for beach trips or summer weddings.
Quick tip: Use a bobby pin as your dotting tool — dip the rounded end in white polish and press gently. Consistent size every time.
Try: China Glaze’s Fathom This for the cobalt base — pigmented and streak-free in two coats.
Variation: Add a thin white stripe along one nail for a nautical accent.
5. Micro Dots French Tip

Replace the classic white French tip with a line of tiny dots instead. It’s delicate, feminine, and slightly unexpected.
Suits any nail length and works for both casual and formal occasions. Office-friendly and wedding-ready.
How to do it: Apply a sheer pink base, then use the smallest dotting tool to place a curved row of white dots where the tip would be. Seal with Seche Vite top coat.
Variation: Use gold dots instead of white for a more elevated finish.
6. Chunky Retro Dots on Cream
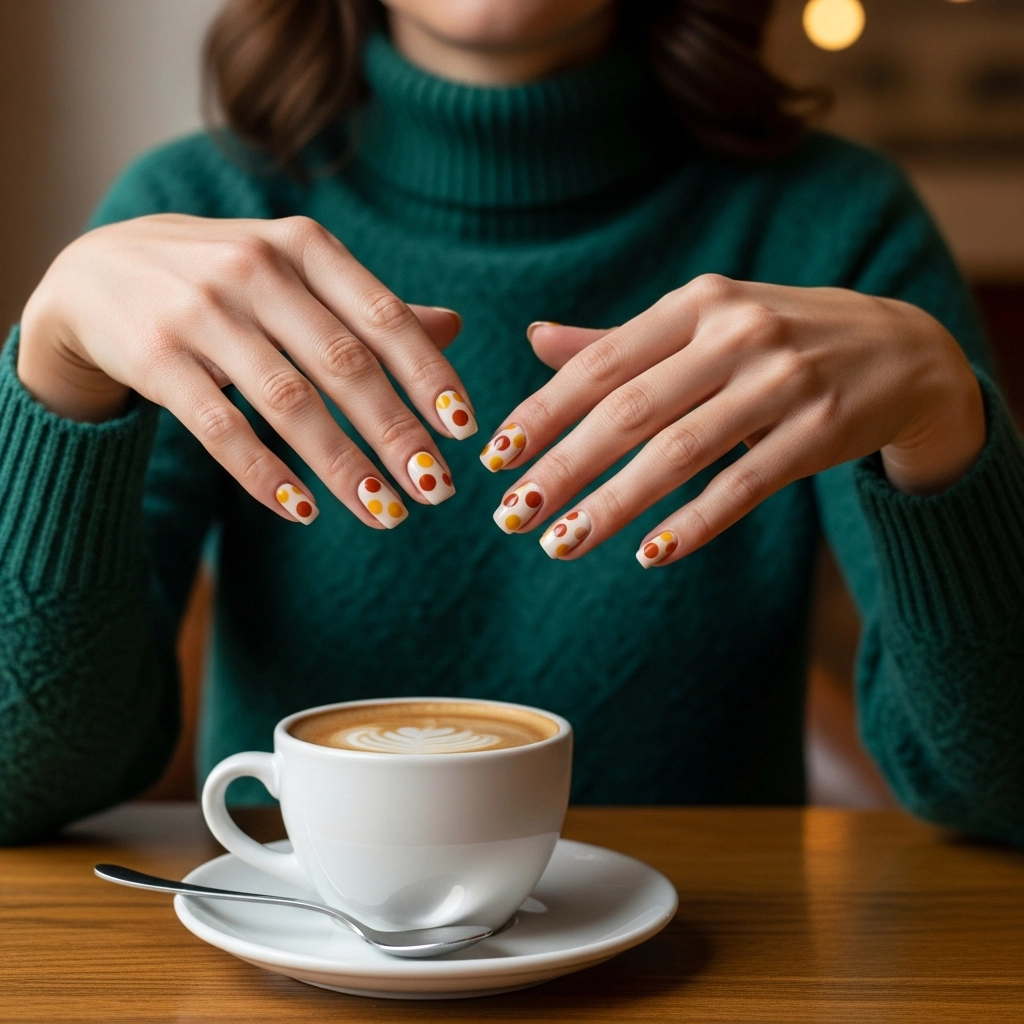
Big, oversized dots in burnt orange or mustard on a cream base look straight out of a vintage design catalog. Retro but current.
Best for medium skin tones. Great for fall or anyone with a maximalist style.
- Apply Zoya’s Padma cream as your base
- Use a large silicone dotting ball for oversized dots
- Place 2–3 dots per nail, slightly off-center
Variation: Mix two warm-toned colors — burnt orange and mustard together — for a more layered look.
7. Gold Dots on Nude Nails
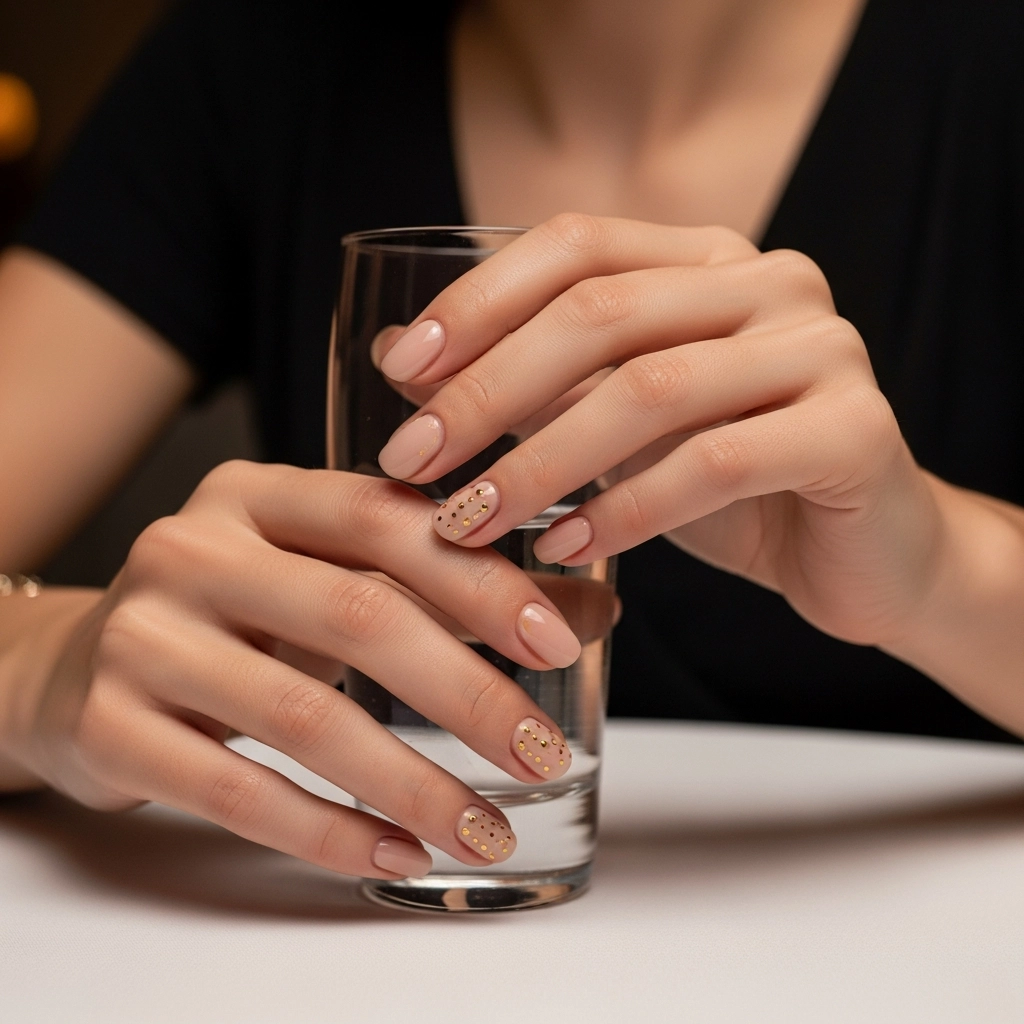
Subtle, expensive-looking, and beginner-friendly. Gold dots on a sheer or milky nude base look like fine jewelry on your fingertips.
Works on every skin tone. Perfect for weddings, dates, or when you want polish without loud color.
Quick tip: Use a nail art pen — Modelones’ gold nail art pen gives you control with zero mess in about 5 minutes per hand.
Variation: Add a single slightly larger dot as an accent on your ring finger.
8. Tonal Dots — Same Color, Different Finish

Paint your nails in a matte finish, then add glossy dots in the exact same color. The result looks subtle, textured, and genuinely creative.
Works with any single color — dusty rose, sage green, or cobalt blue all look stunning this way.
How to do it:
- Apply color with a matte top coat
- Let dry completely — at least 15 minutes
- Dot with the same polish but finish with glossy top coat only over the dots
Variation: Reverse the finish — glossy base, matte dots.
9. Cherry Red Dots on Milky White
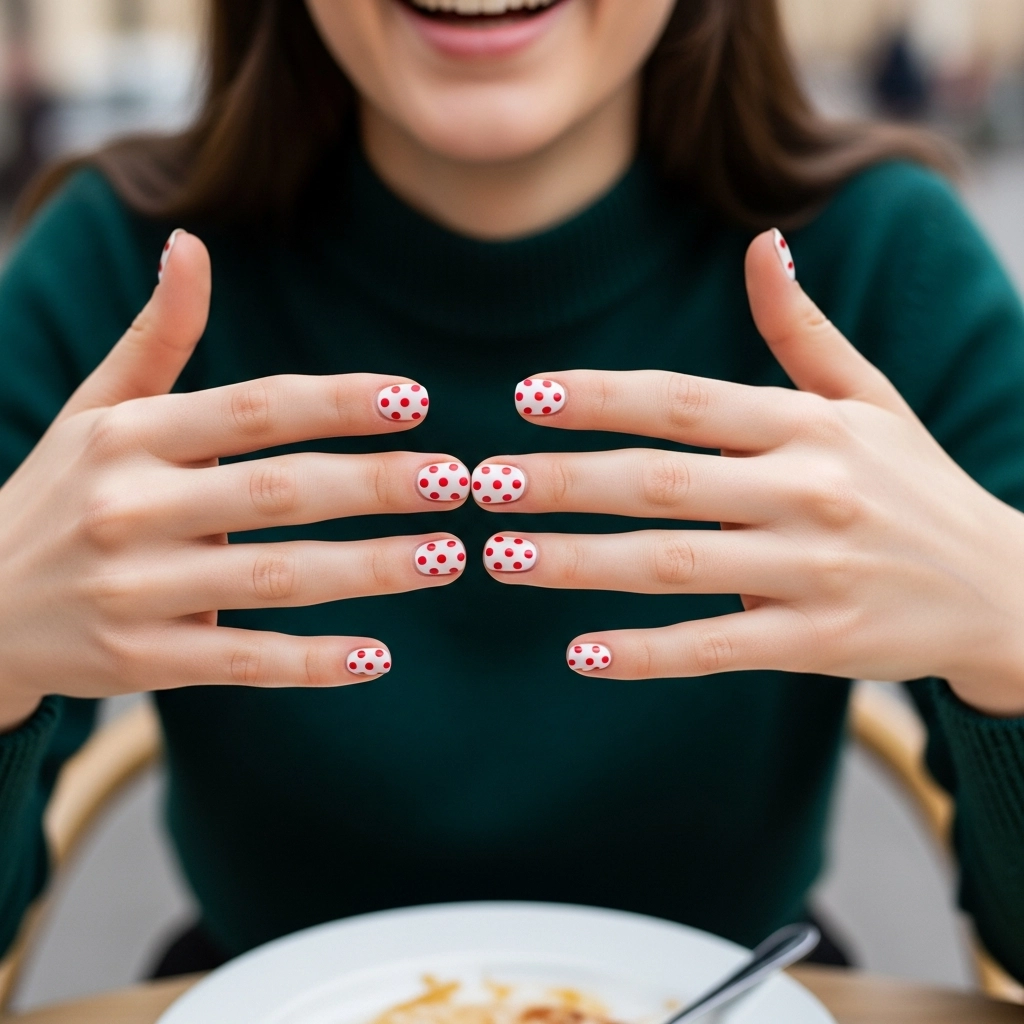
Milky white base with cherry red dots is Valentine’s energy all year round. Sweet, playful, and surprisingly chic.
Best for fair to medium skin tones. Great for date nights or casual wear.
Try: Apply two coats of Essie’s Blanc as your base, then dot with OPI’s Big Apple Red using a medium dotting tool.
Variation: Add a single tiny heart on one nail instead of dots for a mixed detail look.
10. Black and White Checker-Dot Combo

Mix checkered sections with polka dots on different nails. It’s graphic, cool, and looks like a custom nail art set.
Works well for creative personalities and editorial-style looks. Perfect for concerts, art events, or whenever you want hands that start conversations.
- Paint two nails with checker pattern
- Add white dots on black nails for the remaining fingers
- Use striping tape for sharp checker lines
Variation: Use color — red and white checker with black dots — for maximum impact.
11. Lavender Dots on Soft White

Pale lavender dots on a clean white base look dreamy and delicate. Think spring garden party on your nails.
Best for fair skin with cool undertones. Perfect for Easter, spring brunches, or soft everyday wear.
Quick tip: Mix two lavender shades — light and slightly deeper — and alternate dots across each nail for a dimensional look that takes under 10 minutes.
Try: Essie’s Lilacism and Cascade Cool together for the perfect lavender duo.
Variation: Add one mint green dot among the lavender for a surprise detail.
12. Gradient Base With White Dots
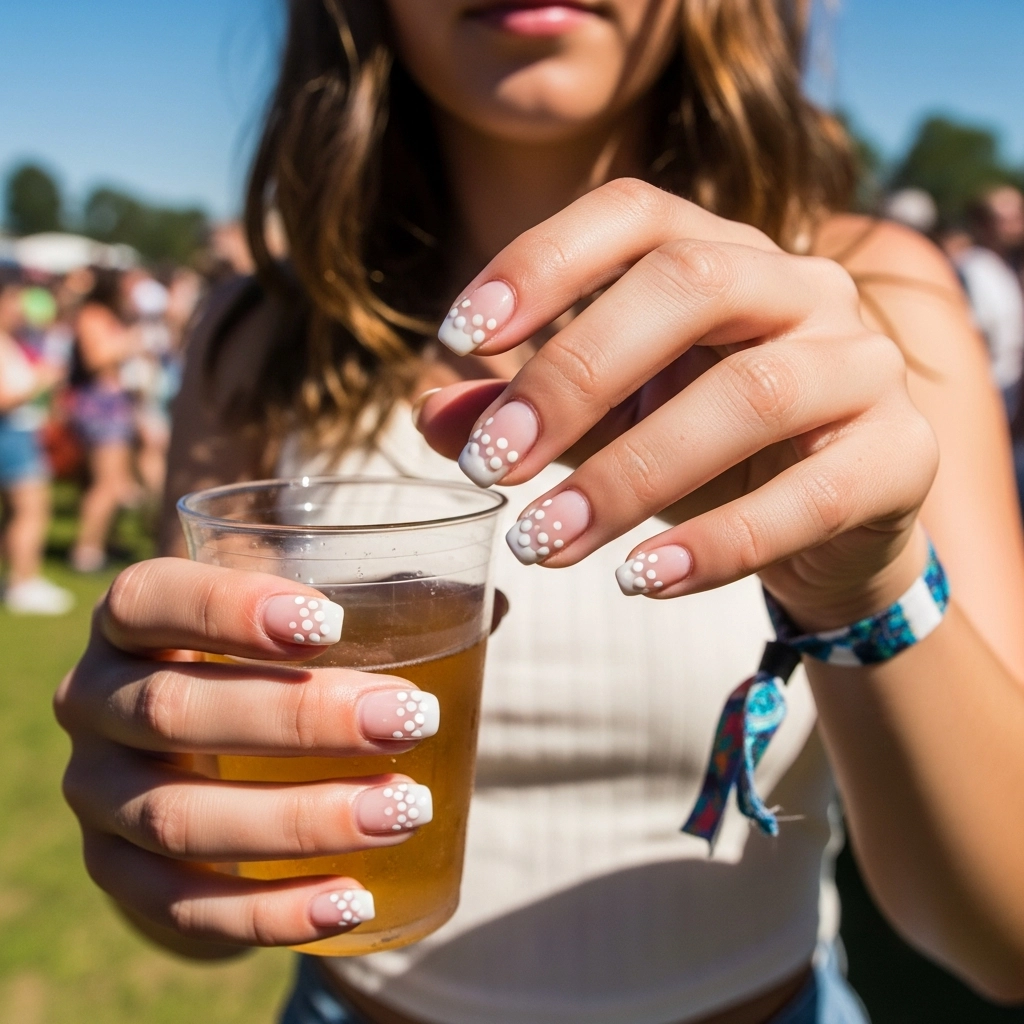
Ombre nails already look great. Add white dots on top and the whole look goes from pretty to polished and artistic.
Works on all skin tones and occasions — especially good for summer or festivals.
How to do it:
- Sponge a peach-to-coral ombre base
- Let dry for 10 minutes
- Dot white dots in a scattered pattern across all nails
Variation: Use gold dots instead of white to shift the vibe from cute to glamorous.
13. Espresso Brown Dots on Blush Pink
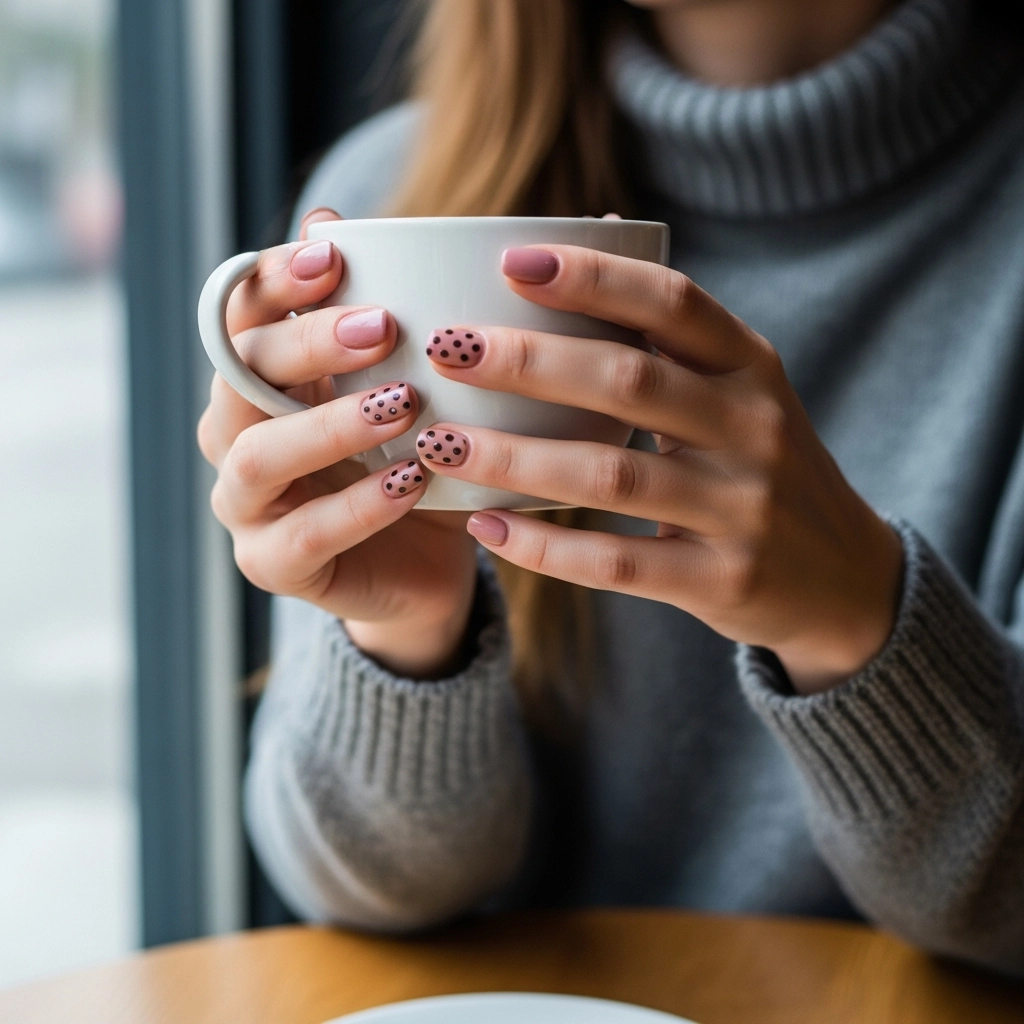
Warm, earthy dots on a soft blush base look like a Pinterest mood board come to life. It’s cozy and feminine at the same time.
Best for medium and warm skin tones. Perfect for fall or a romantic everyday look.
Try: Zoya’s Rue for blush pink base and Orly’s Expresso Yourself for the brown dots. Two of the best polish formulas for smooth dotting.
Variation: Add dots in two different sizes on the same nail for more texture.
14. Neon Dots on Black Nails
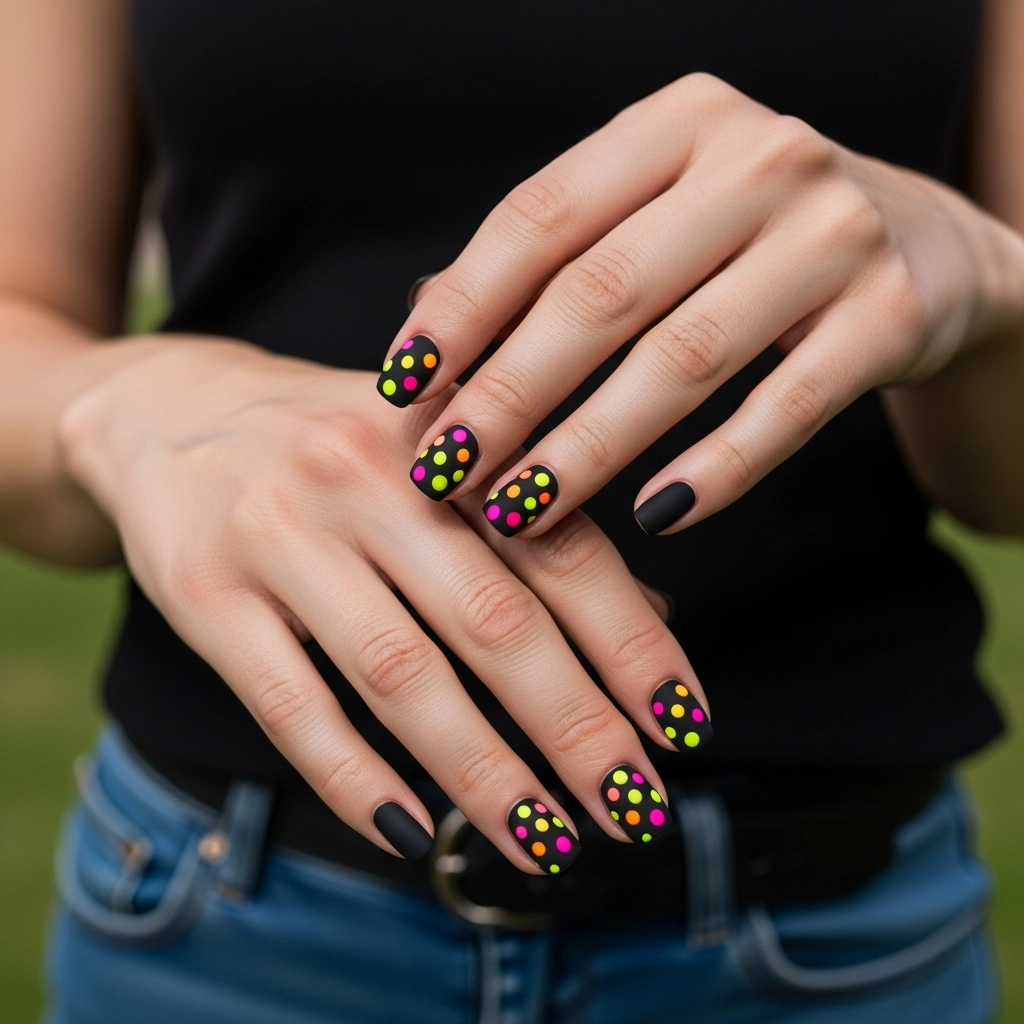
Bright neon dots on a matte black base are electric and unexpected. It’s nighttime energy with graphic-art attitude.
Best for deep skin tones where neon really pops. Perfect for concerts, festivals, or nights out.
- Apply matte black base — two coats of Orly’s Liquid Vinyl plus matte top coat
- Dot with neon pink, yellow, and orange
- No top coat over dots to keep neon vivid
Variation: Limit to one neon color for a more focused, editorial feel.
15. Tiny Silver Dots on Midnight Navy
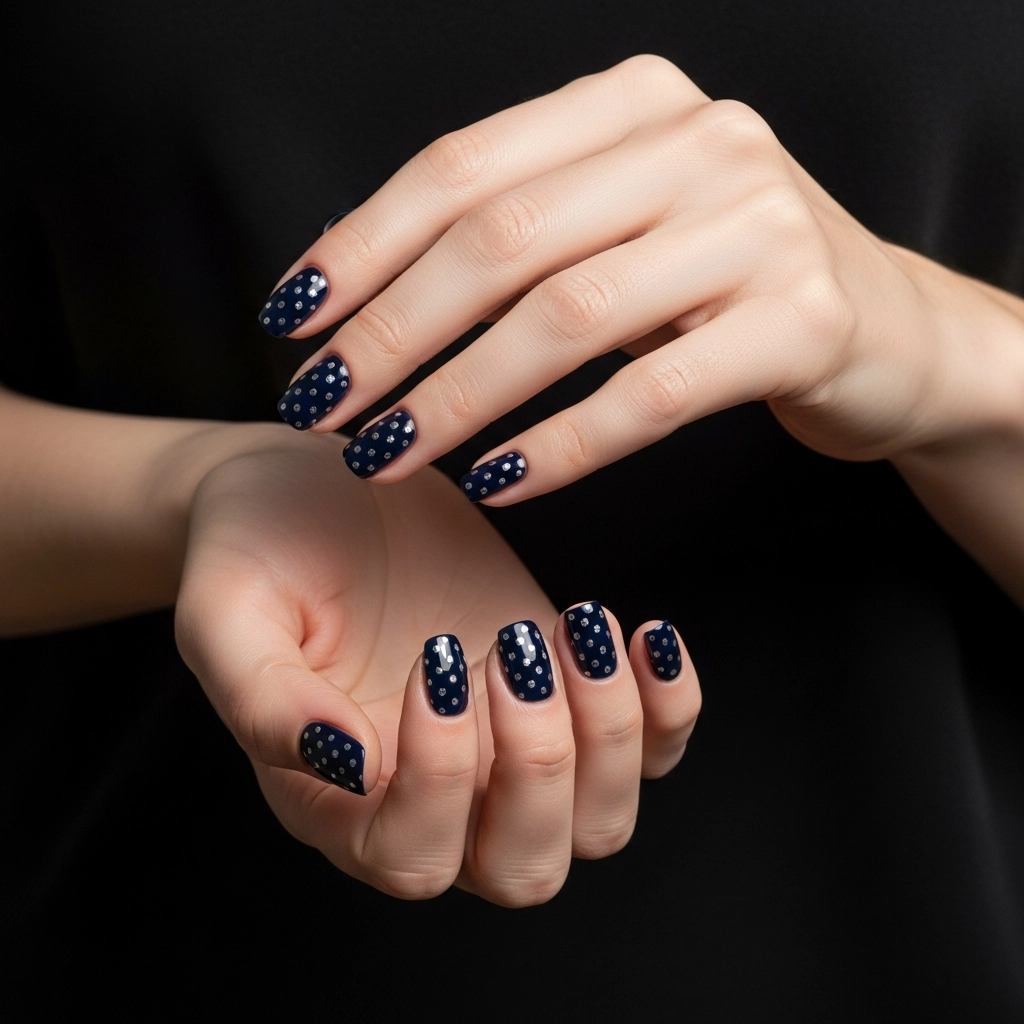
Scattered silver dots on deep navy look like a night sky on your nails. Elegant, dreamy, and completely unique.
Works on all skin tones. Beautiful for winter events, New Year’s, or date nights.
Quick tip: Use a fan brush — dip lightly into silver polish and flick across the nail for organic, irregular dot placement in under 30 seconds per nail.
Try: Sally Hansen’s Commander in Chic for navy and Born Pretty silver chrome powder for the dots.
Variation: Add one larger silver dot as a “moon” on your accent nail.
16. Colorblock Nails With Dot Accents

Paint each nail a different solid color, then add a single dot in a contrasting shade near the base. Simple, modern, and very wearable.
Great for beginners who want nail art without complexity. Works for every occasion.
How to do it:
- Paint each nail a different solid color
- Choose one contrasting shade for all dots
- Place one medium dot near the cuticle on each nail
Variation: Use gold for all accent dots regardless of base color — it ties every color together.
17. Watercolor Dots on Sheer Base
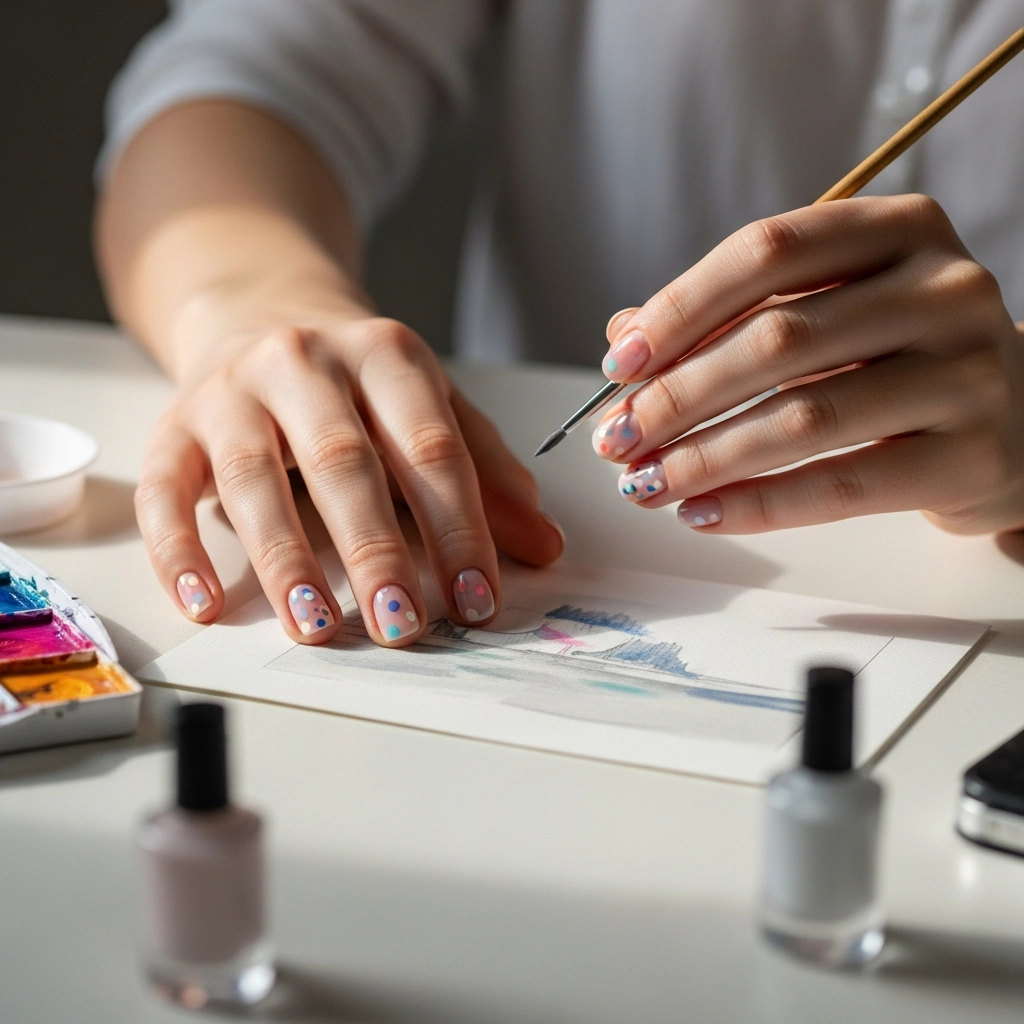
Diluted polish or watercolor nail paints create soft, blurred dots that look hand-painted and artistic. Beautiful and one-of-a-kind.
Works best on fair to medium skin tones. Perfect for spring, summer, or when you want nails that look like wearable art.
Try: Cirque Colors Watercolor nail polish line — formulated specifically for this effect. Apply dots while slightly thinned and let bleed naturally at the edges.
Variation: Layer two colors on the same dot while still wet for a blended effect.
18. Holographic Dots on Nude Base

Holographic dots shift from silver to rainbow depending on the light. On a simple nude base, the contrast is stunning and eye-catching.
Works on all skin tones. Perfect for parties, events, or any time you want your nails to do the talking.
How to do it:
- Apply a warm nude base — two coats
- Dip dotting tool into holographic loose pigment mixed with clear polish
- Place dots and seal with gel top coat
Variation: Use holographic dots on black for maximum drama.
Pro Tips That Actually Work
The most common mistake with dot nails is dotting on polish that’s still tacky. Wait a full 10 minutes after your base coat dries — dots spread and blur if the surface isn’t completely set.
For a budget swap, skip the dotting tool set and use a mechanical pencil with the lead retracted. The metal tip creates perfect small dots and costs nothing extra.
Time-saving hack: prep all your dotting colors in small puddles on foil before you start. You can work nail to nail without pausing to open bottles, and the whole look takes under 20 minutes.
How to Pick the Right Polka Dot Nail for You
| Beginner | Budget | Occasion | |
|---|---|---|---|
| Gold Dots on Nude | ✅ Easy | Under $12 | Everyday/formal |
| Neon Dots on Black | ❌ Needs steady hand | Under $15 | Night out |
| Classic Red & White | ✅ Very easy | Under $10 | Casual/fun |
If you’re new to nail art, start with the bobby pin method and a two-color look. You’ll get clean dots on your first try without any special tools.
What’s Hot Right Now
Nail creator Mei Kawajiri has been mixing micro dots with abstract line work — tiny dots used as texture rather than pattern. It’s a more painterly approach and it looks incredible on short square nails.
Sabrina Carpenter’s manicures this season have leaned into cherry red and milky white combos, which has pushed the red-and-white dot look back into the spotlight. Espresso brown dots and butter yellow bases are also having a real moment right now — warm, retro, and completely fresh.
FAQs
Can beginners do polka dot nails at home? Yes — start with a bobby pin or the back of a small brush for dots. You don’t need a dotting tool kit. Two colors, one pattern, and you’re done in under 20 minutes.
How long do polka dot nails last? Regular polish with base and top coat lasts around 7–9 days. Refresh your top coat on day 3 to push it closer to 10. Gel polish extends it to 14 days easily.
What’s the easiest polka dot nail idea for short nails? Gold dots on nude or classic red and white. Short nails look great with small, evenly spaced dots — 3 to 4 per nail is plenty and looks intentional.
Do you need special tools for polka dot nails? Not at all. A bobby pin, toothpick, or the tip of a pencil eraser all work perfectly. A proper dotting tool gives more size control but it’s not required for a clean result.
Your Next Manicure Is Already Decided
The top looks here are gold dots on nude for everyday elegance, classic red and white for pure fun, and holographic dots on nude when you want something that stops people mid-sentence.
Pick one, gather your supplies, and do it this weekend — you don’t need a salon appointment for any of these.
Save this article so you can come back to it every time you need a new look.
Which one are you trying first?