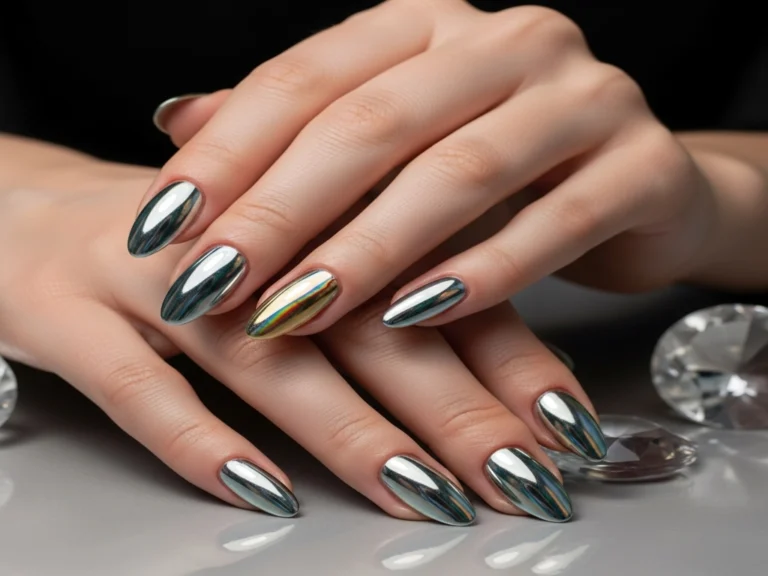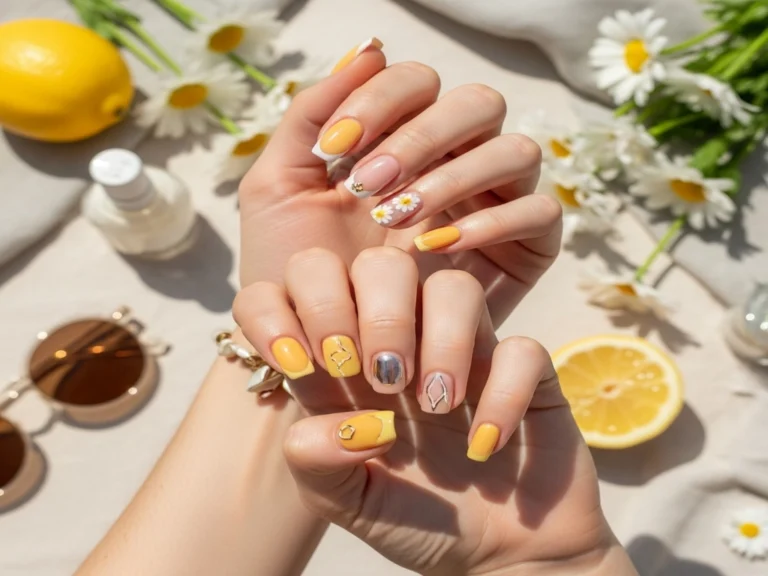
Salon-level nails don’t require a salon appointment — just the right technique and 20 minutes.
Most nail art looks harder than it is. The designs that go viral are usually built on two or three beginner-friendly moves: nail tape, a dotting tool, a sponge. Once you know which tools do the work, easy nail designs at home become genuinely fast and satisfying.
This article covers 14 designs you can do tonight with products you can get for under $15. Each one includes a step-by-step or quick tip, a real product name, and a variation so you can adapt it to your style.
No nail tech skills needed. Just follow the steps.
1. Tape Diagonal Color Block
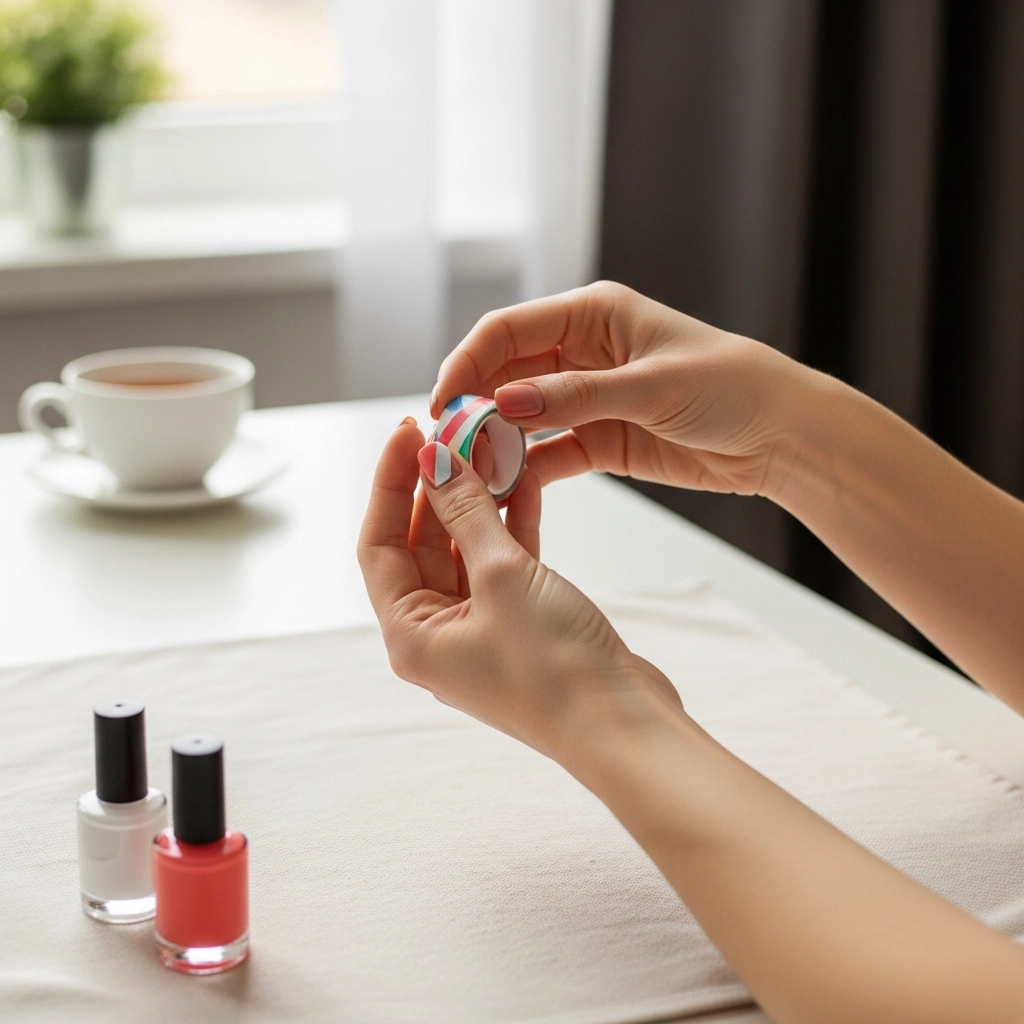
Two colors split across the nail at a clean diagonal angle — one of the most graphic-looking designs that’s actually beginner-proof. Suits all nail lengths and works for any casual or creative setting on any skin tone.
- Apply your first color and let it dry completely (10 minutes minimum)
- Press nail tape at a 45-degree angle across the nail
- Paint the second color over the exposed half, peel tape while wet
Product pick: Essie “Blanc” white + “Tart Deco” coral make a sharp, high-contrast split. Variation: Use three colors across three sections for a more graphic, color-blocked effect.
2. Dotting Tool Polka Dots
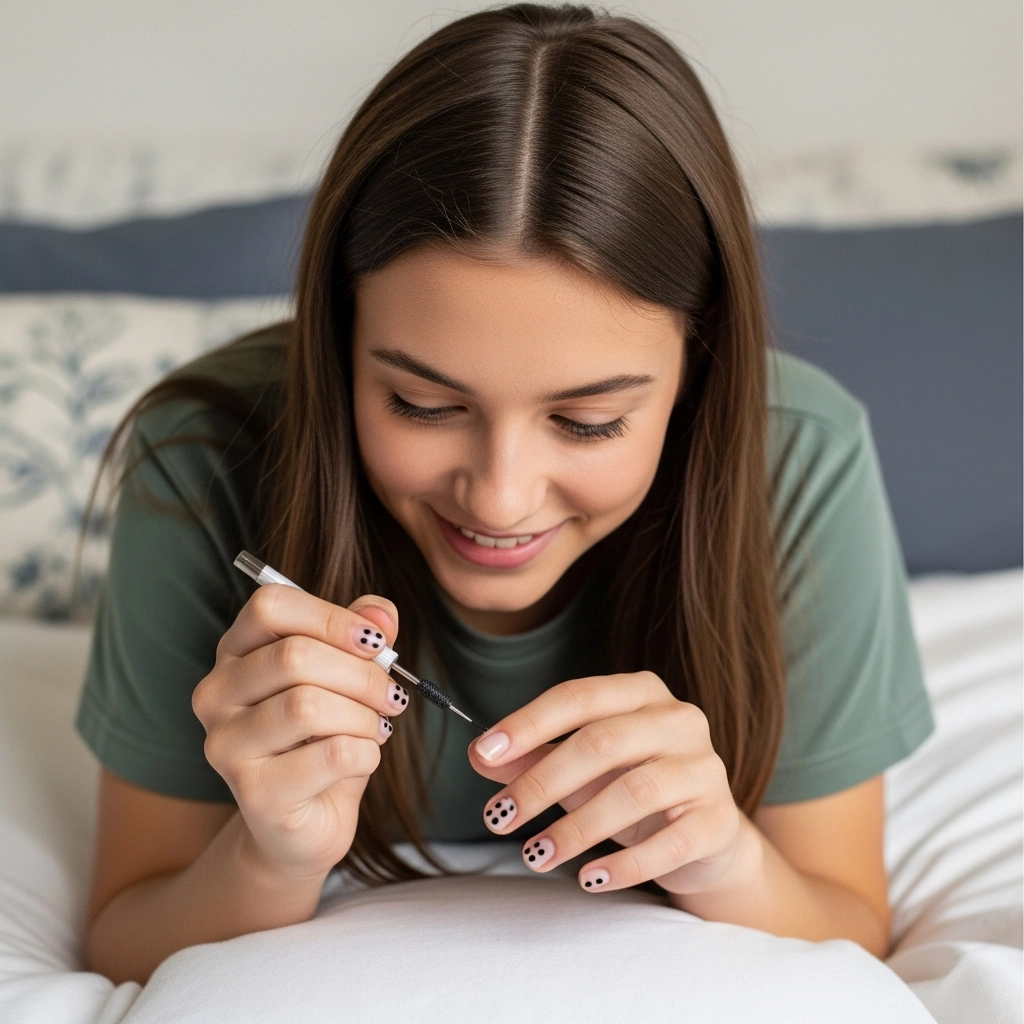
Perfect circles on a solid base — looks intentional, takes 5 minutes. A dotting tool does all the precision work for you. Suits shorter nails where dots have clear space between them. Works for casual occasions and anyone who wants a playful pattern. Apply 2 coats of your base color, dry fully, then dip a dotting tool into a contrasting polish and press evenly spaced dots across each nail. Let dry and seal with top coat.
Product pick: Sinful Colors “Black on Black” for dots over any light base. Variation: Use 2–3 dot sizes by varying pressure on the dotting tool for a more dynamic pattern.
3. Sponge Ombré Gradient
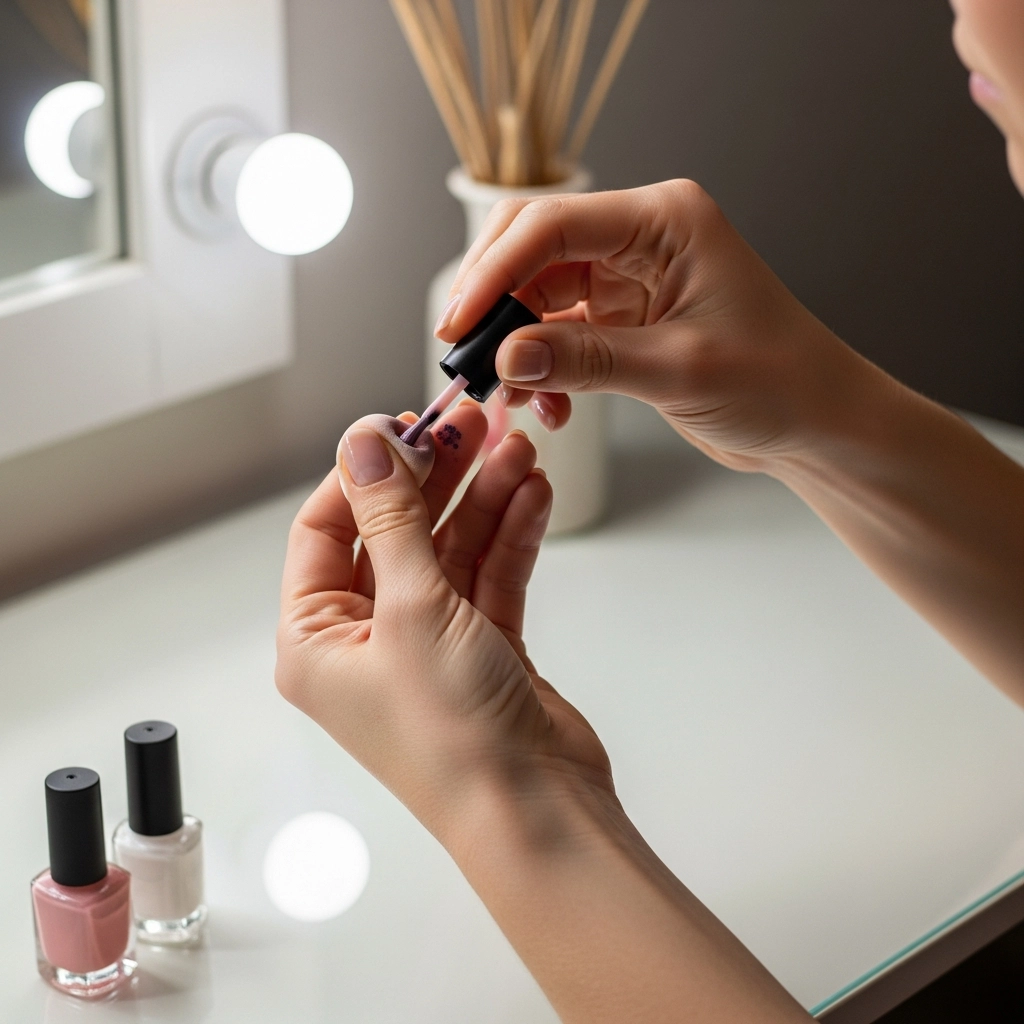
Two colors blended into each other through the middle — the sponge does the blending so your brush doesn’t have to. Suits all skin tones and nail lengths. One of the best easy nail designs to try at home for first-timers. How to do it:
- Apply a white or light base coat and dry.
- Dab both colors side-by-side on a torn makeup sponge.
- Press and dab onto the nail 2–3 times, building the gradient slowly.
Product pick: OPI “Bubble Bath” pink into “Tiara of Texas” white blends cleanly. Variation: Apply a glitter top coat over the gradient while still slightly tacky for extra dimension.
4. Striping Tape Negative Space
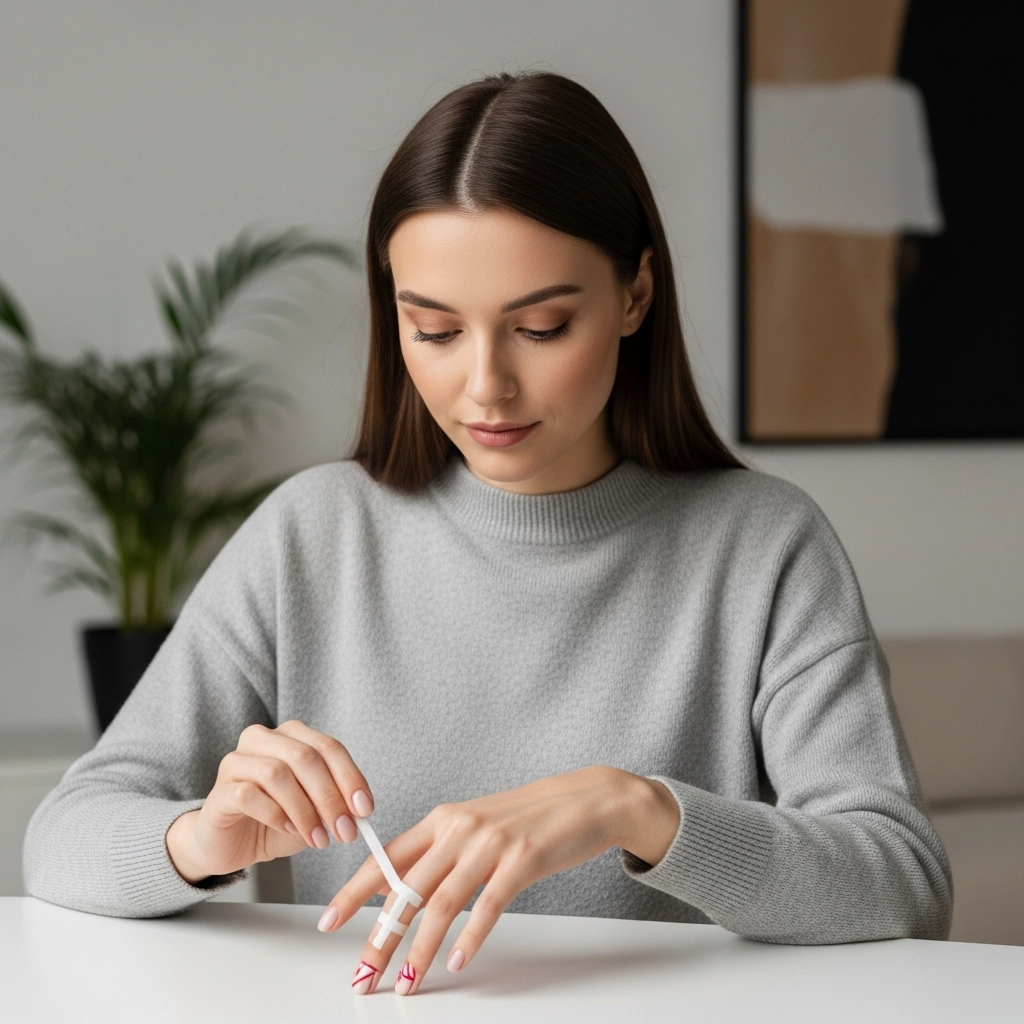
Thin strips of nail tape left on the nail as part of the design — when you peel them away, crisp lines of bare nail show through the color. Suits squoval and almond shapes. Works for modern, minimal aesthetics on any skin tone. Apply base color, dry fully, then lay striping tape in a geometric pattern. Apply a second color over the top, peel the tape after 30 seconds while the polish is still wet.
Product pick: Makartt striping tape in gold works as both the tape and the decorative element. Variation: Leave the tape on the nail permanently as a metallic stripe accent instead of removing it.
5. French Tip with Nail Tape
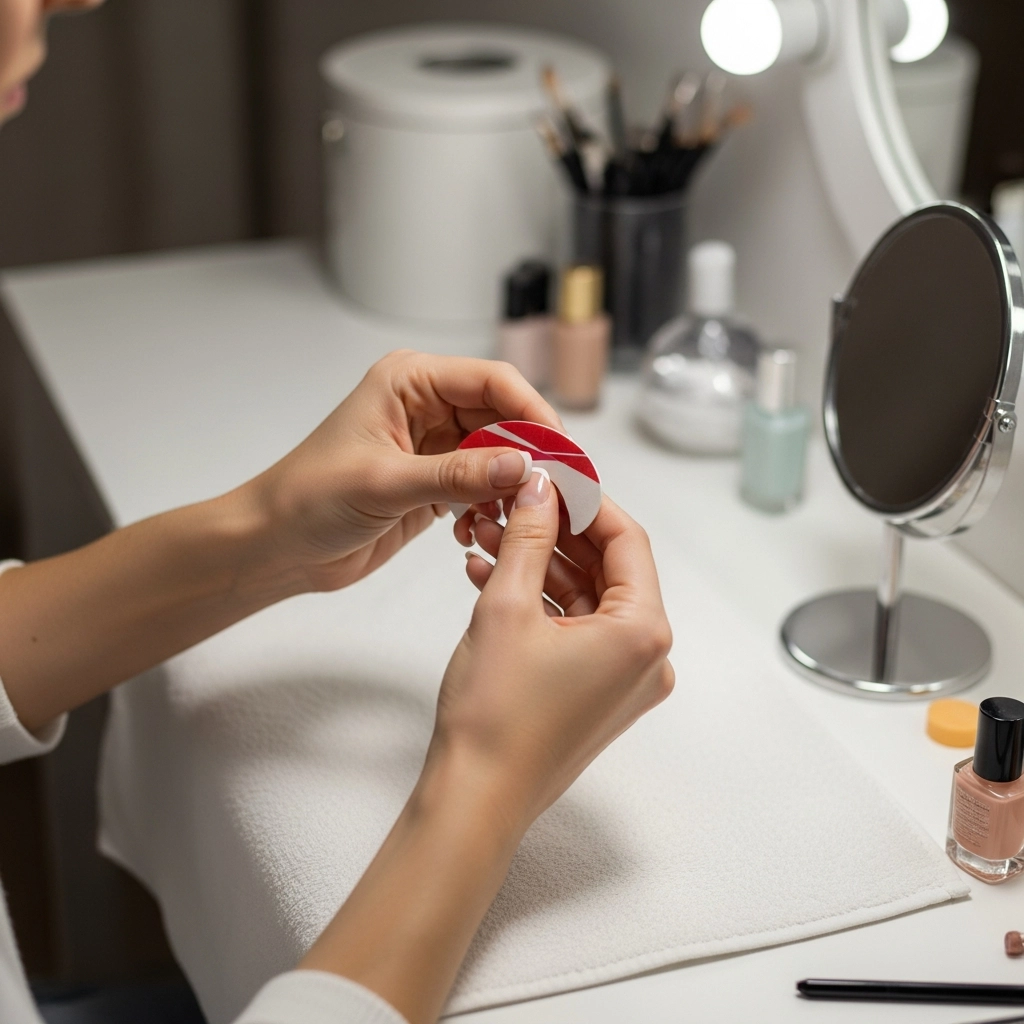
Classic French tips without freehand drawing — nail tape does the entire line. Straight, curved, or diagonal — the tape decides. Suits any nail length. Works for polished everyday looks and formal occasions on all skin tones. Apply your sheer base, dry completely, press curved nail tape to guide the tip line, paint the tip in OPI “Tiara of Texas” white, peel the tape while wet, seal with top coat.
Variation: Paint the tip in cherry red or espresso brown for a colored French that feels more editorial.
6. Marble with a Thin Brush
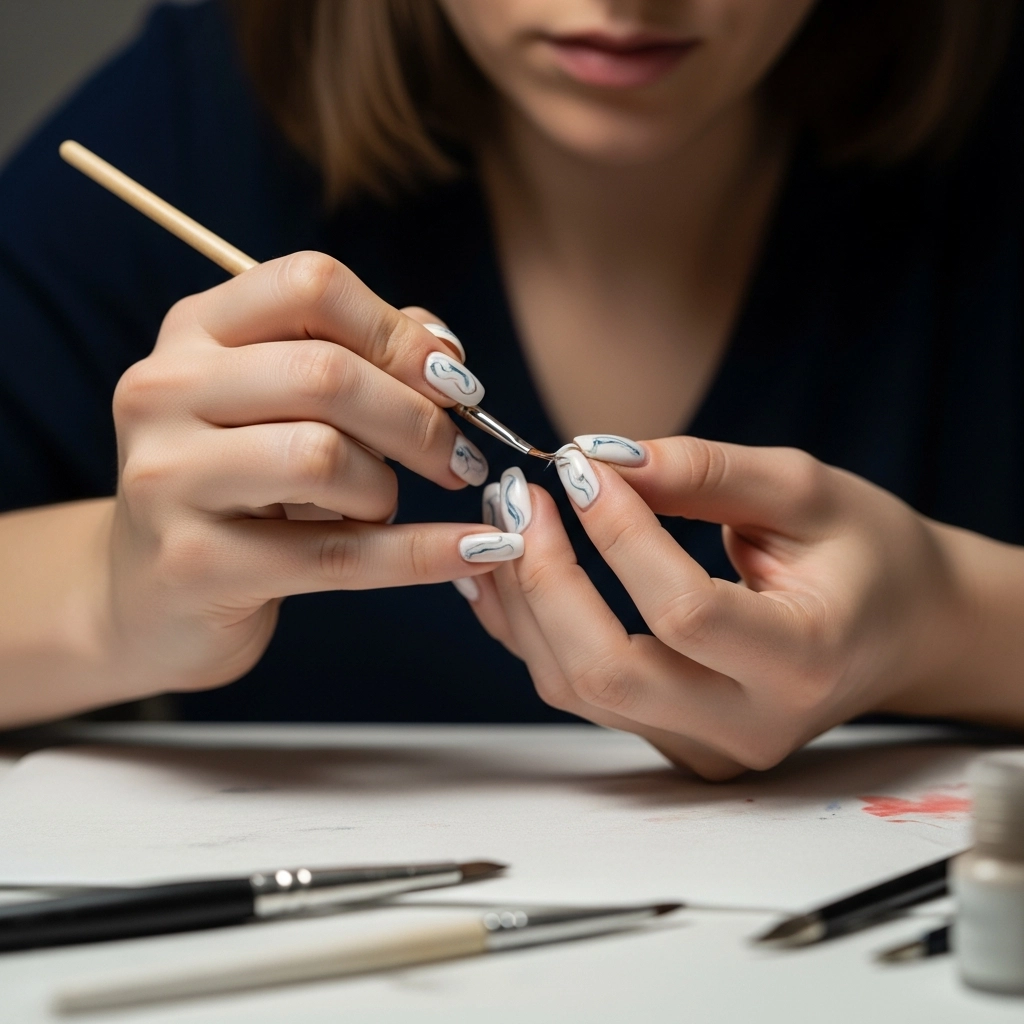
White or nude base with fine veining lines dragged across in gray or gold. Looks like expensive stone, done in under 15 minutes. Works best on almond or oval shapes. Suits any skin tone and elevates everyday or occasion nails. How to do it:
- Apply 2 coats of white and dry fully.
- Load a thin liner brush with gray nail art paint.
- Drag loose branching lines across the nail — keep them thin and slightly wobbly for a realistic vein.
Product pick: Cirque Colors nail art paint in “Smoke” gray for the veining. Variation: Use gold paint instead of gray for a more luxurious marble finish.
7. Stamping Nail Art
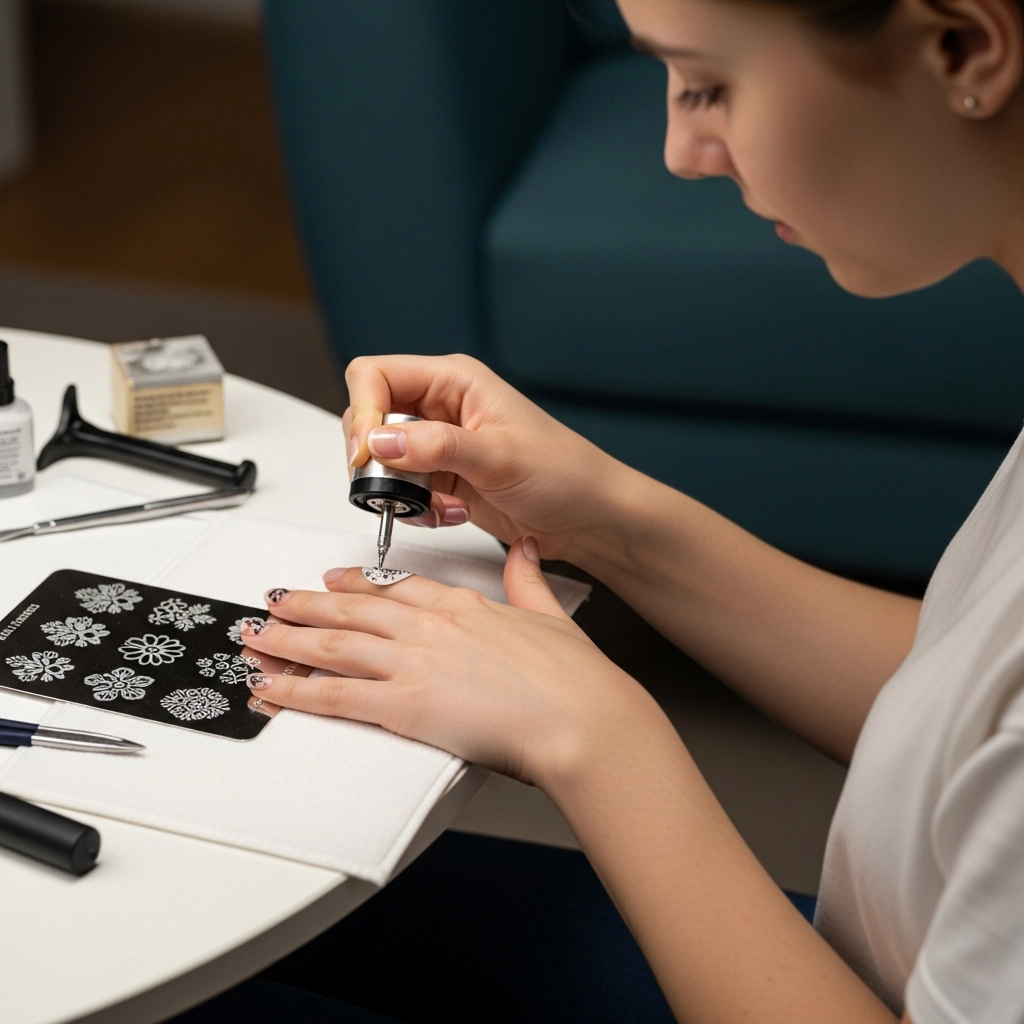
A stamping plate + stamper transfers a full design onto your nail in under 3 seconds. Florals, geometrics, lace — the plate does the drawing. Suits beginners completely. Works for any nail length and occasion. One of the most underrated easy nail designs at home.
- Apply base color and let dry
- Apply stamping polish to the plate design, scrape off excess with the card
- Press the stamper onto the plate, then roll it onto your nail
Product pick: BORN PRETTY stamping kit with plate BPX-L031 for a versatile floral and geometric set. Variation: Use a metallic stamping polish over a matte base for a foil-like contrast.
8. Half-Moon Cuticle Stencil Nails
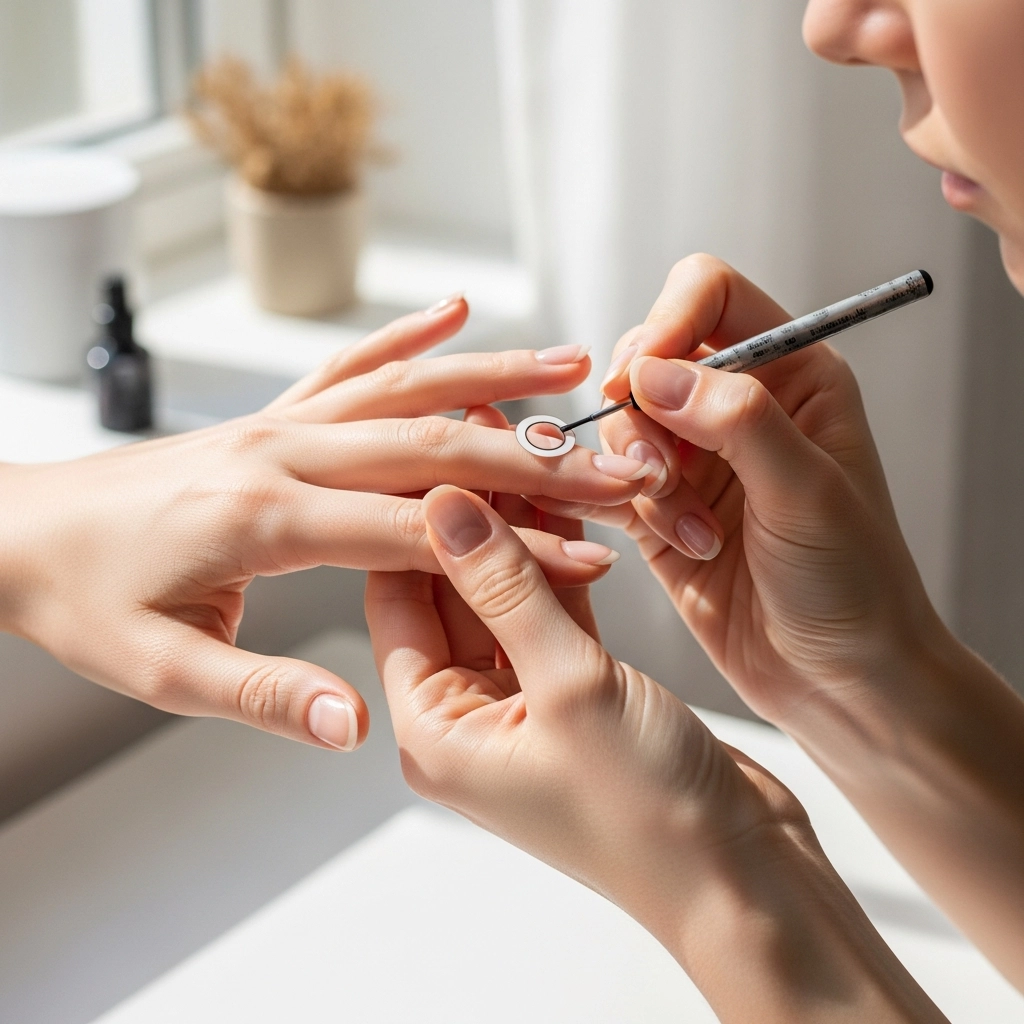
A sheer crescent at the nail base stays a different color from the rest of the nail. Elegant, retro, and done with a sticker stencil in 8 minutes. Suits medium to long nails. Works for classic or fashion-forward aesthetics on any skin tone. Apply your base color, dry, place a round cuticle stencil at the nail base, paint over with a second color, peel the sticker while wet. The crescent stays the base color.
Product pick: Zoya “Purity” as the crescent base + “Autumn” terracotta as the main body. Variation: Reverse the placement — stencil the tip instead of the base for a moon-tip French effect.
9. Wet Nail Foil Transfer
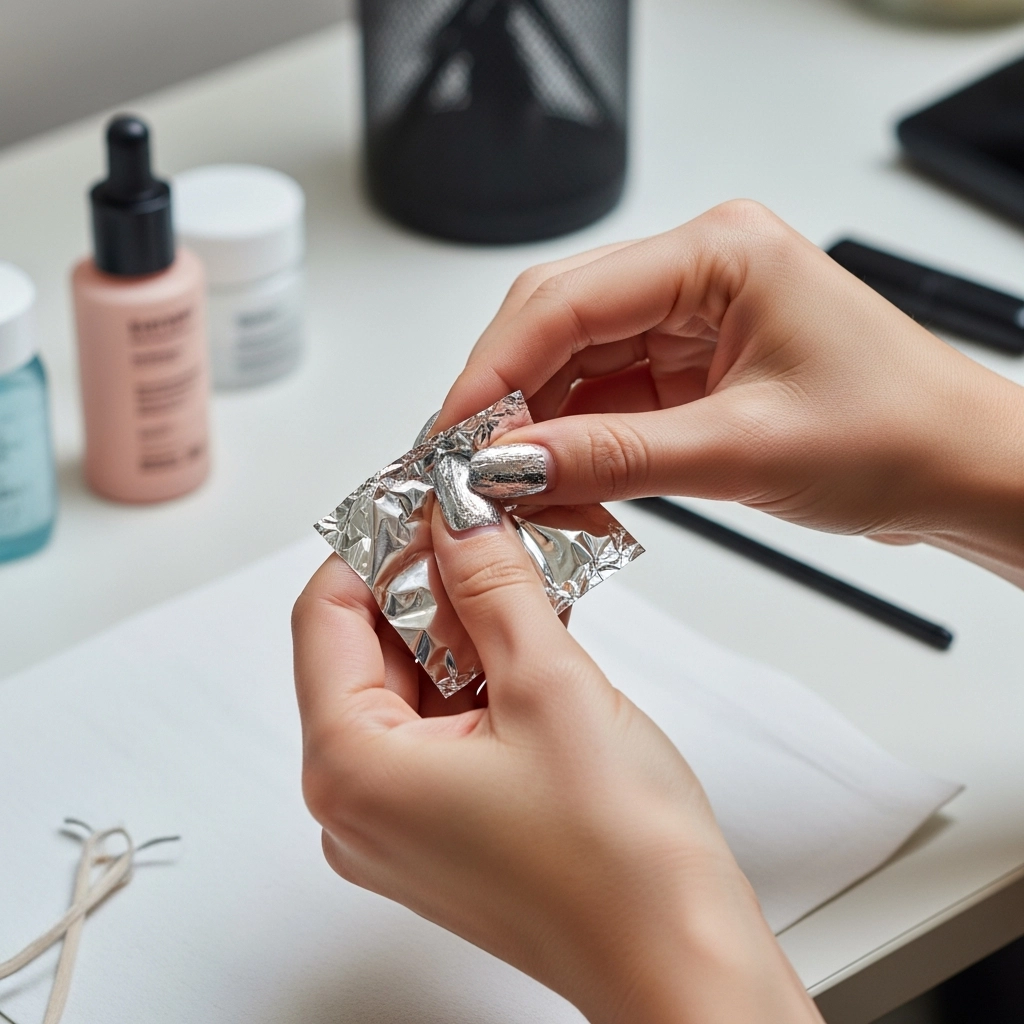
Pressed metallic foil over a tacky top coat — creates a crinkled, irregular mirror finish that looks completely different on every nail. Works on all nail lengths. Suits anyone who wants a metallic look without chrome powder or gel. How to do it:
- Apply base color and dry fully.
- Brush a thin layer of tacky gel top coat over the nail.
- Press Makartt gold or holographic foil sheet firmly, peel back quickly in one motion.
Variation: Press the foil in patches rather than full coverage for a more textured, abstract look.
10. Skittle Nails (One Color Per Nail)
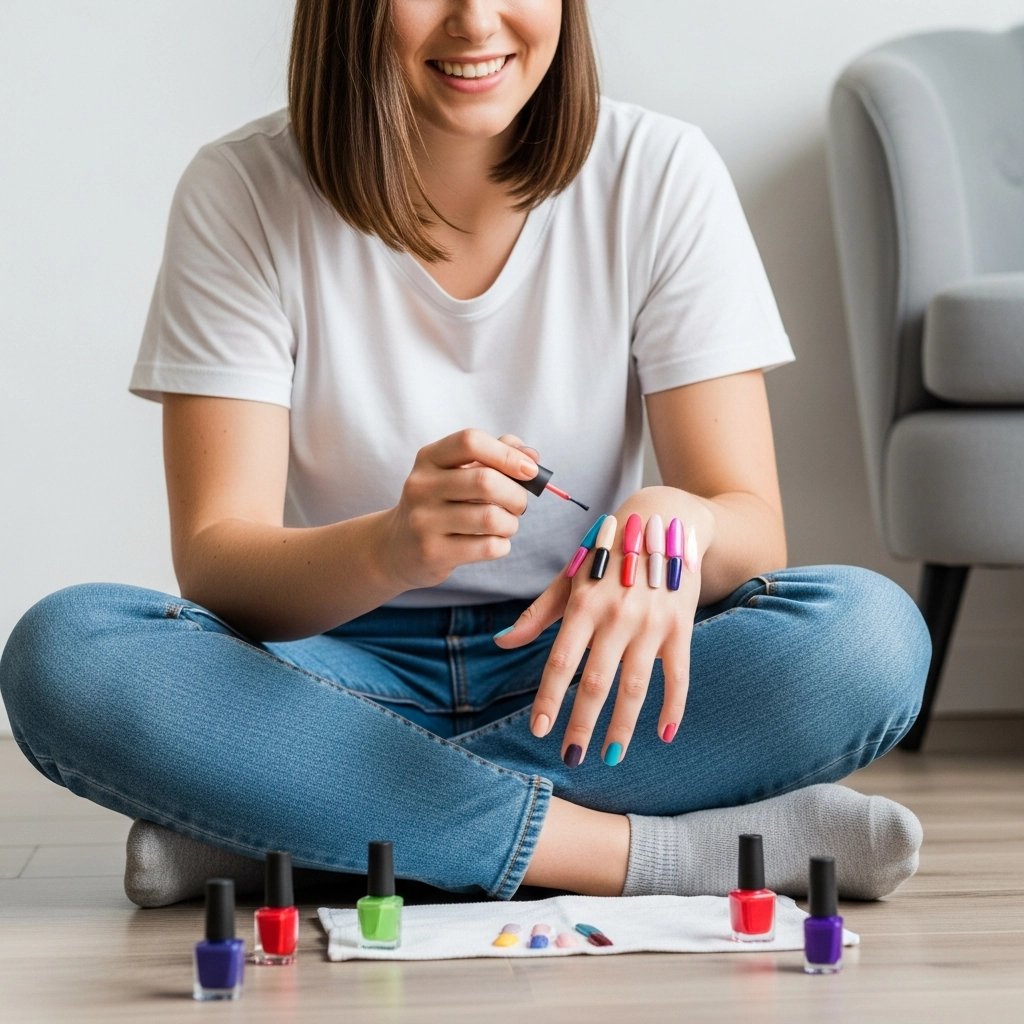
Each nail a different color — no blending, no art, just five intentional shades that work together as a set. One of the easiest and most visually satisfying approaches. Suits any nail length and all skin tones. Works for anyone who can’t choose a single color. Pick 5 shades in the same color family or temperature. Essie’s mini sets ($12 for 4–6 shades) are designed for exactly this — the shades are pre-coordinated.
Variation: Do three nails in one shade and alternate two accent colors on the remaining two.
11. Sponge Glitter Fade
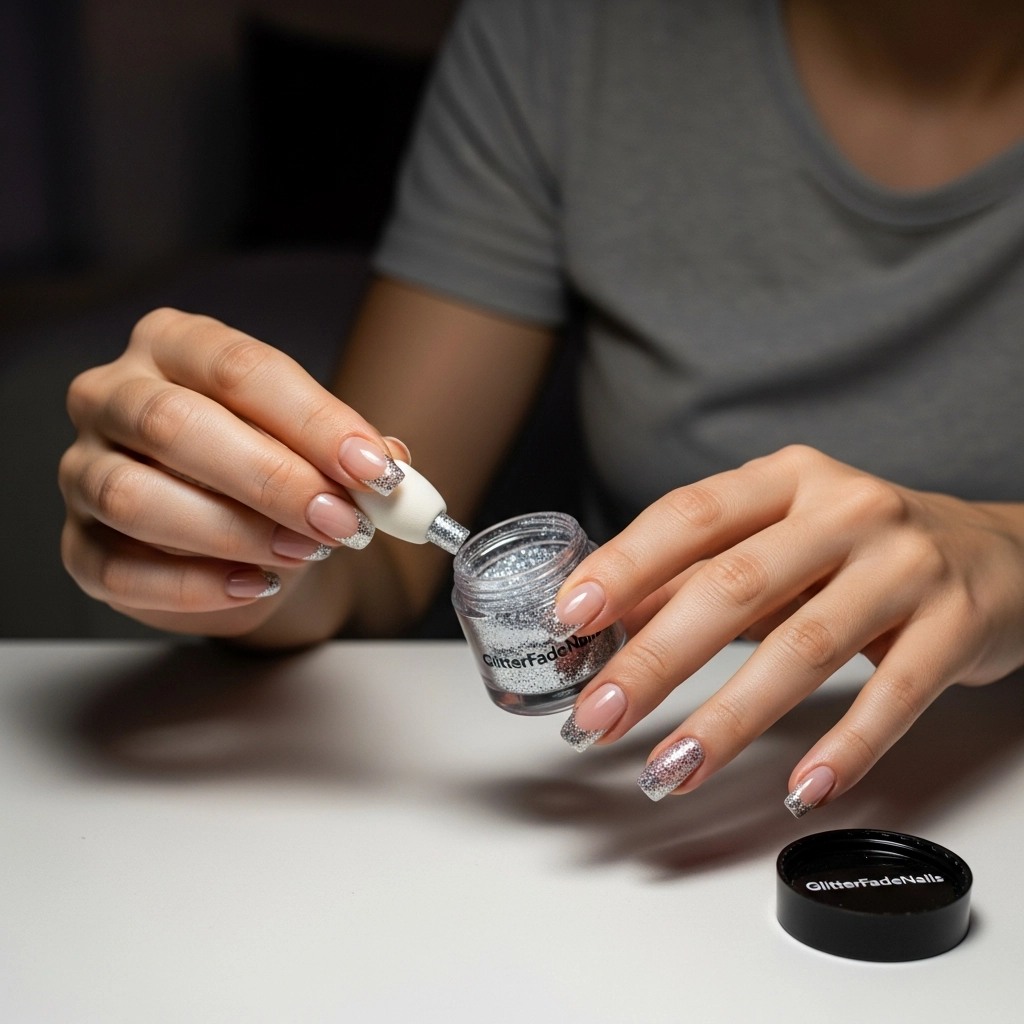
Glitter concentrated at the tips, fading to nothing at the cuticle — all done with a sponge dab, no brush technique required. Works on any nail length and every skin tone. Perfect for a Friday night upgrade that takes 8 minutes total. Quick tip: Dab OPI “The Tinsel Town” silver glitter topcoat onto a torn sponge and press only at the nail tip. Build 2–3 layers, letting each dry 60 seconds. Finish with Seche Vite for a smooth, chip-resistant seal.
Variation: Use a rose gold or chunky gold glitter for a warmer, party-ready effect.
12. Abstract Line Art
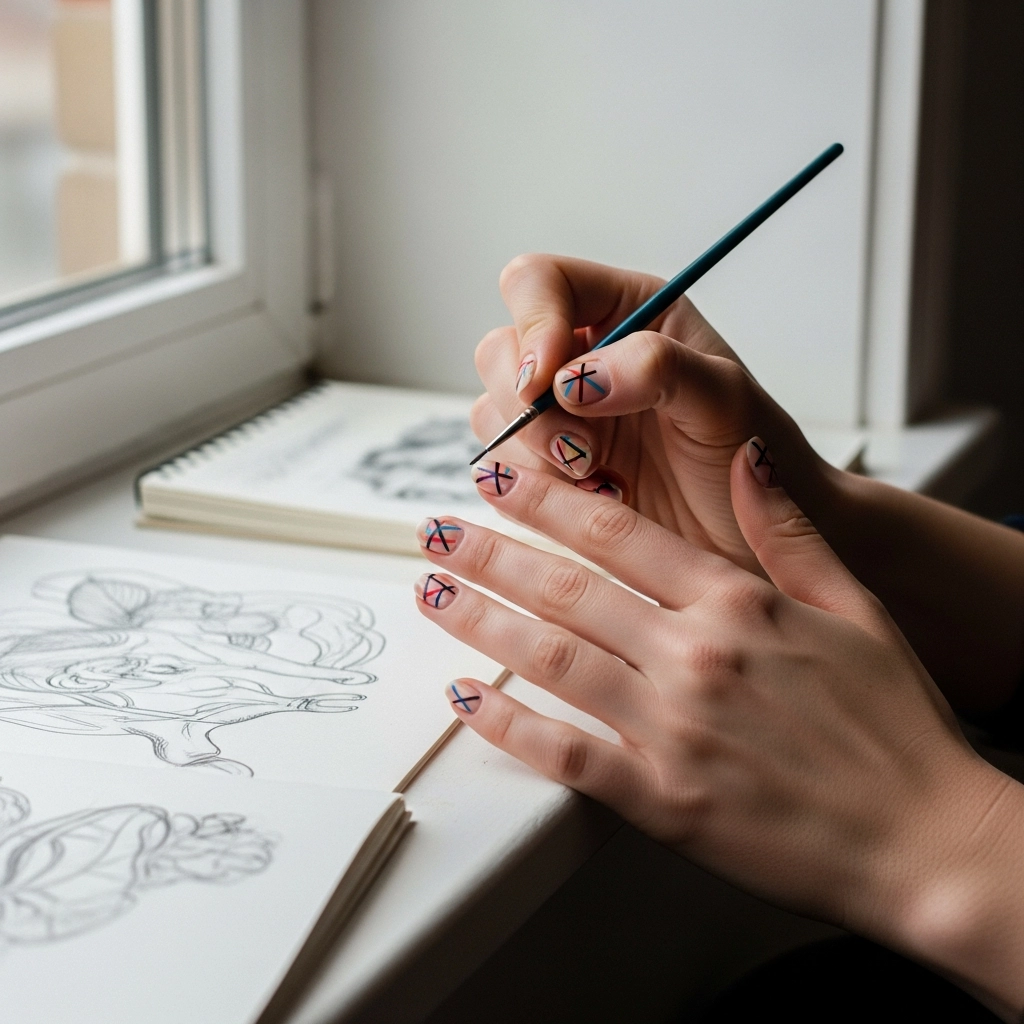
Freehand lines in 2–3 colors across a white or nude base — horizontal, diagonal, or branching. Every nail looks different and that’s the point. Suits any nail length. Works for creative, expressive styles and anyone who wants modern nail art without geometric precision. Load a thin liner brush with Sally Hansen nail art paint and draw 3–5 lines across each nail. Vary the thickness by changing pressure. No planning needed — the randomness is the aesthetic.
Variation: Limit yourself to just 2 colors for a more cohesive, editorial result.
13. Dried Flower Press Nails
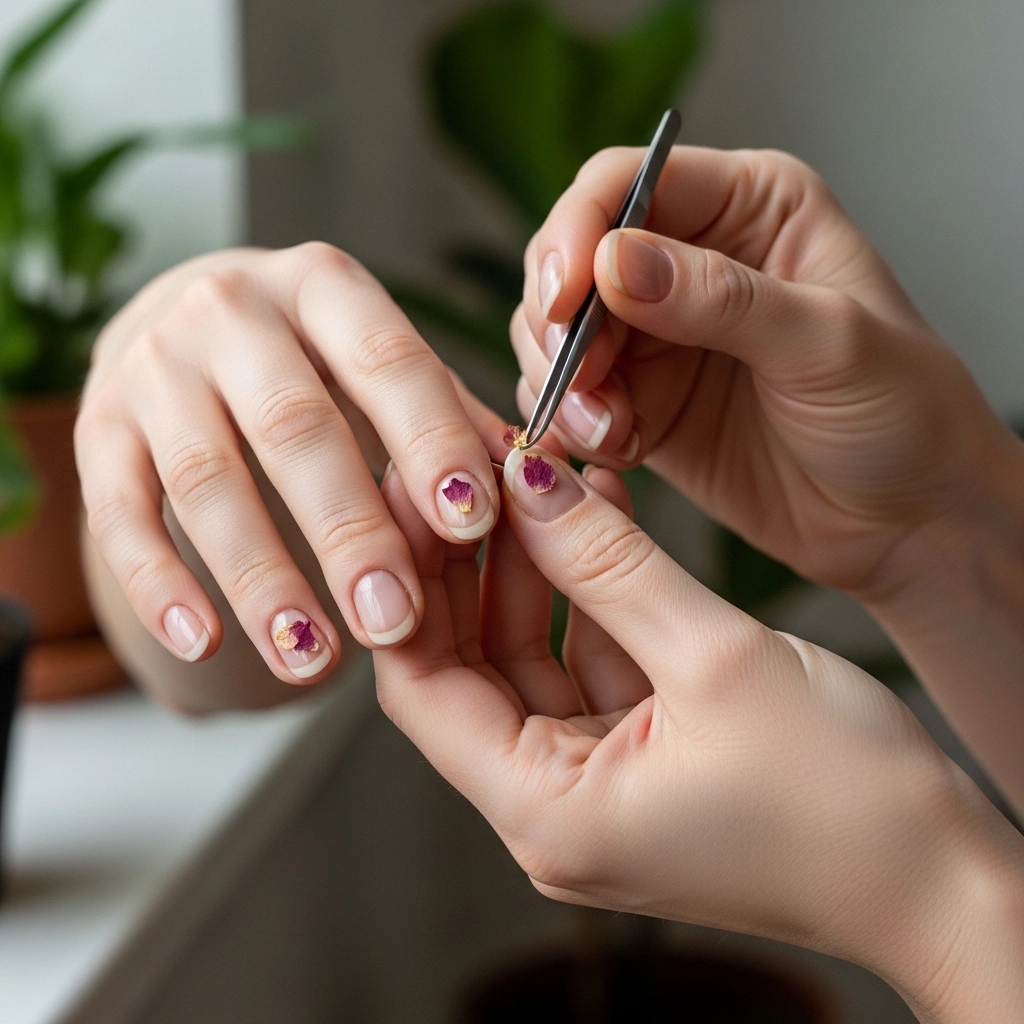
Real dried flowers or petals sealed under gel top coat — a tiny botanical pressed flat into the surface of each nail. Works best on almond or oval shapes. Perfect for spring, garden events, or anyone who wants something completely unique. How to do it:
- Apply base color and cure (gel) or dry (polish).
- Place a tiny dried lavender sprig or petal with tweezers, press flat.
- Seal with 2 coats of gel top coat, curing 60 seconds between each.
Variation: Use a single pressed rose petal on just the ring finger for a minimal floral accent.
14. Reverse French Tip at the Cuticle
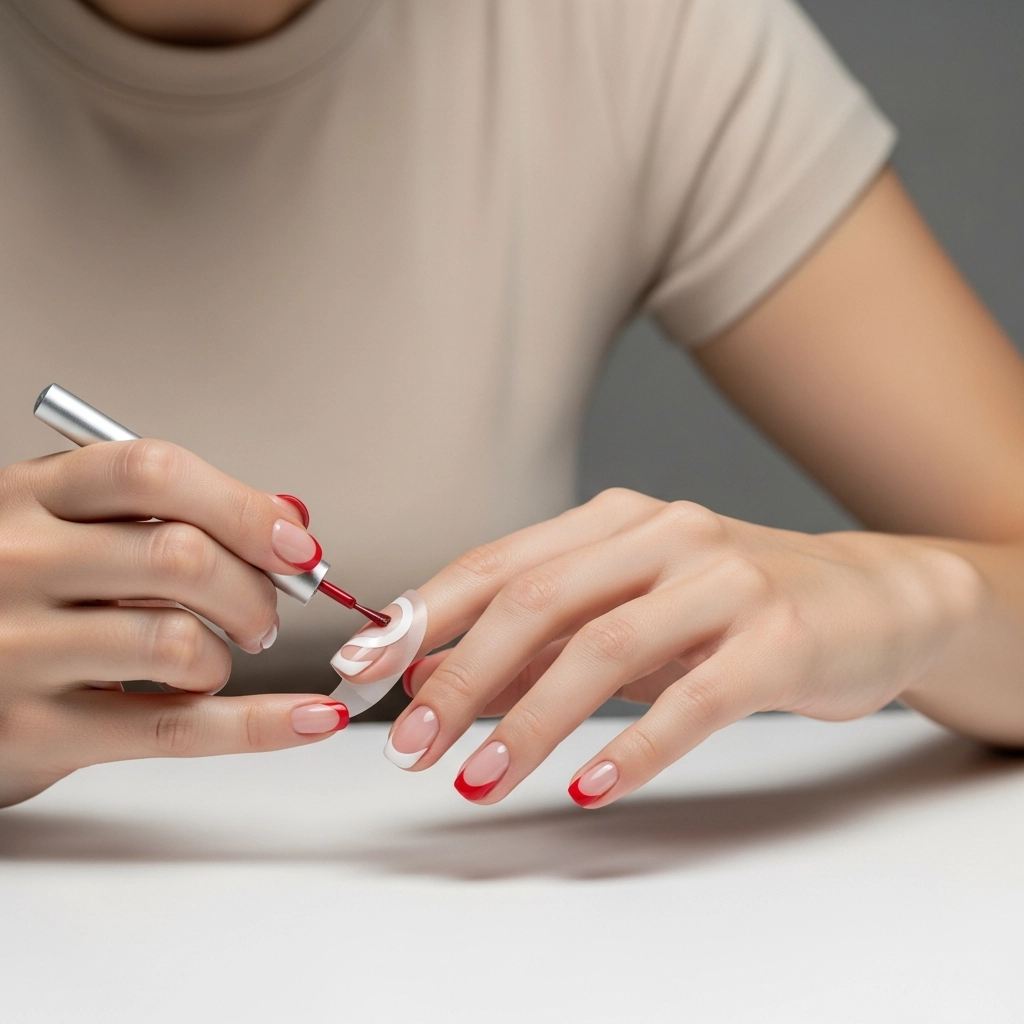
Instead of a colored tip, the accent color sits at the cuticle base. A curved line at the moon of the nail in a contrasting shade — architectural and fresh. Suits all nail lengths and shapes. Works for anyone who wants a French-style look with a modern twist. Apply your main color, dry, press a round cuticle stencil at the base, paint the exposed crescent in OPI “Got the Goods” red or any accent shade, peel the sticker while wet.
Variation: Use a metallic gold or silver for the crescent for a more glam, jewelry-like effect.
Pro Tips That Actually Work
The most common beginner mistake is peeling the nail tape too late. Once the polish dries even slightly, the tape tears instead of peeling cleanly. Pull it while the top layer is still wet — about 30–45 seconds after painting. You’ll get a perfectly crisp edge every time. A budget swap that holds up: a $6 nail art liner brush from Amazon does the same job as a $20 professional one for the marble and abstract line looks. What matters is the brush tip — thin, flexible, and pointed. Check the reviews for tip quality before buying. Short on time? Looks 1, 5, and 10 are all under 12 minutes, require no freehand skill, and look completely intentional. Nail tape and color selection do all the work.
How to Pick the Right Easy Nail Design for You
| Design | Skill Level | Budget | Best Occasion |
|---|---|---|---|
| Tape Color Block | Beginner | $10–14 | Everyday, creative |
| Sponge Ombré | Beginner | $10–14 | Any occasion |
| Stamping Nail Art | Beginner | $15–20 | Events, detailed looks |
| Marble Lines | Intermediate | $10–15 | Elegant, everyday |
| Dried Flower Press | Intermediate | $12–18 | Spring, occasions |
If you’ve never done nail art at home, start with the tape color block or dotting tool dots — both deliver a sharp result with zero freehand skill. Once you’ve done those twice, the marble and abstract line looks feel completely manageable.
What’s Hot Right Now
The “glazed chrome” aesthetic continues to lead nail content this season, and it’s one of the easiest techniques to do at home once you have a silicone applicator and chrome powder. Hailey Bieber’s consistent use of soft chrome and milky shimmer finishes has shifted the baseline expectation for polished nails — simple, luminous, and low-maintenance looking even when it took effort.
Nail artist Fleury Rose has been pushing hand-stamped florals and abstract line work as the at-home nail art alternatives to heavy gel art — look #7 and look #12 both pull from that direction. The dried flower press nail is also showing up consistently in spring editorial content as the most personal, wearable form of botanical nail art you can do without a nail tech.
How to Make It Last
Most easy nail designs at home fail at the finish line — people skip the top coat or don’t cap the free edge. Seal the tip of each nail by swiping the brush along the nail edge with every coat. Then reapply Seche Vite Fast Dry Top Coat every 2 days. This routine keeps any design chip-free for 6–7 days with regular polish. For gel-based looks like the foil transfer and dried flower press, a proper 60-second cure under a 48W LED lamp per layer is non-negotiable. Under-cured gel peels at the edges within 2–3 days regardless of technique.
Your Home Nail Studio Is Ready
The tape color block, the sponge ombré, and the stamping nail art are the three easy nail designs that deliver the most impressive results with the least technique.
Pick one tonight — you already have enough to get started.
Save this article so you can come back to it every time you need a fresh design.
Which one are you trying first?